Yesterday I launched my latest design, Making Waves: A Drawstring Bag in my Etsy Shop! I also made a short video for it. My instructions are very, very detailed. I include everything from how to begin, to how to stitch this bag together and film all stages of the process. YouTube videos demonstrate every step so you can follow along. Each video is embedded within the instructions using Hotlinks. As I spend, literally, hundreds of hours video taping, editing and posting each video before embedding it within the instructions, my downloadable patterns are a bit more expensive. Not much. A little. People tell me they are well worth it.
This project began as a Stitch Along with a group of 17 hand stitchers who signed up for the class, which took place over Zoom. Over the course of 8 weeks we stitched this bag together and had a blast doing so.
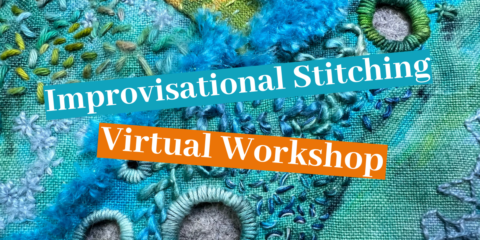
A couple of people have asked me whether I will be doing this class again, so if you’re interested let me know as I will do it again, if there’s enough interest. The Zoom classes consist of eight one-hour classes although I would be open to doing a five-day workshop with classes running a 3-4 hours each. You can use your own threads or opt for a thread kit. If you choose a thread kit I will need to order in advance and we will have to wait until everyone has theirs to begin. This can take anywhere from one to two months, depending upon availability of the threads and how many people want kits.
I am also beginning a new design, which will be another Stitch Along, meaning that I will be designing this project as we go! What’s fun about that is that each week I unveil a new part of the design, which is fun and exciting. Once I have the basic background concept designed, I will post more about it. Right now I’m in the midst of throwing a lot of different ideas around and seeing which one I like best as well as determining which will make the most sense to add a lot of embellishing to it. As with the Making Waves design, I will be incorporating a great many different techniques and materials, such as hand dyed t-shirt scraps, hand dyed cheesecloth, wool roving, Dorset Buttons, beading, ribbon work and other fun things like that.
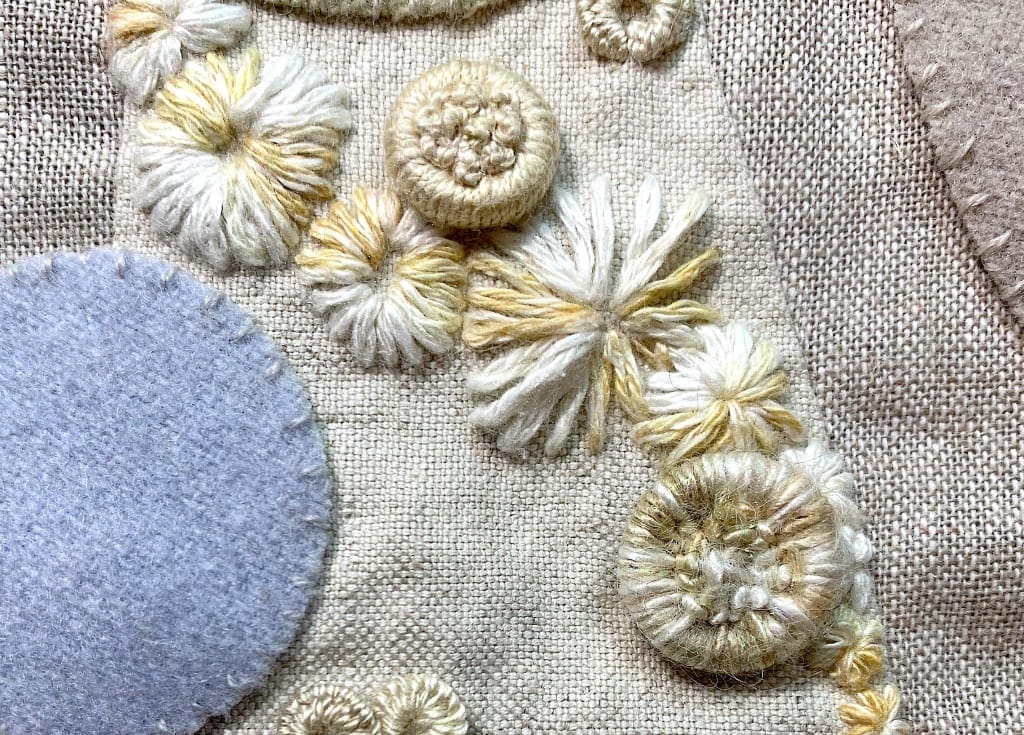
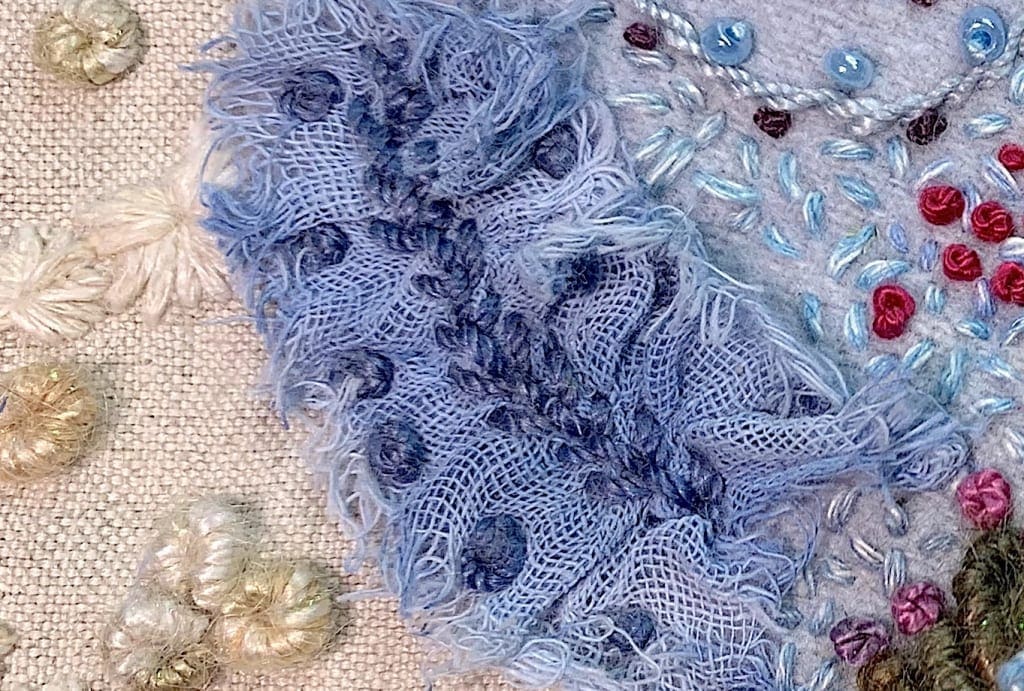
Dorset Buttons in the Background of Making WavesHand-dyed and Ruched CheeseclothHand -Dyed t-shirt
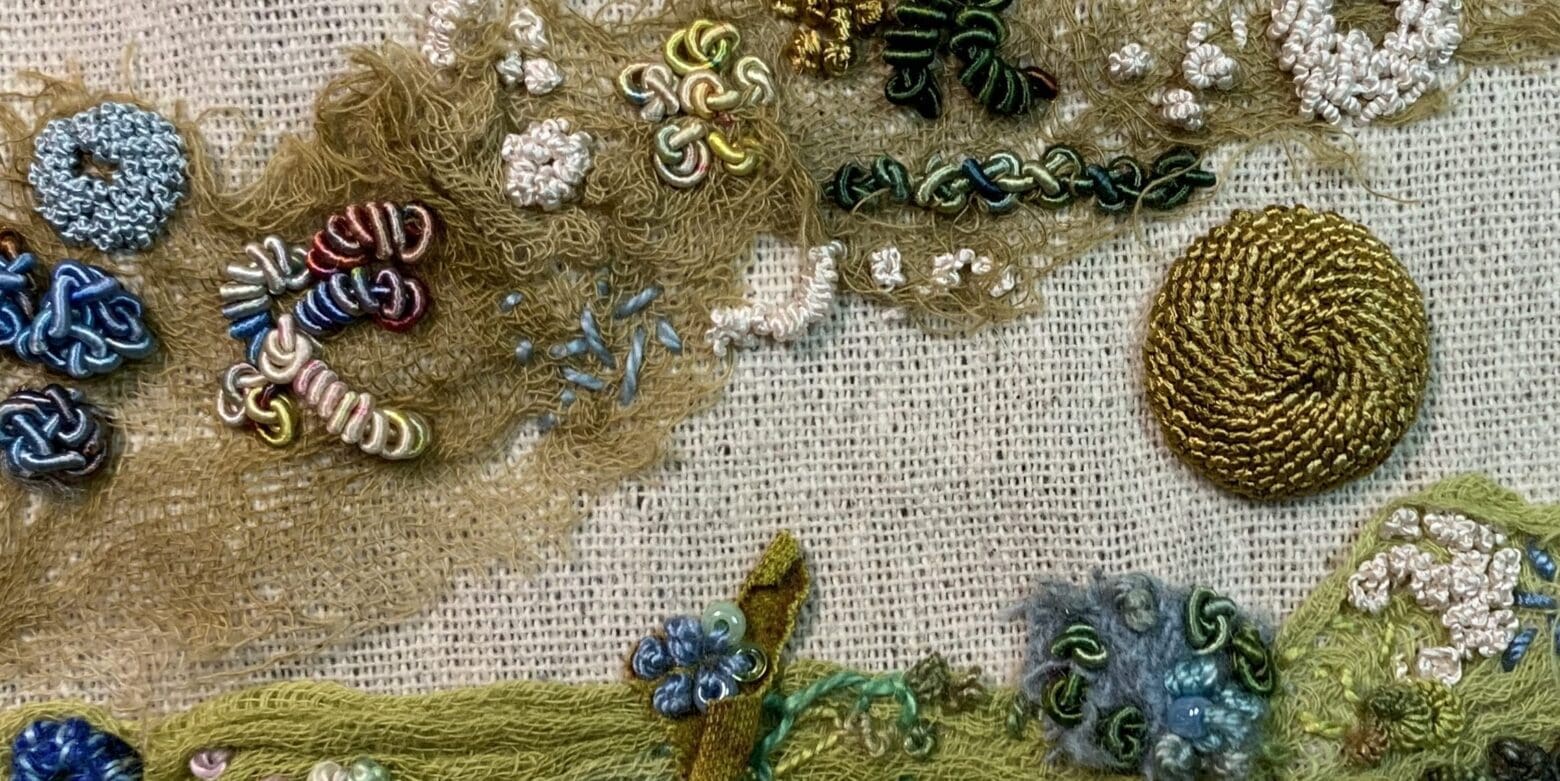
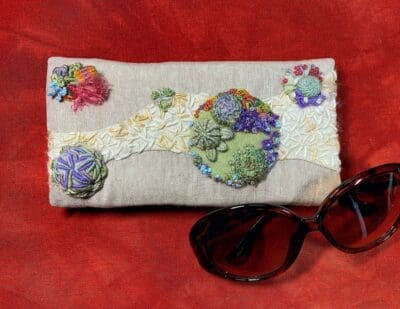
I’m working on a Left-Handed Stitching book. It’s a HUGE project, but I’m determined and am taking it one small stitch at a time. Yesterday I was working on a Threaded Backstitch and so I began to stitch on a piece of linen that I whipstitched some wool shapes onto. Once I had done one example of the Threaded Backstitch, I decided to go ahead and do a Double Threaded Backstitch. And once that was finished I thought – well wouldn’t it be fun to do a couple more, one below the other?! Do you see what I’m having to deal with here? After I finished doing those, the gap between the Double Threaded Backstitches seemed to be calling out for a little something, so I did what anyone would do, and found some beautiful Stef Francis Silk Chenille and decided it was perfect to Couch. Swoon. And then there was a tiny space at the very top and so I stitched a 2-wrap French Knot, which looked like a little tumble weed. Perfection(!) and that made me feel happy. As I stitched, I thought I could hear some Silk Ribbon calling out to me, so of course I had to find it, retrieve it, and use it, because what else was I going to do? Ignore the call? No, I don’t think so! So I made a little cluster of Silk RibbonRoses to one side. And that’s when it occurred to me. I’m NEVER going to finish this book if I continue to go down every rabbit hole I see.
Double Threaded Backstitch, Couching, French Knot and Ribbon Roses
Except it’s SO much fun to go down those rabbit holes and who knows where they might lead?! Some of my best discoveries have been deep within such holes, which means this book will take a little longer to do than I’d originally anticipated. Plus I’m using lots of photographs to demonstrate each step of each stitch and I intend to show how to end and begin a new thread, in case you run out in the middle of the stitch, as well as how to end the thread once you’ve finished doing the stitch. Those are a couple things I always wish to see, but rarely do in a stitching book and that got me wondering, what about YOU?
Tell me what you like to see in a stitching book. What do you dislike? What do you wish they showed? What do you wish they didn’t show? What about text? Keep it short and simple or do you like longer explanations and even stories? What else? Am I forgetting anything? Tell me. Tell me everything.
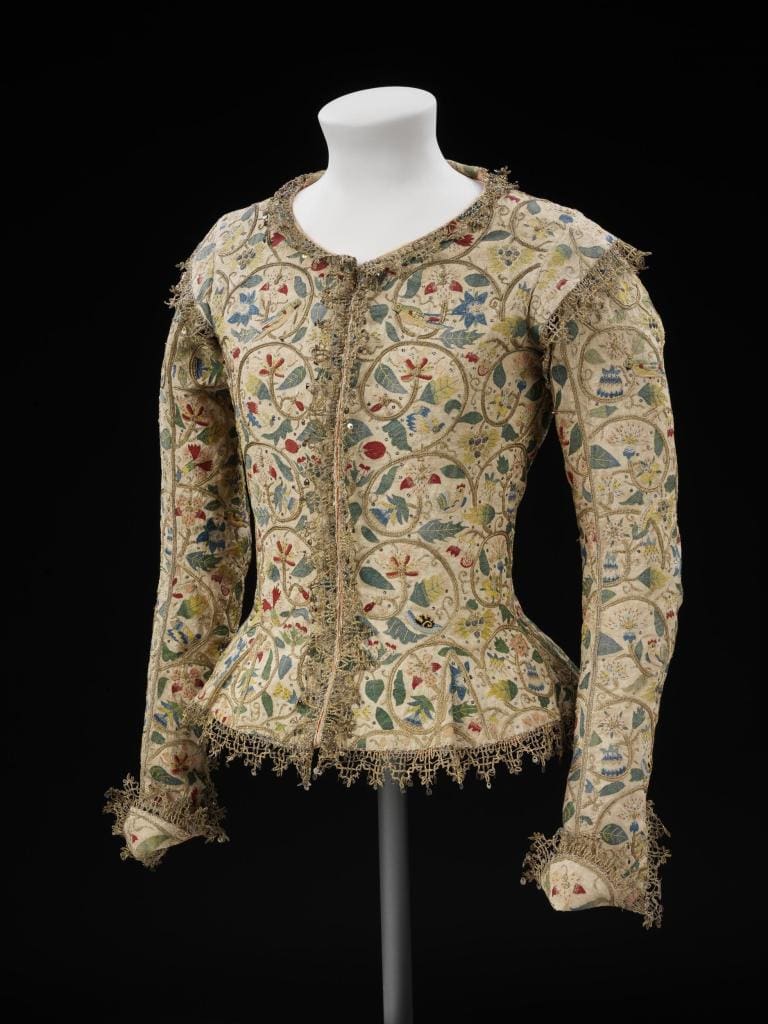
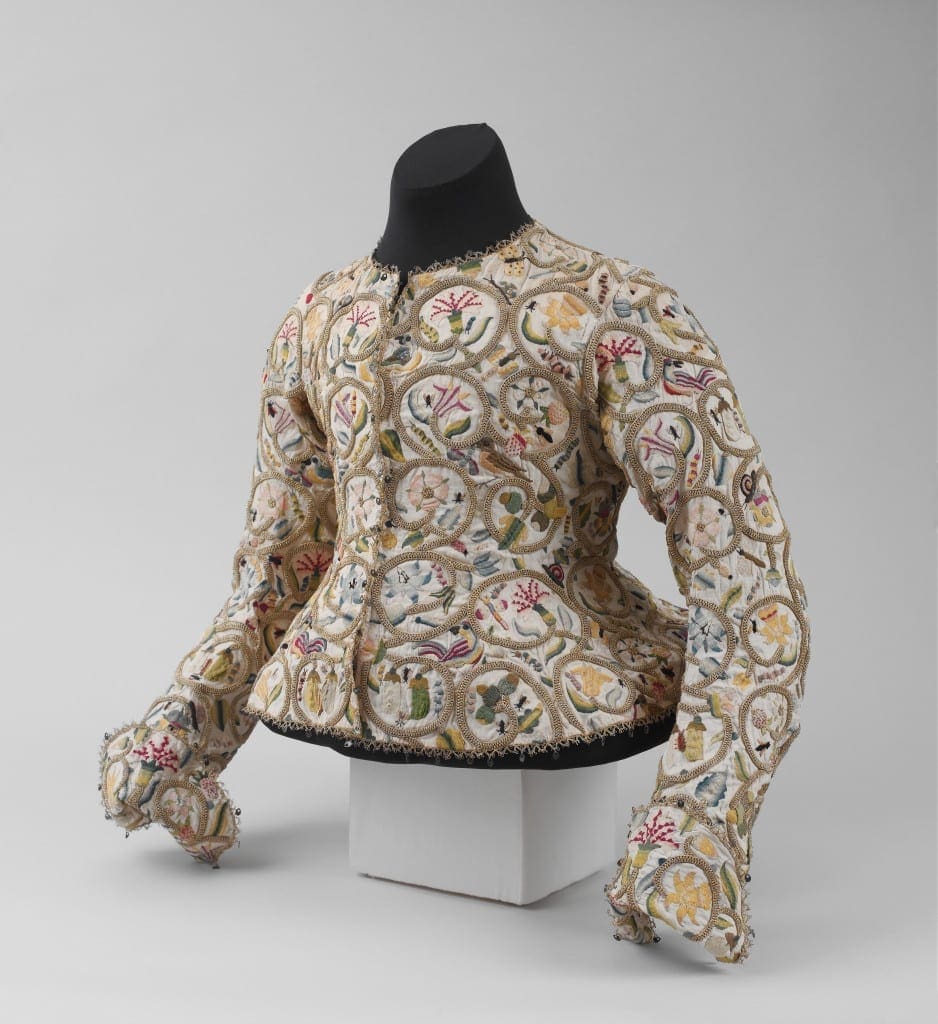
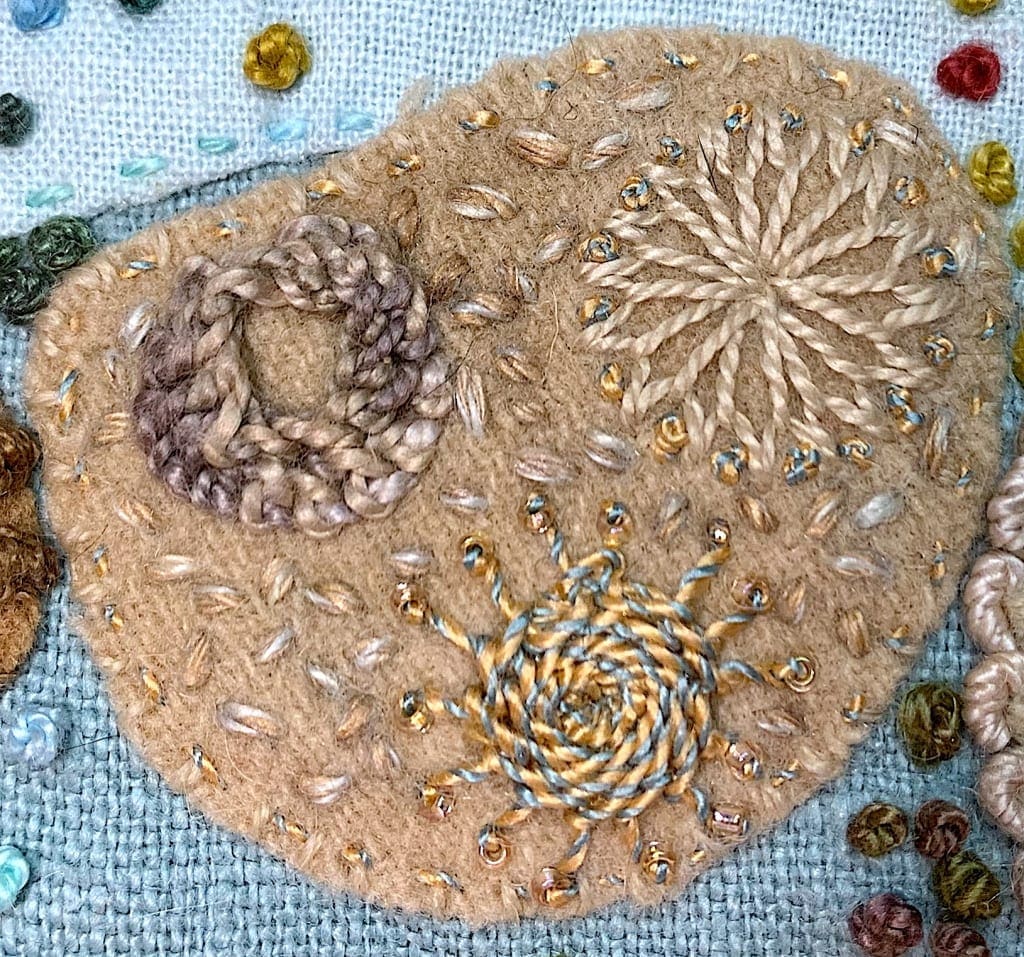
I spent at least 16 hours this weekend analyzing and stitching examples of the Trellis Stitch. Specifically the spiral trellis stitch, which was one of dozens of stitches that adorned the Plimoth Jacket, a women’s waistcoat, made in the early 1600’s.
Photograph Courtesy of the Victoria & Albert Museum
Another heavily embroidered jacket is in the costume collection at the Metropolitan Museum here in New York City, which I would LOVE to see one day.
While I have done dozens and dozens of Spiral Trellis Stitches over the years, and have used this stitch in a number of my designs, I had never tried to figure out why it was often so difficult to replicate, and to replicate consistently.
So this weekend I decided to do just that. I experimented with a couple of different ways of stitching it, how to best add a new length of thread when your thread, which it inevitably does, runs out, how to consistently get good results when decreasing, stitching in all kinds of different threads and thread weights, and I even tried my hand at stitching a non-circular Trellis, which I will need to do a bit more experimenting with before I am completely satisfied. I had to fill in the center part with French Knots because I couldn’t figure out how to decrease the inside in a way that looked flawless.
I then posted my results to my Youtube Channel: Ariane Zurcher ~ On the Other Hand.
As I am left handed all of this was even more tricky because none of the embroidery books give instructions for the way I finally ended up stitching this beautiful, yet challenging stitch.
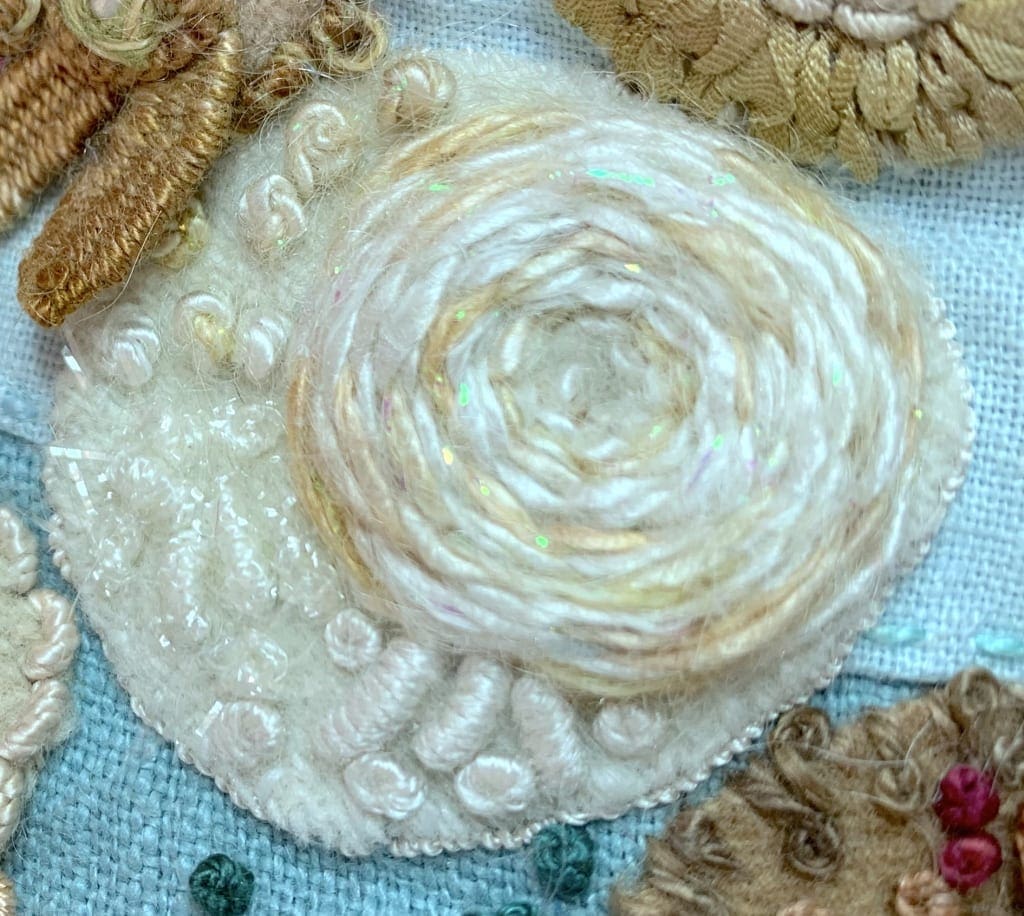
If you’d like to laugh and explore stitching (or in my case attempting to) with silk gimp and the thicker gimp that Painter’s Threads hand dyes, this was the live stream I did yesterday. Warning: We laughed A LOT.
My attempts at using the crinkly silk gimp became more comedic than informative… However, I am determined to continue investigating this beautiful, if challenging thread, and what I’m able to do with it. So this is just the beginning. By the way Mary Corbet, who is a fountain of knowledge when it comes to threads, stitching, and everything and anything to do with embroidery, is such a great resource. If you click on her name above, it will take you to her blog. She also has a YouTube Channel, where she demonstrates stitches.
So here’s the thing… I am a designer first and foremost. I love playing with threads and seeing how I can use an unusual thread in a different way. My approach to hand stitching is from a design point of view. When I’m working with a thread, like gimp, whether the crinkly silk gimp or the thicker cord Gimp from Painter’s Threads, I am thinking about color, texture, and how I can use it so that it creates something interesting. As I design, I’m considering size, shape, dimension and how all of that fits into the piece I’m working on.
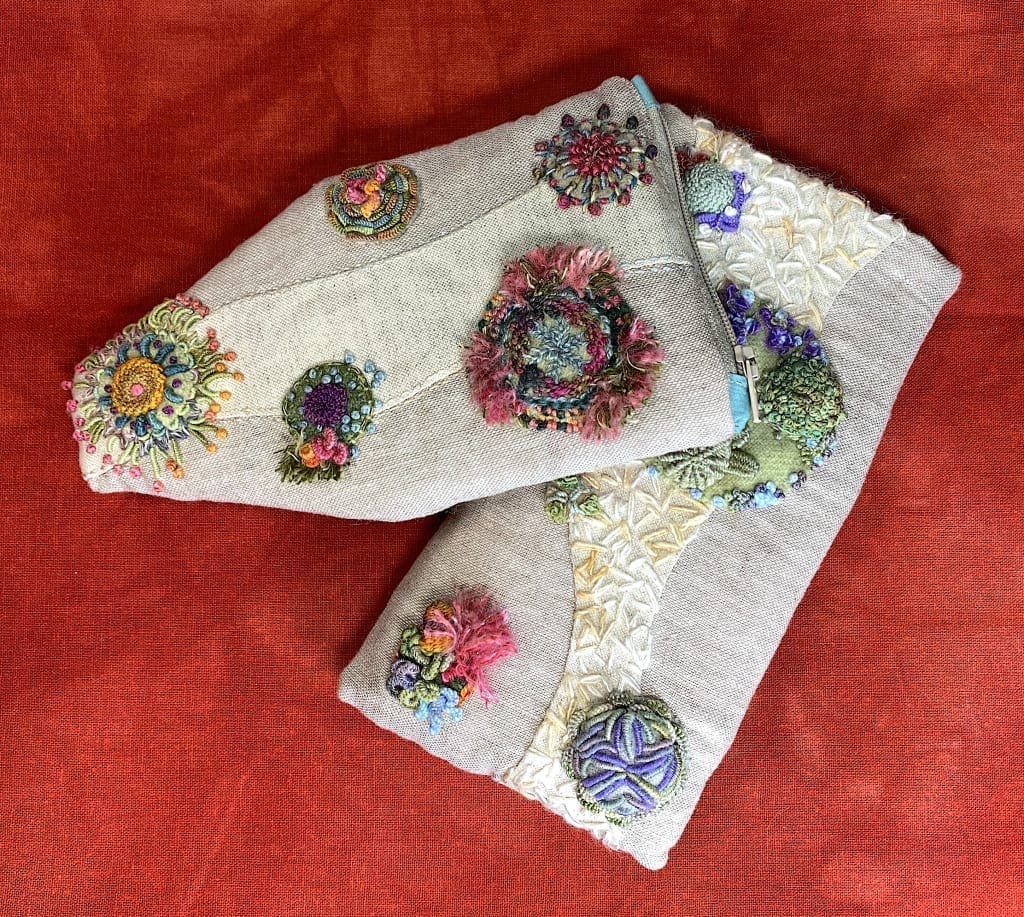
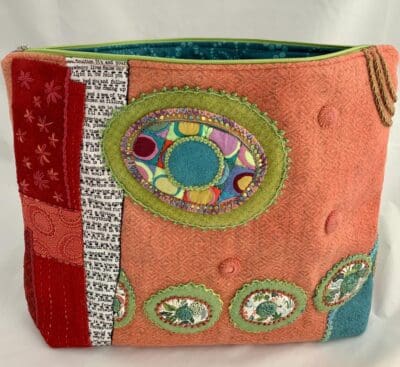
For my River Rocks Pouch, I used all three of these gimps in different ways. A couple of the shapes on that pouch I added gimp French Knots, which I love.
I’m off to the last remaining quilt shop in New York City in a little while. I’ll be filming it, and will post tomorrow morning. So if you want to come with me on my little adventure, tune into my Youtube Channel Ariane Zurcher ~ On the Other Hand tomorrow. Until then, here’s to exploring and stitching!
Welcome to my store!
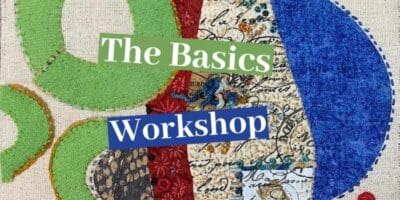
Please browse and look at our patterns available. We also offer Workshops! ~Ariane


Recent comments