Yay, I finished it!! My first large quilt. I began it in January and finished yesterday.
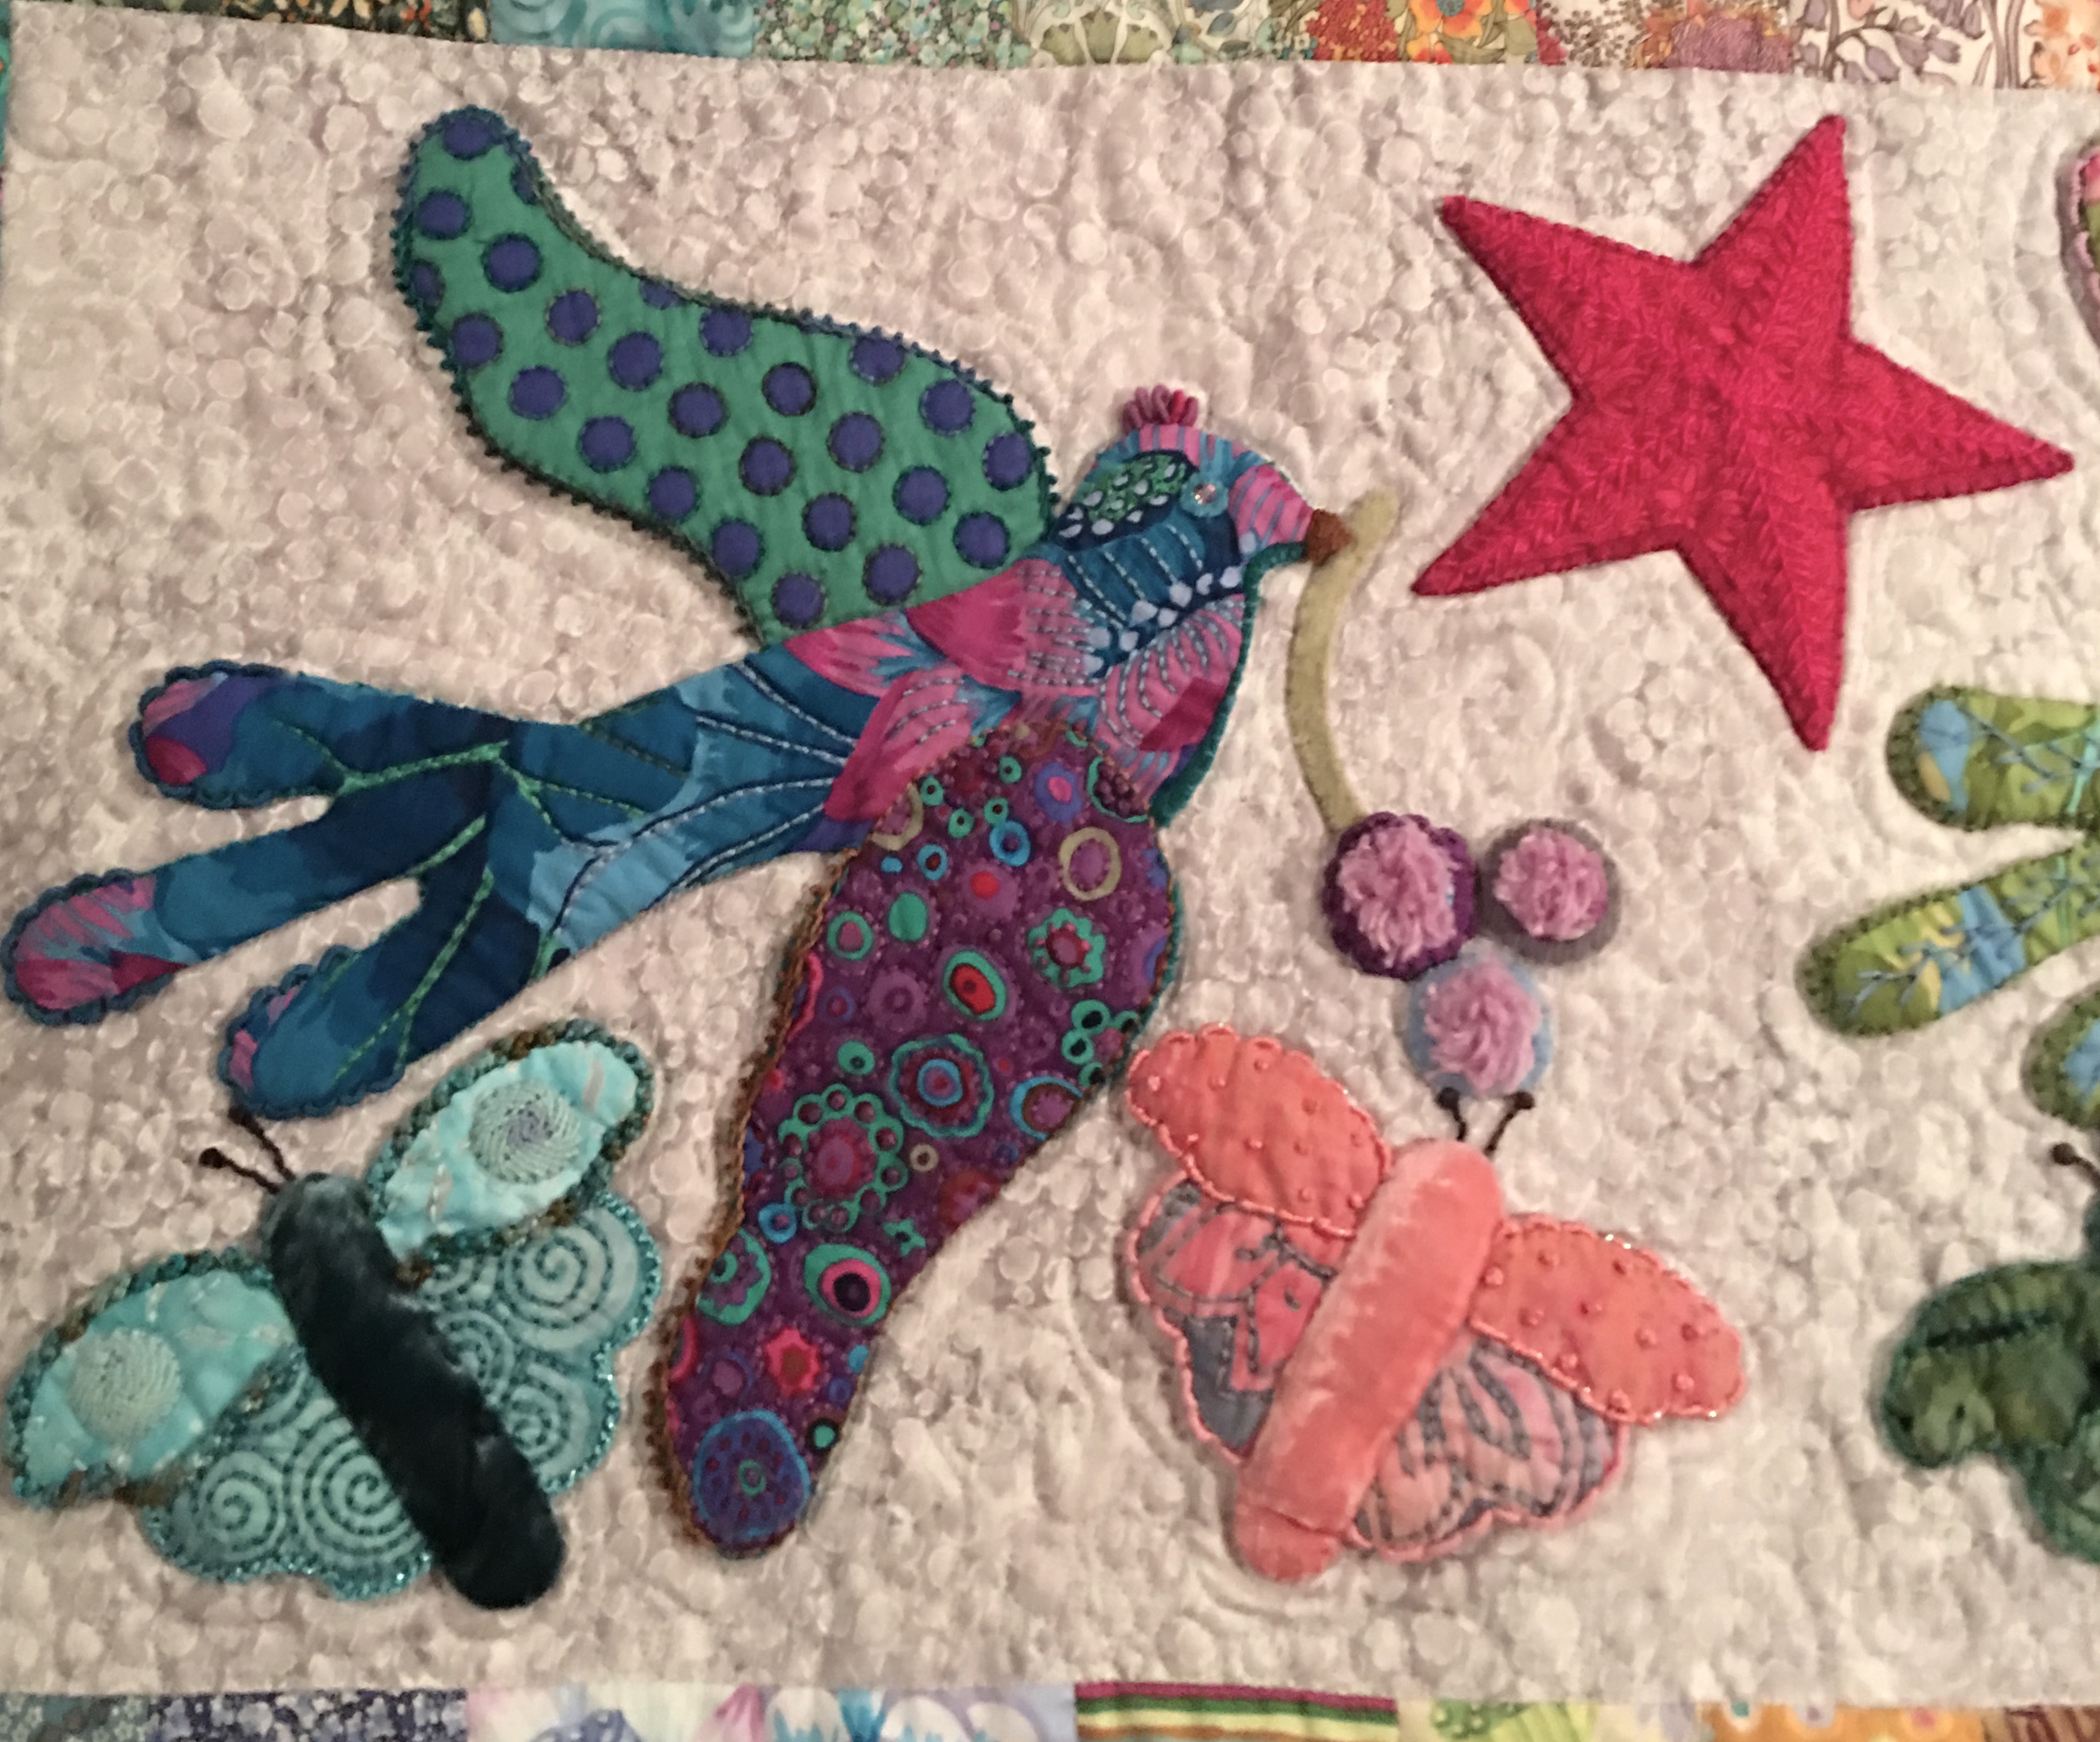
This is the queen-sized quilt that I have written about ‘here‘, ‘here‘, ‘here‘ and ‘here‘. In a nutshell this quilt was my starter quilt. I wanted to learn how to make a quilt start to finish. This quilt was designed by Kim McLean and is called Flower Pots. I took a class where we followed the pattern, learned to appliqué, and got to use all the things I had learned from Sue Spargo – layering, using different fabrics such as wool and velvet and then perle cotton and other threads and a multitude of stitches to enhance the shapes. I hand stitched all the appliqué and machine stitched the panels together with the sashing and border. I then used a wool batting and learned how to free motion quilt. I used a red batik for the binding, cut on the bias and hand stitched the back. Finally I made and applied a quilted label.
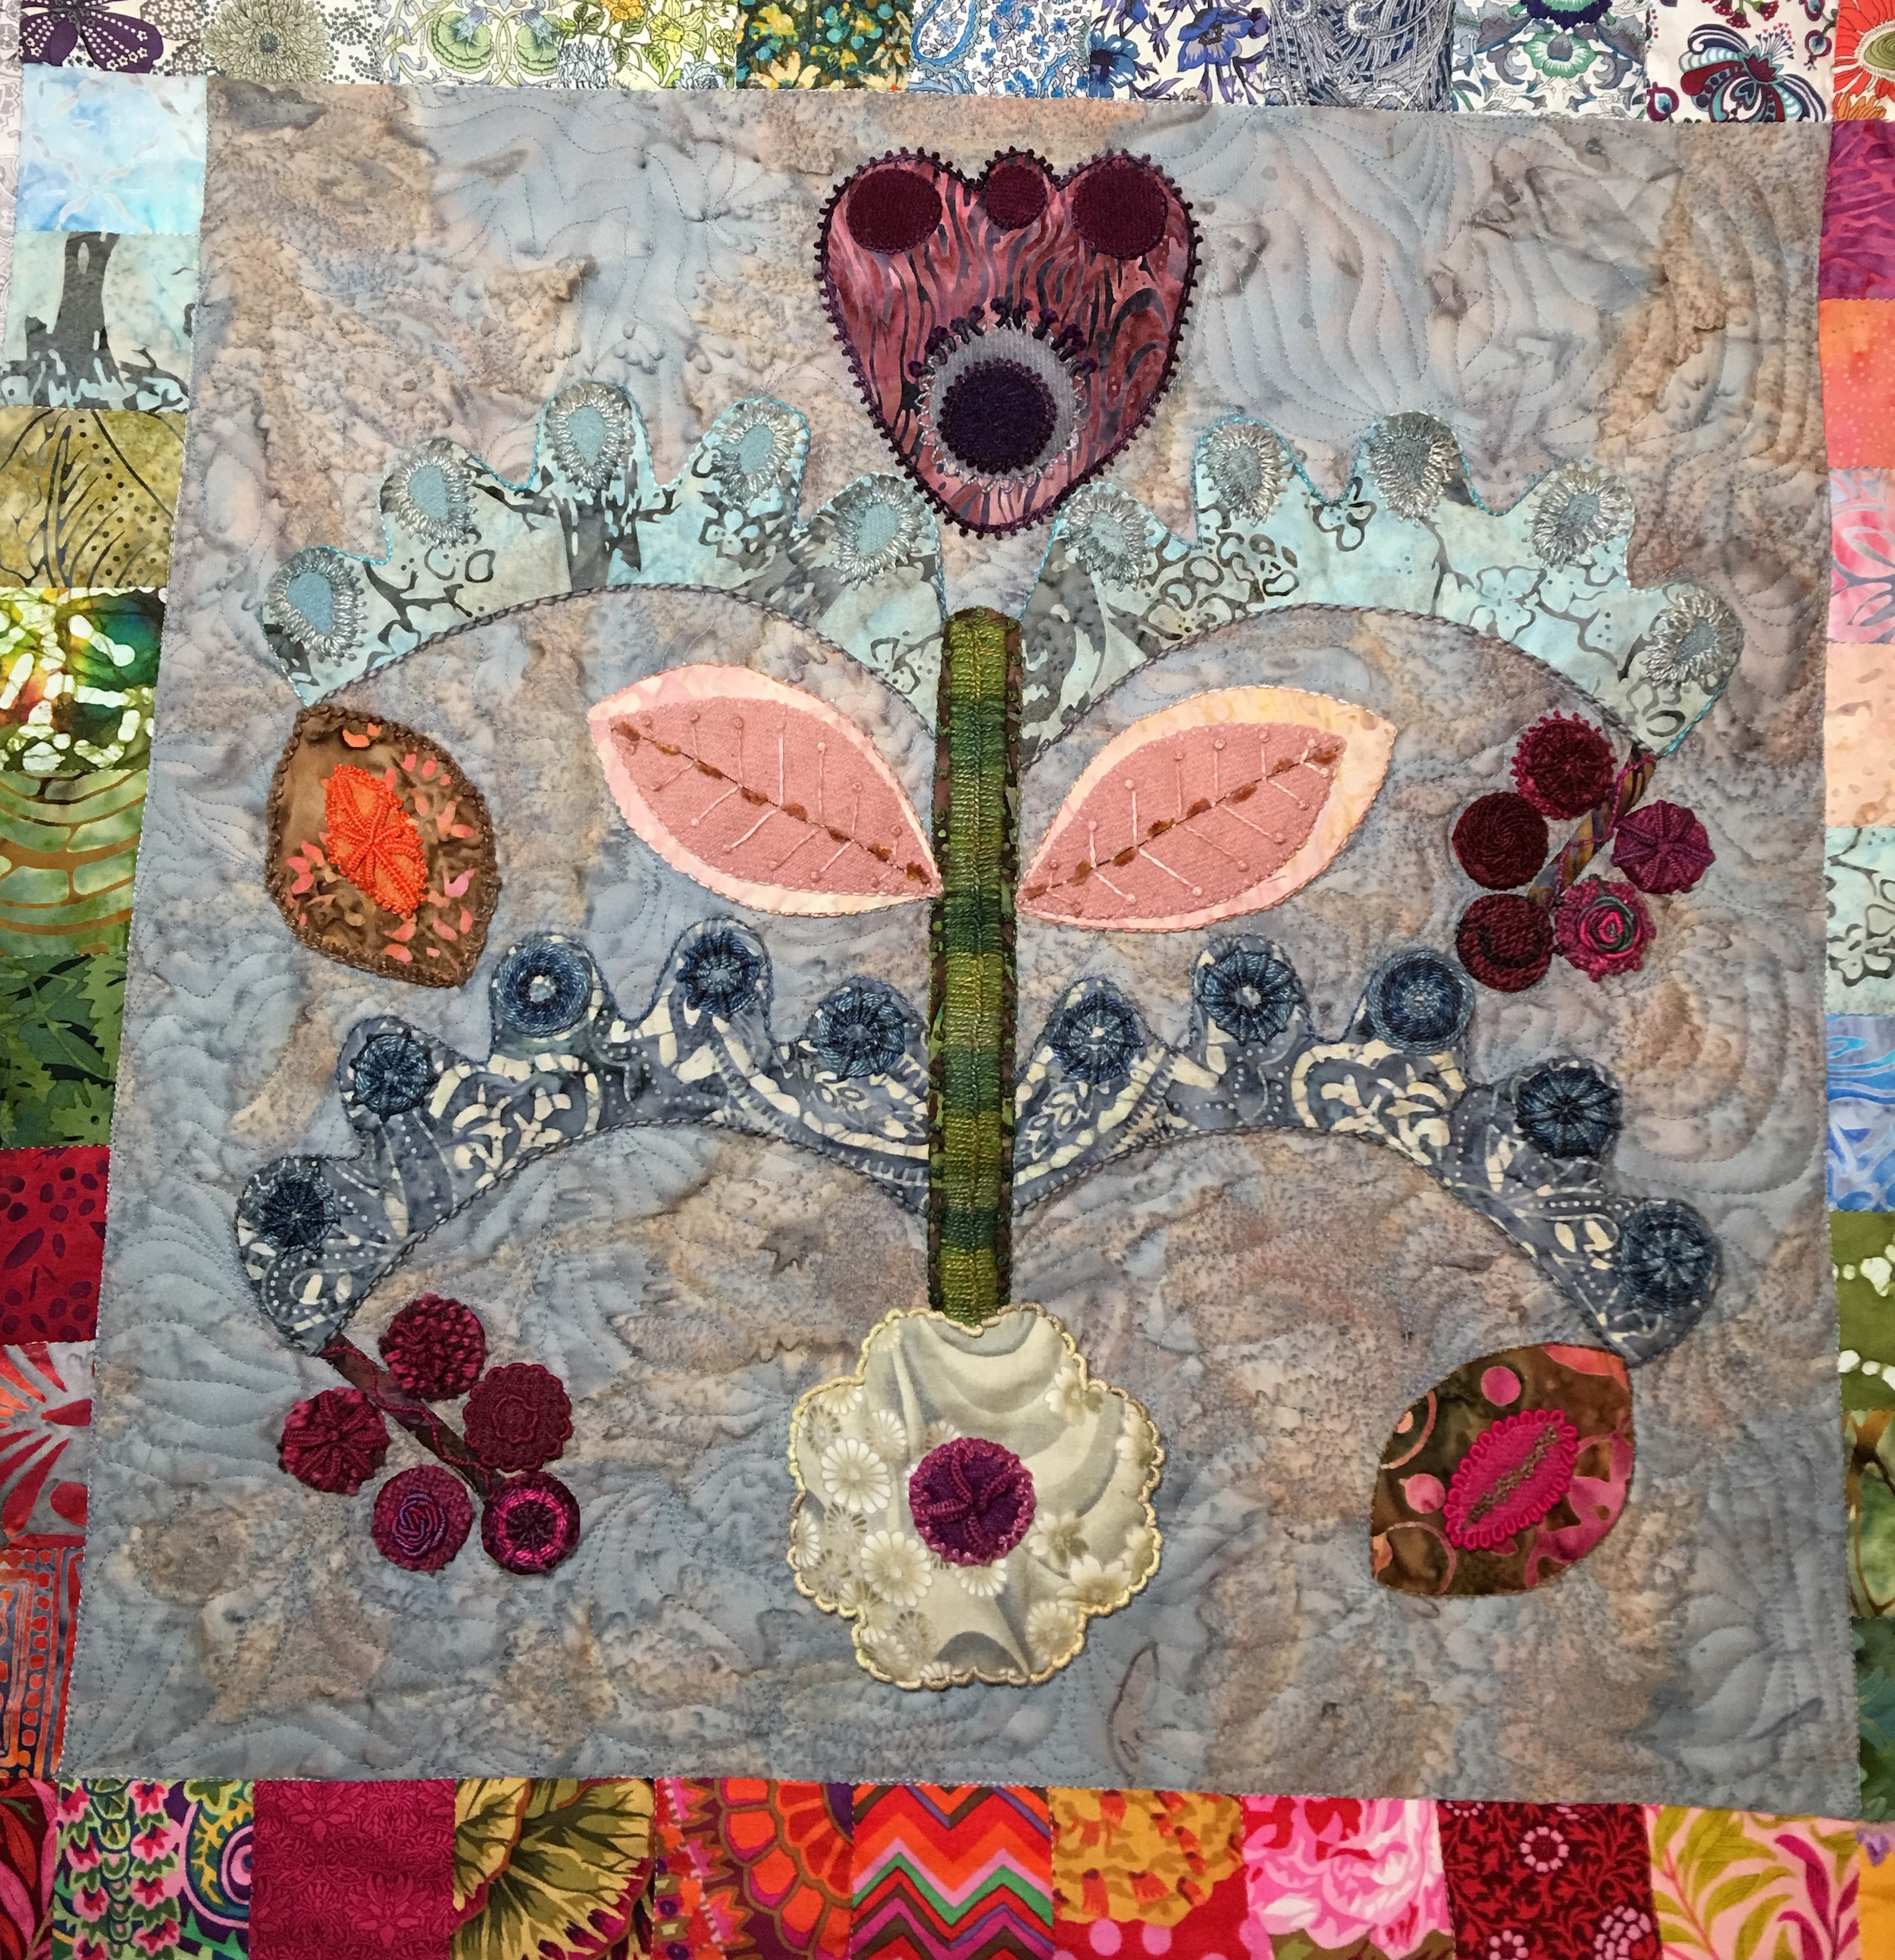
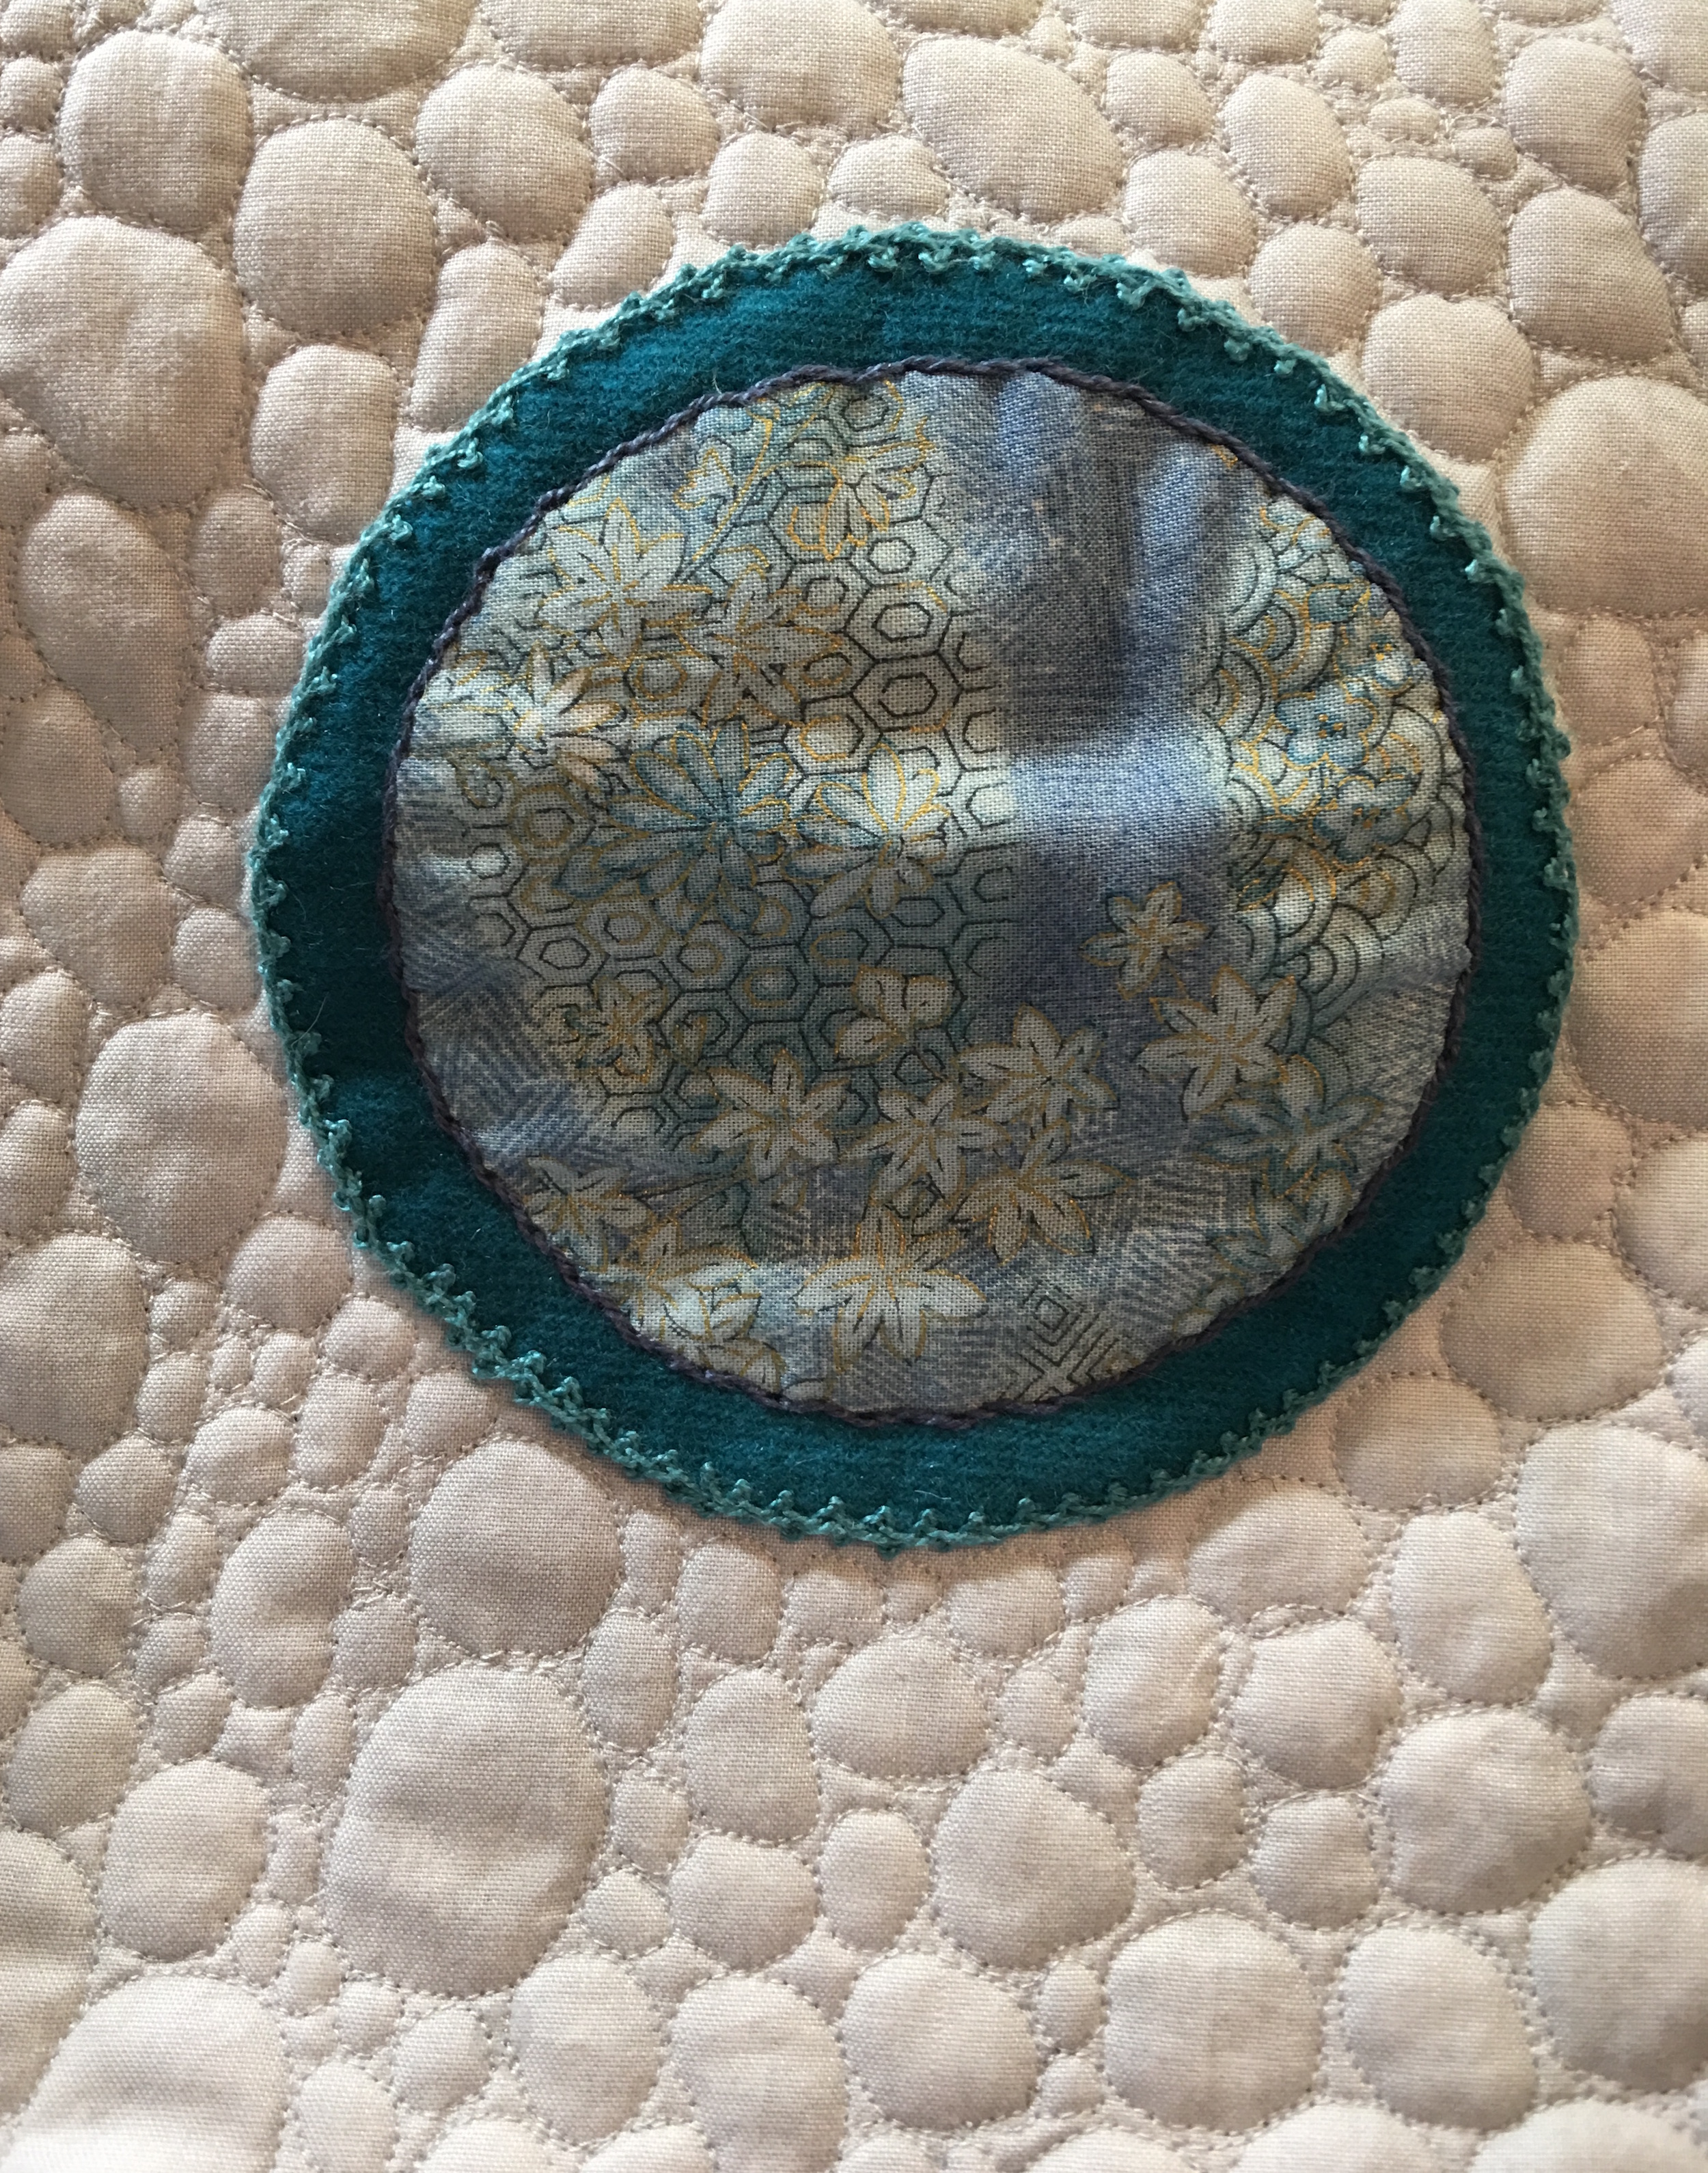
This first picture is of the lower center panel where I decided to try an emerging pattern of double leaf free motion quilting shape. I used a slightly darker grey thread.
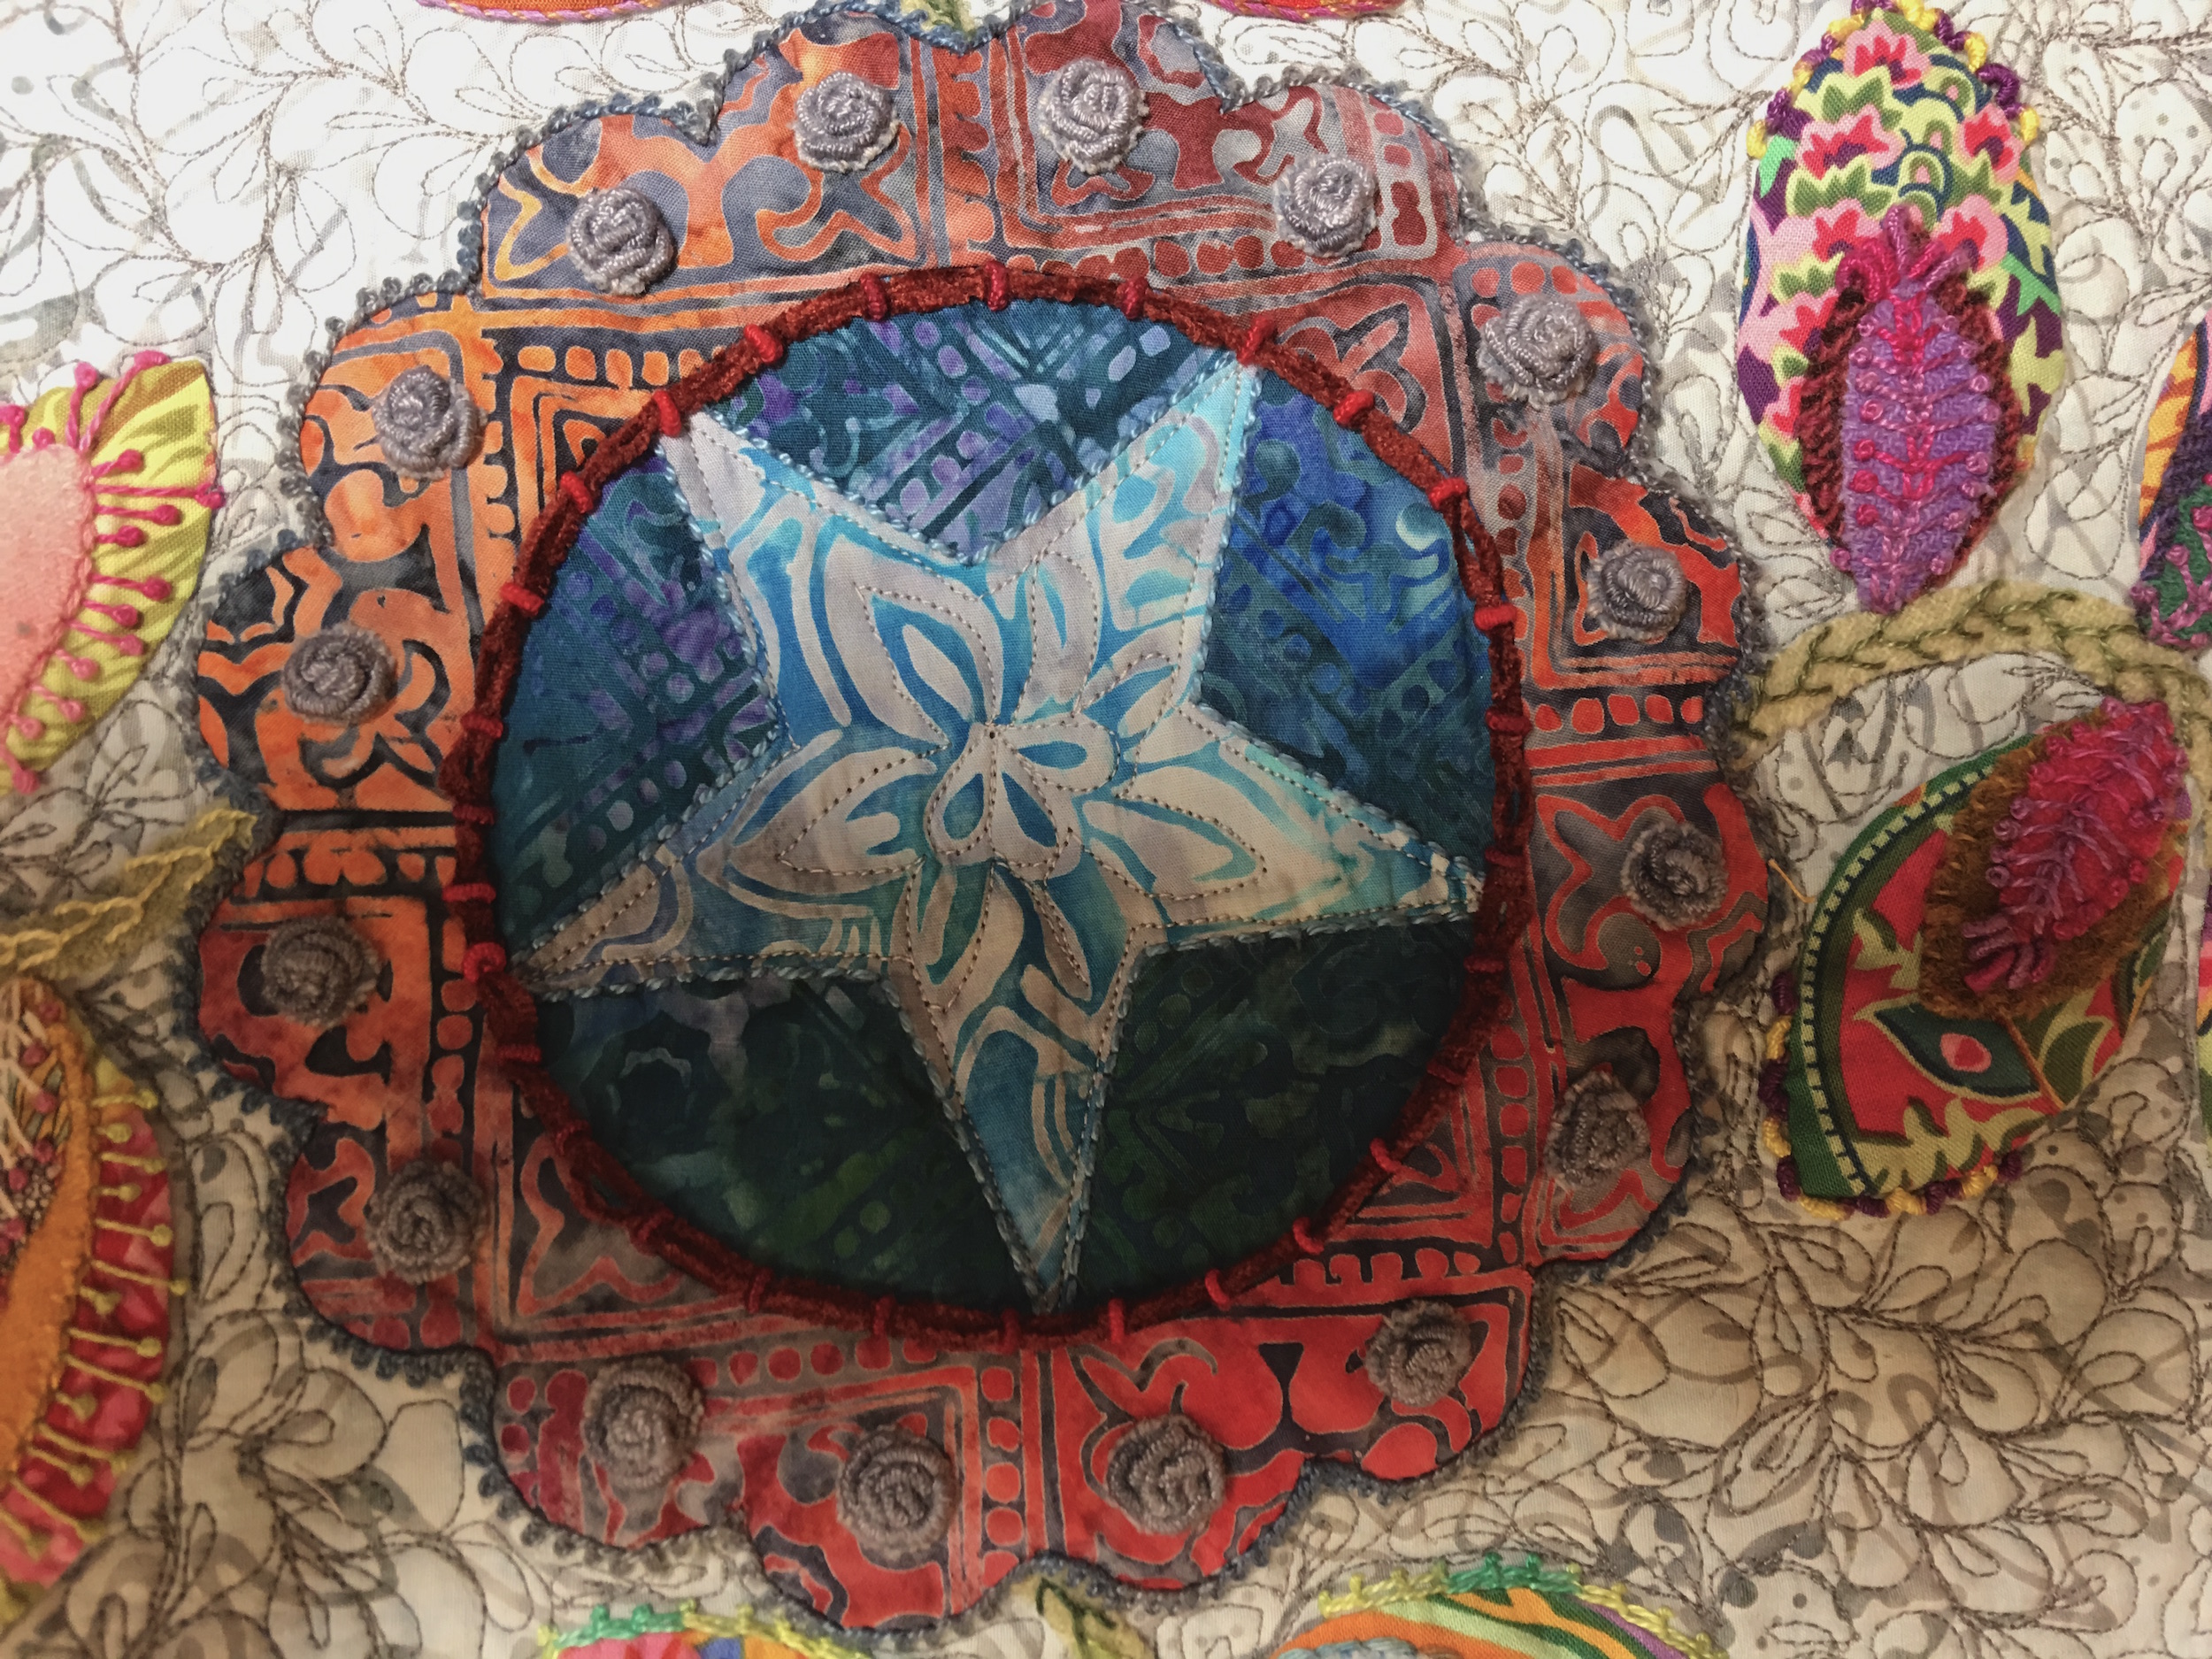
Center Star Panel
For the upper center panel I wanted to try my hand at McTavishing, which is named after a woman who created a specific way to free motion quilt. After a few times, I went off and did my own thing, echoing, but also playing with flame shapes.
Top Center Panel
On this long side panel I decided that the paisley fabric was so cool I would just use it as a quilting guideline. I really loved how this turned out, though it’s hard to really see, I did add a close up below.
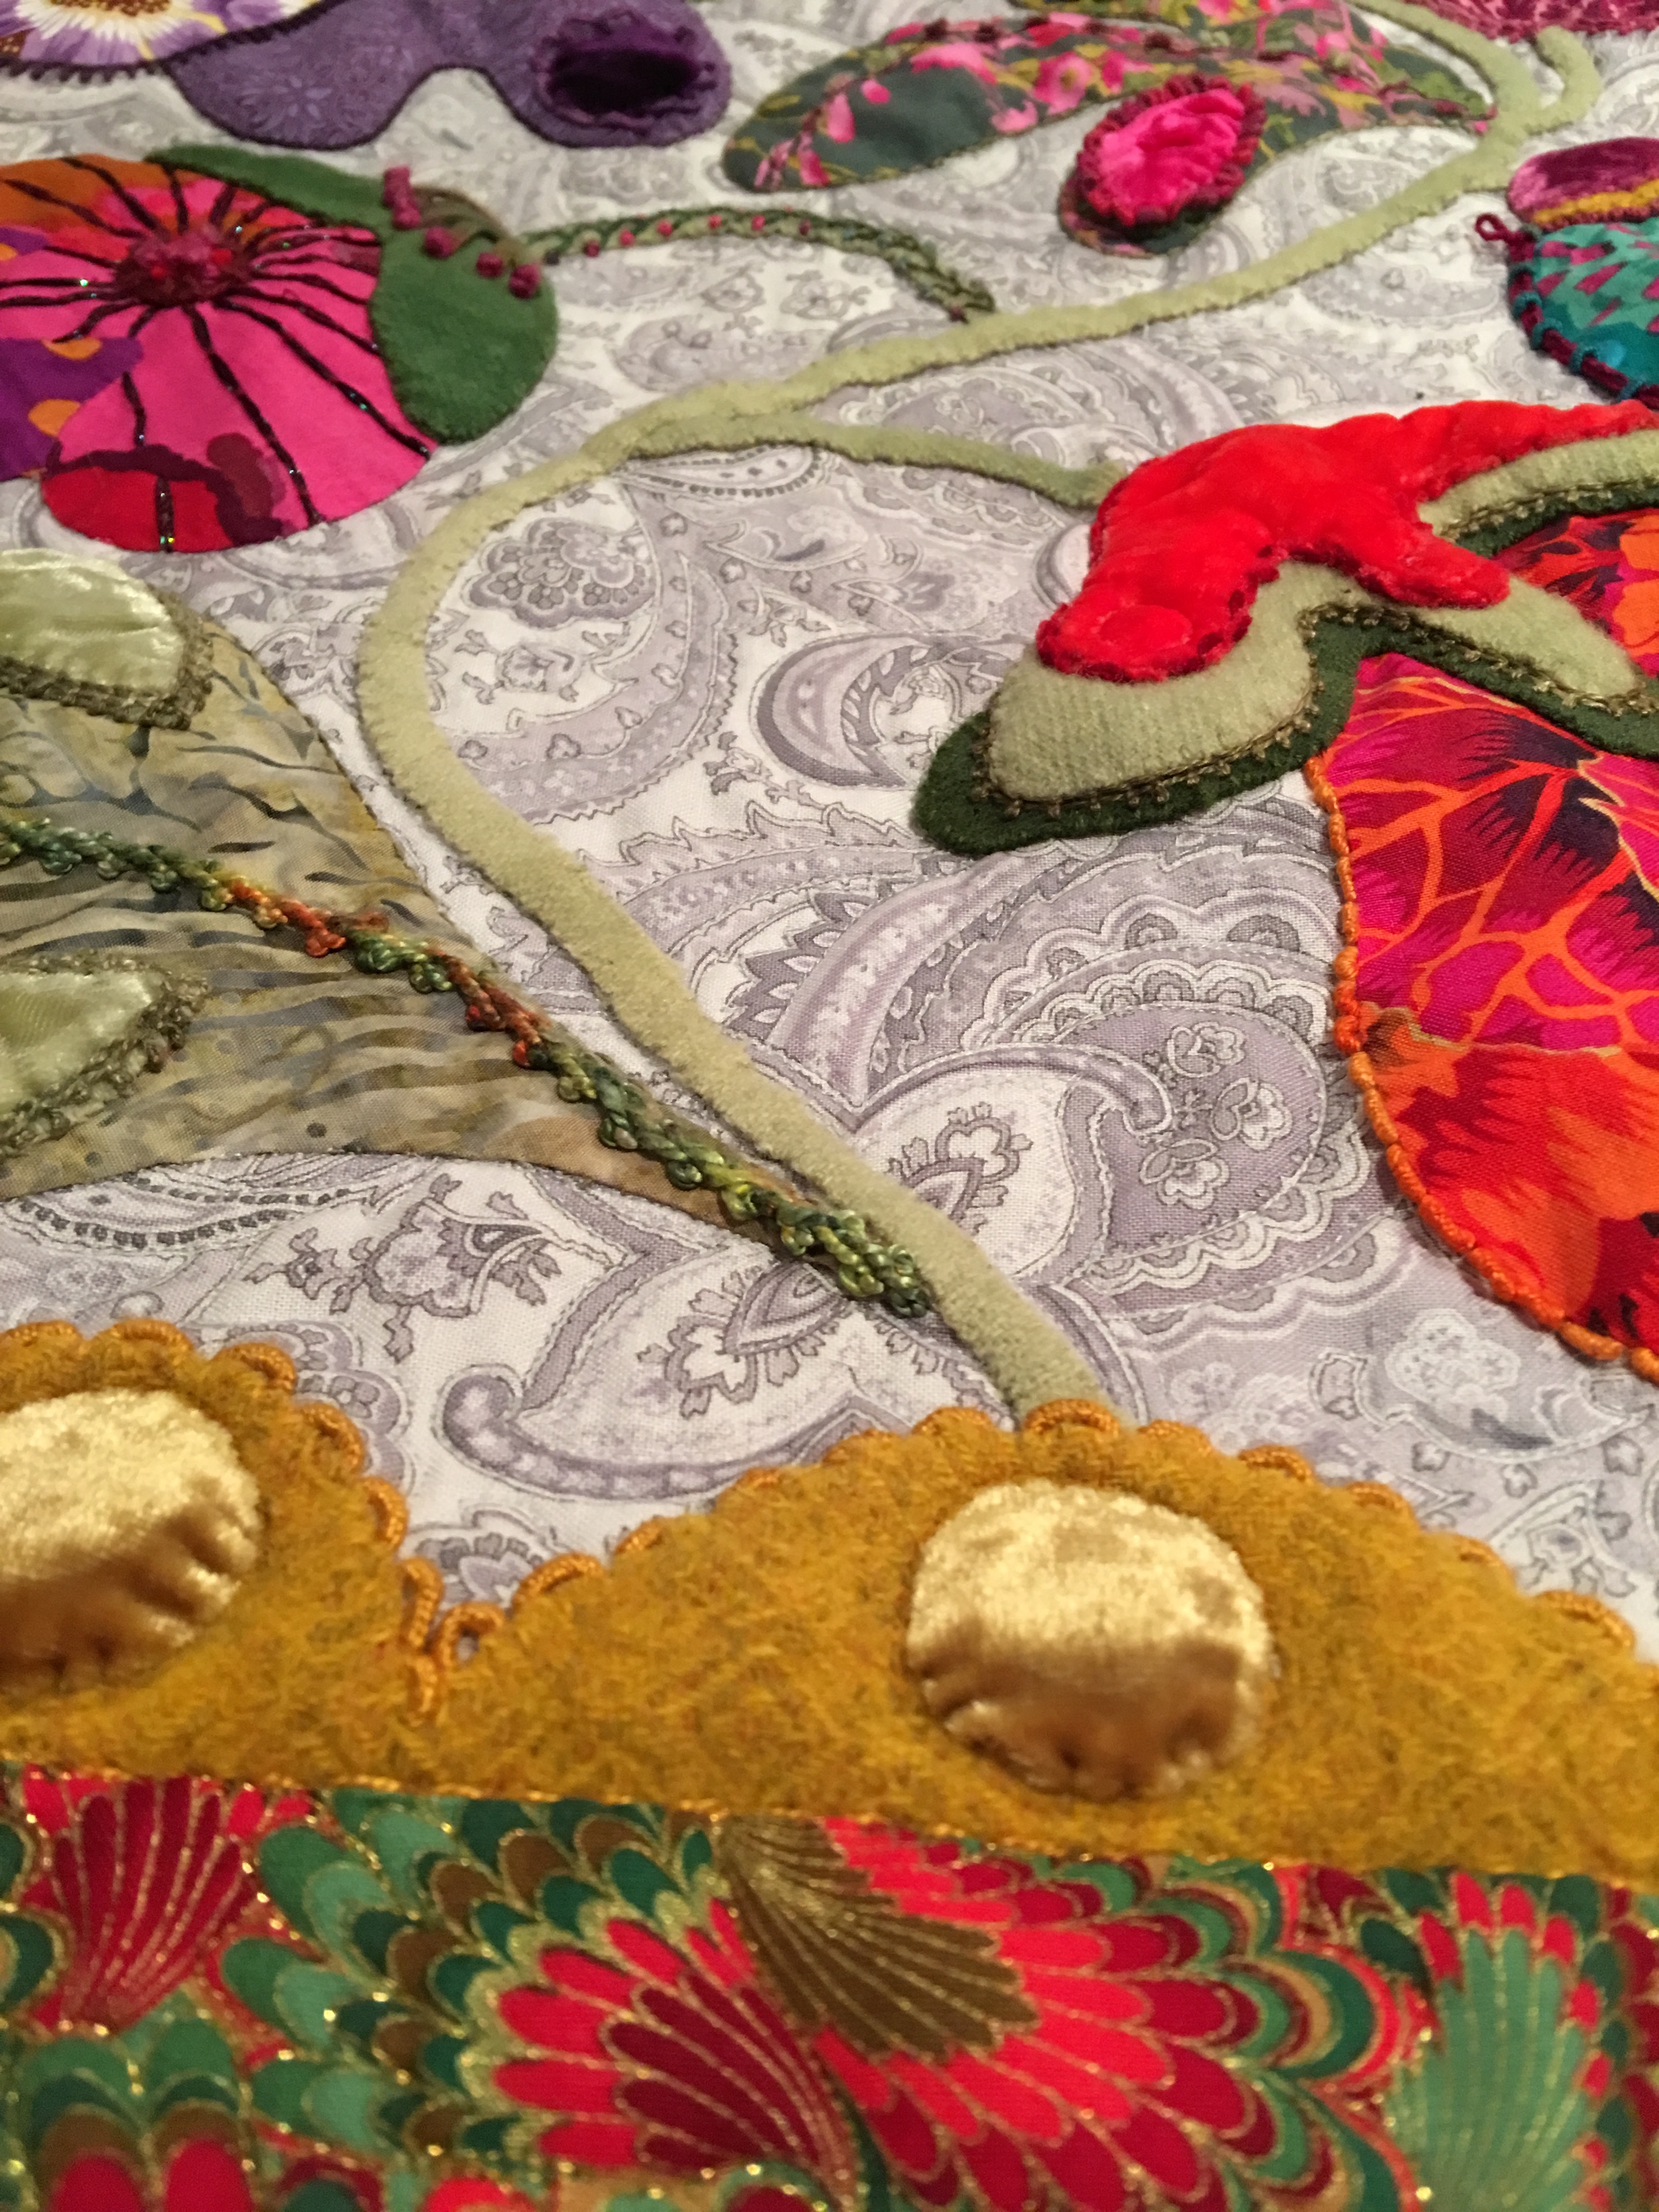
Side Panel
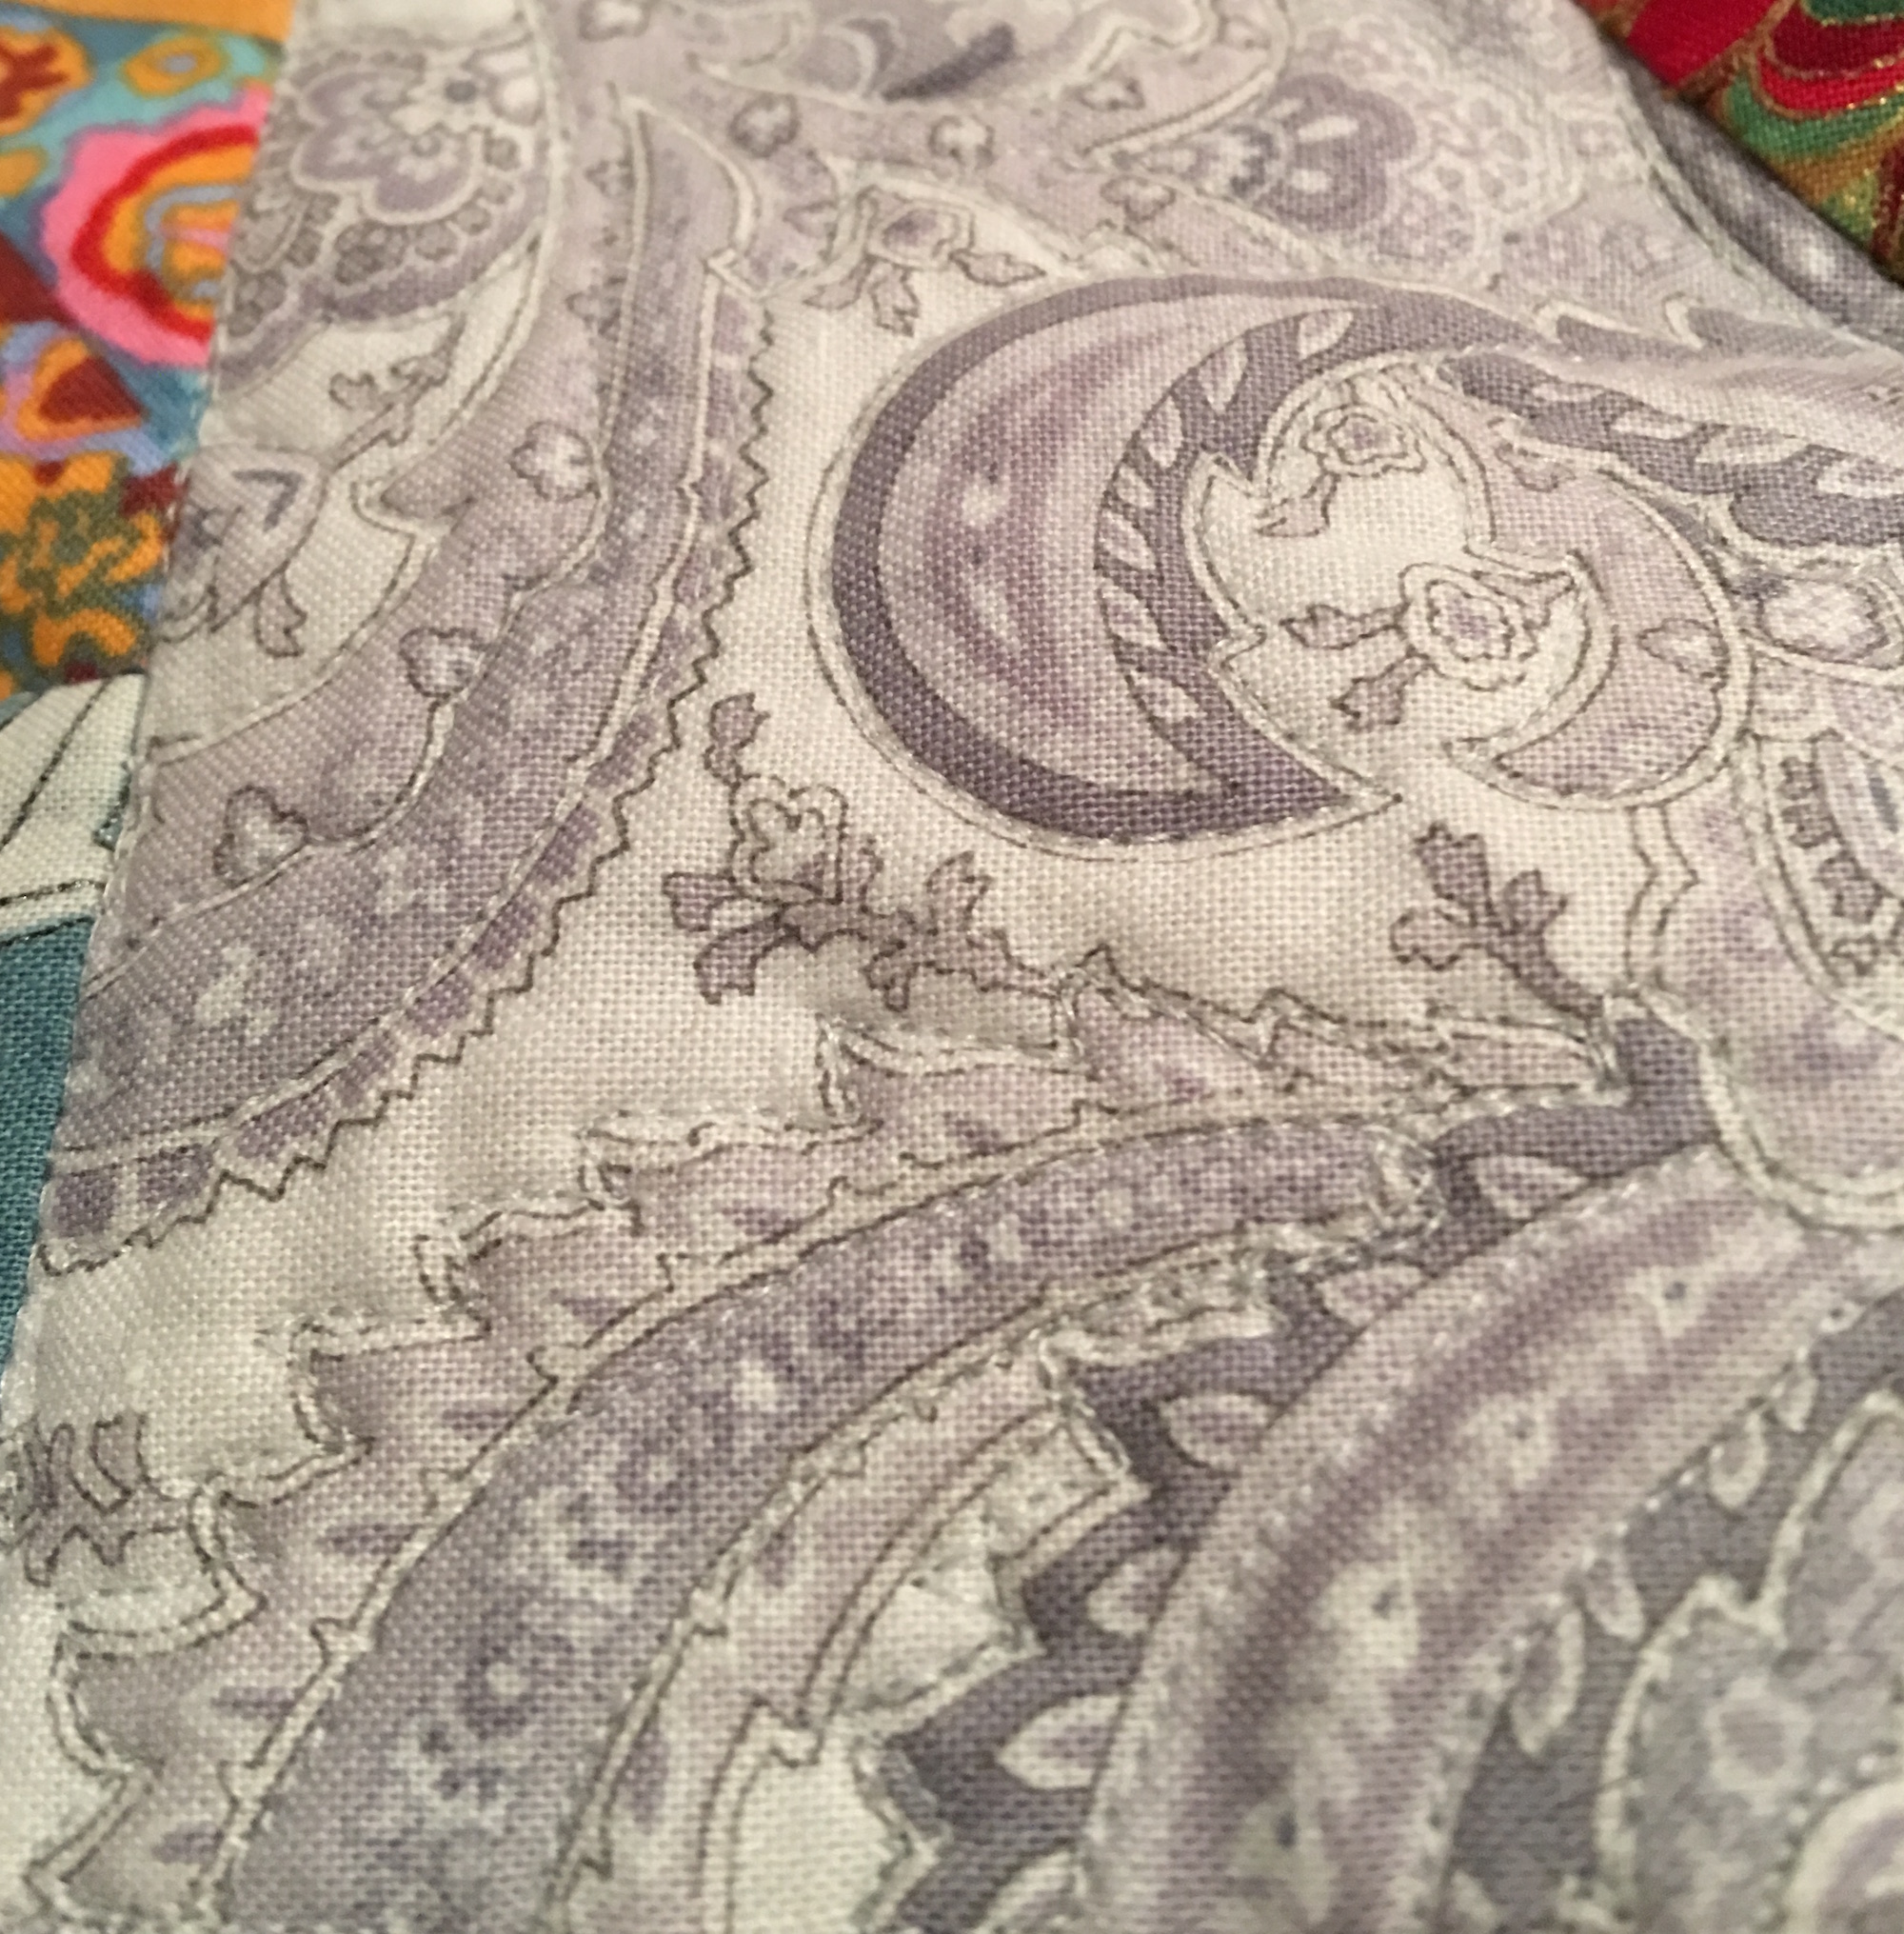
Detail of the free motion quilting on the side panel
This is the bottom panel and I included pebbles, echoing and swirls, which I did again on the top panel.
Bottom Panel
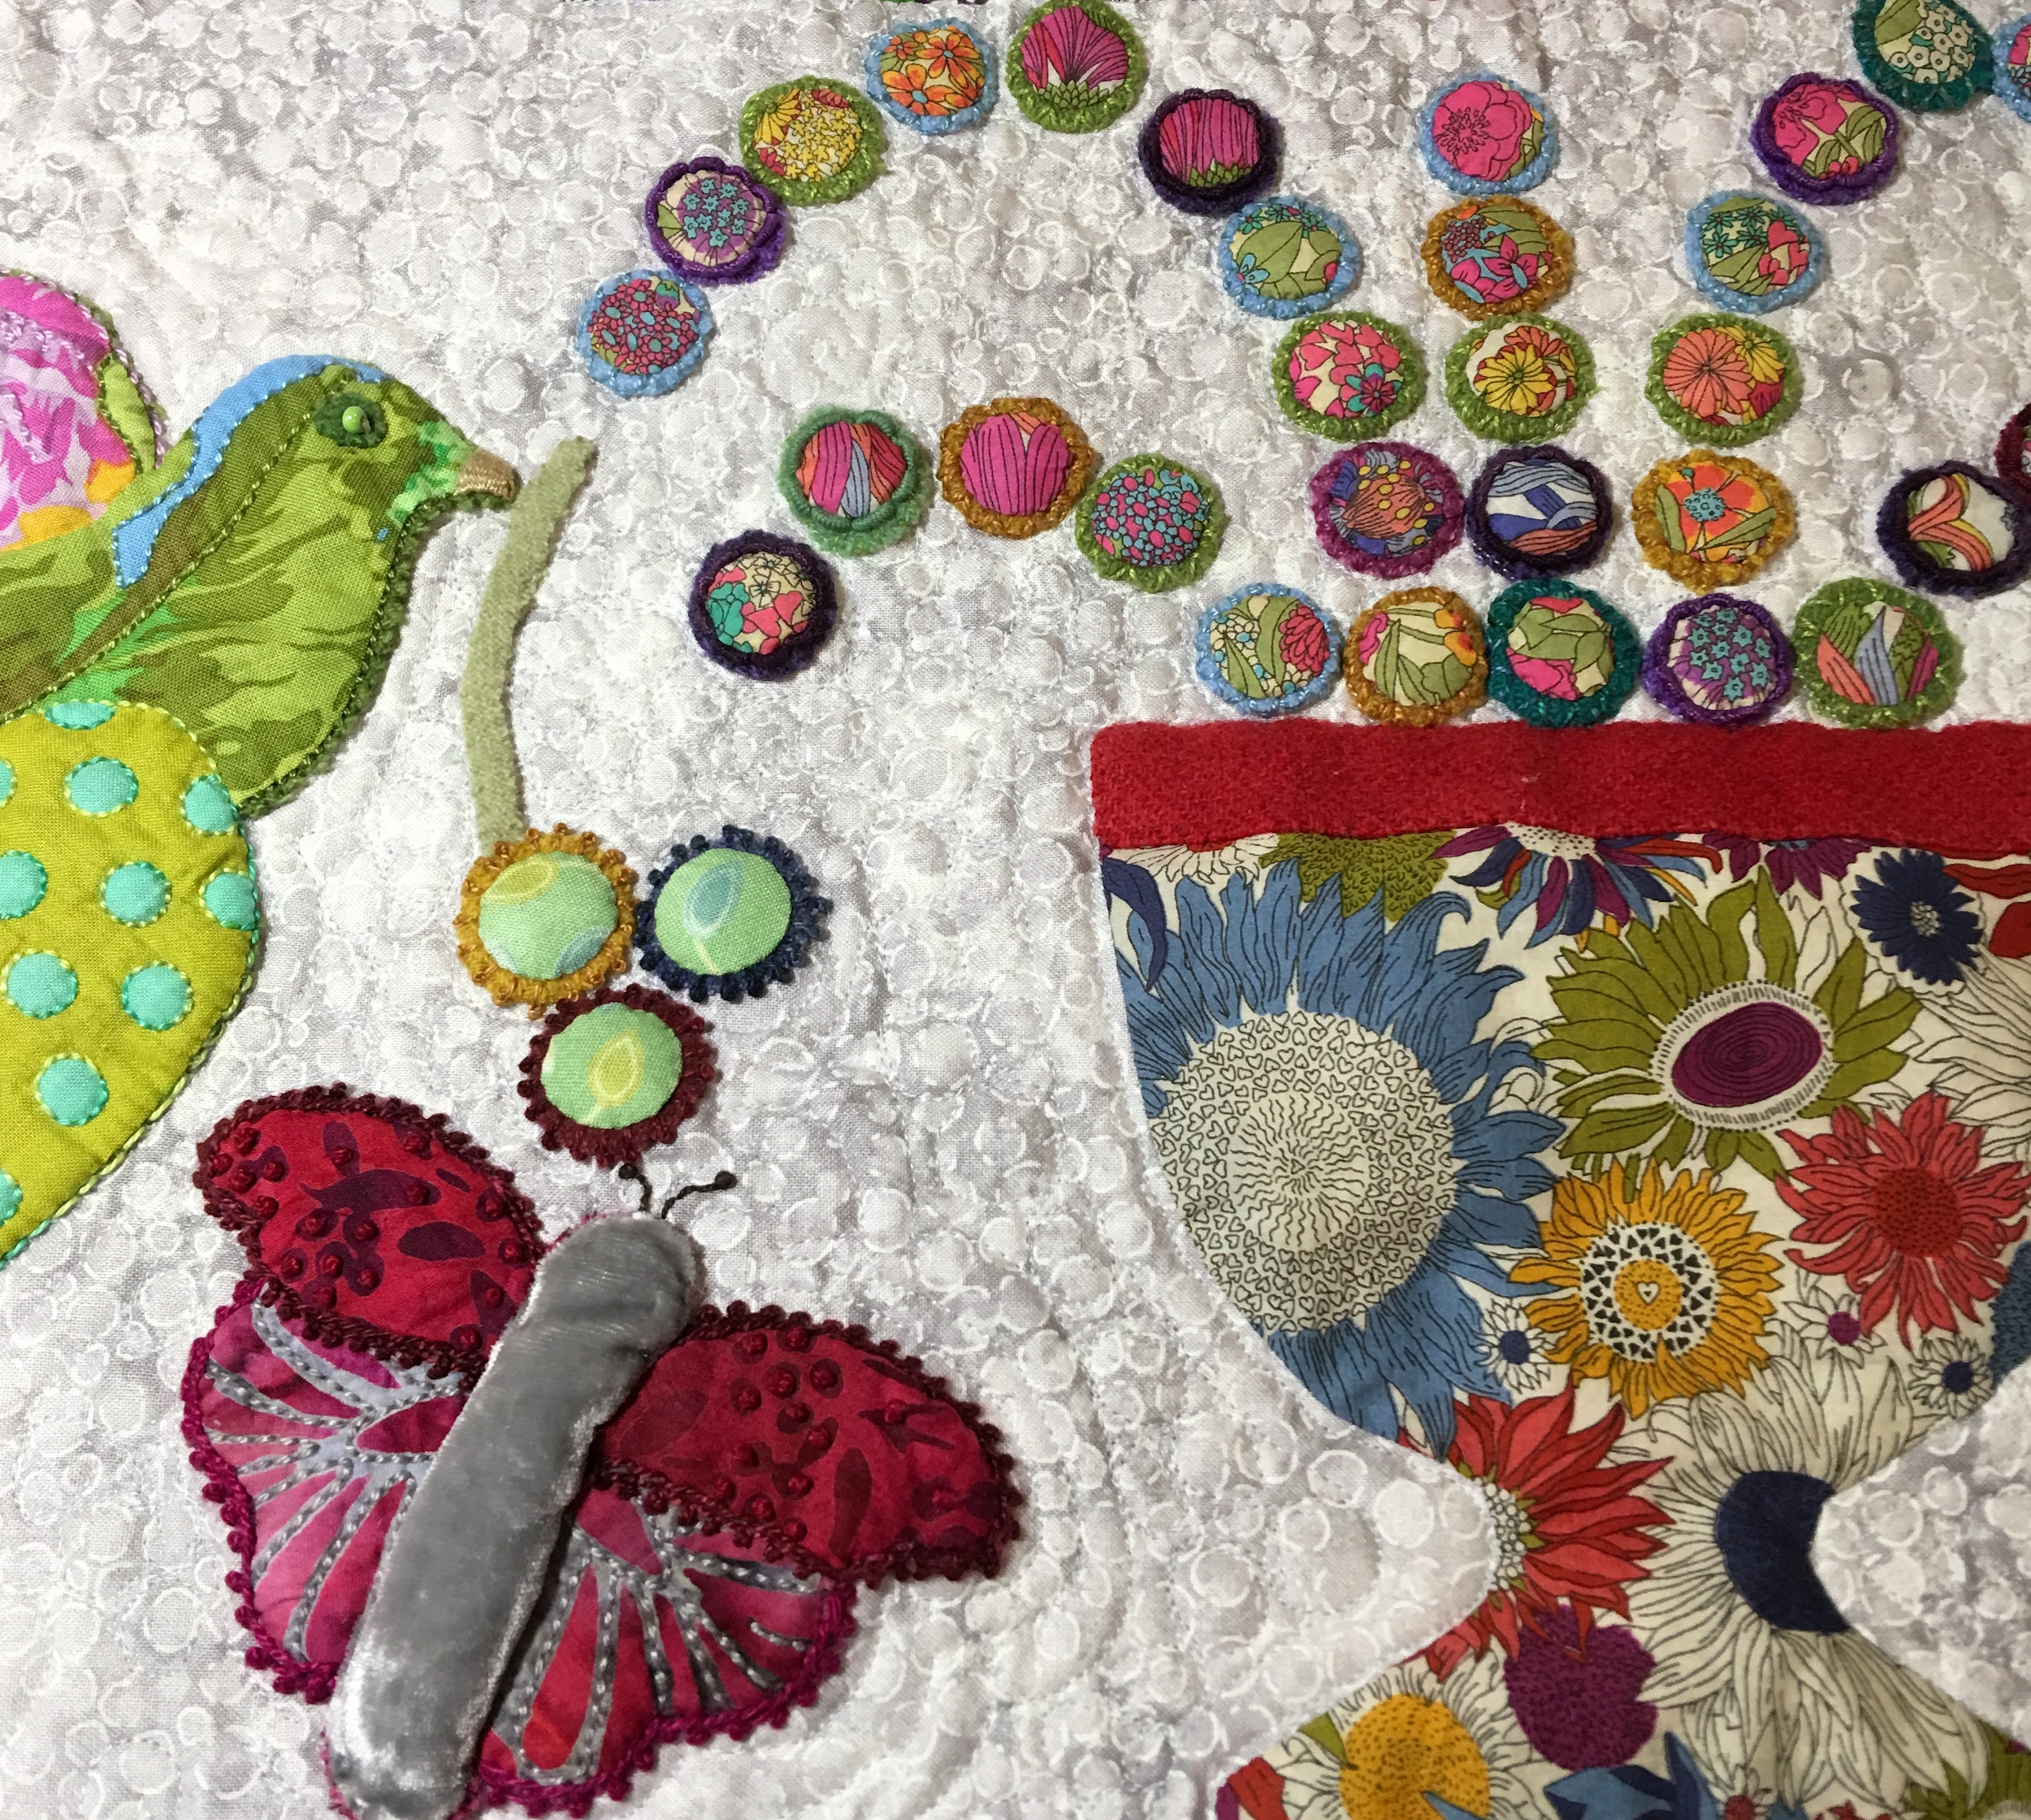
More of the center panel
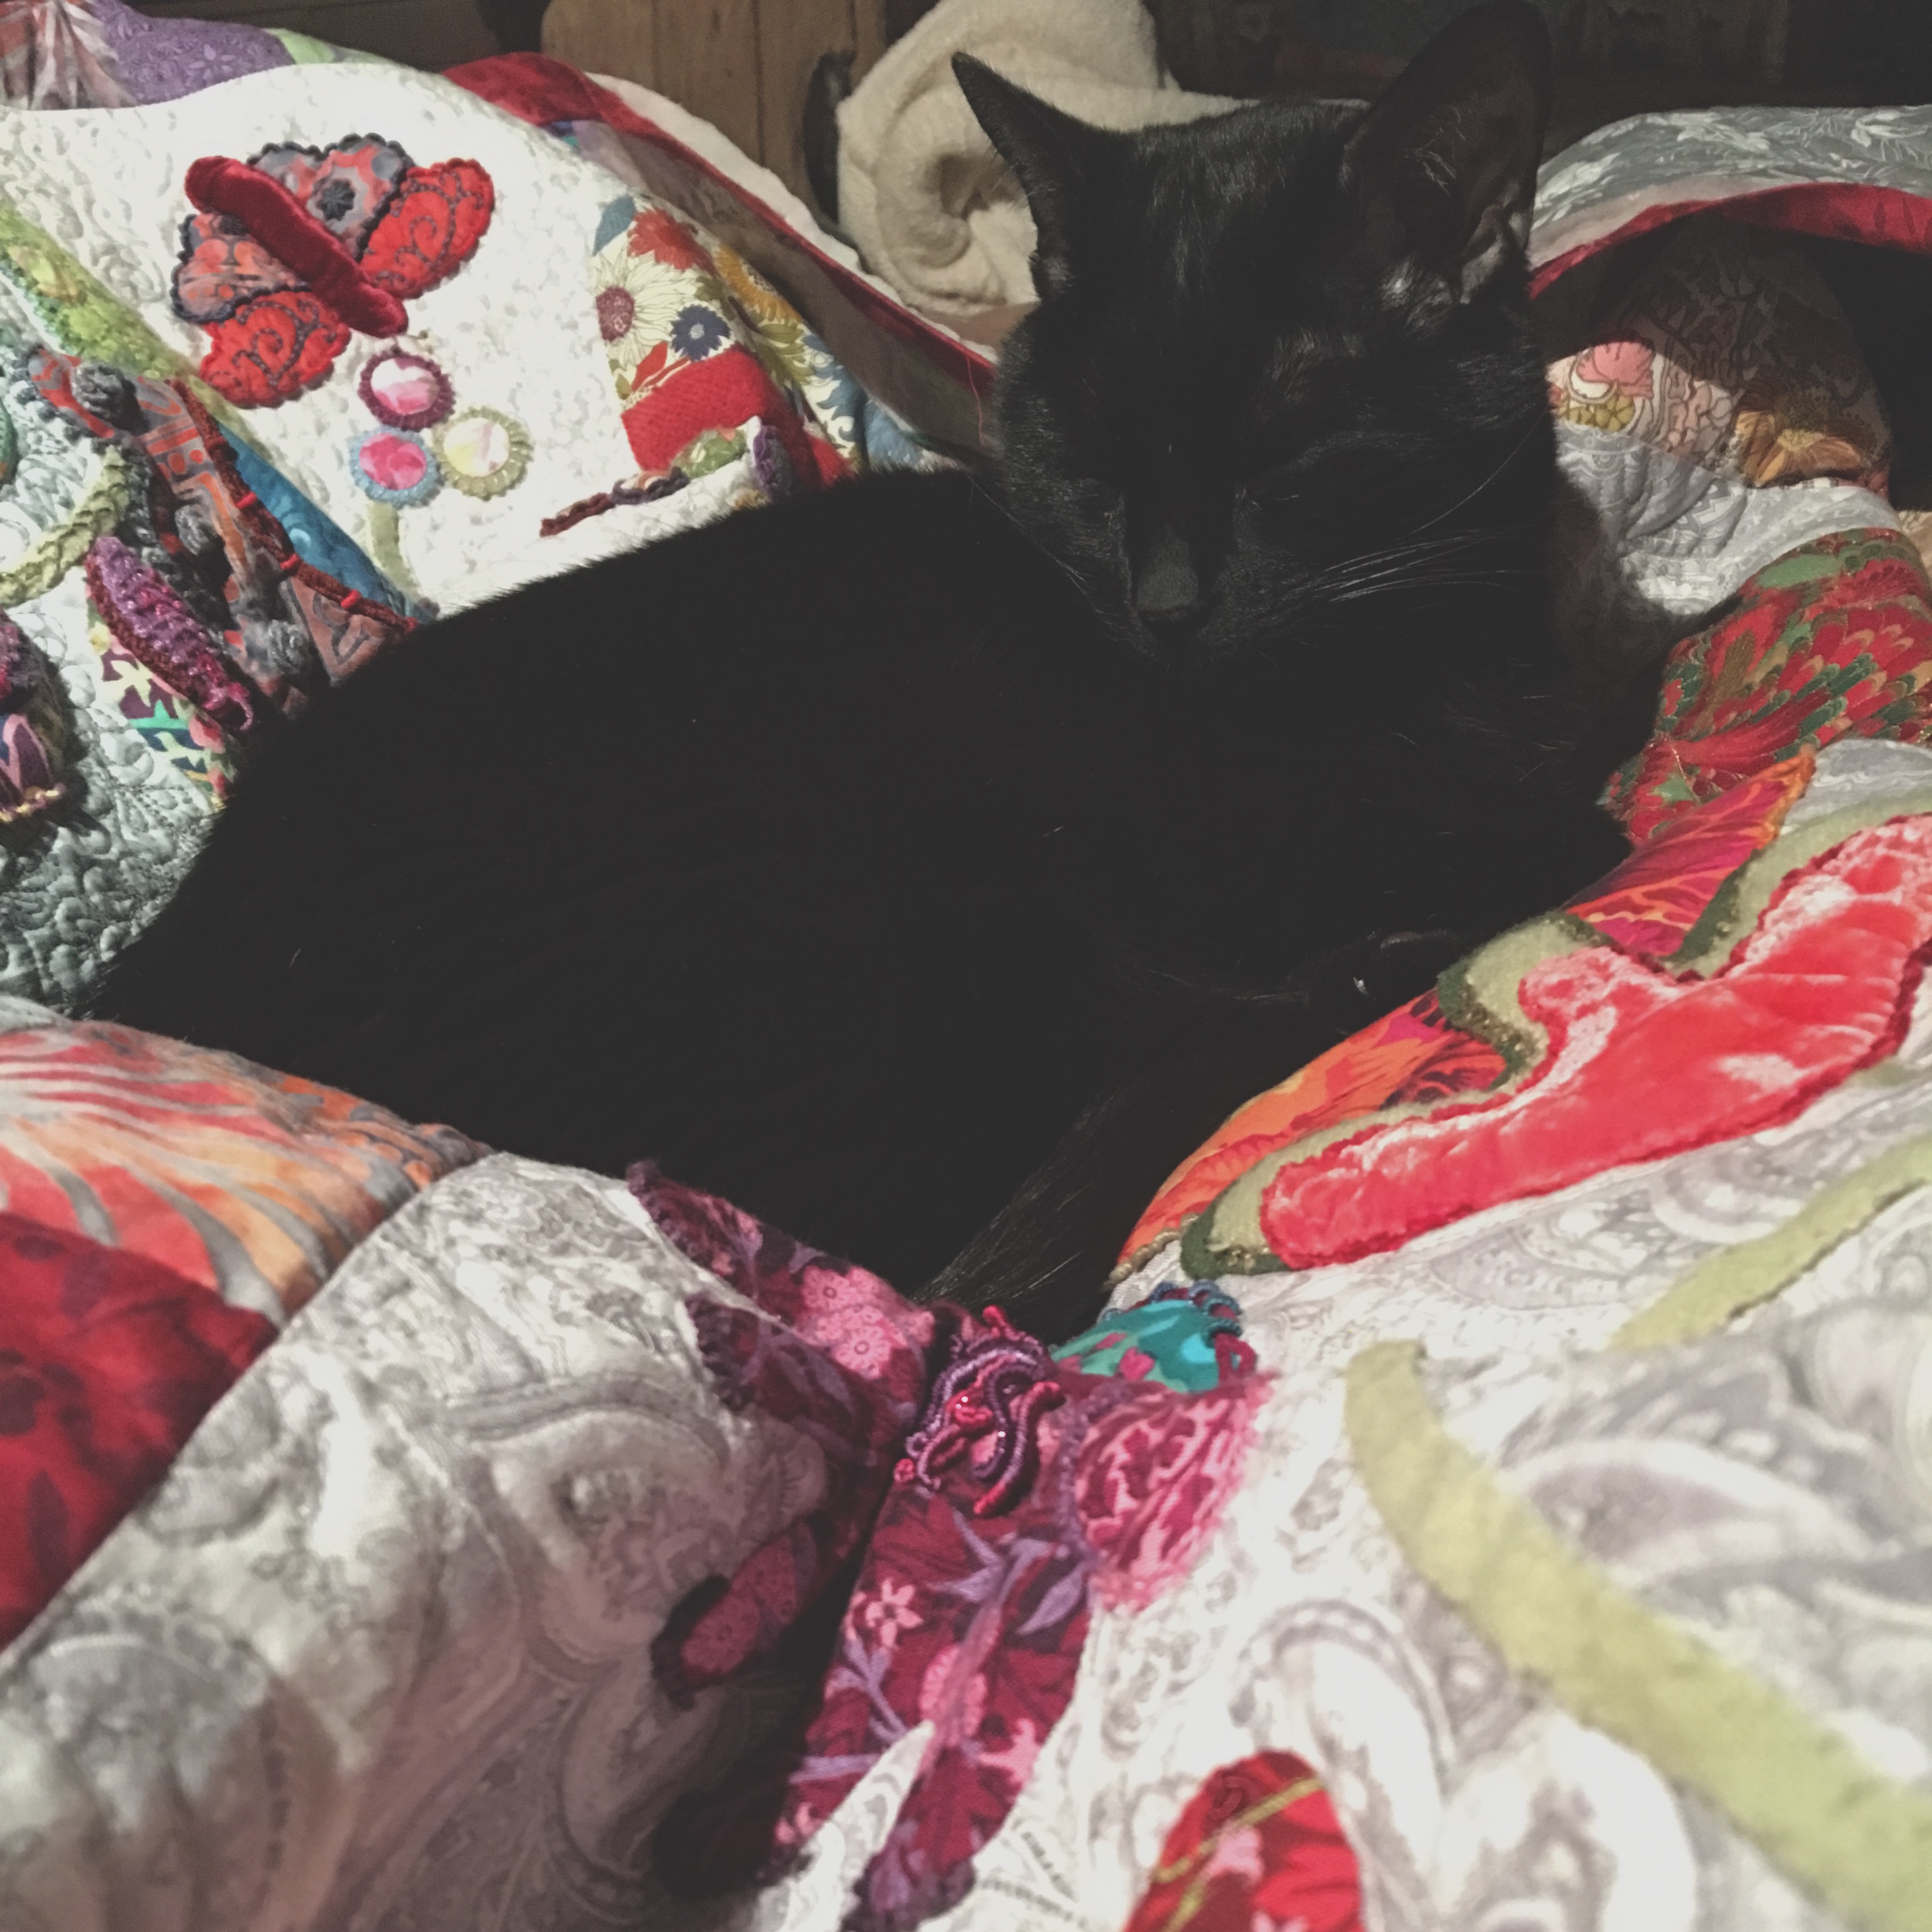
Merlin naps as I work
Merlin was constantly coming over to nap or pretend to nap while secretly inspecting my work. He loved snuggling up amongst the folds as I worked, making for some interesting adjustments on my part as I hated to disturb him!
The border
The entire border I did in a pebble stitch, which I love. It’s so reminiscent of shapes I used for my jewelry collection, The Lotus Collection. And now that I think of it, the swirls in the bottom and top panels remind me of my Samadhi Collection.
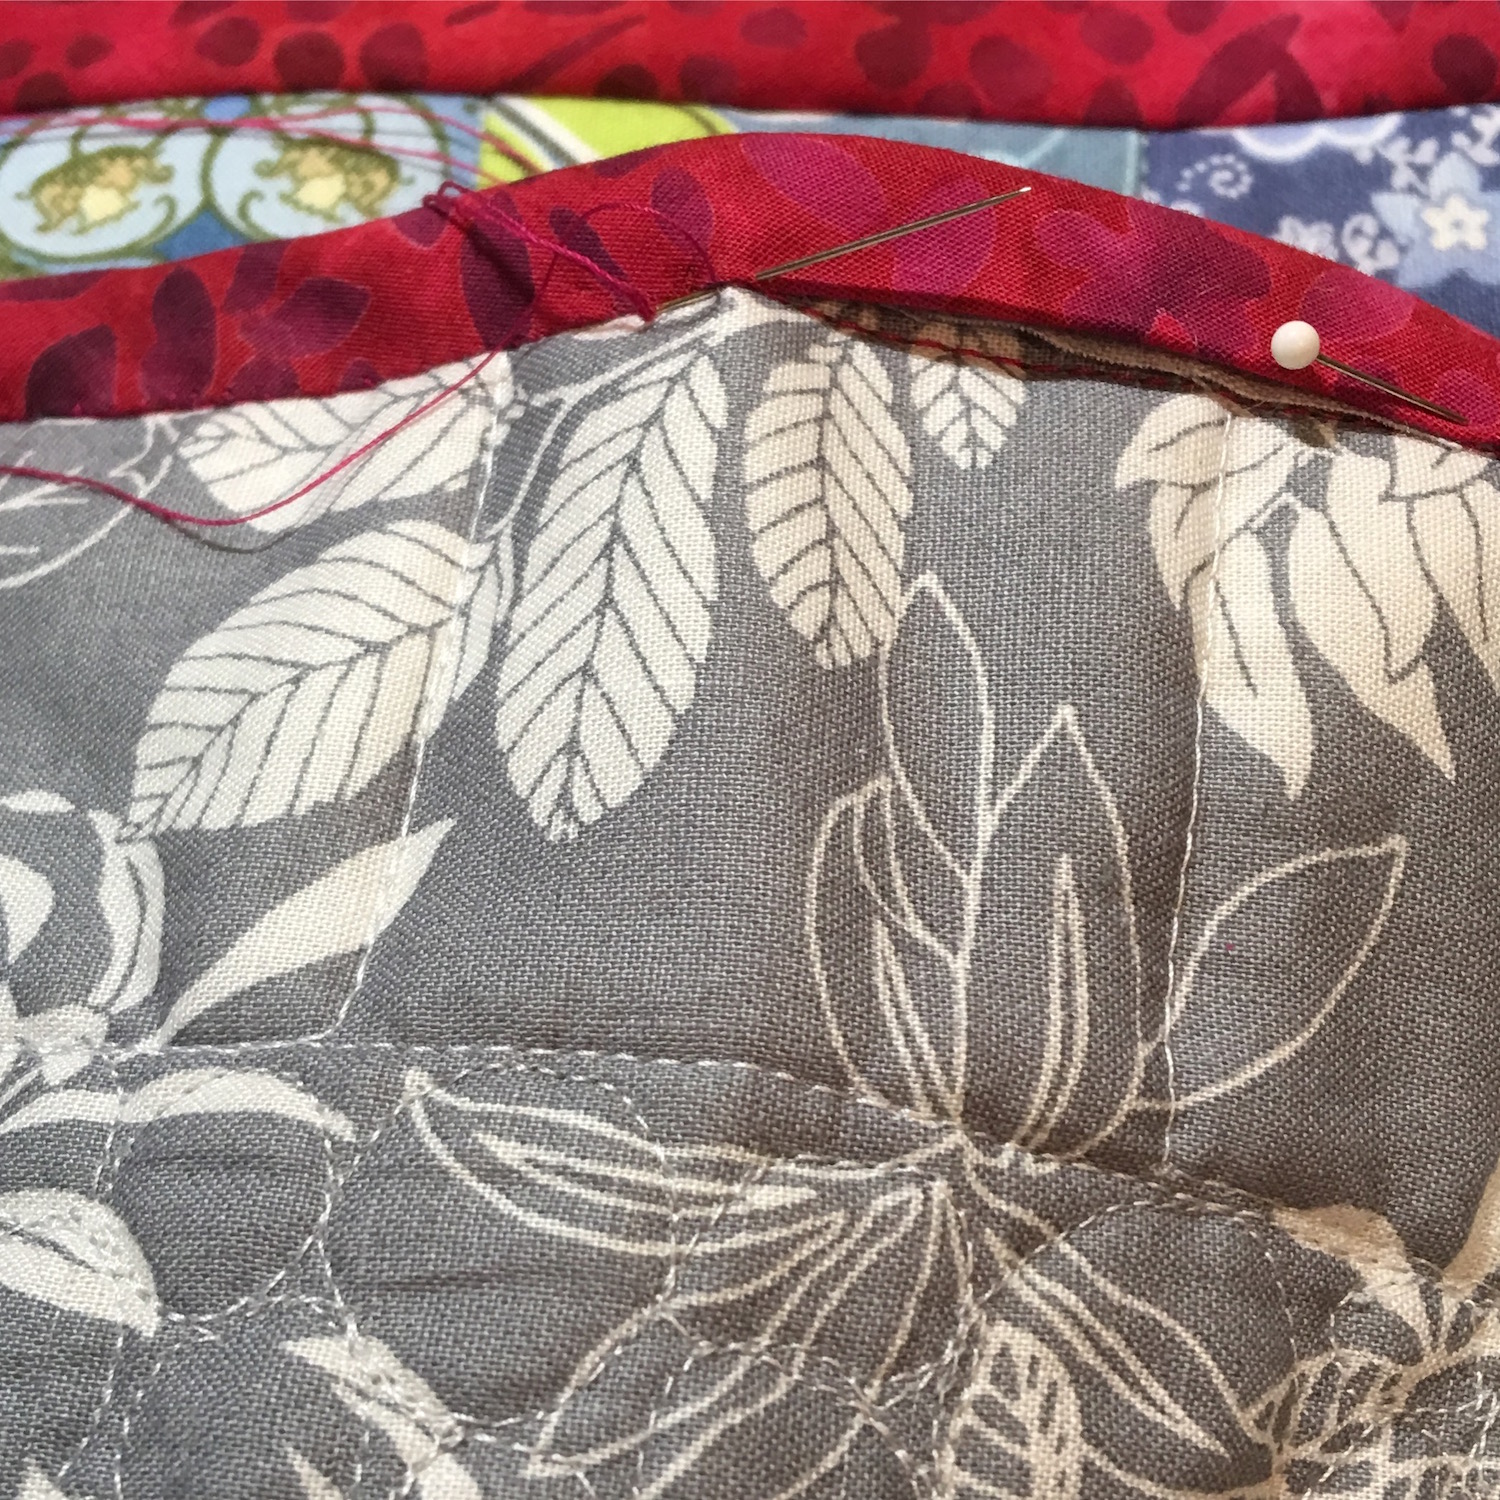
Hand Sewing the binding
Finally I had to learn how to make and add a binding. After a number of different ideas regarding what fabric to use, I decided, with my FH’s (fabulous husband’s) help, to go with a red batik. Batik tends to be pretty densely woven, and as the binding can get more wear and tear than the rest of the quilt, I thought it was a good choice, plus, I love the red. I cut it on the bias, mitered the corners, and hand stitched the back.
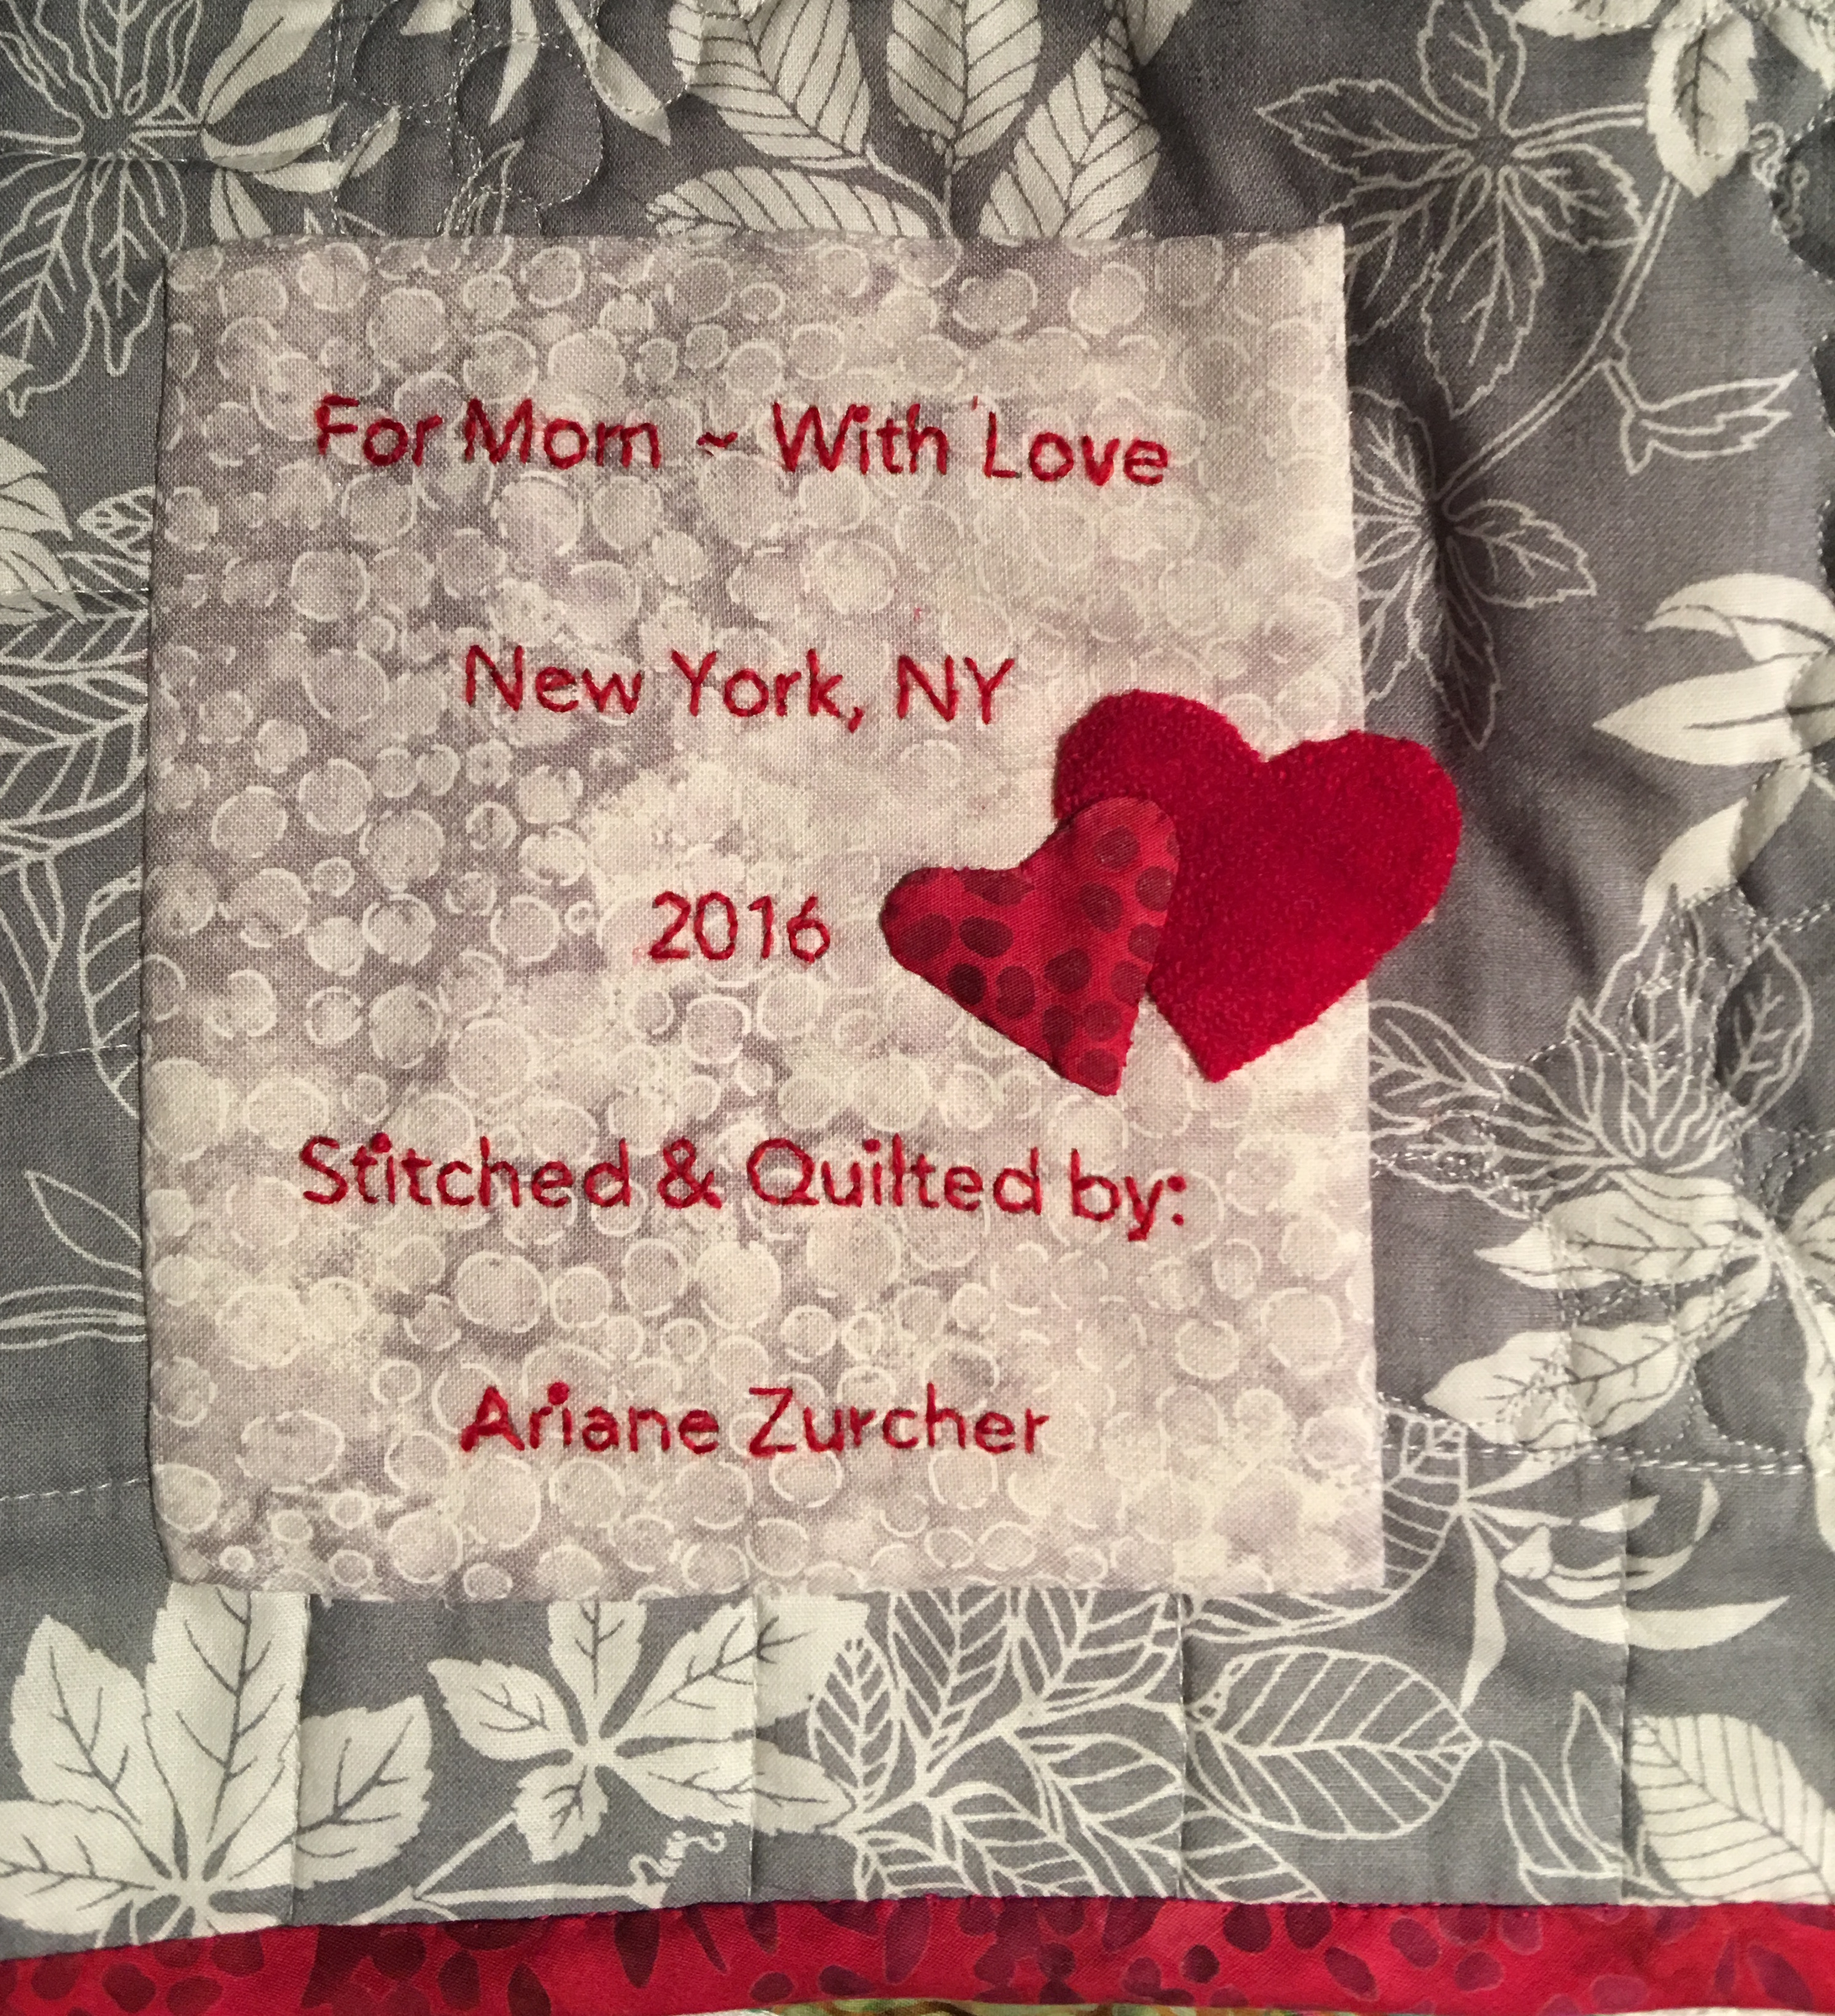
For my beautiful mom ~ Merry Christmas
And then I had to learn how to make a label for my quilt. There are wonderful ideas on Pinterest. Are you on Pinterest? I LOVE, LOVE, LOVE pinterest. I made a label using word documents and then used a freezer paper and cut a piece of fabric that I adhered the freezer paper to and copied the printed label onto the fabric, lightening the tone so it was just readable, but wouldn’t show too much. I then removed the freezer paper, sandwiched the printed material with a cotton batting and muslin and then used red wool thread and stitched the text. I added the little wool red heart and cut out another smaller heart in the same fabric as the binding because I figured I can’t add enough hearts to a quilt made specifically for my mom.
So Mom, if you’re reading this, the cats out of the bag. Merry Christmas!! This quilt was made for you. I thought of you the entire time I was making it. I hope it will keep you wonderfully warm during those cold winter months and I’m told wool batting breathes and should be perfect for the summer months as well. I love you.
What’s next? A twin-sized quilt that I will design, stitch and quilt!! I’ve got my sketch book and am playing with some ideas… I’ll keep you posted! Heh-heh, a little pun to end this post.
Wow! That is absolutely gorgeous, I love the embroidery on it and all the different textures 🙂
Thanks so much! It was a lot of fun to make.