![The Joy of Dyeing]()
by Ariane Zurcher | Oct 31, 2016 | Art, creative process, Dyeing |
Lest you, good readers, misread the above and think this is going to be about a metaphoric death resulting from an existential crisis, let me set you straight, it’s not. This is about dyes, dyeing fabric and design. Now if you’re like me, you might be thinking – oh who has time for all that? – but let me tell you, there’s so much more to dyeing than you think. Get it? Trying not to laugh, really, really trying… It’s impossible to write a post about dyeing and not keep thinking of all the puns one makes without even trying… This is just too easy. You might dye of laughing… hee-hee!
Ahem.
Okay.
Seriously.
I never thought I’d enjoy dyeing fabric. I always felt there’s so much great fabric out there, why would I want to dye my own? Well… it turns out, not only was I wrong, but what a beautiful world it is once you begin dyeing! Before I get ahead of myself, this all began because I was looking for blogs by quilters who are also artists. As I was looking around I found the extremely talented artist Elizabeth Barton, and her blog, Art and Quilts, Cogitations Thereon. What a find! I read this post, The Proliferation of Online Classes, which I then felt compelled to comment on, which in turn led me to investigate the classes Elizabeth teaches and in particular one that began a week ago Friday, which I promptly signed up for. Her five week online class, given through The Academy of Quilting, is titled – Dyeing to Design. Love that.
Dyeing has never called to me, but I enjoyed reading Elizabeth’s blog, really like her work, and this class had the most immediate starting date and I’m impatient, so I thought – Why not? This is one of the many wonderful things about being new to something, it never hurts to try something you’ve never done before and the worst that can happen is you discover it’s not for you and you move on. On the other hand, you might fall in love with whatever it is, become totally obsessed and that is a indescribable joy unlike any other. The latter pretty much describes my experience with quilting and fiber art. And so it was again, with dyeing and this class, now in its second week. What a fantastic class. I cannot recommend it, and Elizabeth Barton, more highly!!
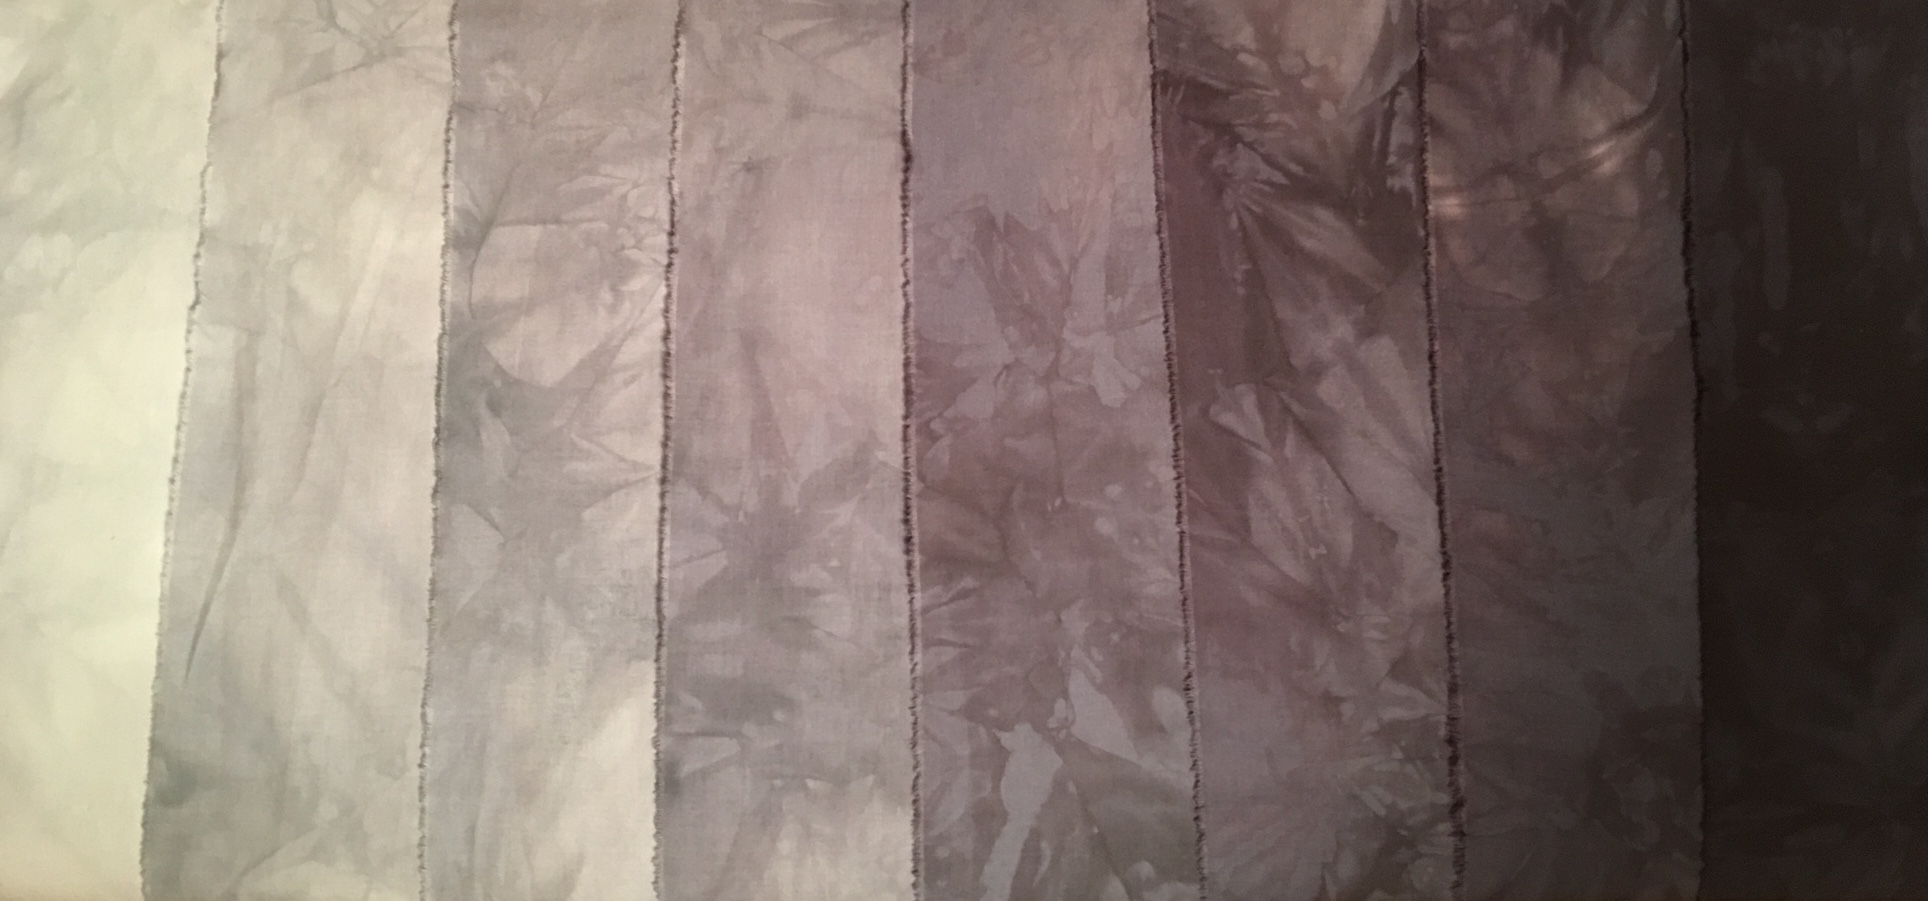
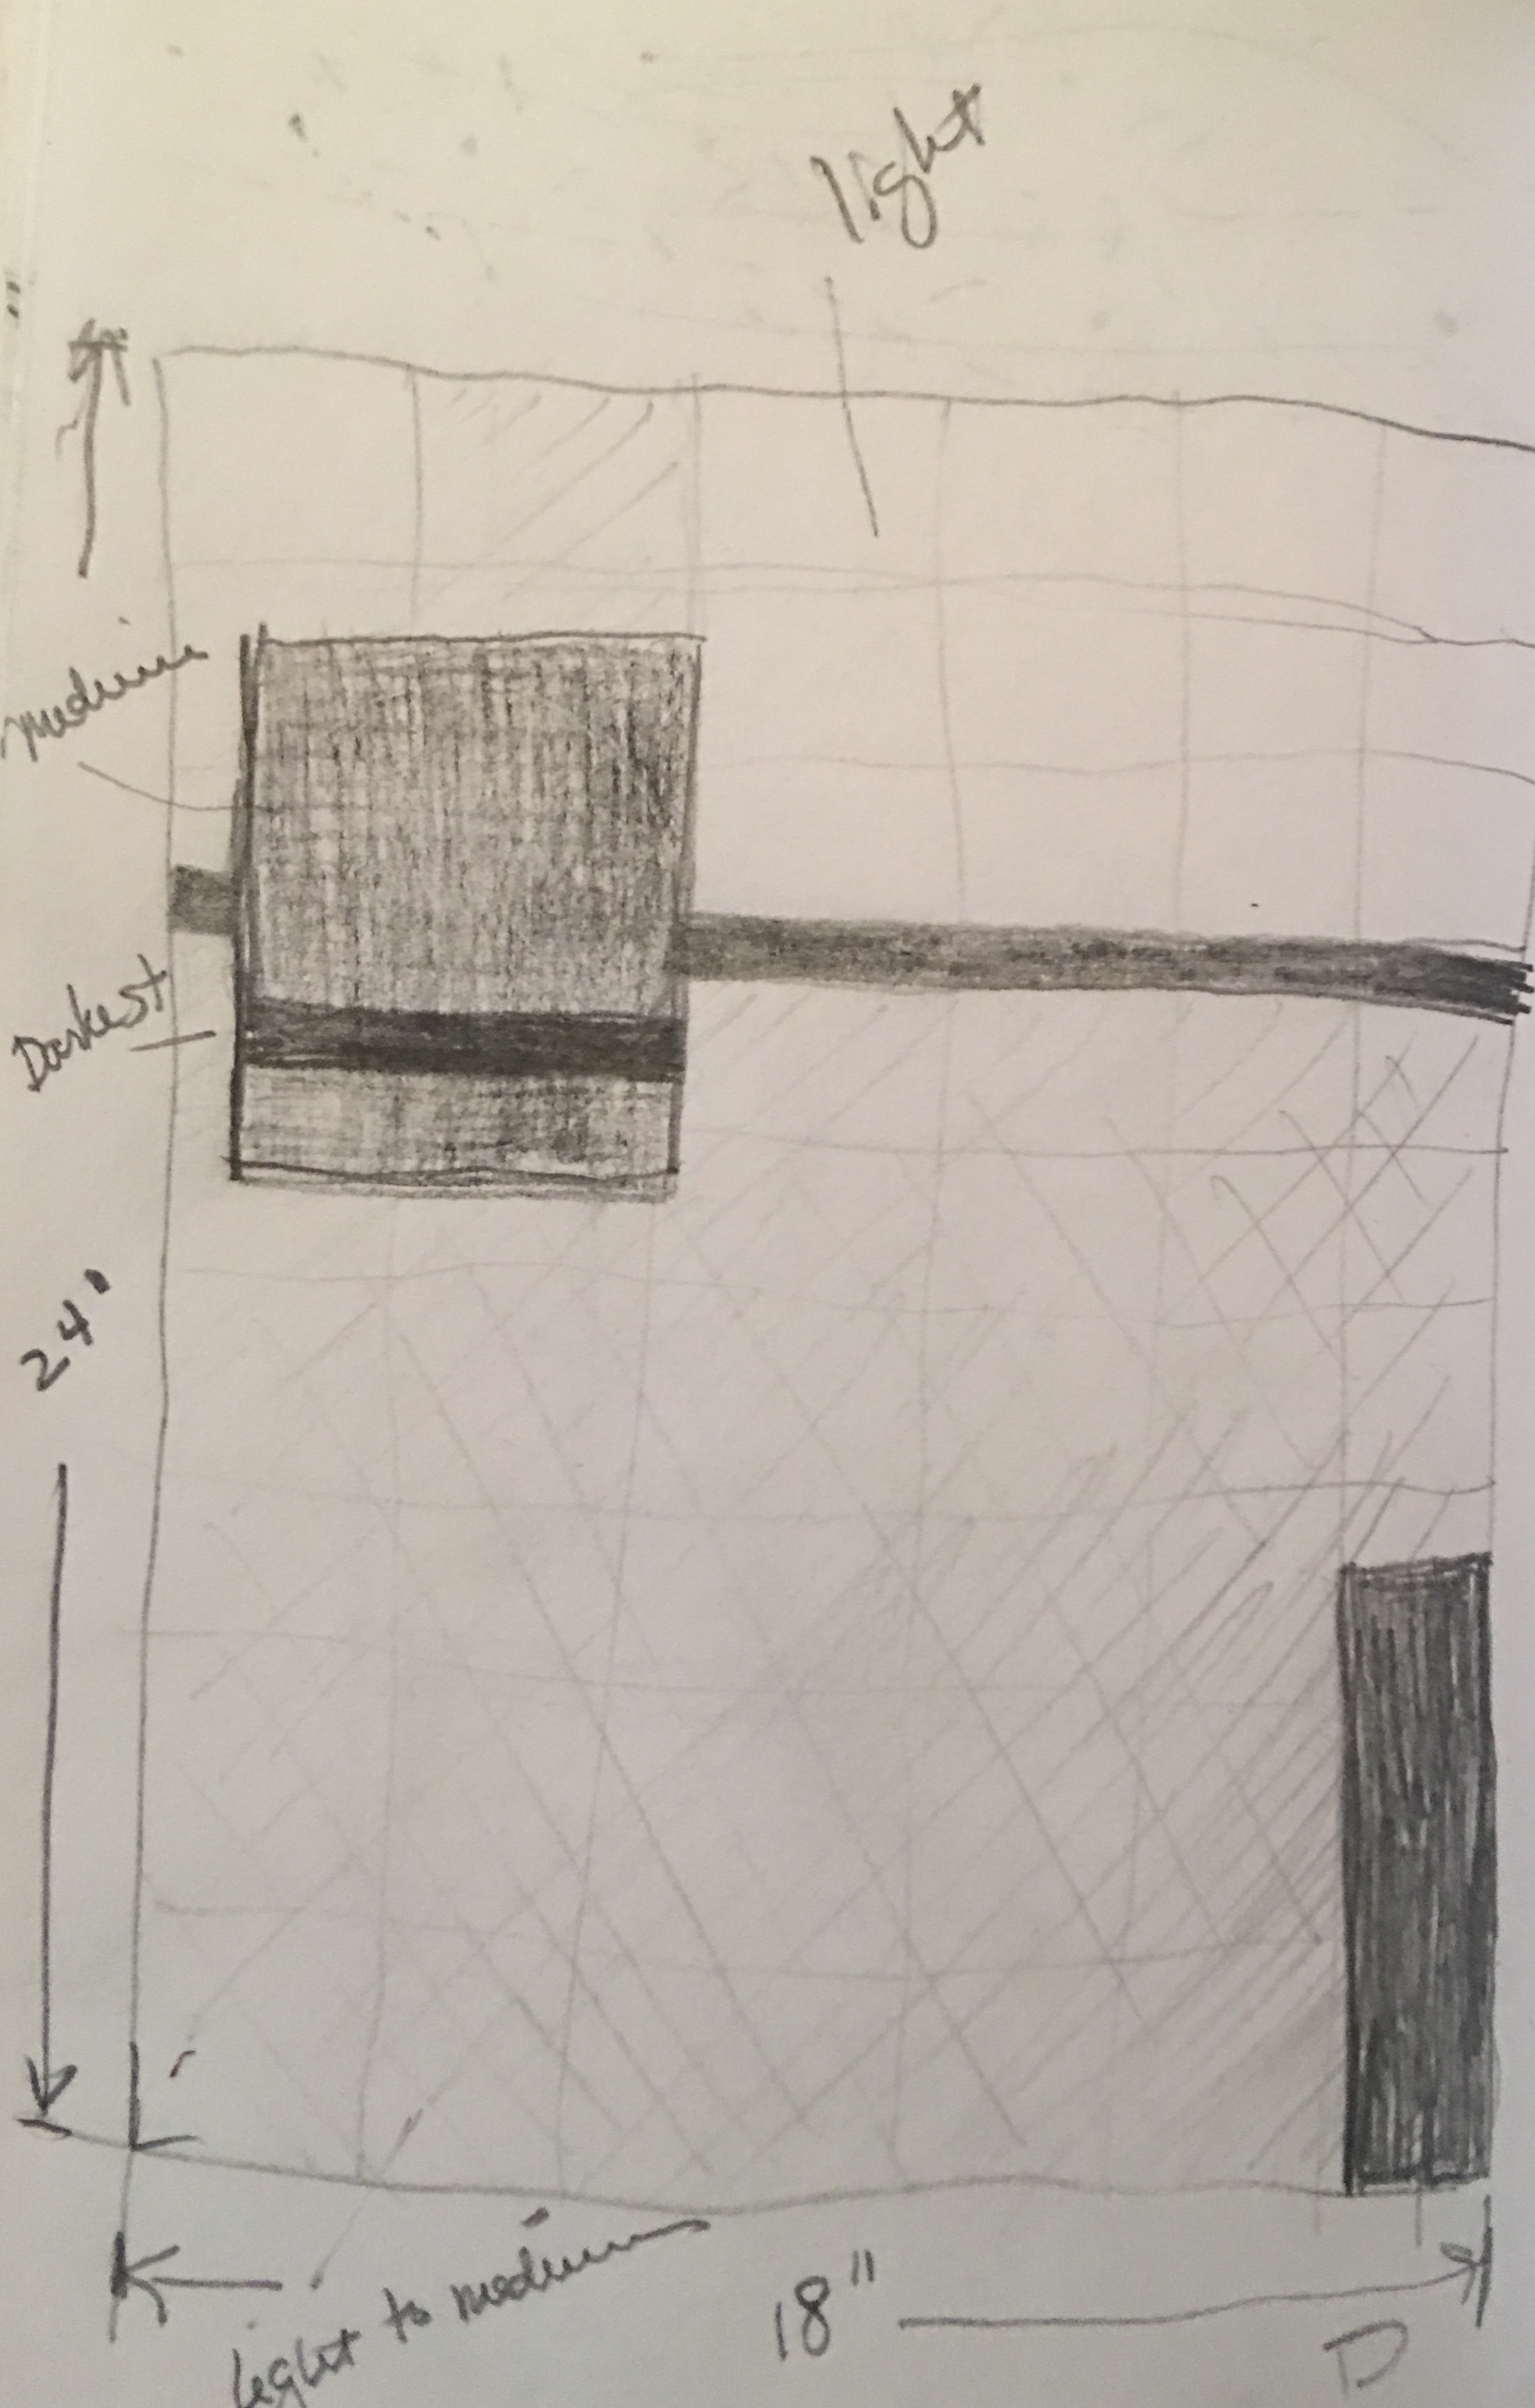
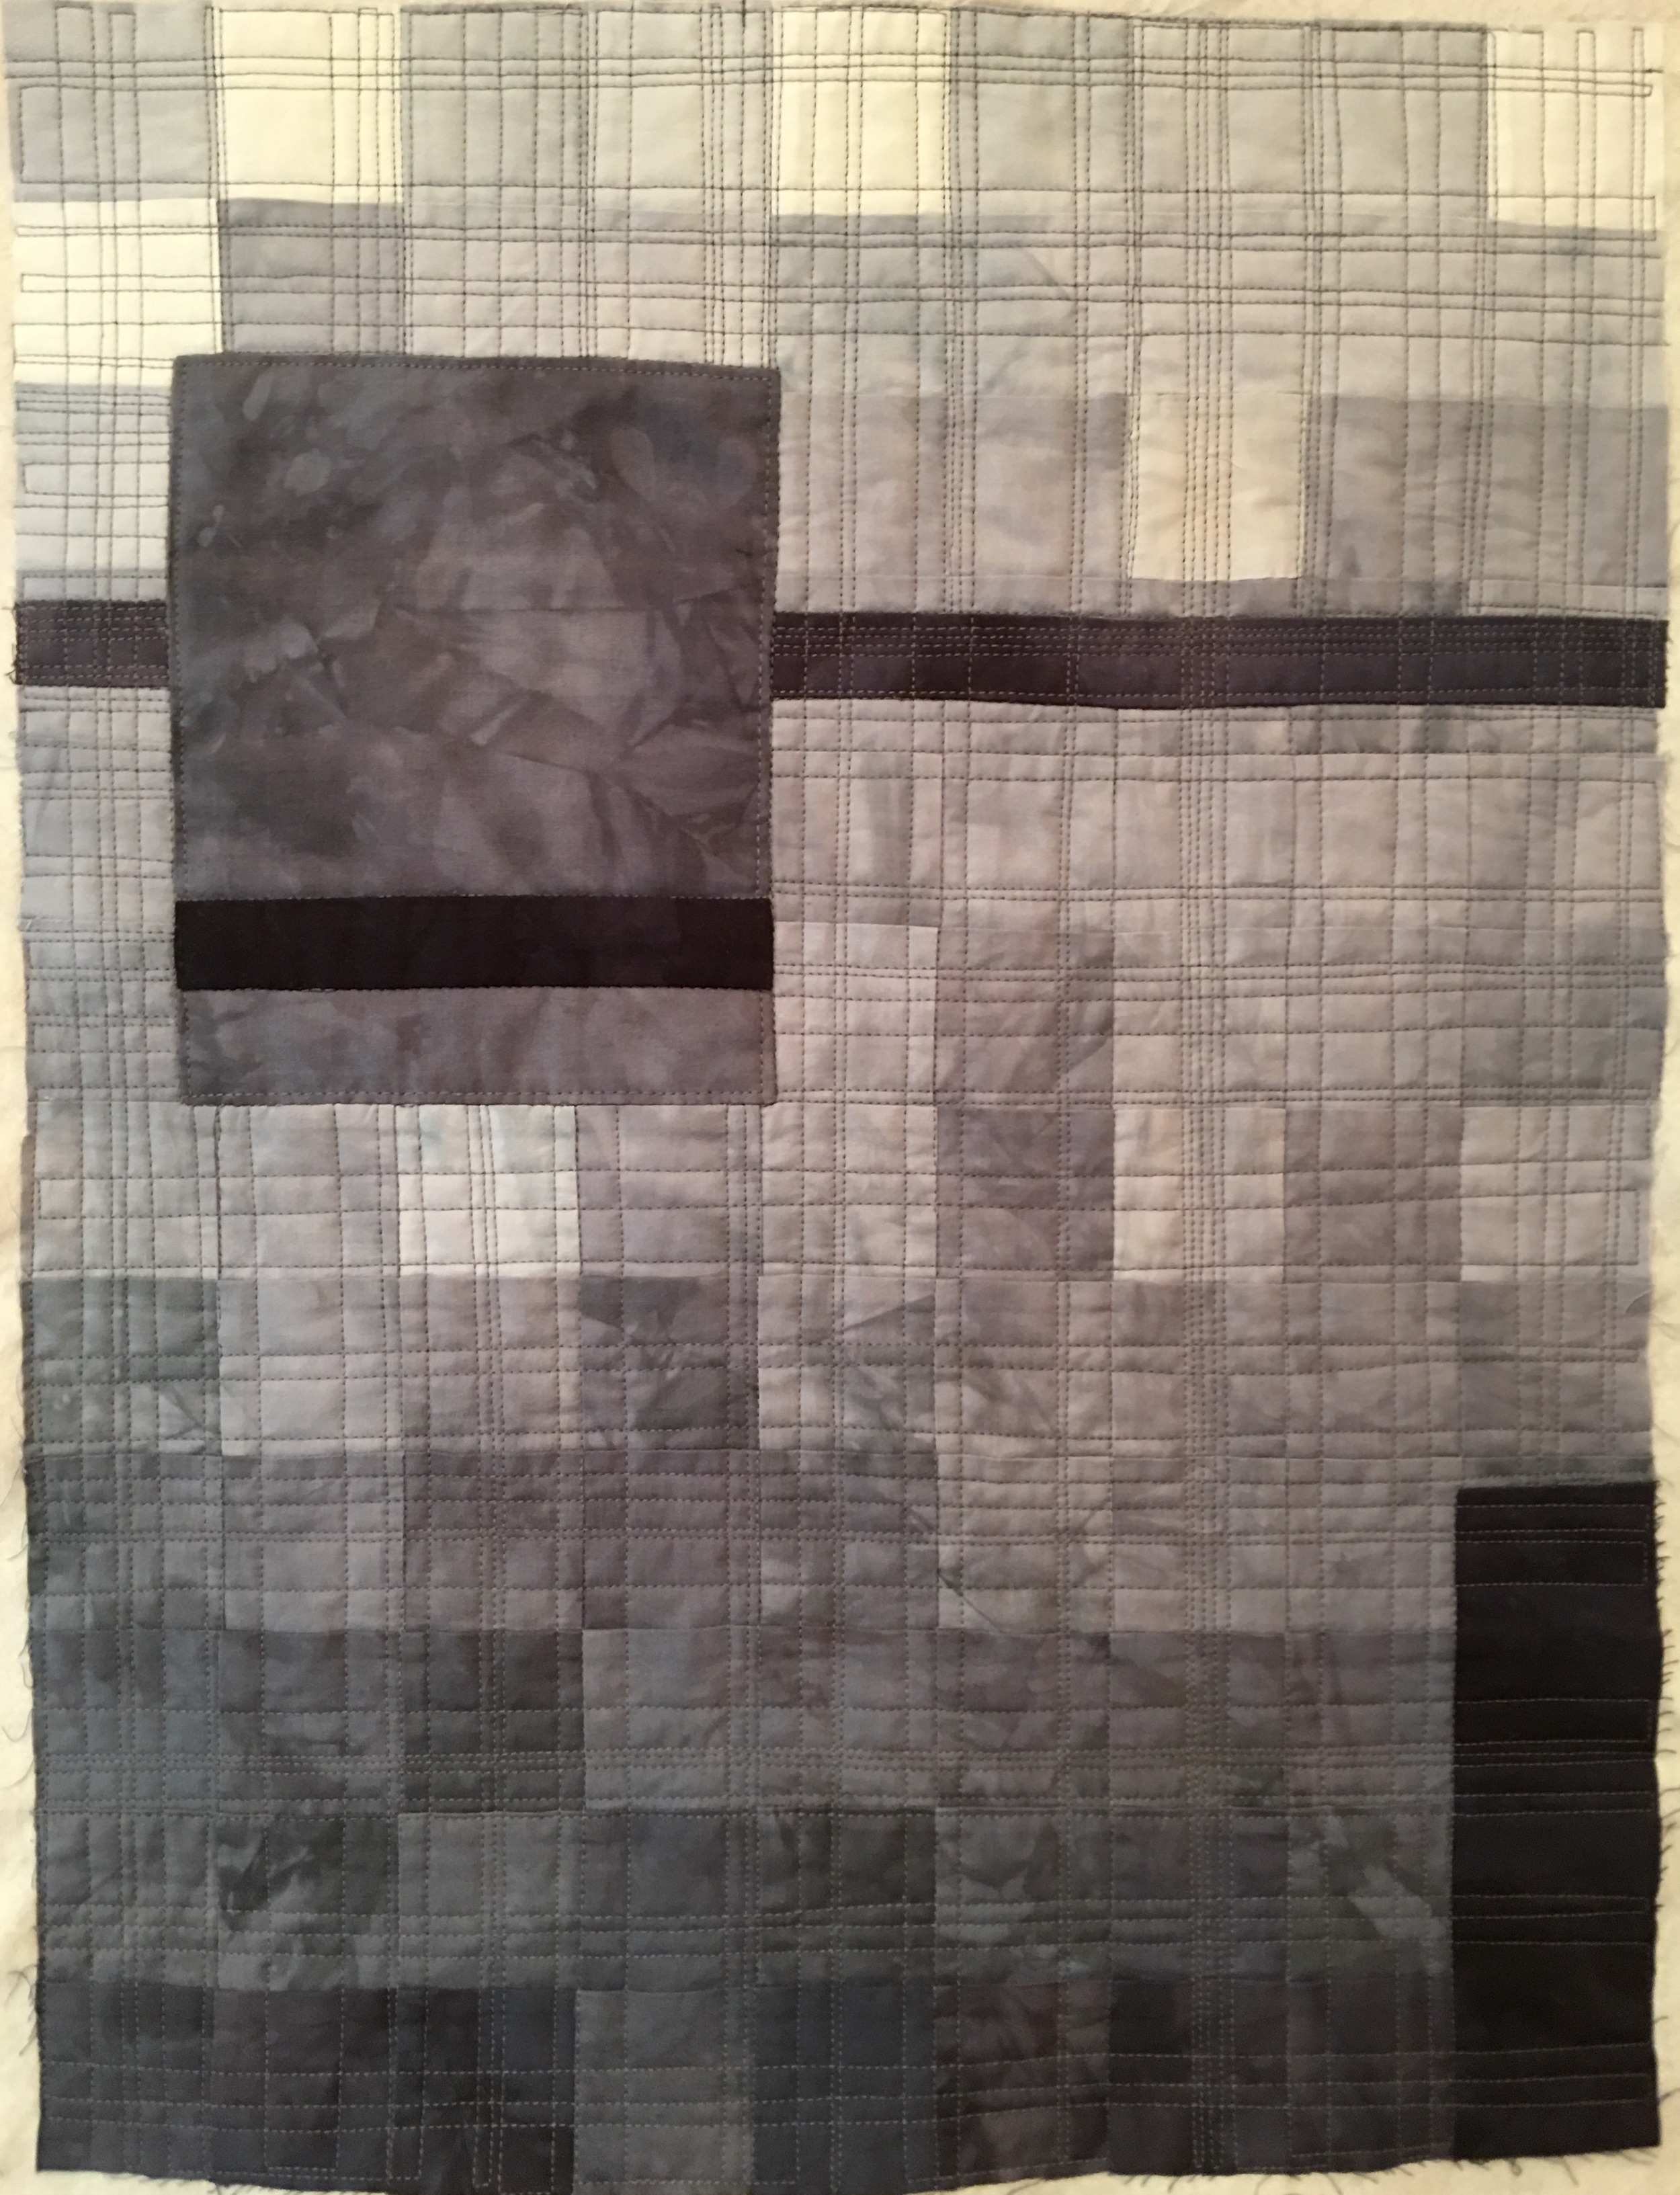
It helps that Elizabeth is a terrific instructor, very responsive and thorough, has a great eye, and gives excellent feedback. She writes extensive instructions with good explanations and examples of her own work to illustrate what she’s talking about. The first week we dove right in mixing all our various dyes for the next five weeks and did this – gradations of black (photograph below.) You’ll notice the mottled effect, which I think is so beautiful and striking. As we were working with black and since there’s no such thing, the blues, pinks and greens can be seen in different areas. The organic look to the fabric also appeals to my sense of design and so I was hooked. Totally fell in love. Completely. Dramatically. In. Love.  Designing a piece using these gradations was next. I had a couple ideas and with Elizabeth’s encouragement settled on this one, which also happened to be the first idea I came up with.
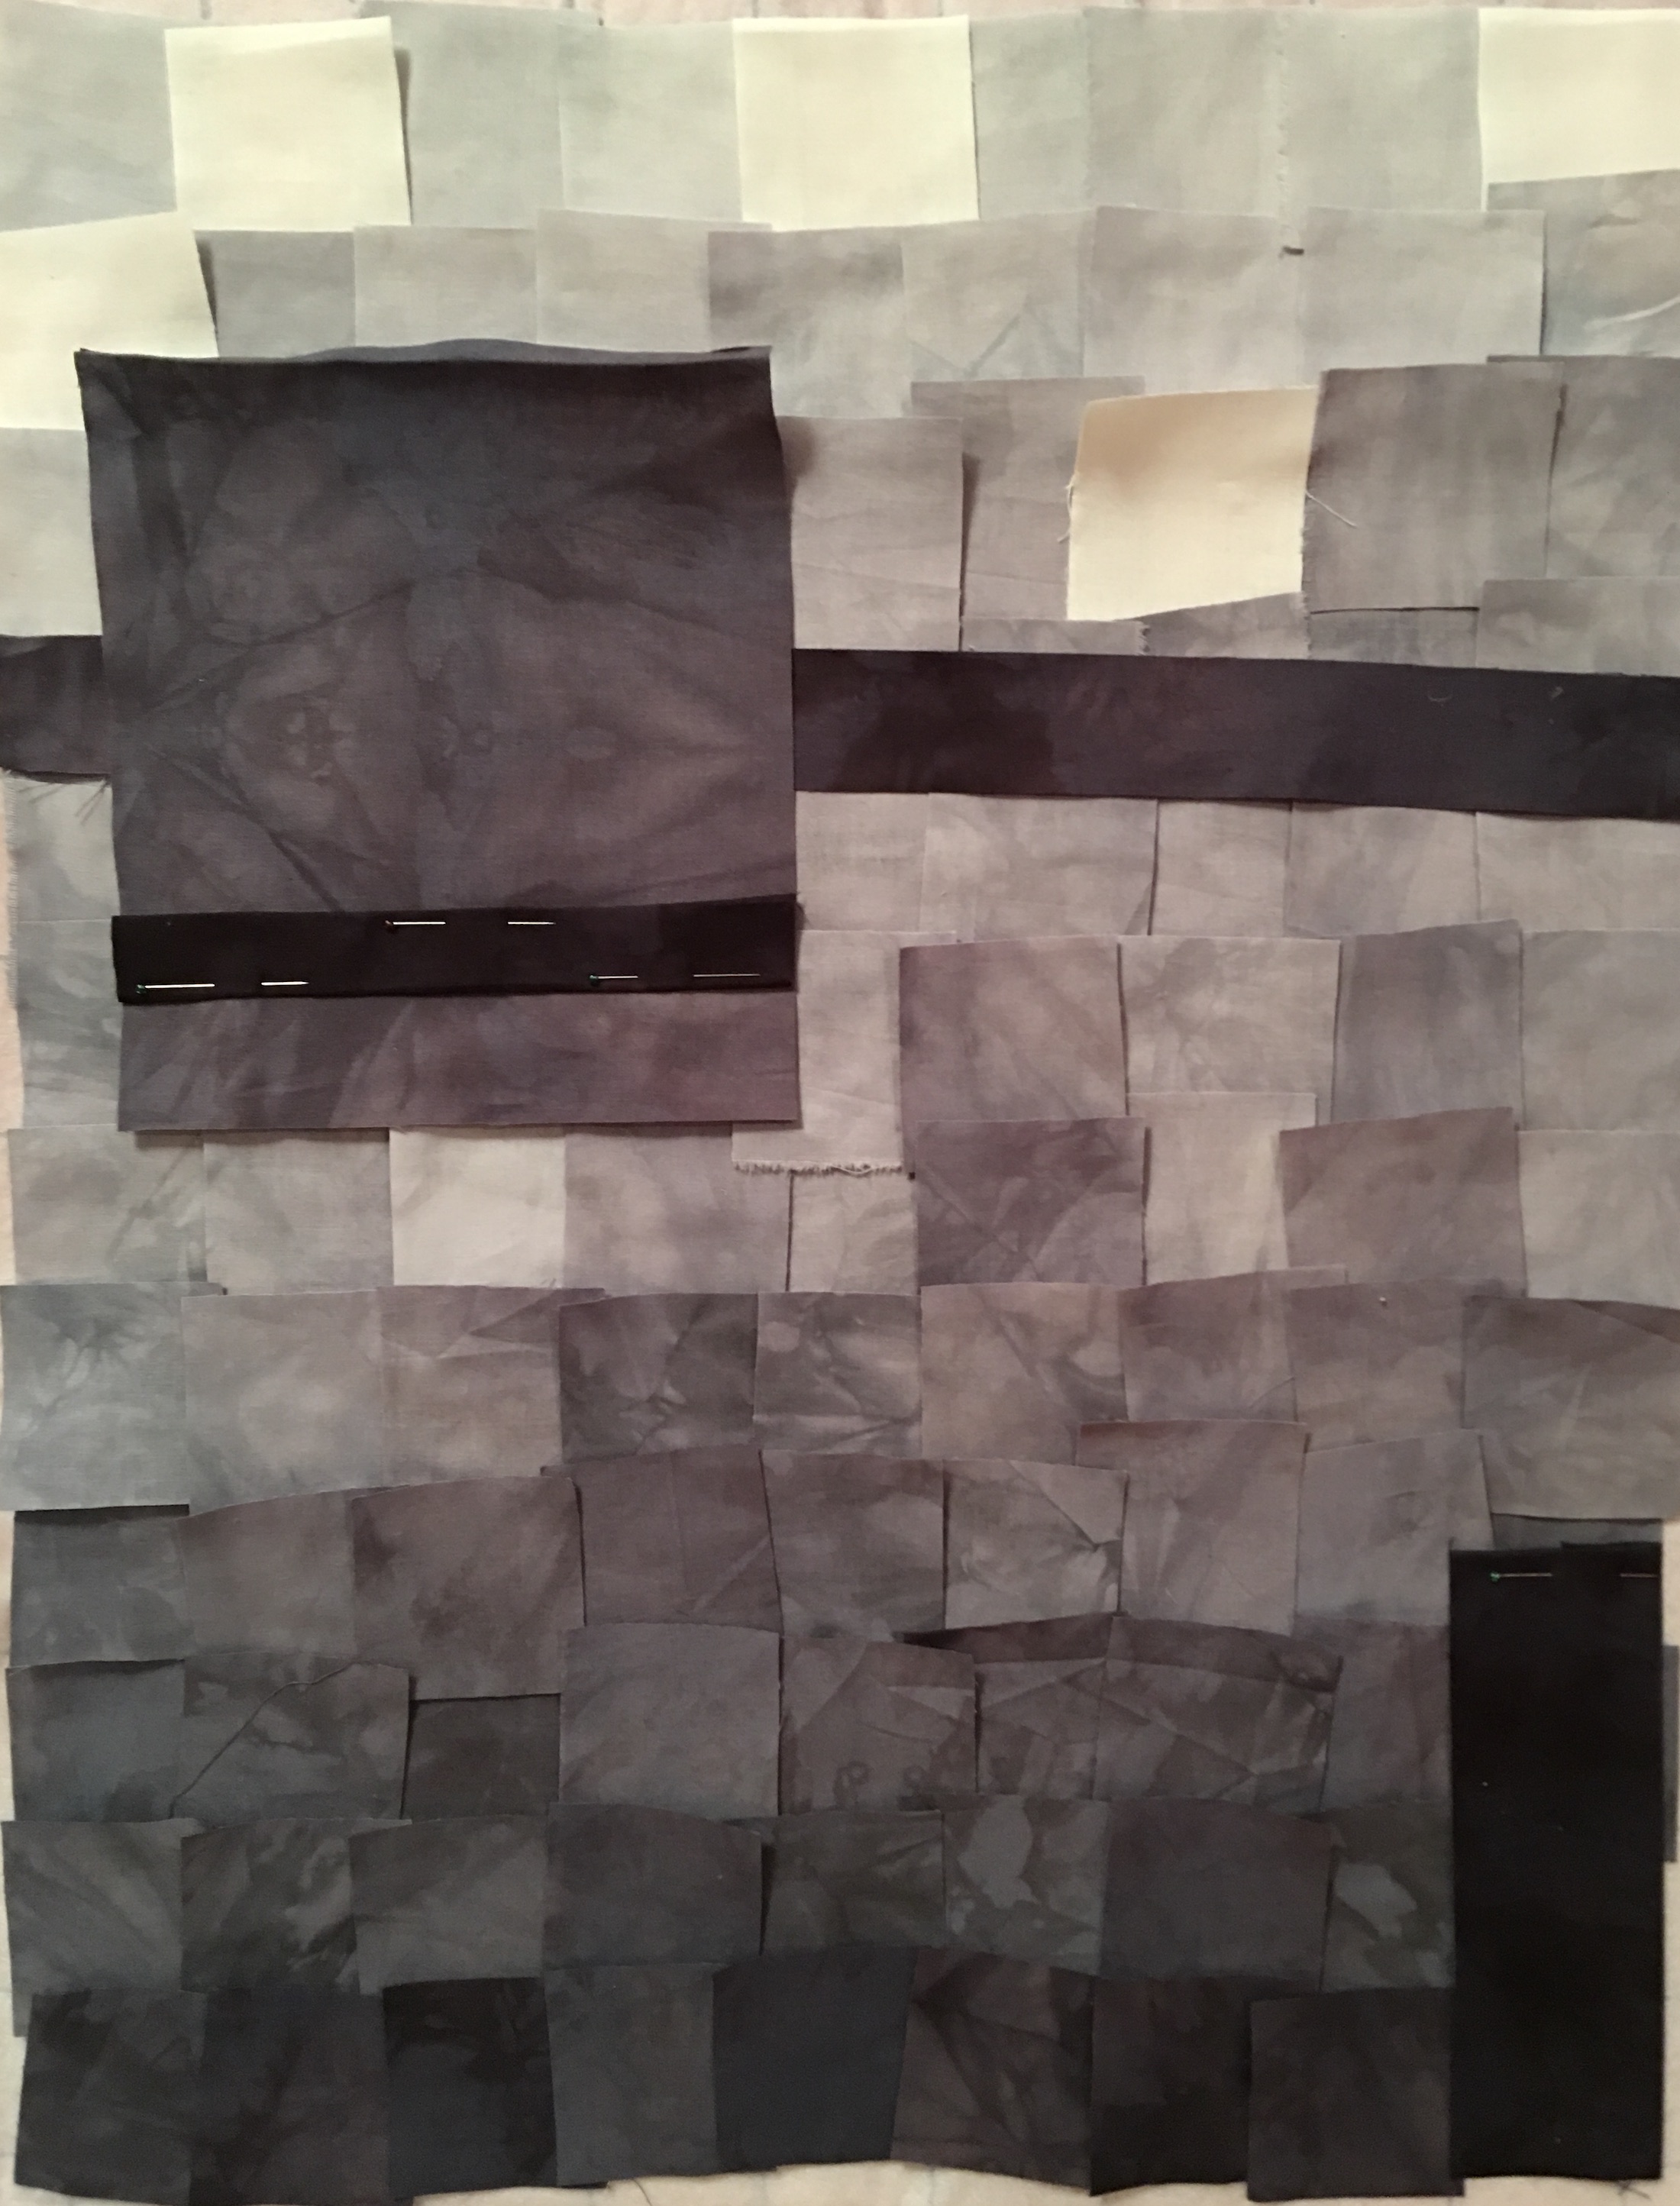
I decided I would cut the fabric into 2.5″ squares, which meant that after they’d been sewn together they would be 2″ squares, gradating from light to dark, but a little unevenly to keep things interesting. This is how it looked positioned on my design wall. 
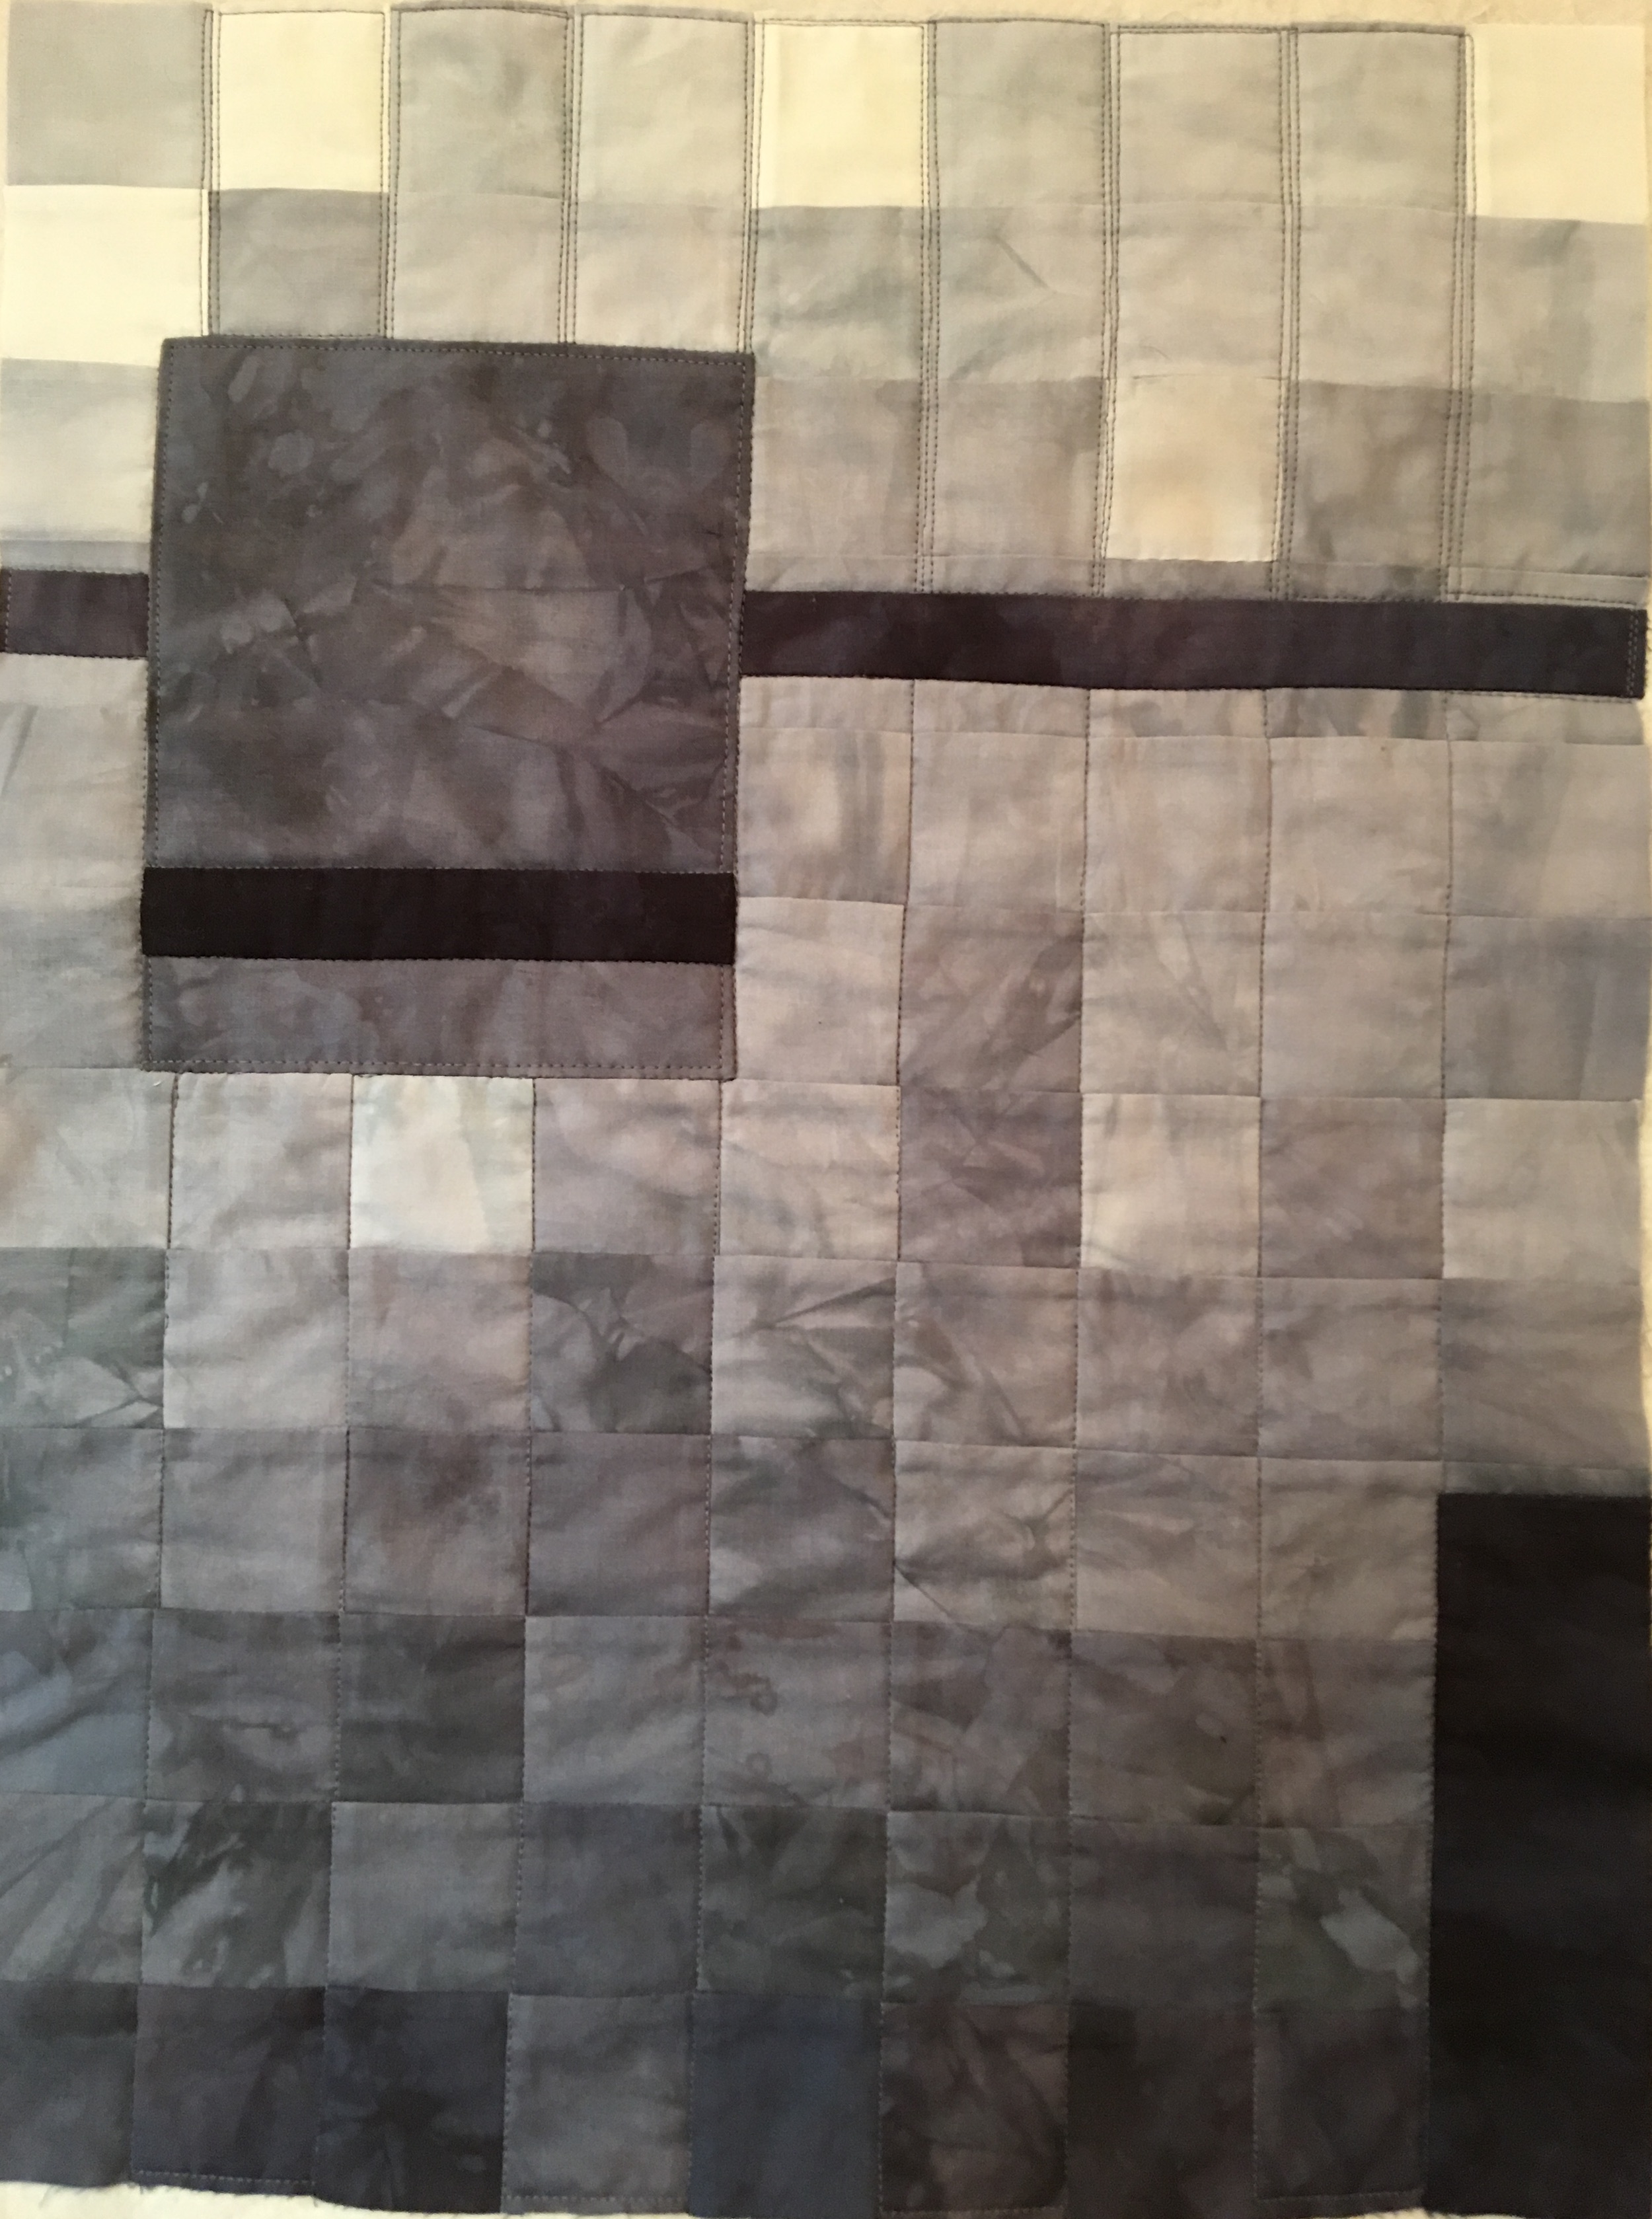
Emboldened by Elizabeth’s helpful suggestions, I made a few adjustments and began sewing all those squares together. That’s a whole lot of squares… After consulting Elizabeth (again), she suggested linear and horizontal stitching, I began quilting, but left the larger square alone as I wasn’t sure what to do with it. I wanted to do something, but couldn’t figure out what.
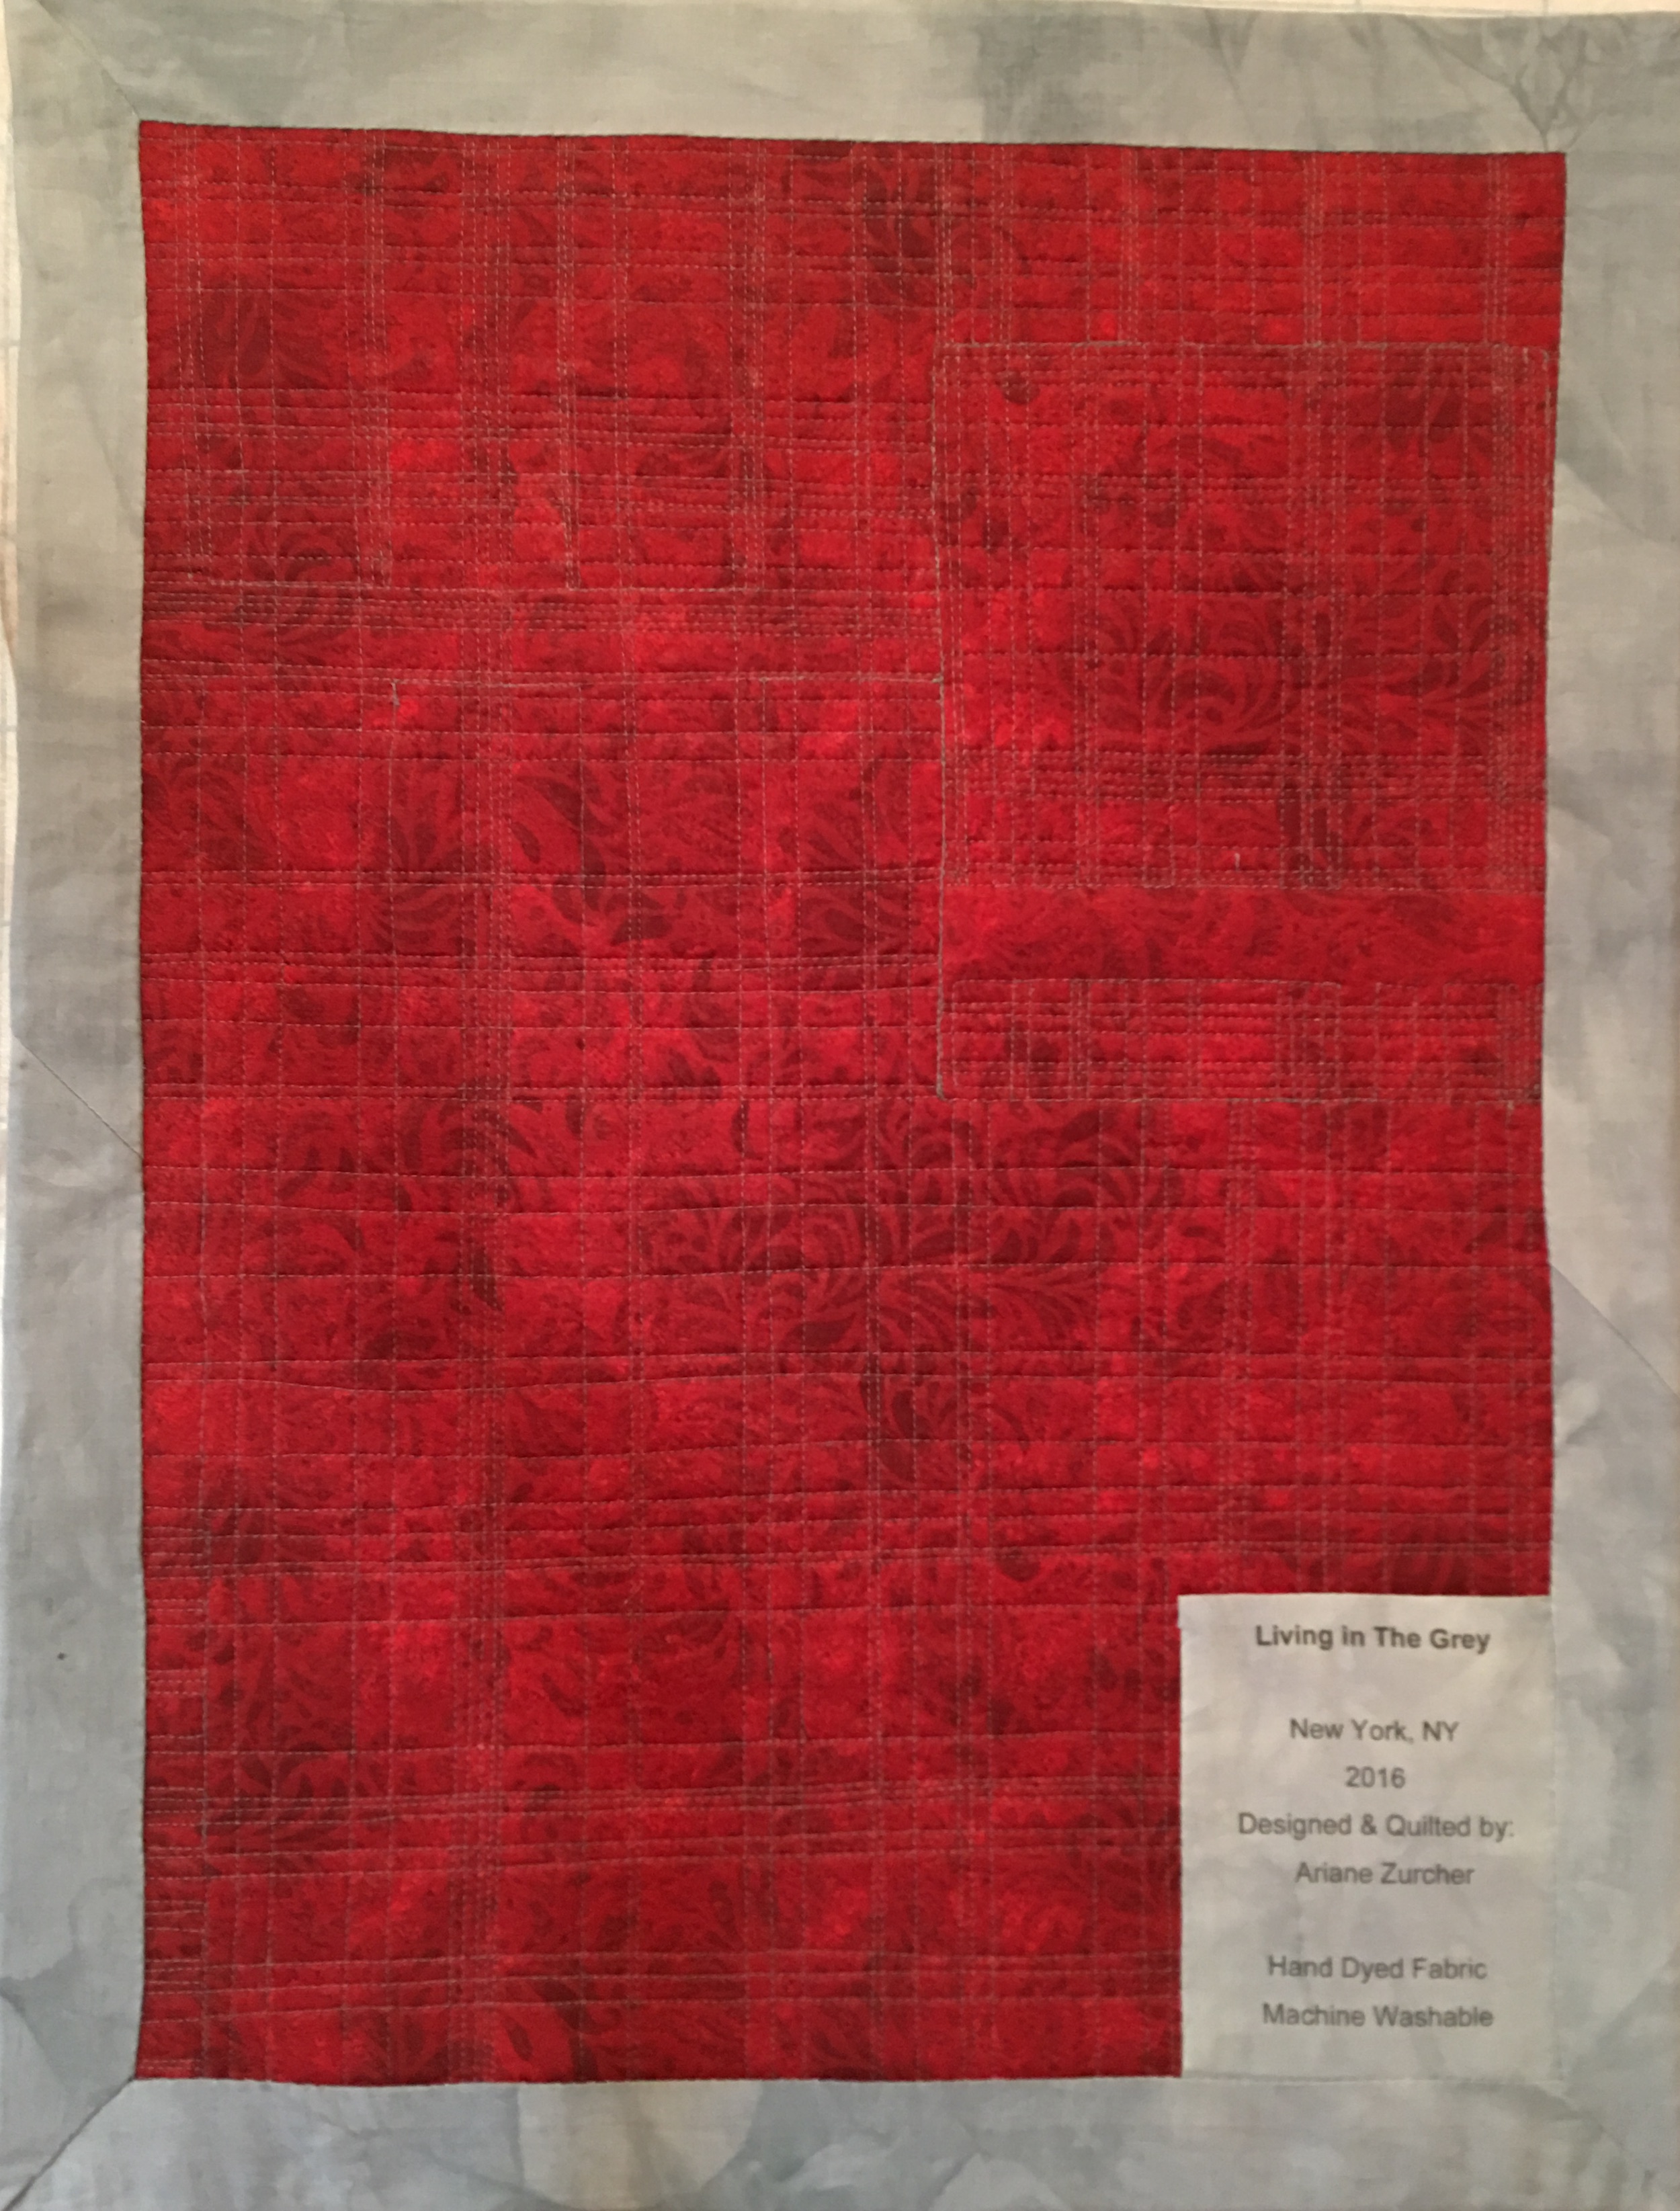
Back to Elizabeth who gave me more excellent feedback, suggesting a different color thread and syncopating the stitches so they didn’t meet with the other lines from the larger piece, and off I went to finish it. I decided against a binding, instead made a facing out of my lightest grey and backed it with a piece of red fabric I had. I made a label, again from one of the light greys and voila! This piece, entitled Living in the Grey, is 17″X 23.5″.

 The thing about dyeing your own fabric is how utterly seductive it is. You can mix any color you want by tweaking the proportions of your primary colors. The mottled effect enhances the overall feel of the fabric, making it completely unique and like no other.
We are now in Week Two and are dyeing as many colors as we have the time, inclination and material for. Of course I went totally nuts with dyeing all the possibilities. I admit – I’ve now dyed every color including varying intensities and am eager to start experimenting with the subtler, more nuanced shades of each, but ran out of fabric, dye and other materials I need, so will have to wait until all the things I’ve ordered arrive. Here’s a sneak peak of a few of the colors I dyed over the weekend, (and stayed up until 3 or 4am, I can’t remember now, to do so!) getting ready for my next design using colors. Lots and lots of colors. You could even say… colors to dye for. Oh behave yourself!
I’m just dyeing to read your comments. Okay, okay, I’ll stop.
No, really.
I promise.
You have no idea how hard I’m restraining myself right now.
![The Joy of Dyeing]()
by Ariane Zurcher | Oct 26, 2016 | Art, creative process, Design |
After I finished the QFM – Quilt For Mom – I felt at a loss. It’s the same feeling I experience after finishing a wonderful book. Elated, but also sad it’s over and wondering what’s next. I knew I wanted to design my own quilt, but am still so new to this form and didn’t want to be too ambitious. Things were in limbo.
My life is busy, I homeschool our daughter, as well as, like and need to, spend time with my eldest and then of course there’s FH (fabulous husband) and did I mention I have my own business? All of this means I have a full, albeit hectic, and at times, overwhelming life, and I desperately need time to design and create without worrying about how to promote it, the cost basis, manufacturing, orders, etc. When I don’t have the time or when other things make it impossible, I feel off, am more easily stressed, saddened and even depressed by things that happen in the world and in my life. I worry more. I feel more sensitive, raw and fragile. These same things don’t have as devastating an impact on me when I carve out time for my artistic pursuits. Because of all this, I knew I had to start a new project, and given all that is happening in the world and my life right now, the sooner, the better!
Out came my sketch book. I began doodling. From those doodles I found a few shapes I kept coming back to and slowly a design came into focus.
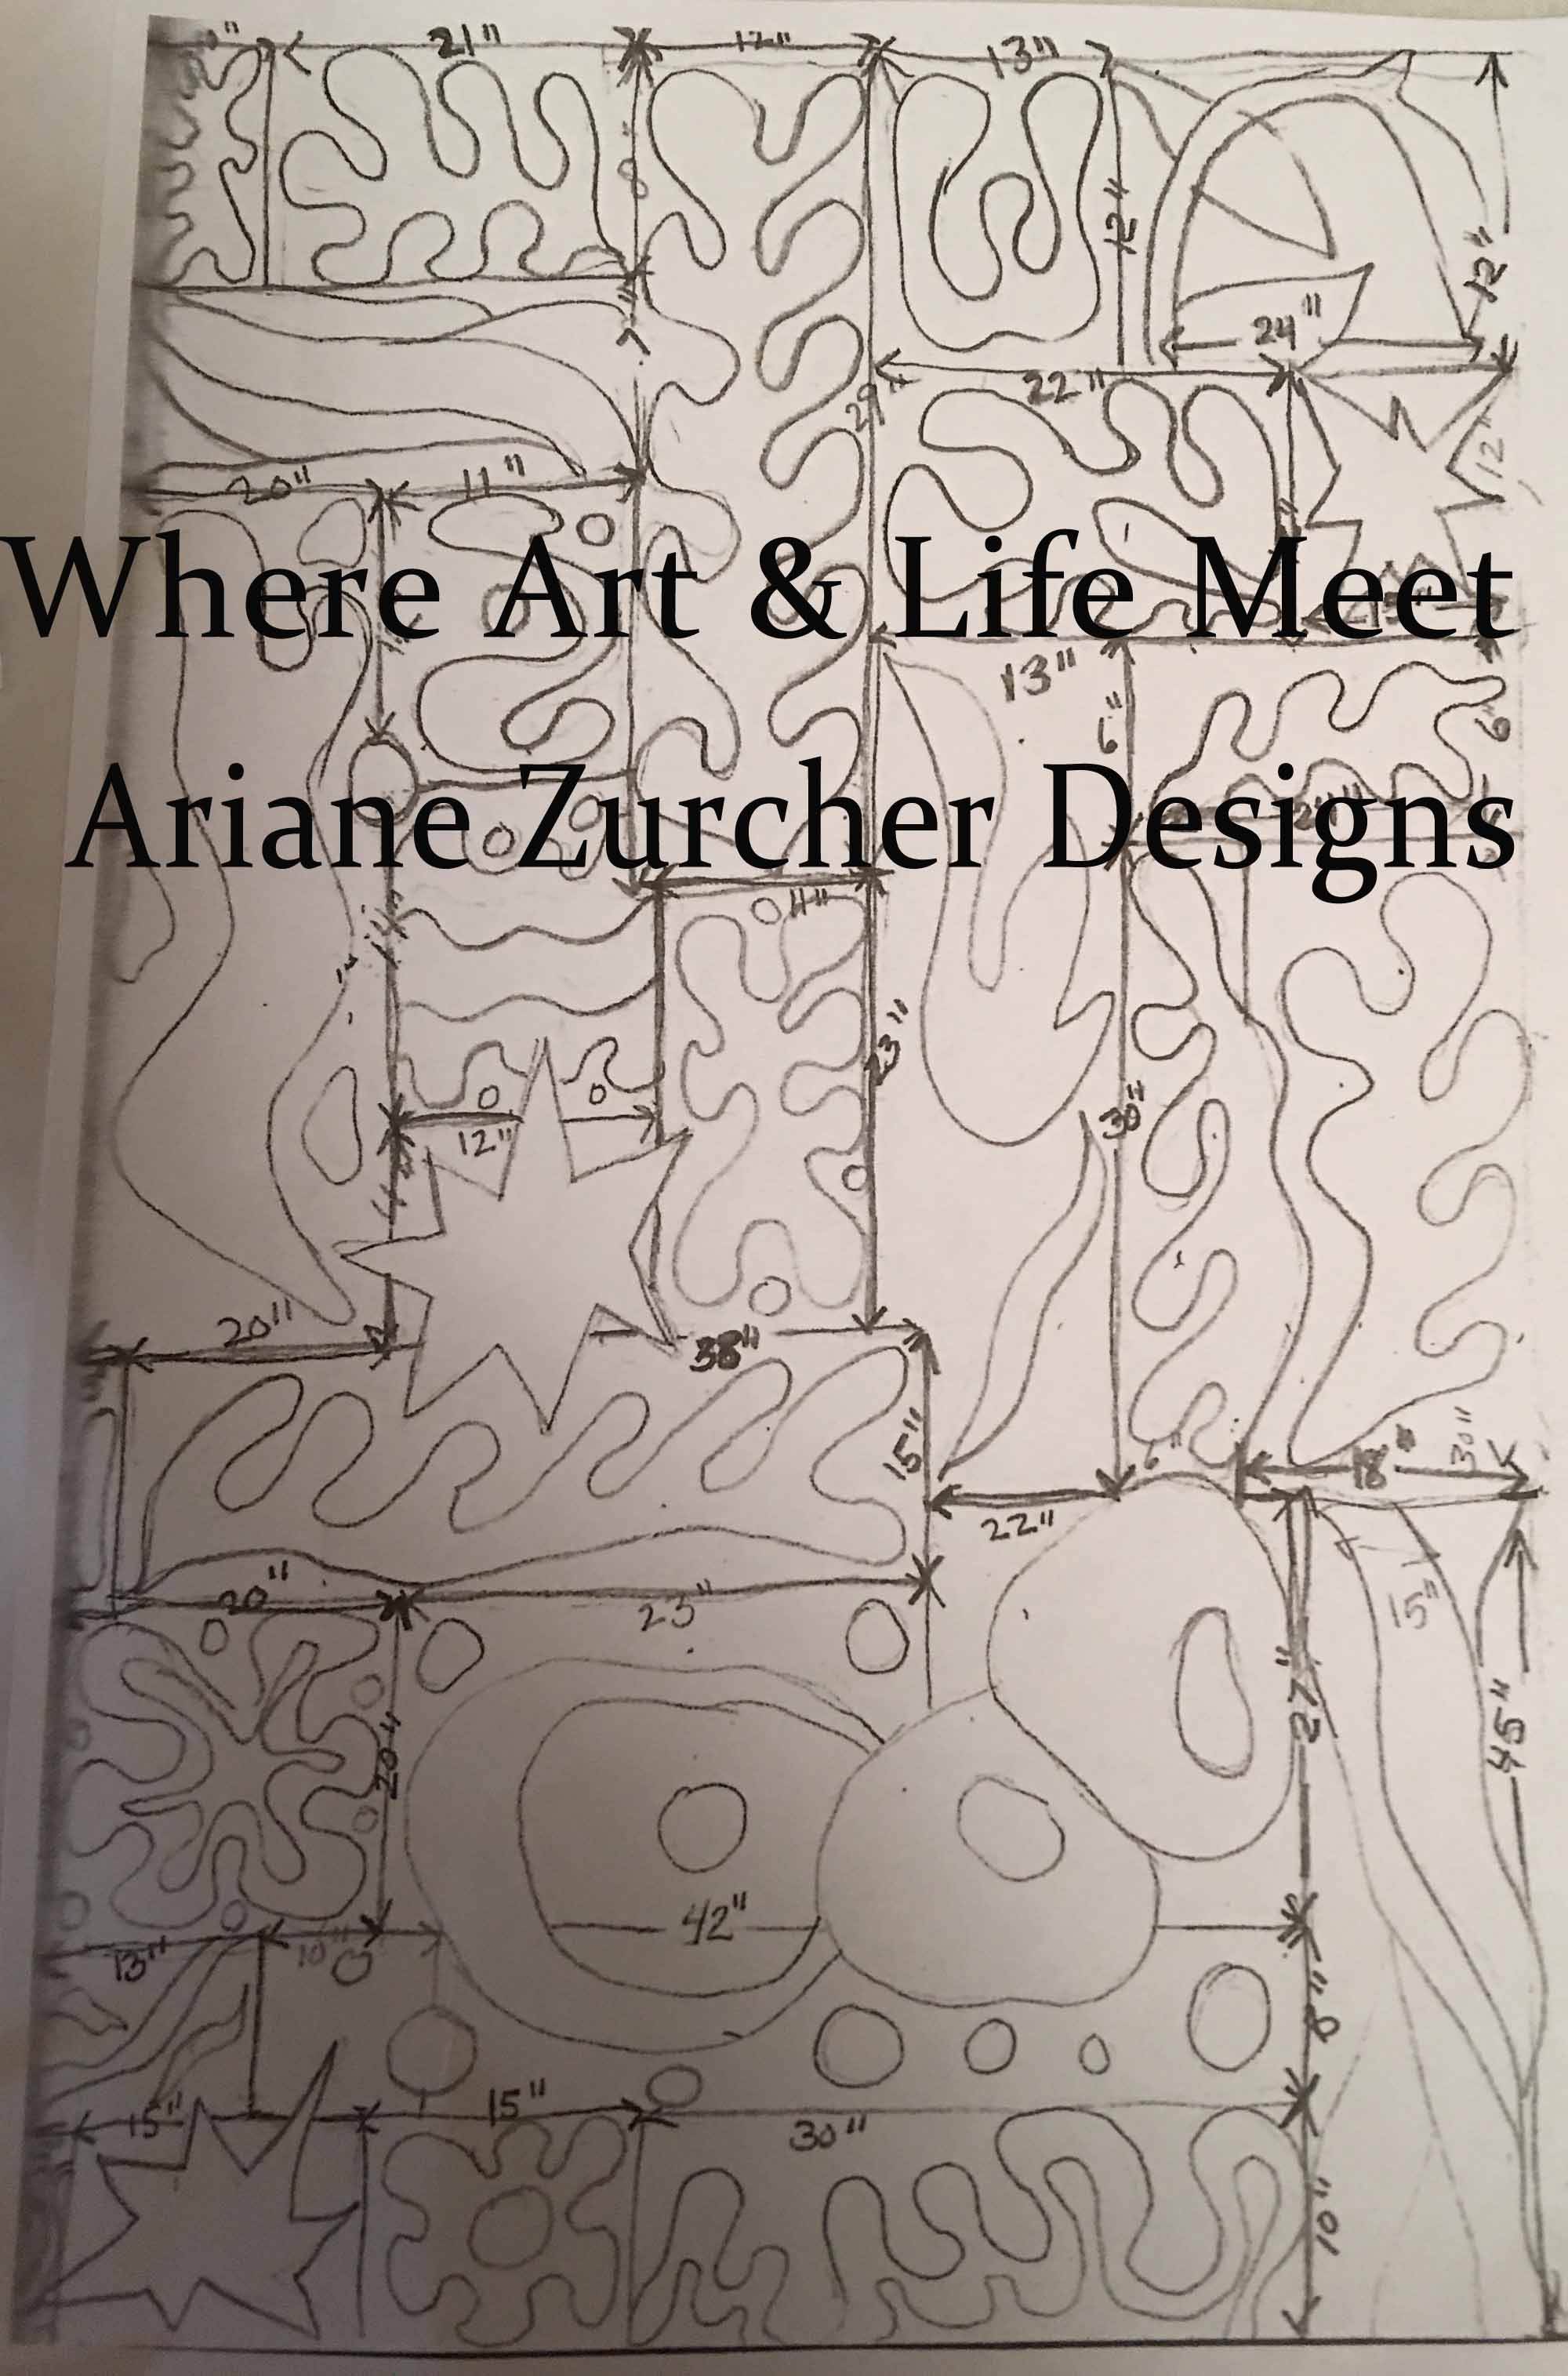
This is my Ode To Matisse.

The Sketch
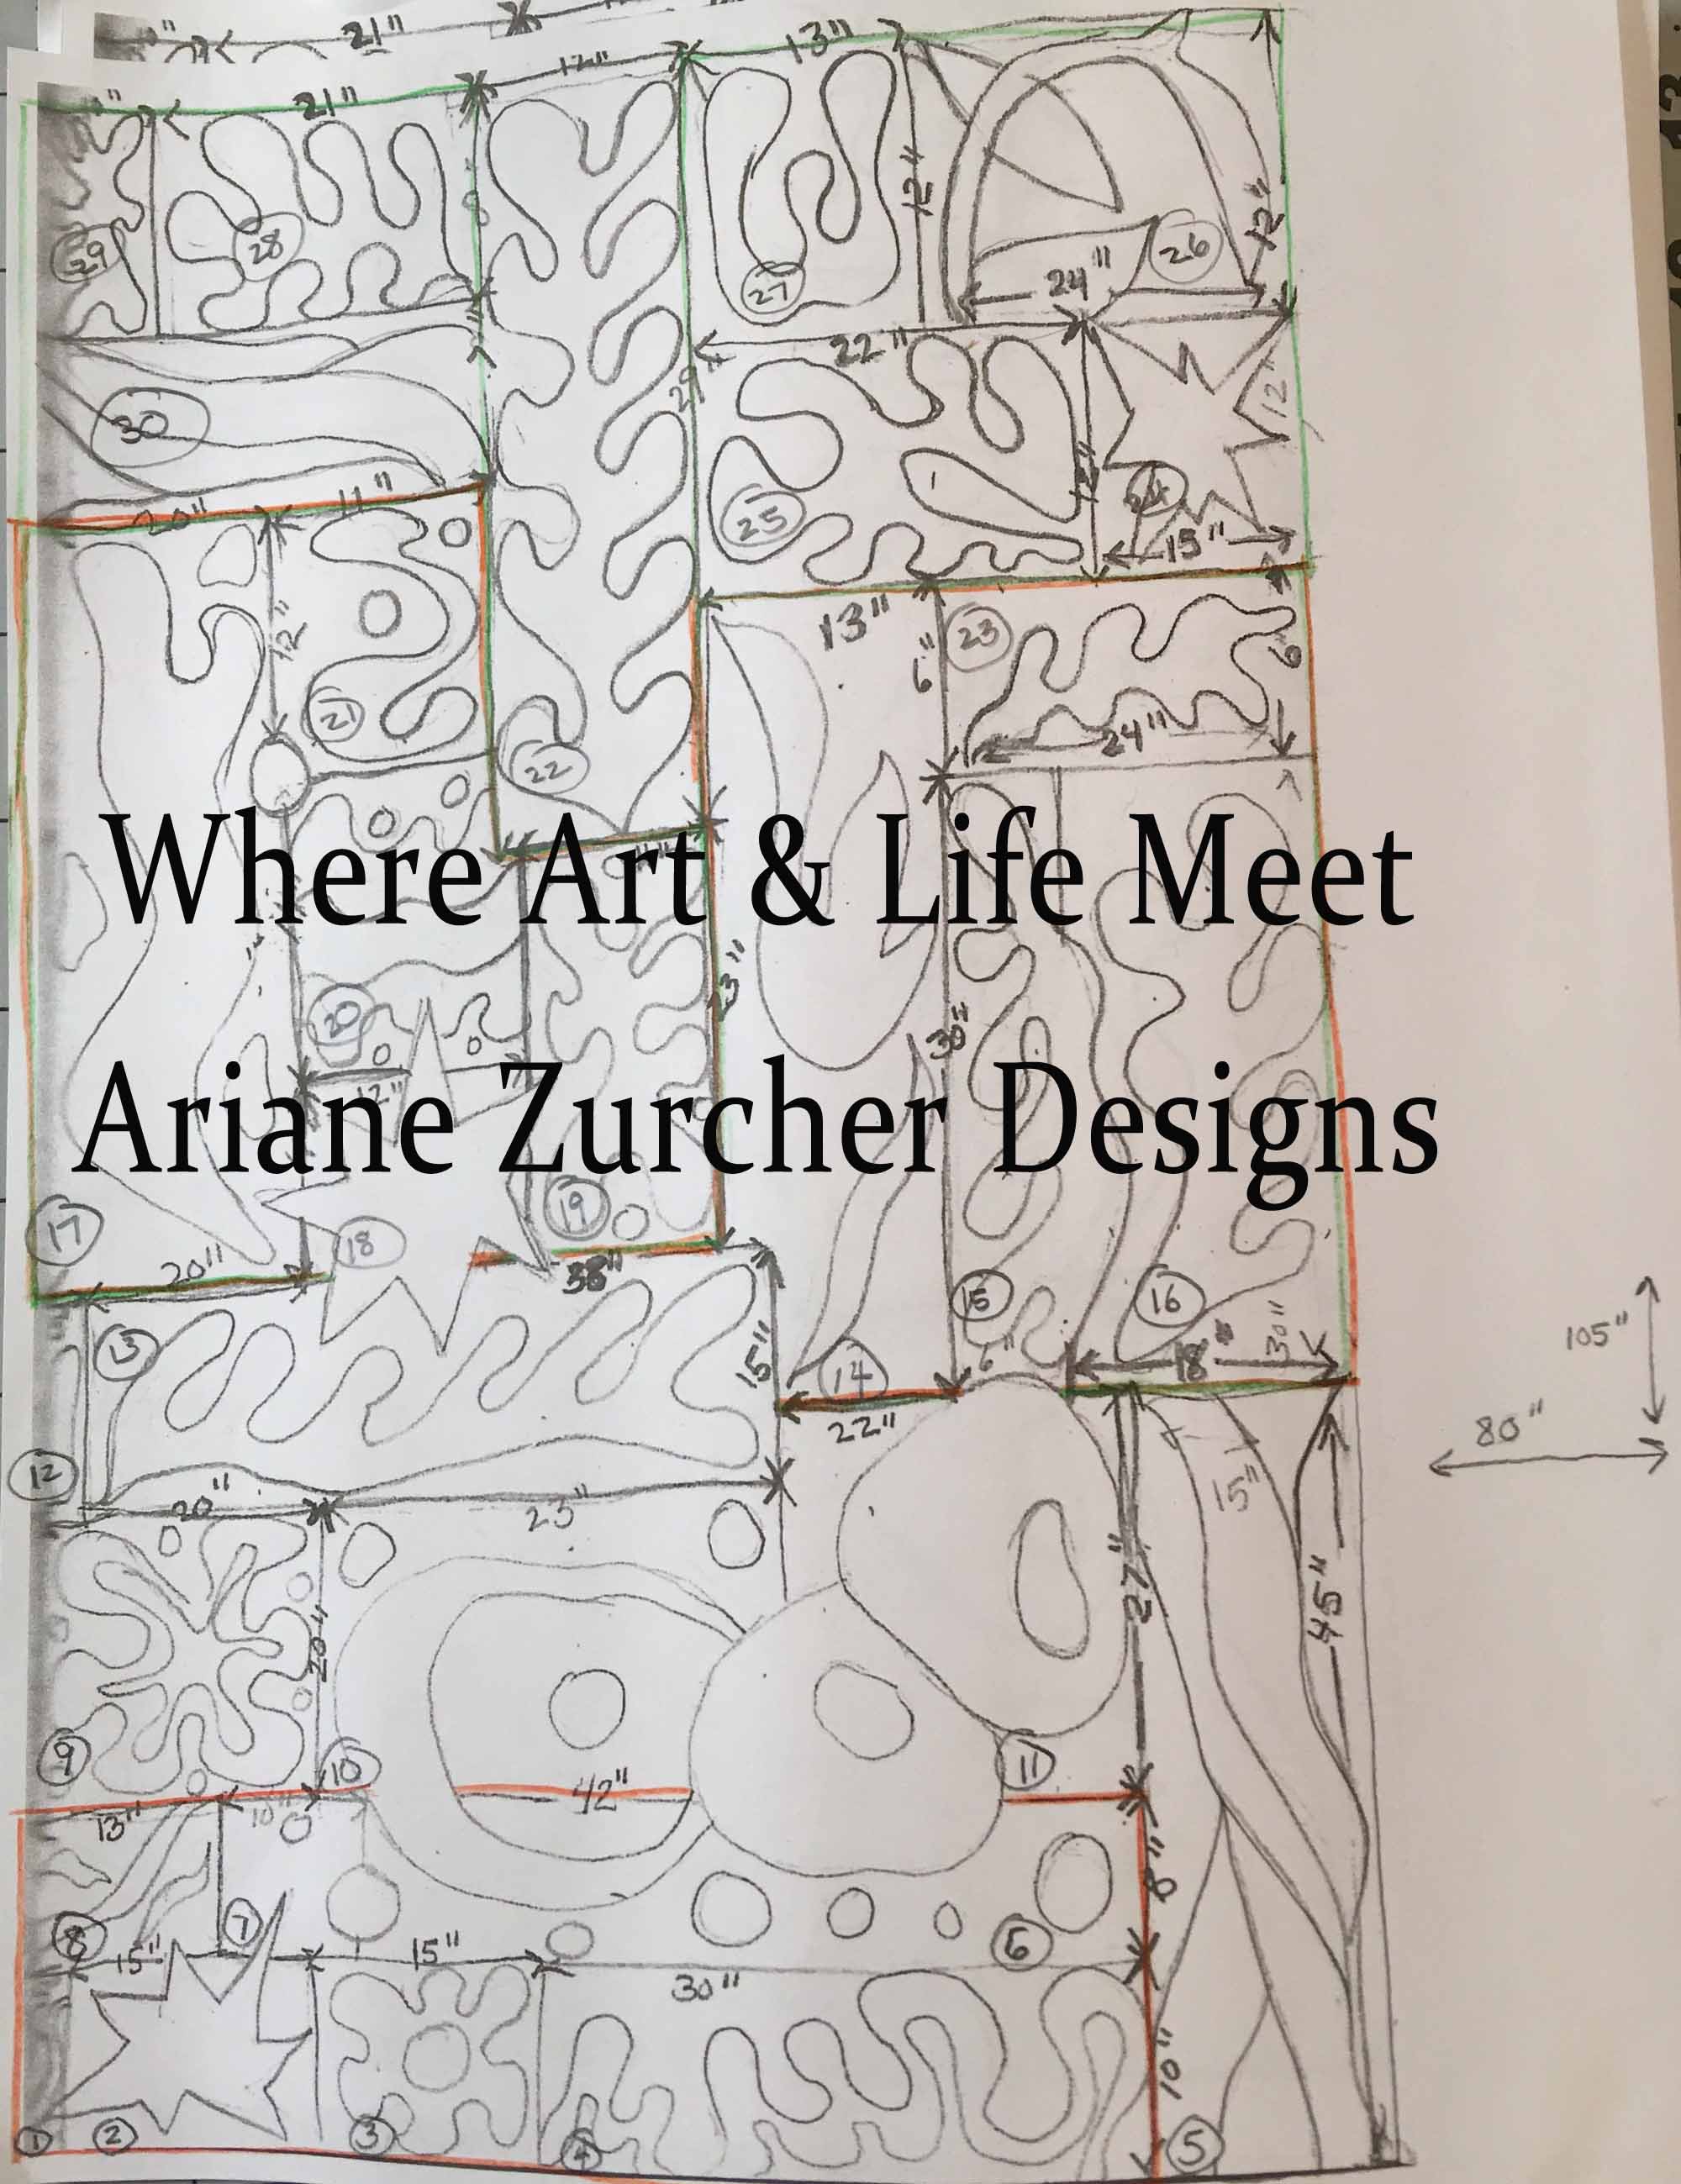
After I finished the first sketch, I photocopied it several times and began mapping out the measurements. I knew the sketch was going to be skewed and out of proportion because I wanted the quilt to end up being 80″ by 105″, which is big enough to drape down on either side of a twin sized bed or even skimpily cover a queen sized bed and long enough to allow for folding over pillows. This will be the quilt I take with me to my retreat at Quilting by the Lake next summer where we stay in air-conditioned (last summer I was FREEZING) dorm rooms, which have twin-sized beds!
I needed to figure out how I was going to block it, in other words how I would divide it up as I envisioned several different background fabrics, all beiges. With colored pencils I marked out my blocks, with approximate measurements and numbered the blocks.

Blocking out the Sketch
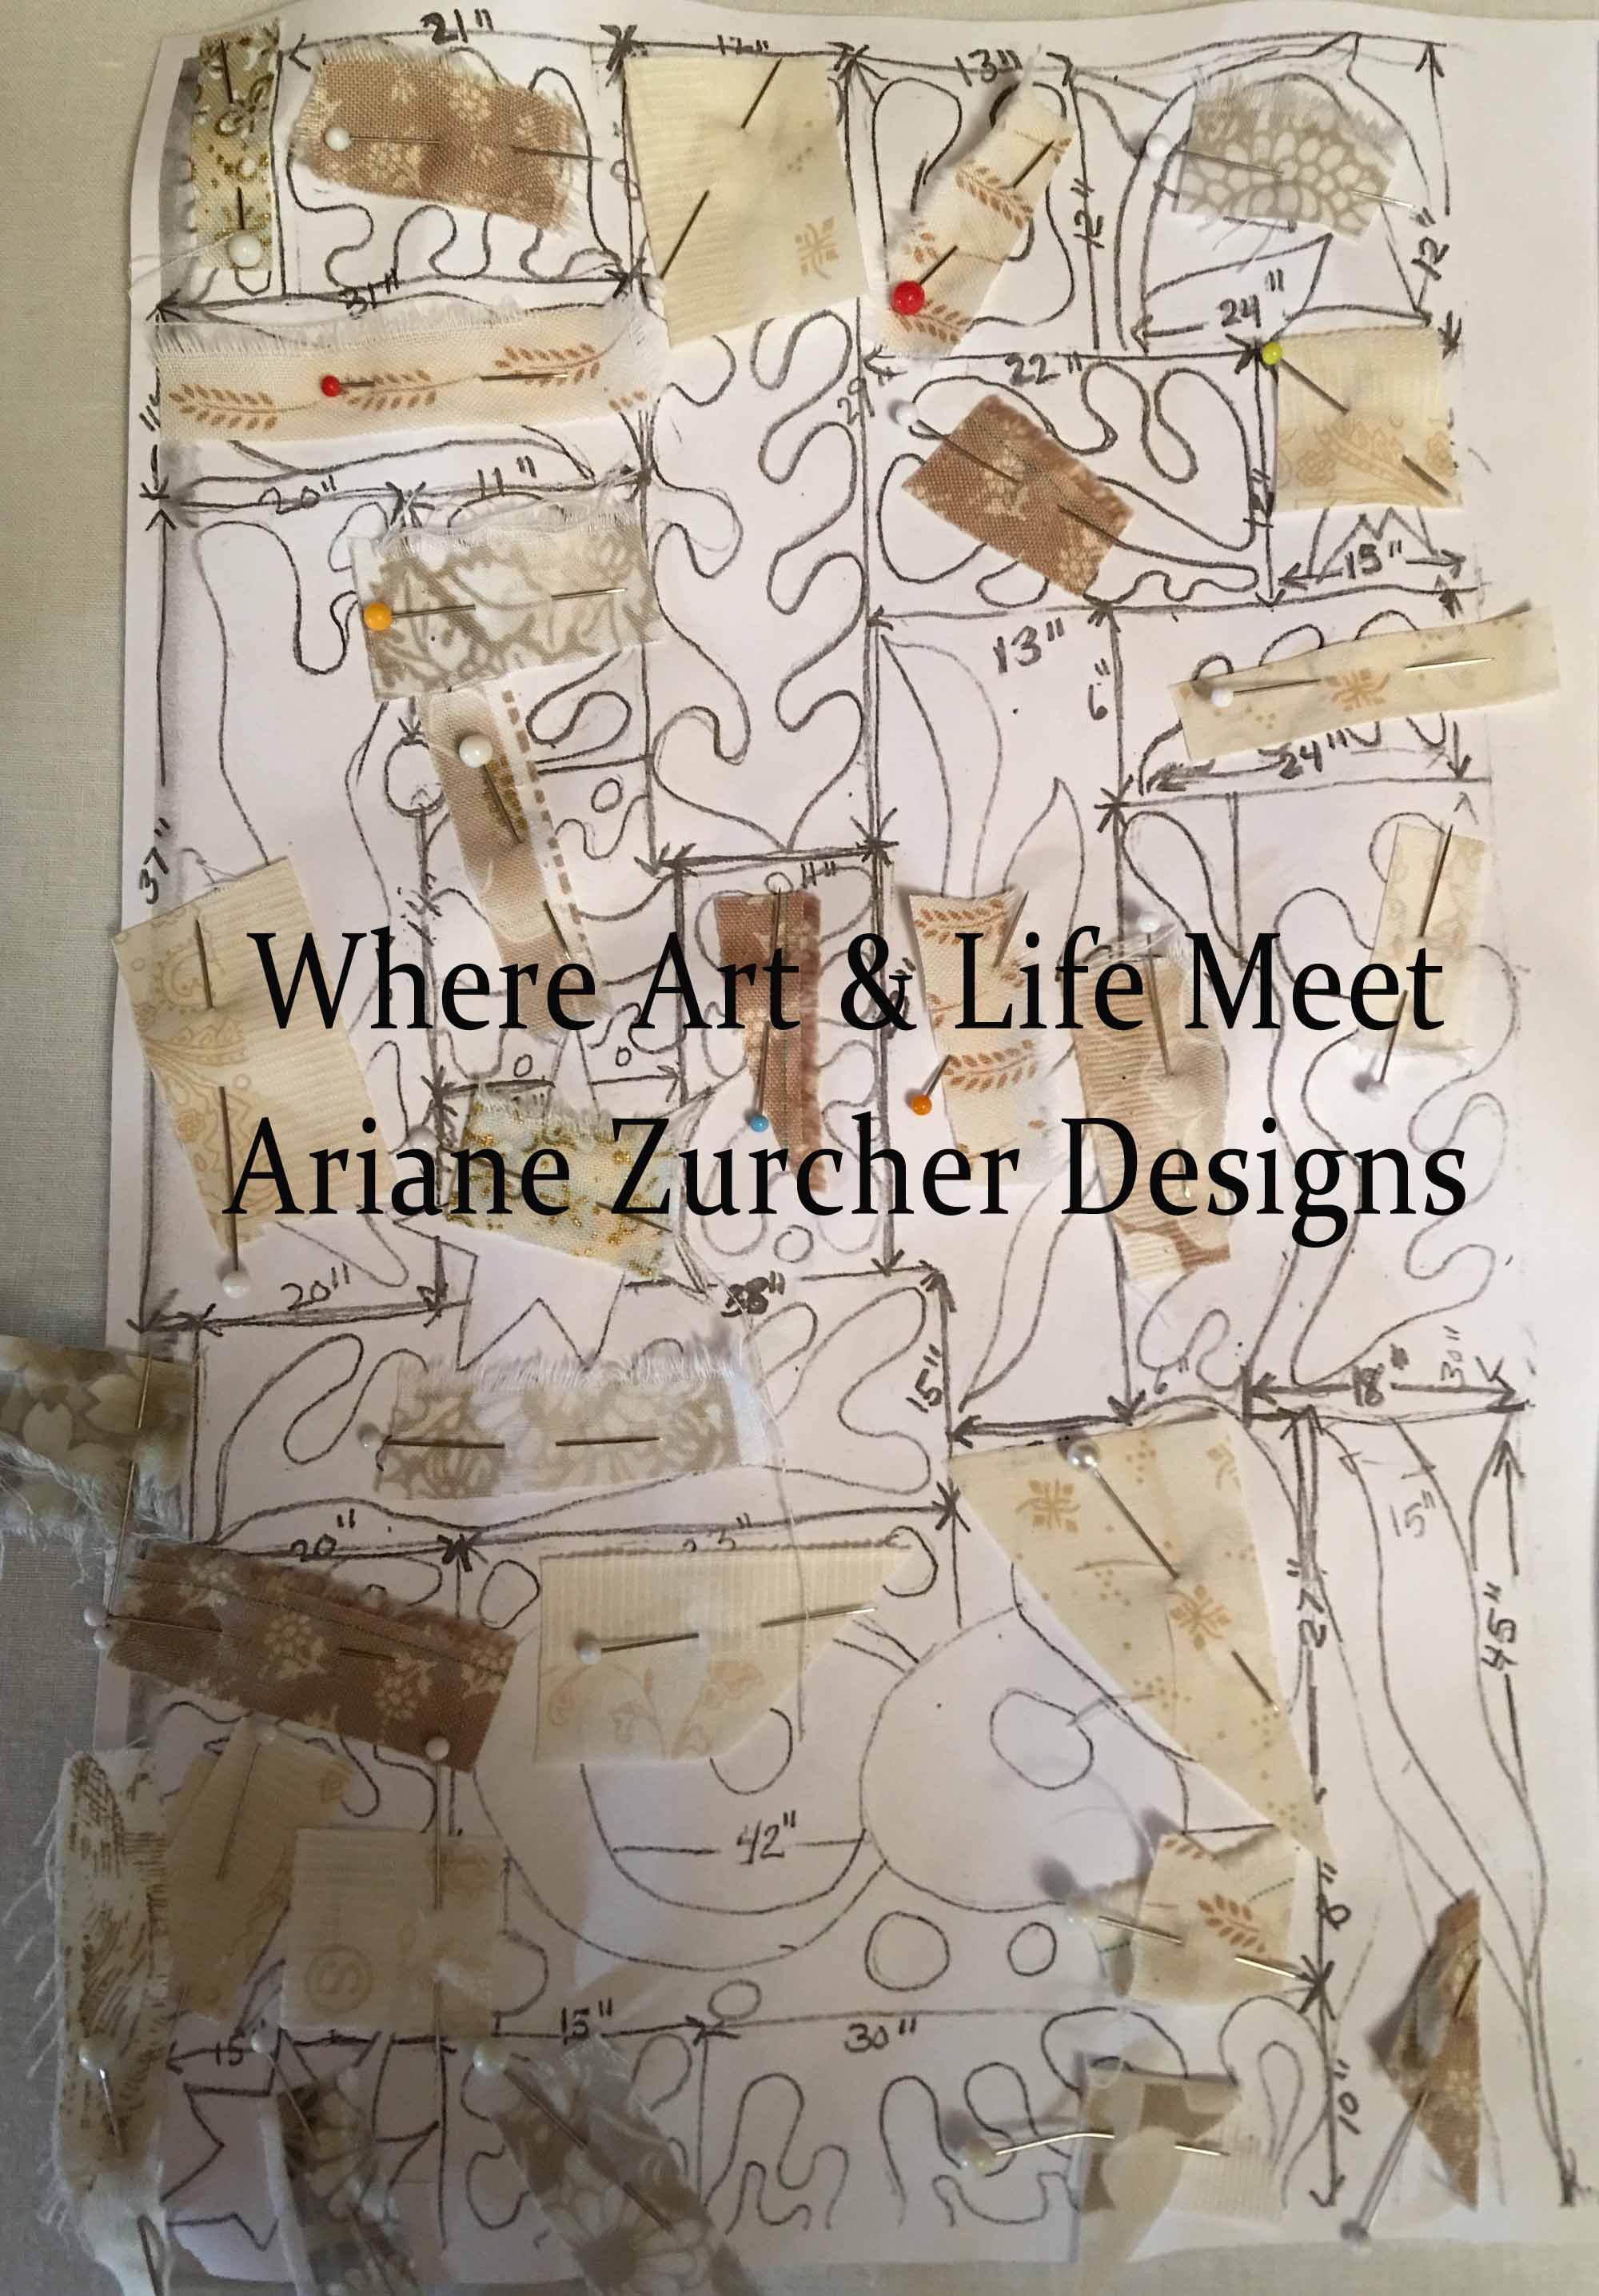
I then went to my stash and began pulling background fabrics. After a trip to the fabric store, I decided on eight different fabrics, all beiges/cream of some kind.

Placing the Background Fabrics
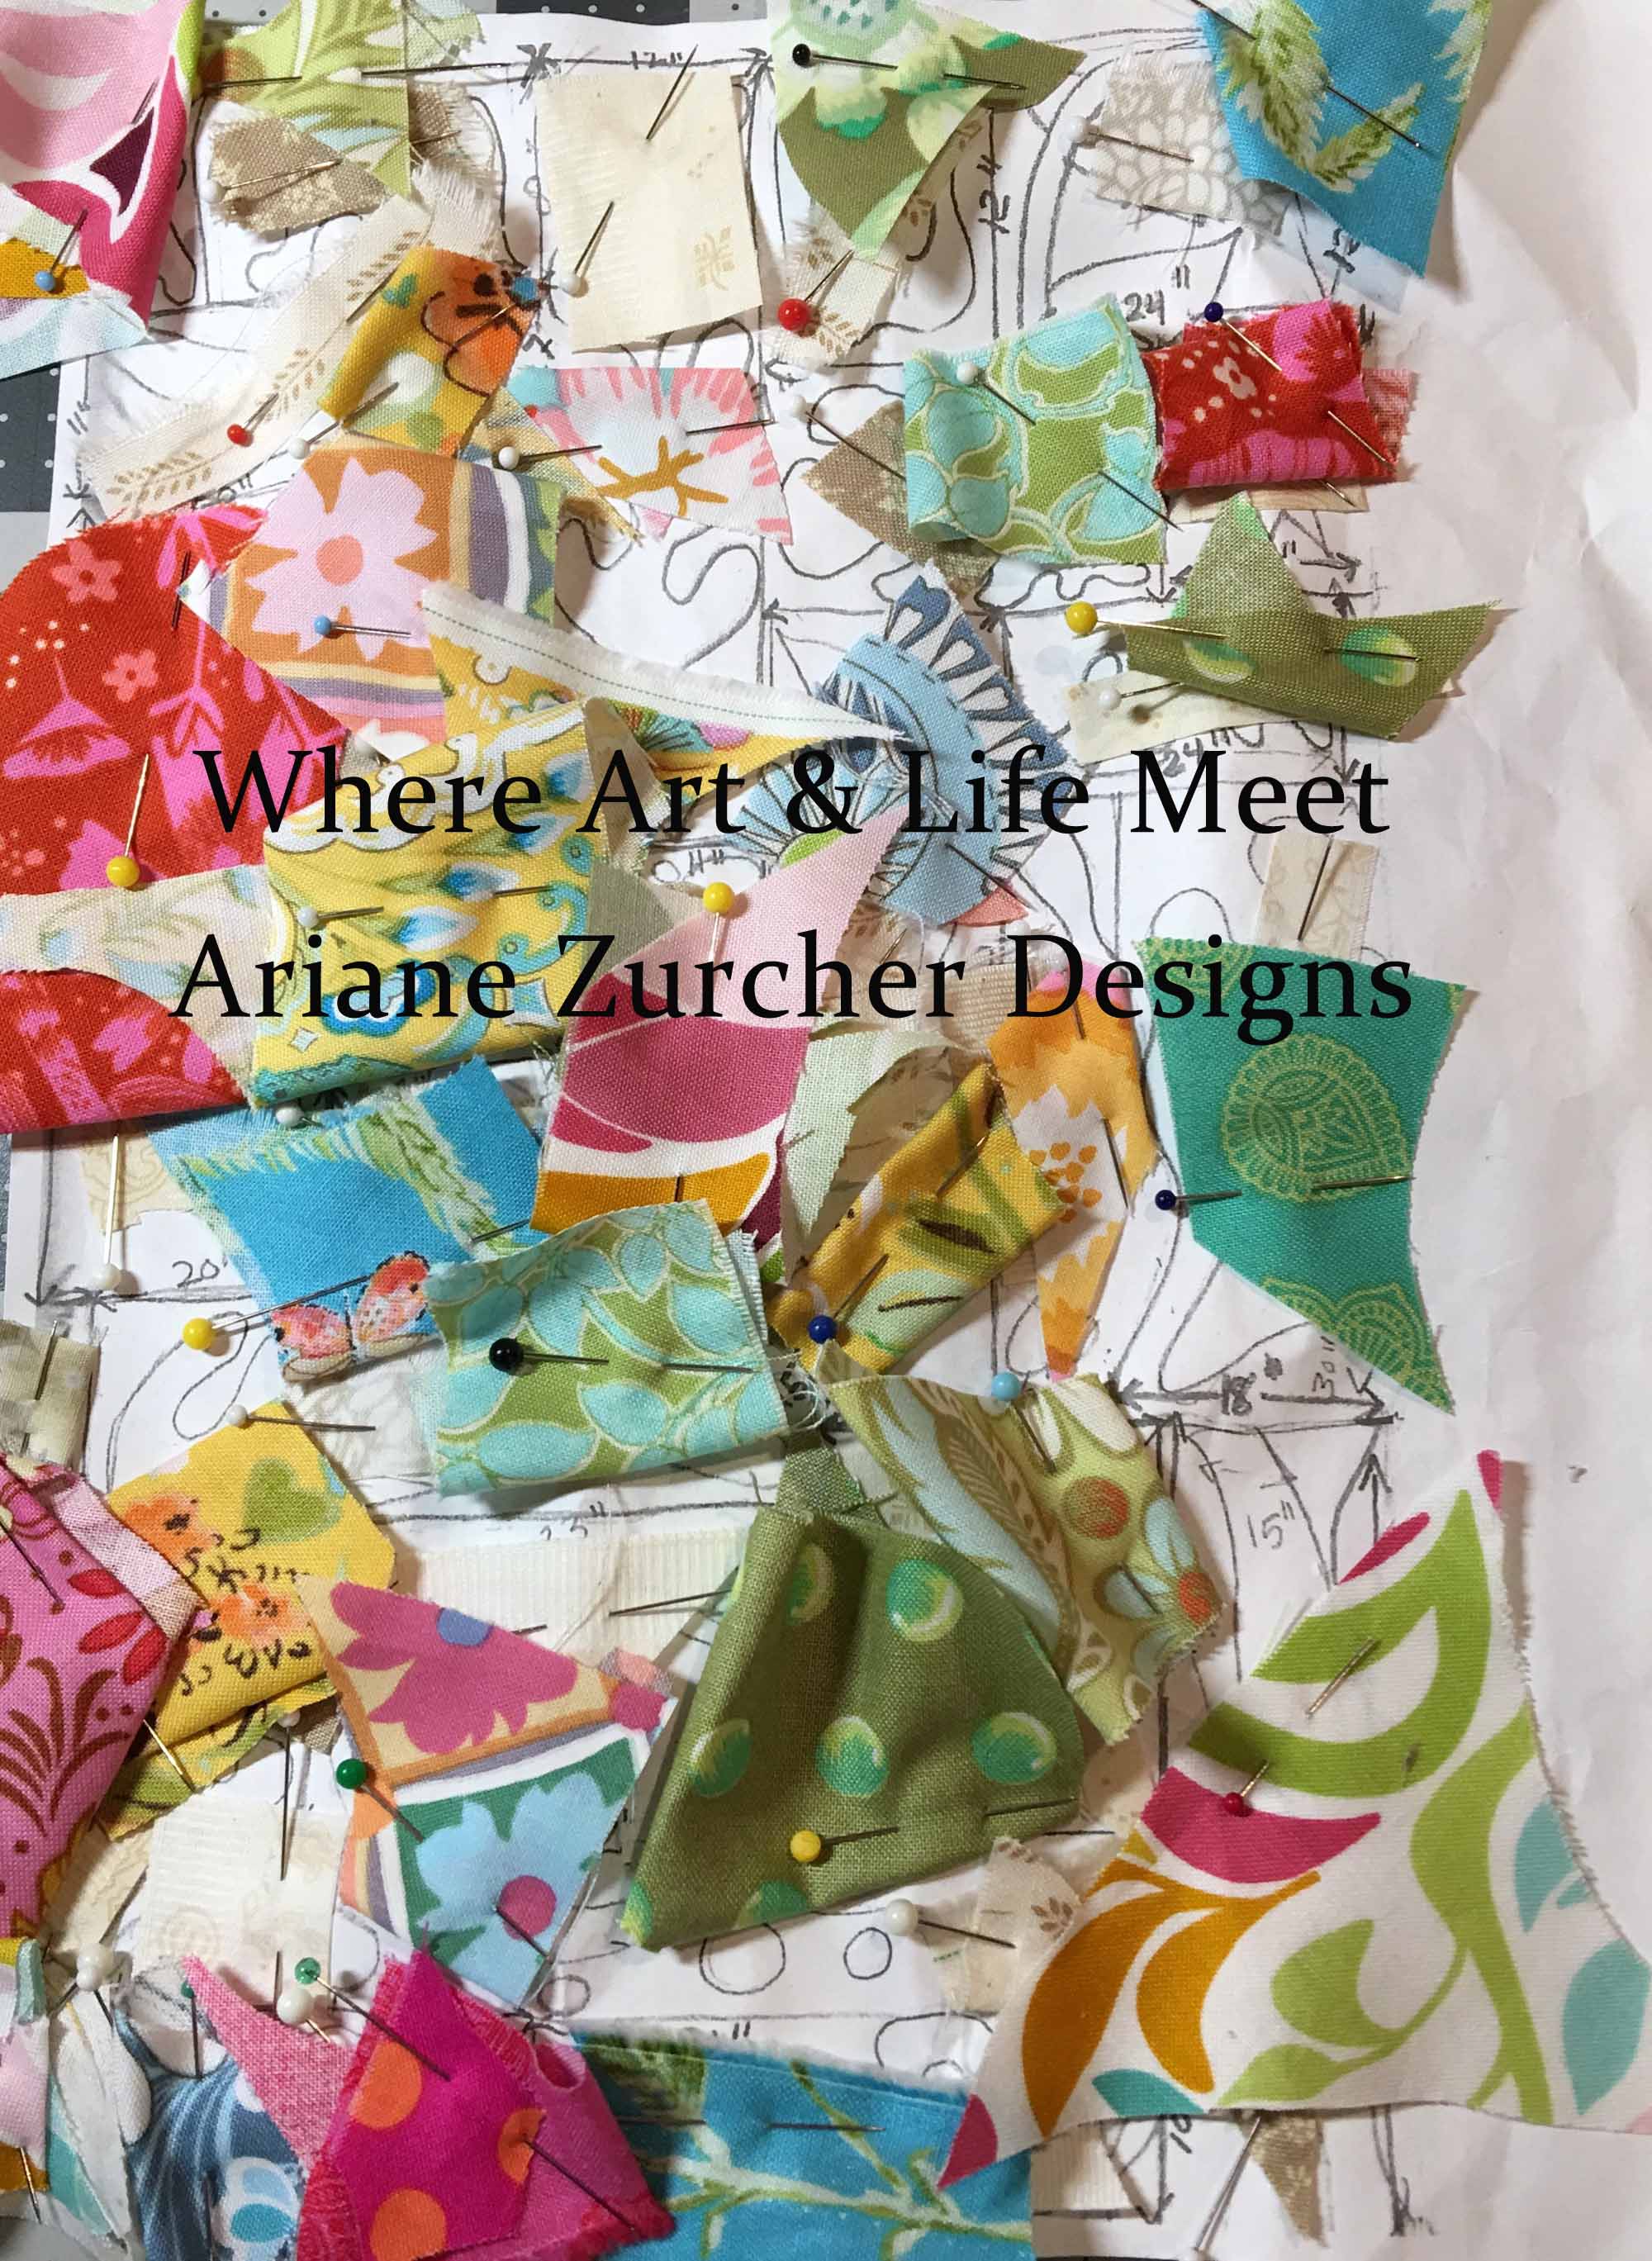
Next up was working out the colors for the shapes. This process took over the floor of our bedroom for a couple days. I wanted bright, cheerful colors, that reminded me of spring and summer and I wanted them to stay close to the colors Matisse used when he created these kinds of organic shapes.

Deciding on Fabric for the shapes
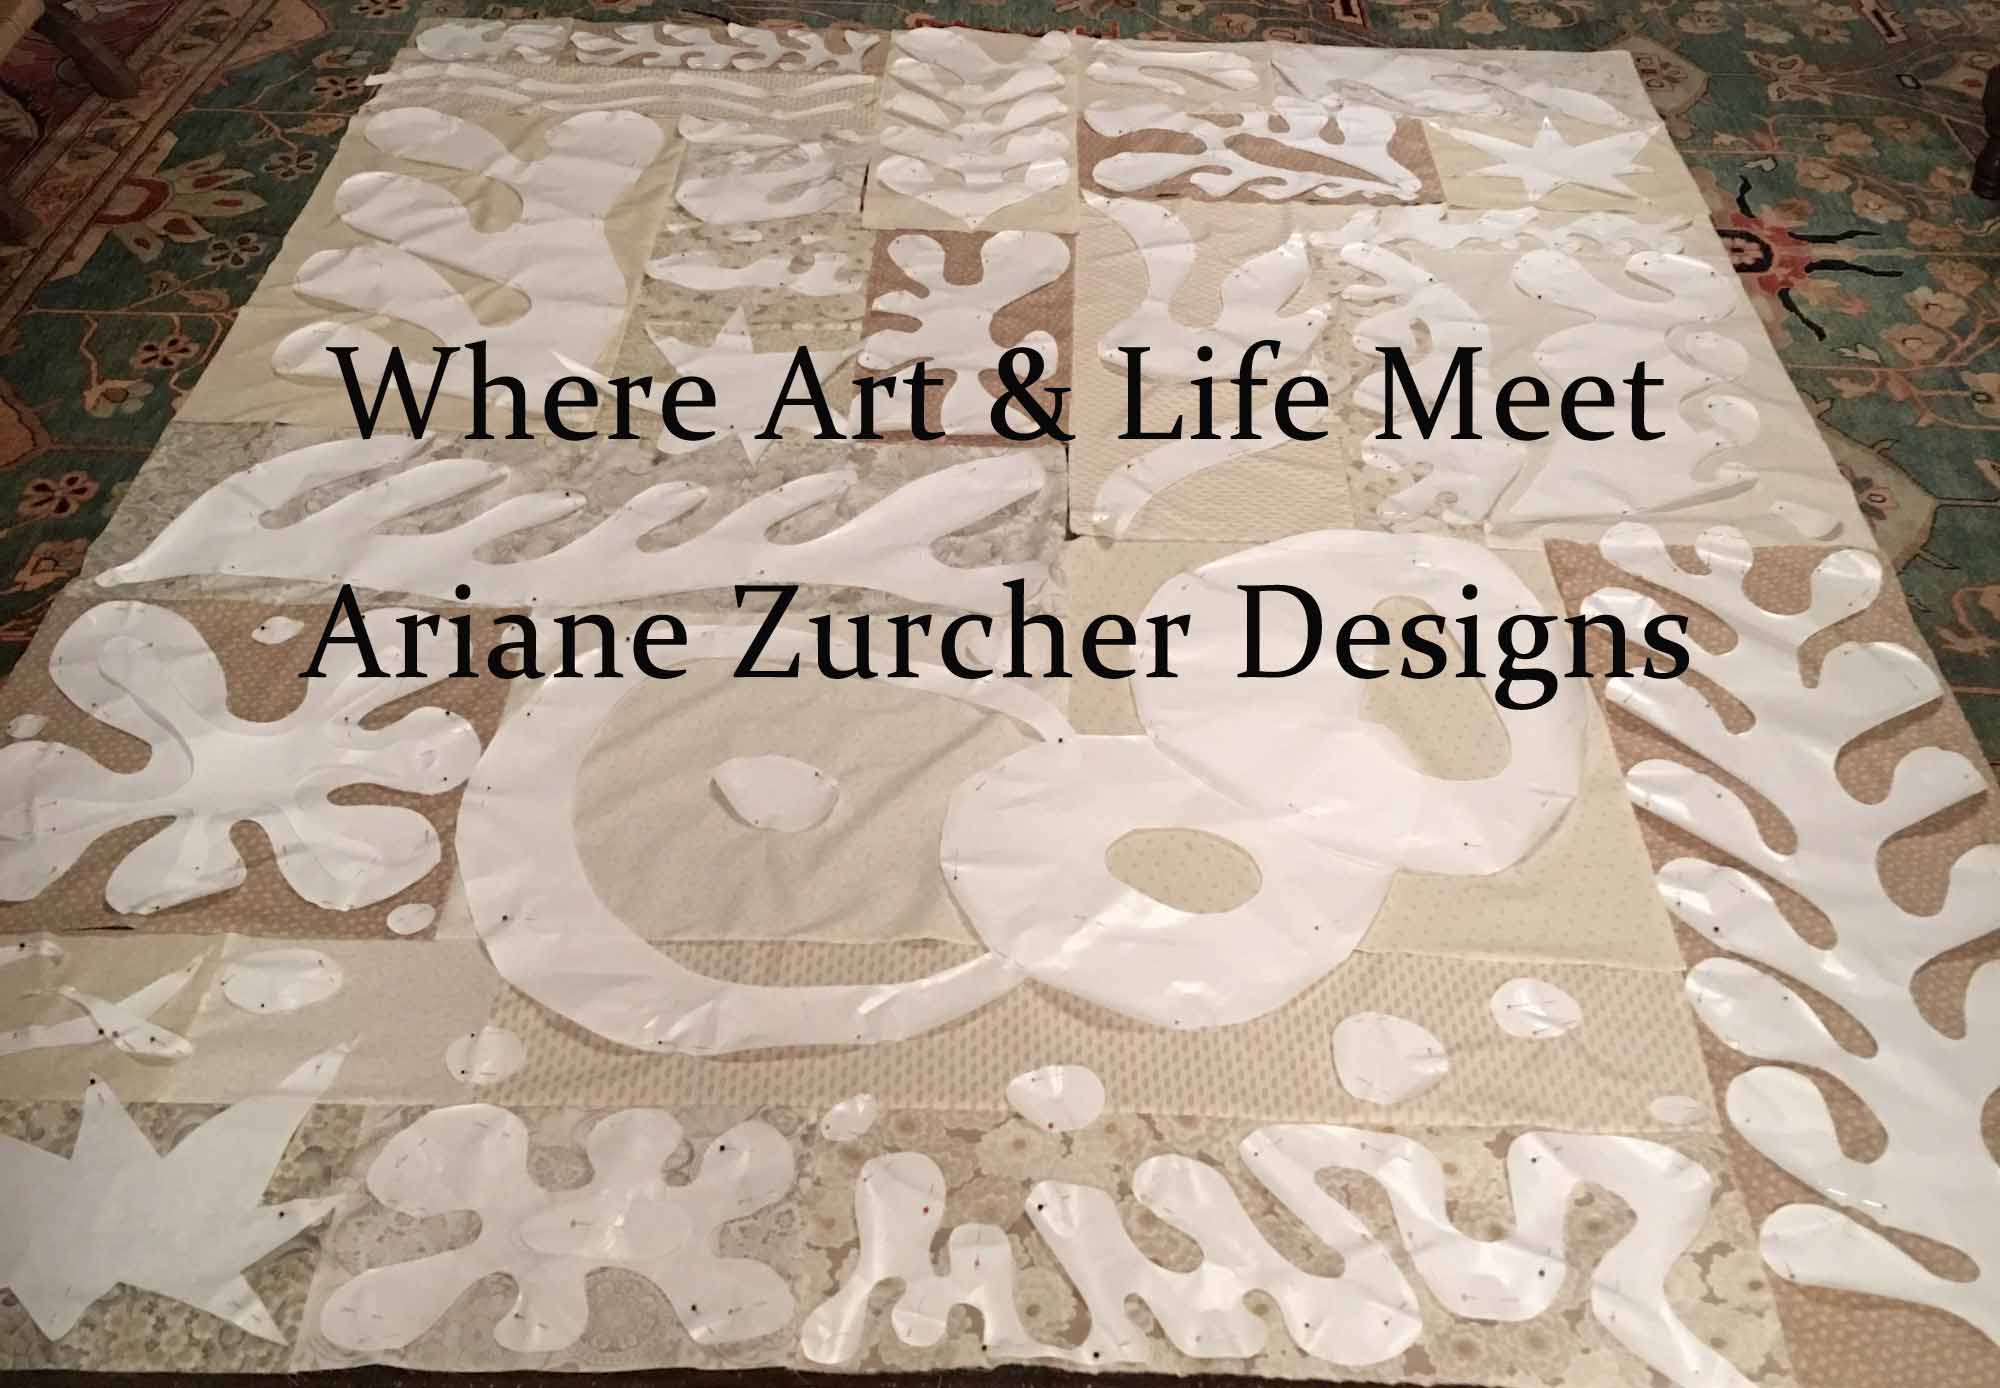
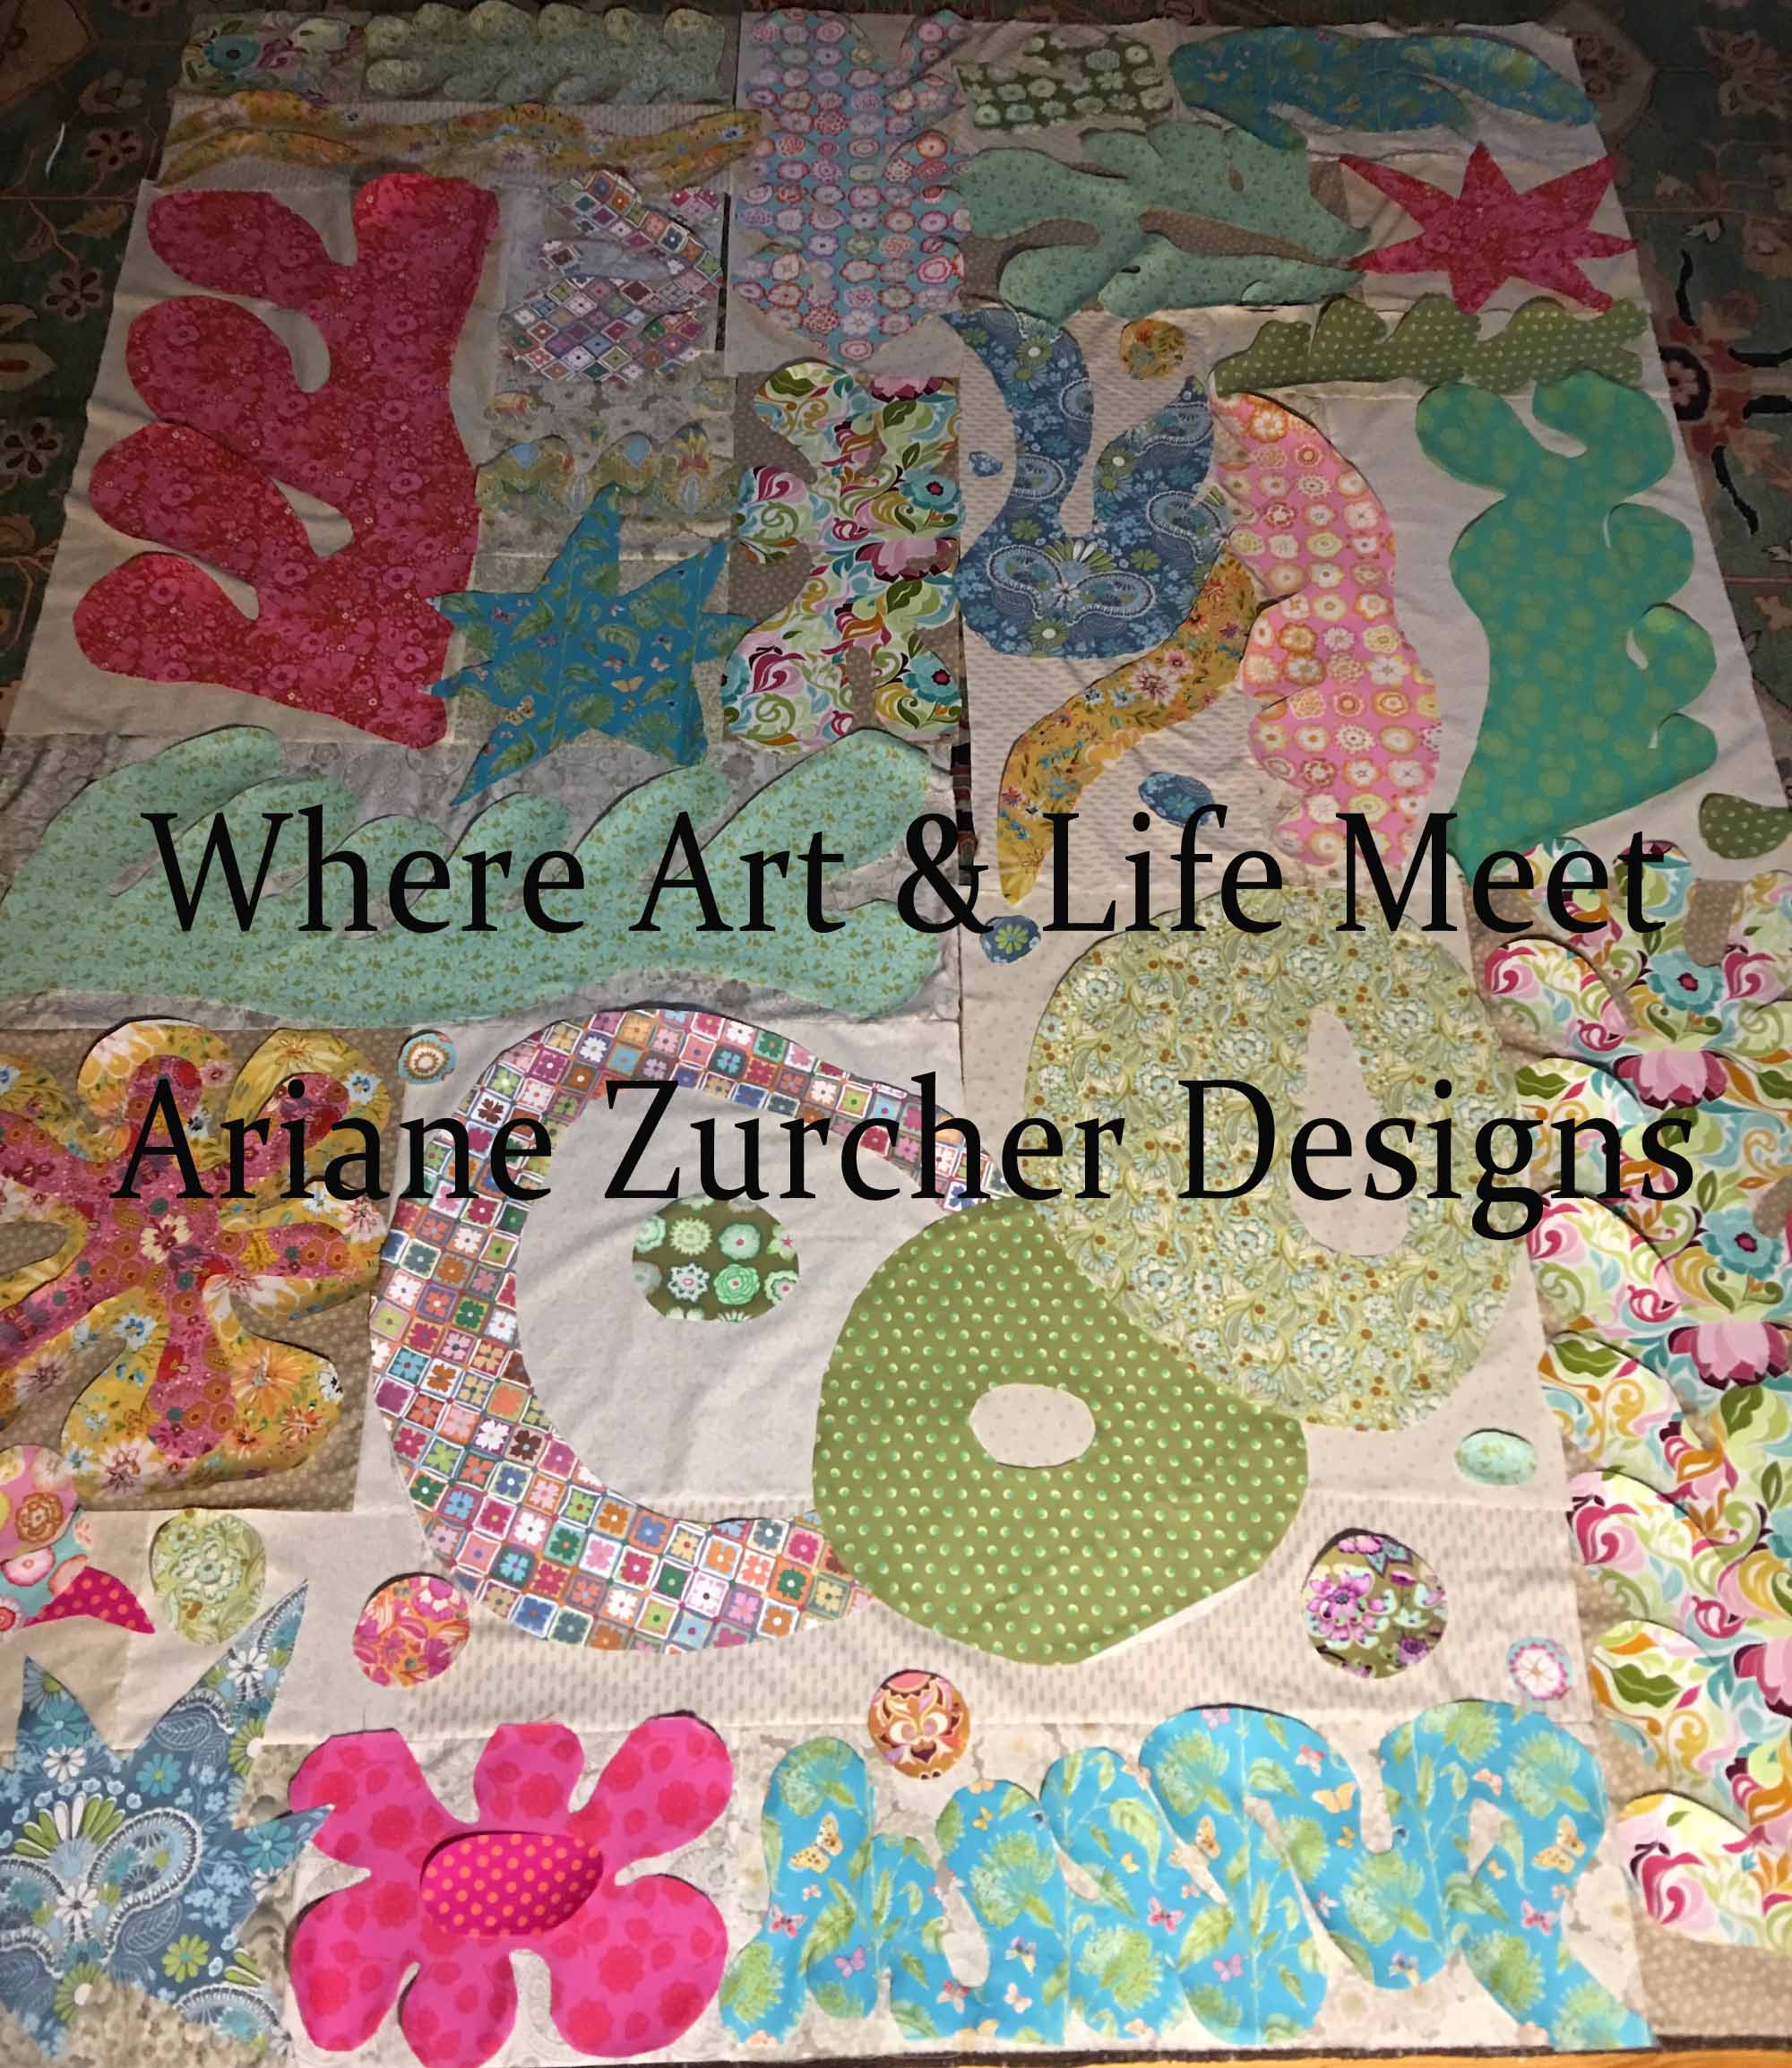
Finally I was ready to cut out the shapes, using freezer paper first to lay them out, tweak when necessary and rearrange if needed. This is what I came up with… Still not convinced the three round shapes in the lower portion of the quilt are working as well as they could. I might need to move them all the way over to the left side and take the shapes on the left and put them to the right end of that block or maybe reduce the size of the skinny large circle on the left and make the flower shape at the edge larger…

Freezer Paper Matisse
Even though I have a few reservations with the design, I’m going ahead with it and will see how I feel as I go. I’m also not sure if I will add other fabrics and hand stitching as I did with the QFM or if I’ll just appliqué and then free motion quilt this one, giving it the versatility to be thrown in a washing machine and dryer, unlike the QFM, which must be dry cleaned because of all the beading, wool, velvet and hand stitching I did. Also I need this quilt to be finished no later than July, so I’ll see what I end up having time for.

An Ode To Matisse
I’ve started on the bottom block and am almost finished appliquéing all the shapes down. 
I would have gotten more done by now, but got a little way laid as I also signed up for a five week online class with the talented artist Elizabeth Barton at Academy of Quilting. We are supposed to produce a small quilt each week. Yikes!!! More on that later…
![The Joy of Dyeing]()
by Ariane Zurcher | Oct 11, 2016 | Art, Free Motion Quilting |
Yay, I finished it!! My first large quilt. I began it in January and finished yesterday.
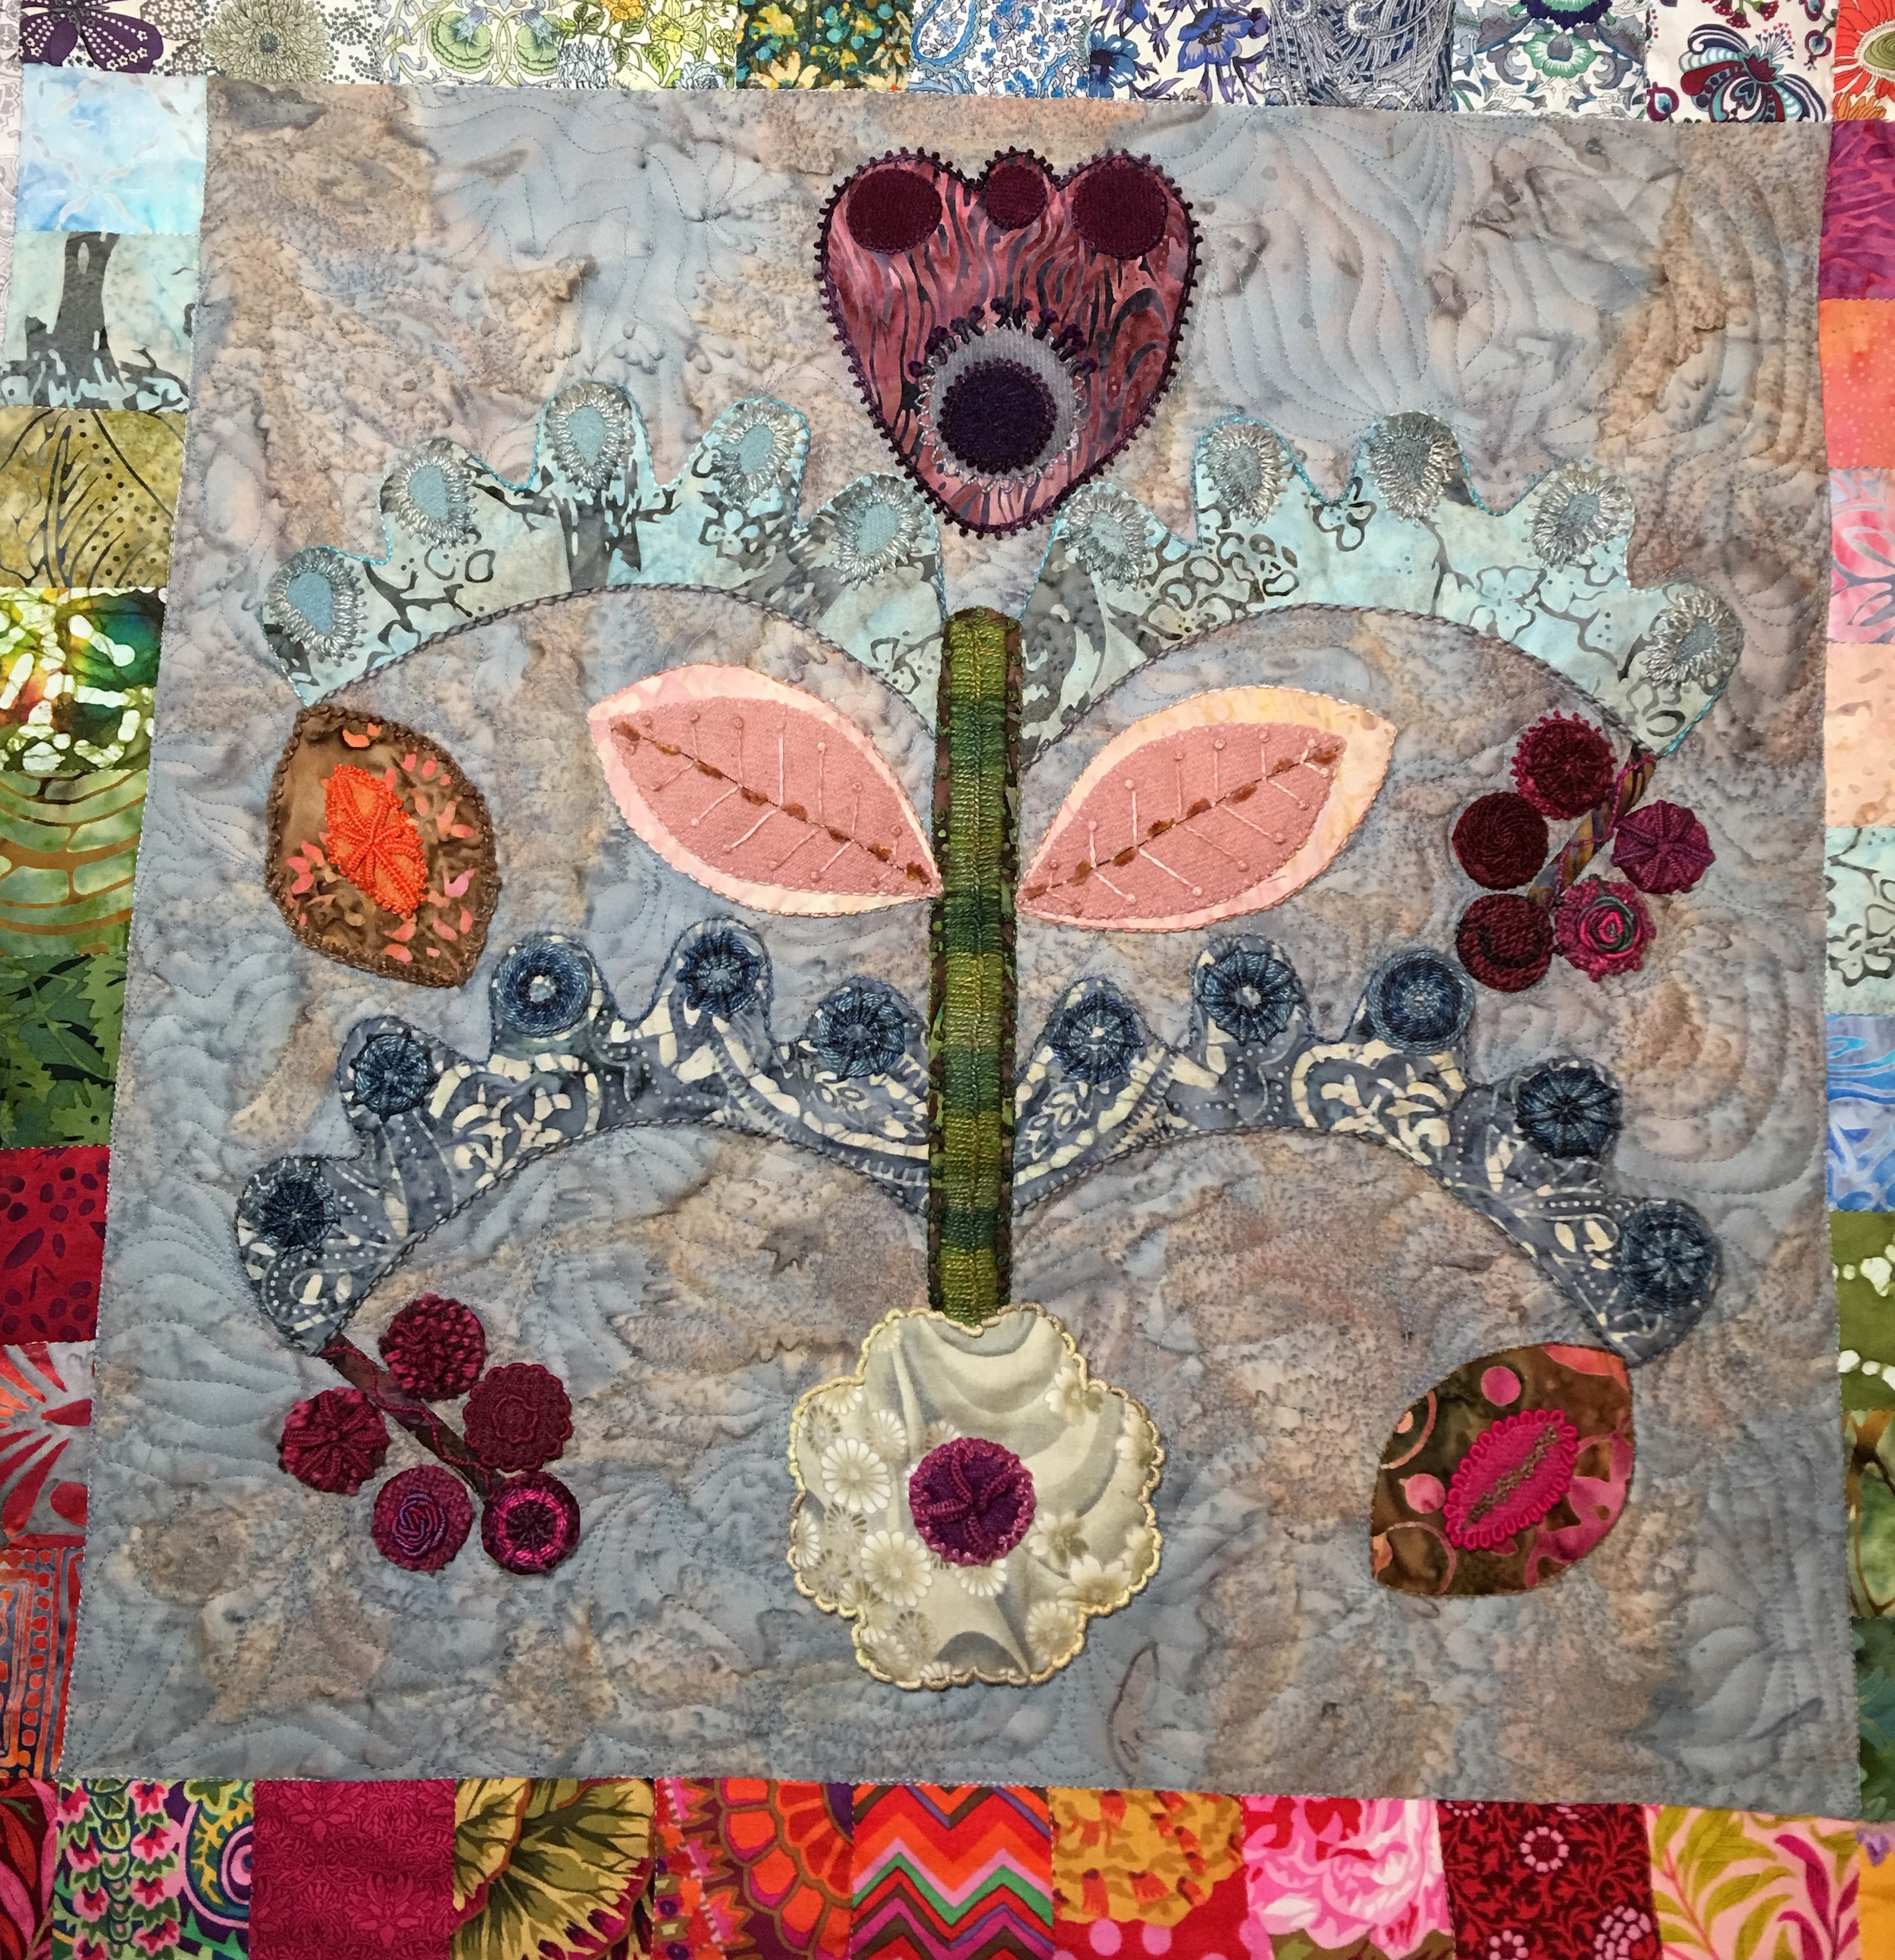
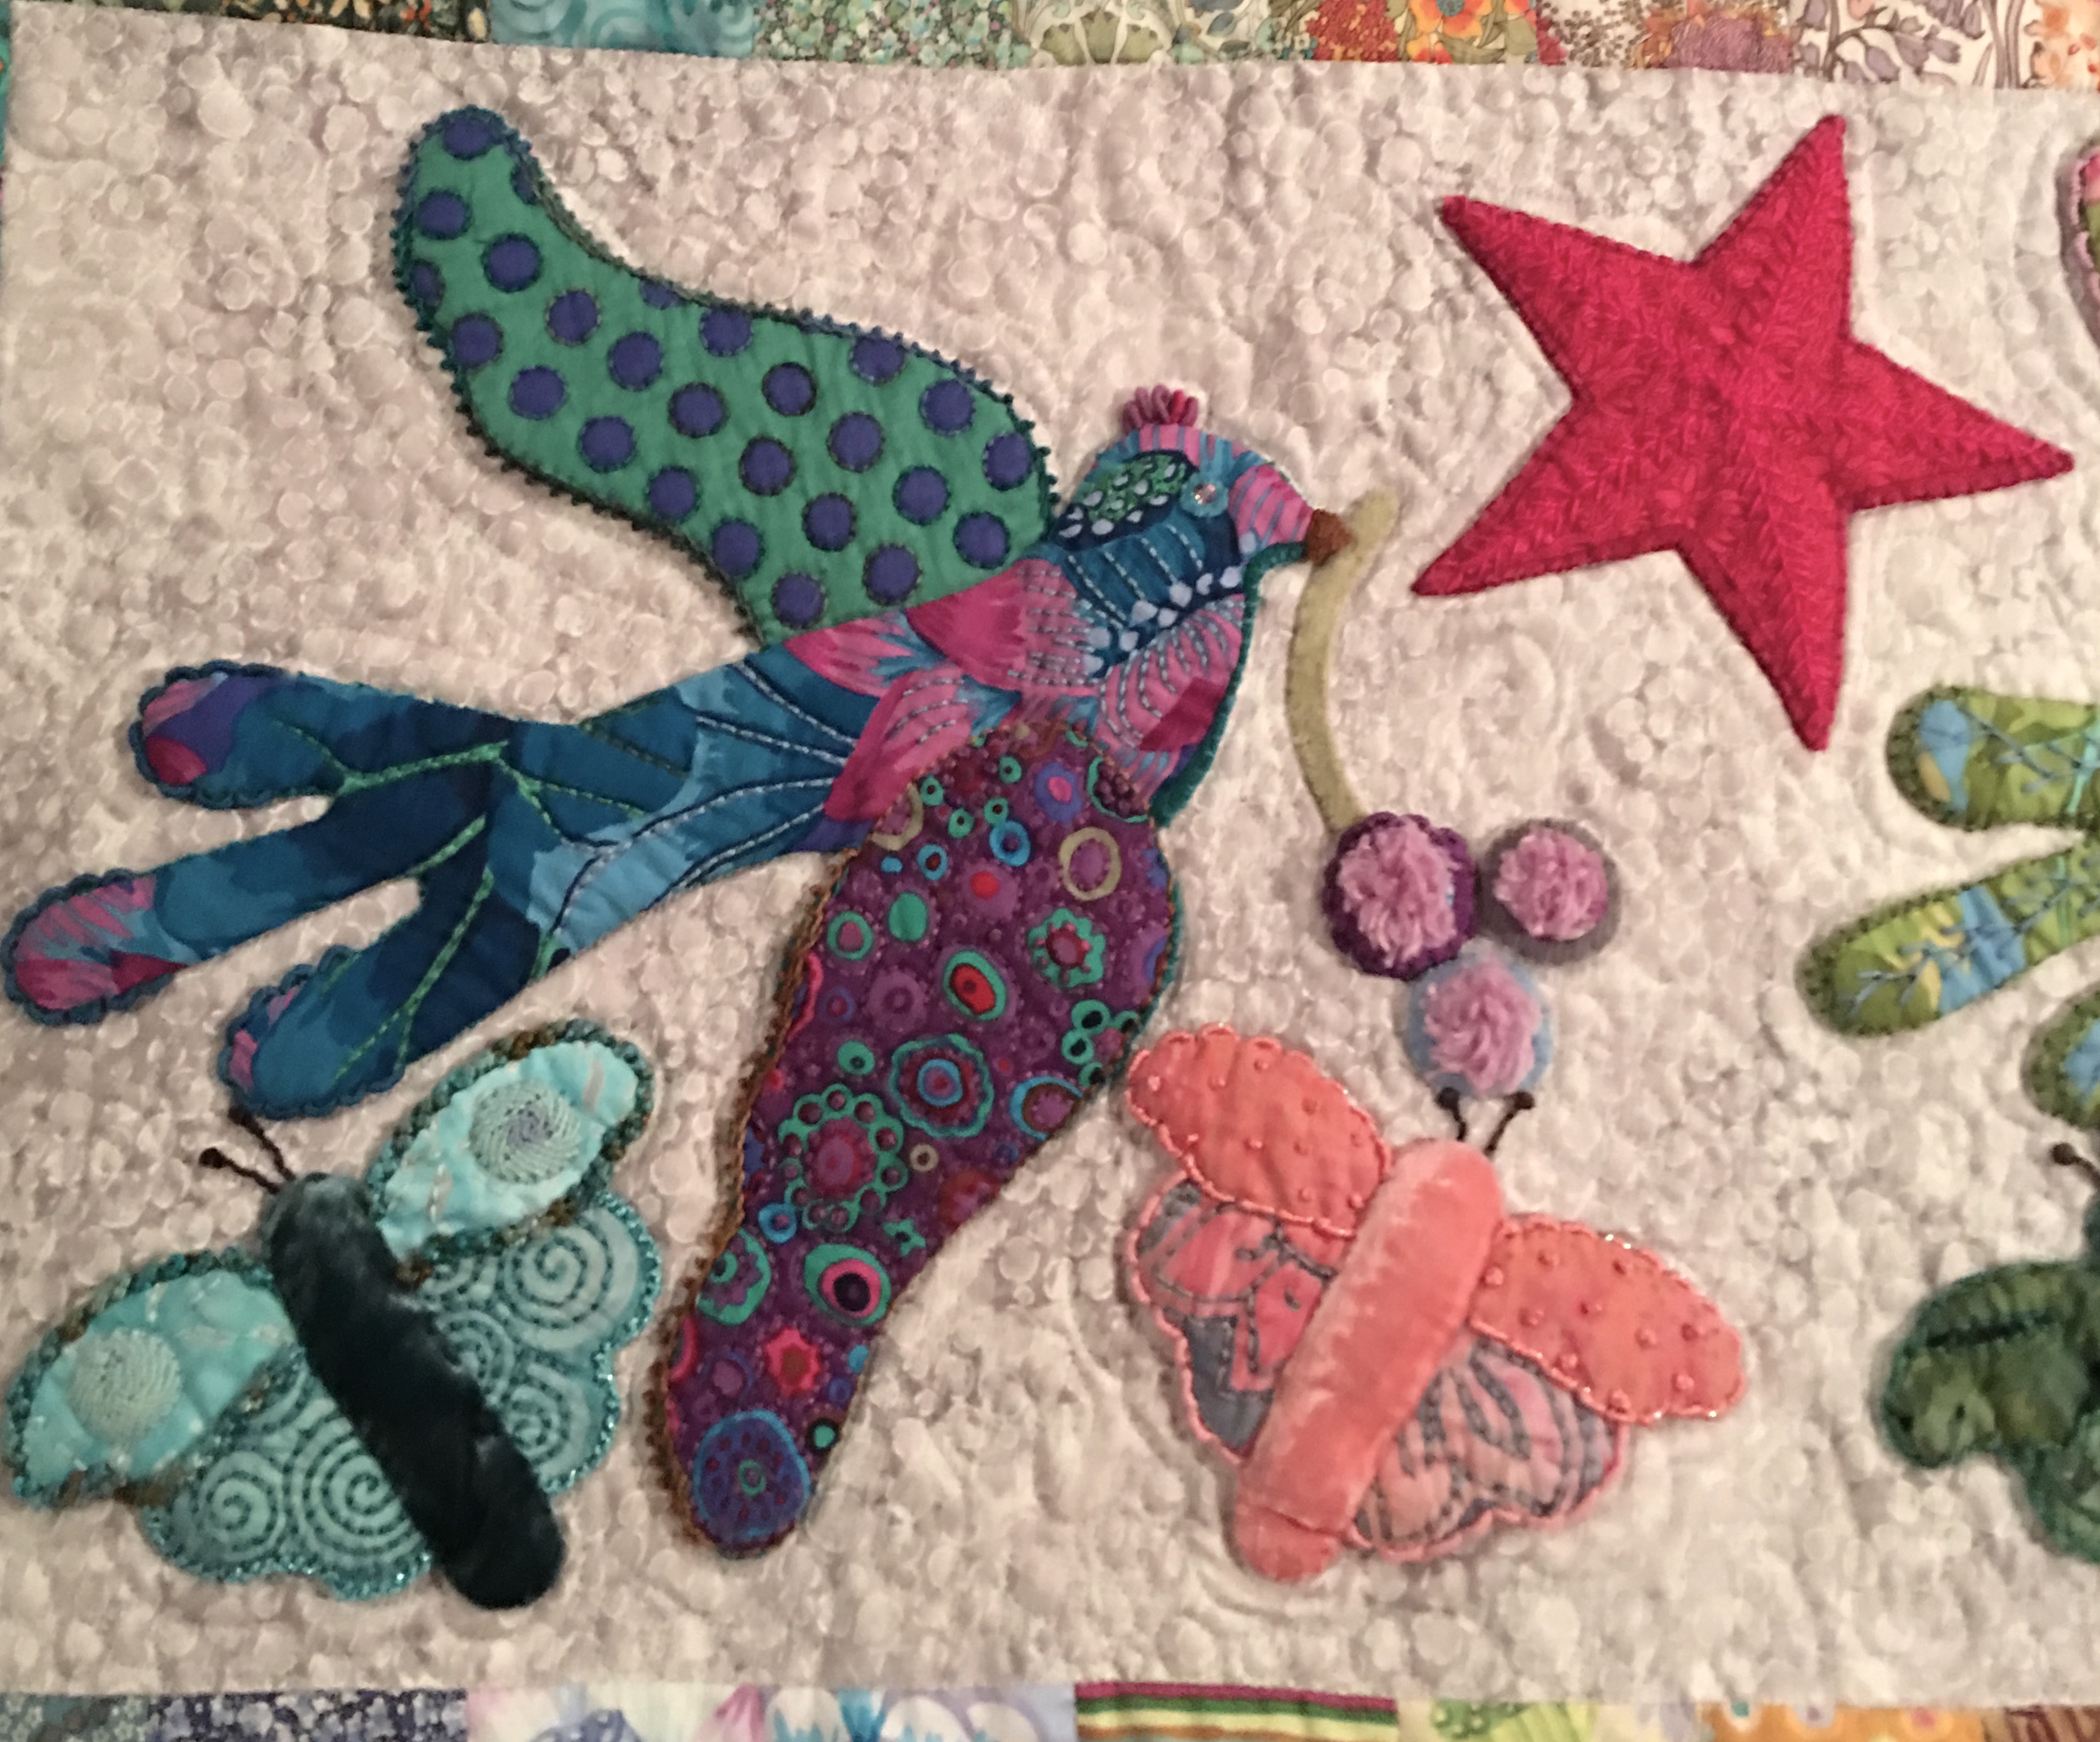
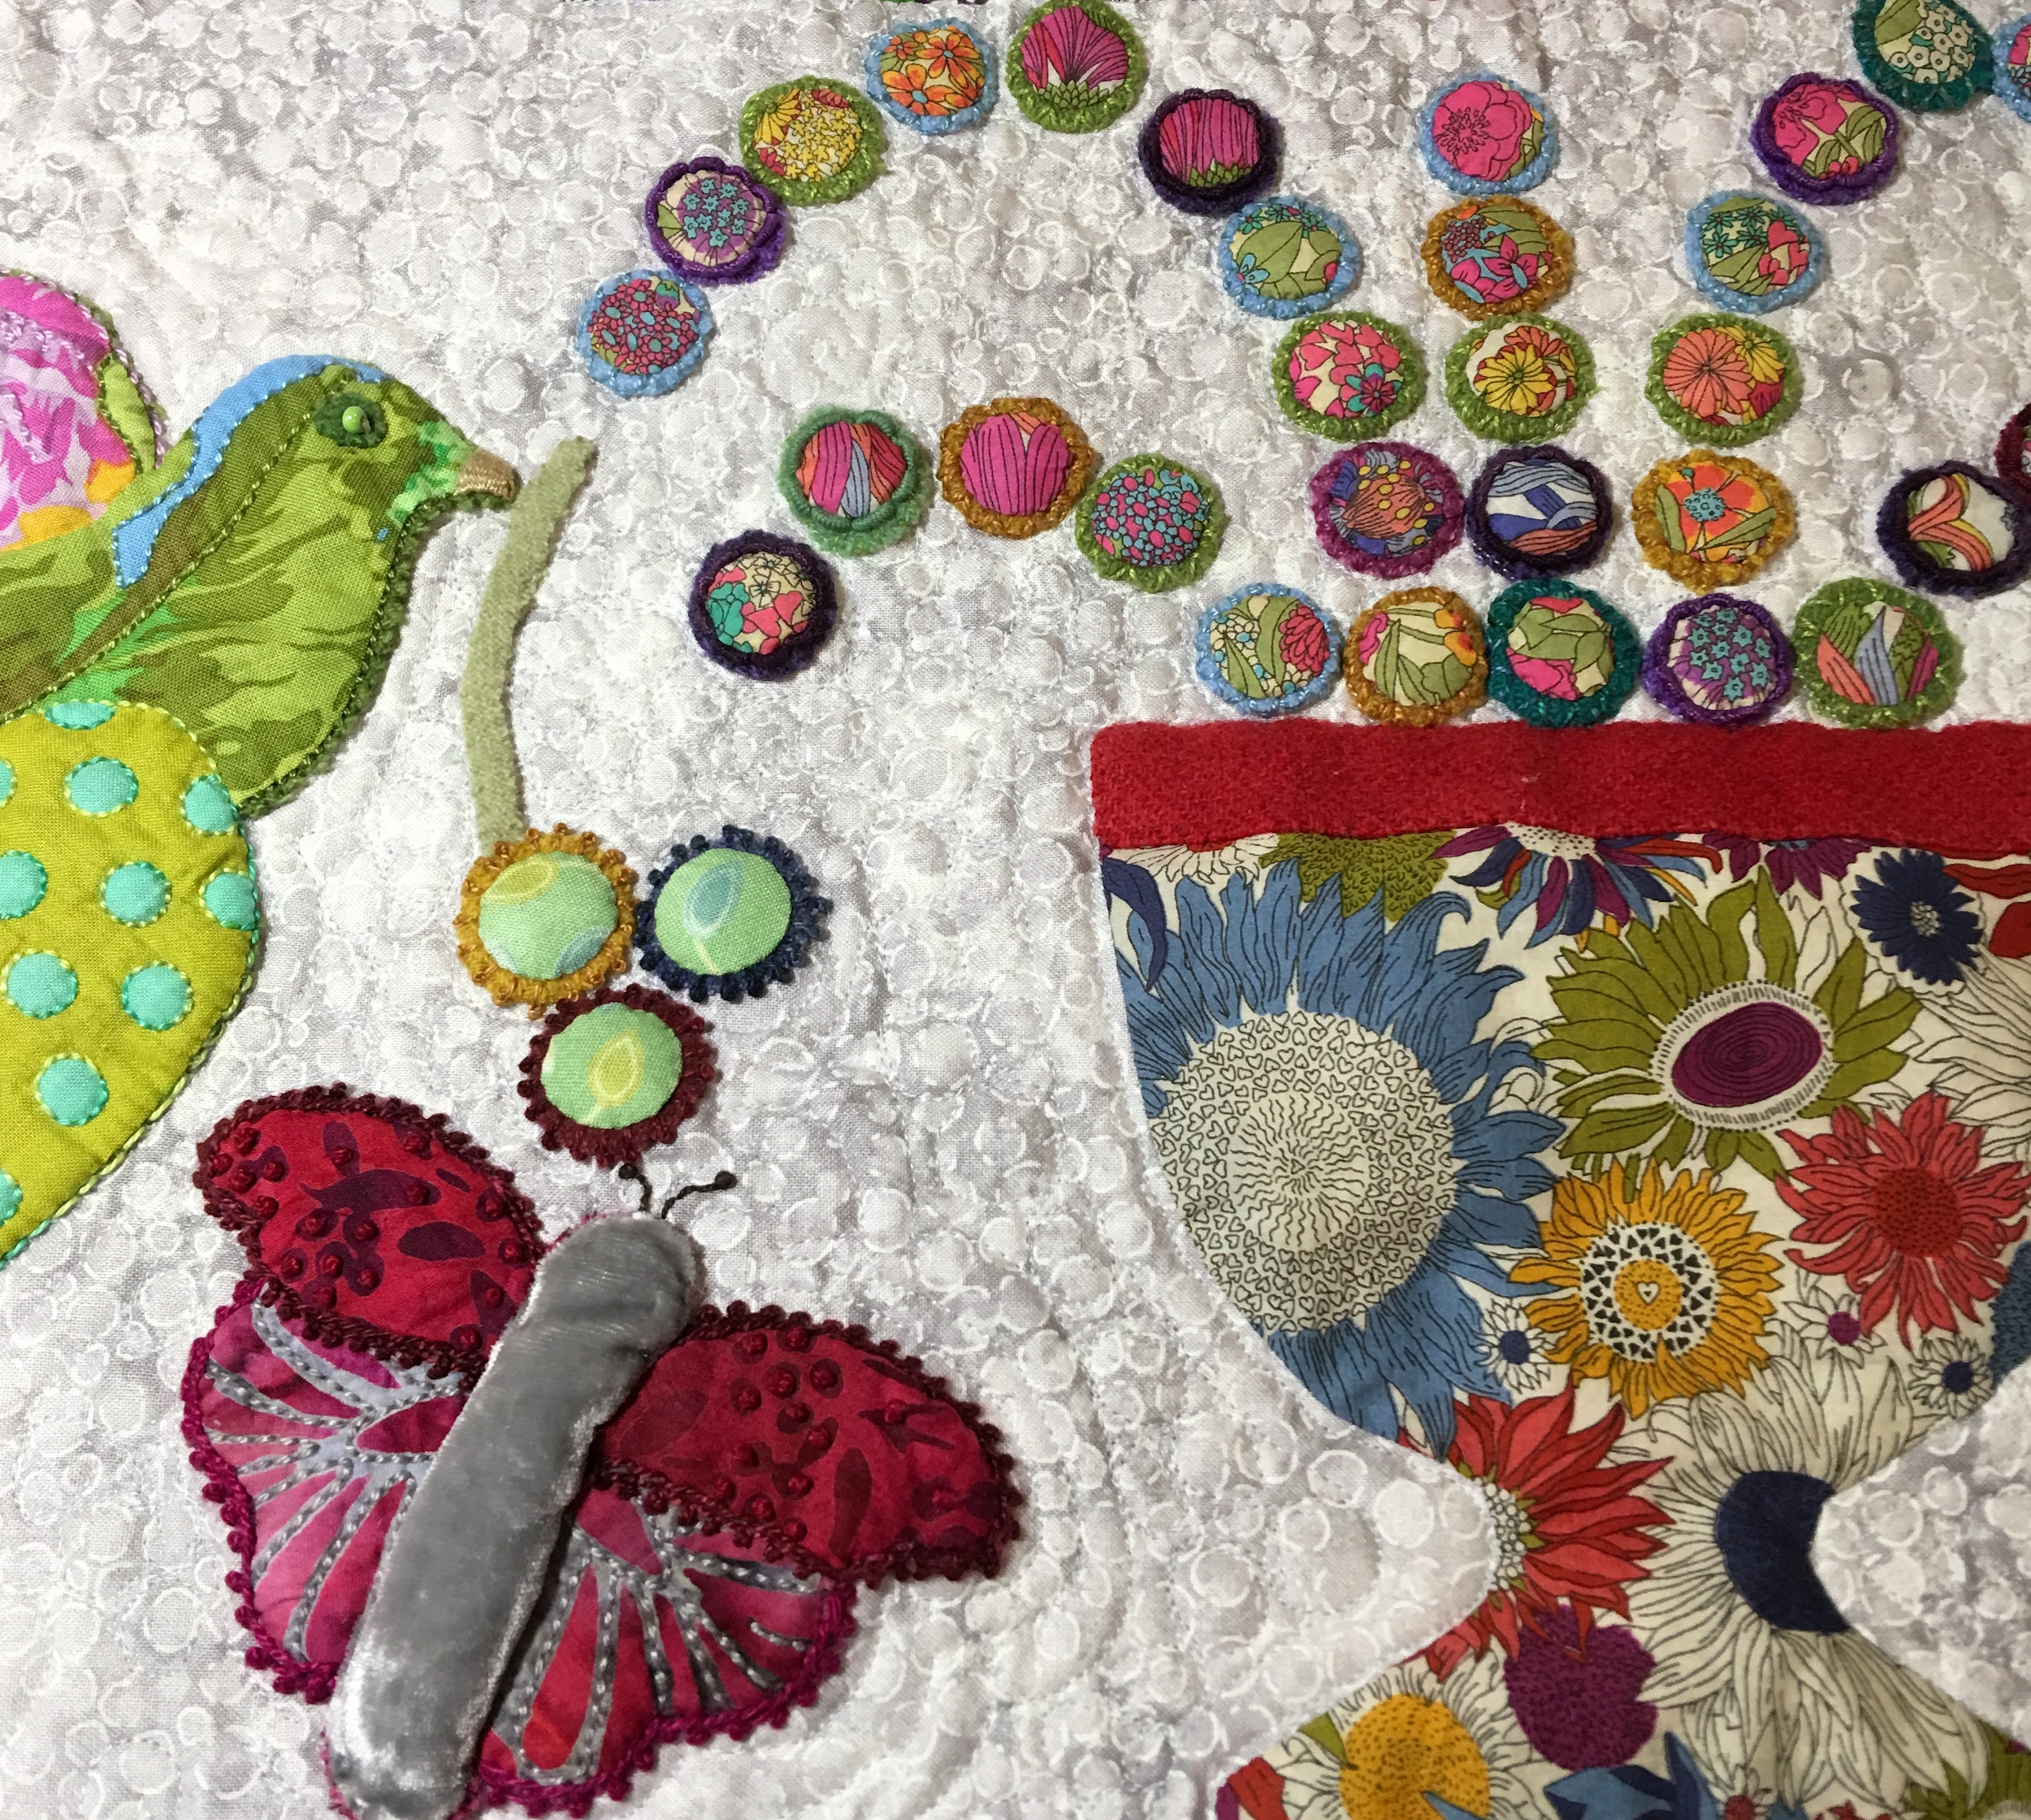
This is the queen-sized quilt that I have written about ‘here‘, ‘here‘, ‘here‘ and ‘here‘. In a nutshell this quilt was my starter quilt. I wanted to learn how to make a quilt start to finish. This quilt was designed by Kim McLean and is called Flower Pots. I took a class where we followed the pattern, learned to appliqué, and got to use all the things I had learned from Sue Spargo – layering, using different fabrics such as wool and velvet and then perle cotton and other threads and a multitude of stitches to enhance the shapes. I hand stitched all the appliqué and machine stitched the panels together with the sashing and border. I then used a wool batting and learned how to free motion quilt. I used a red batik for the binding, cut on the bias and hand stitched the back. Finally I made and applied a quilted label.
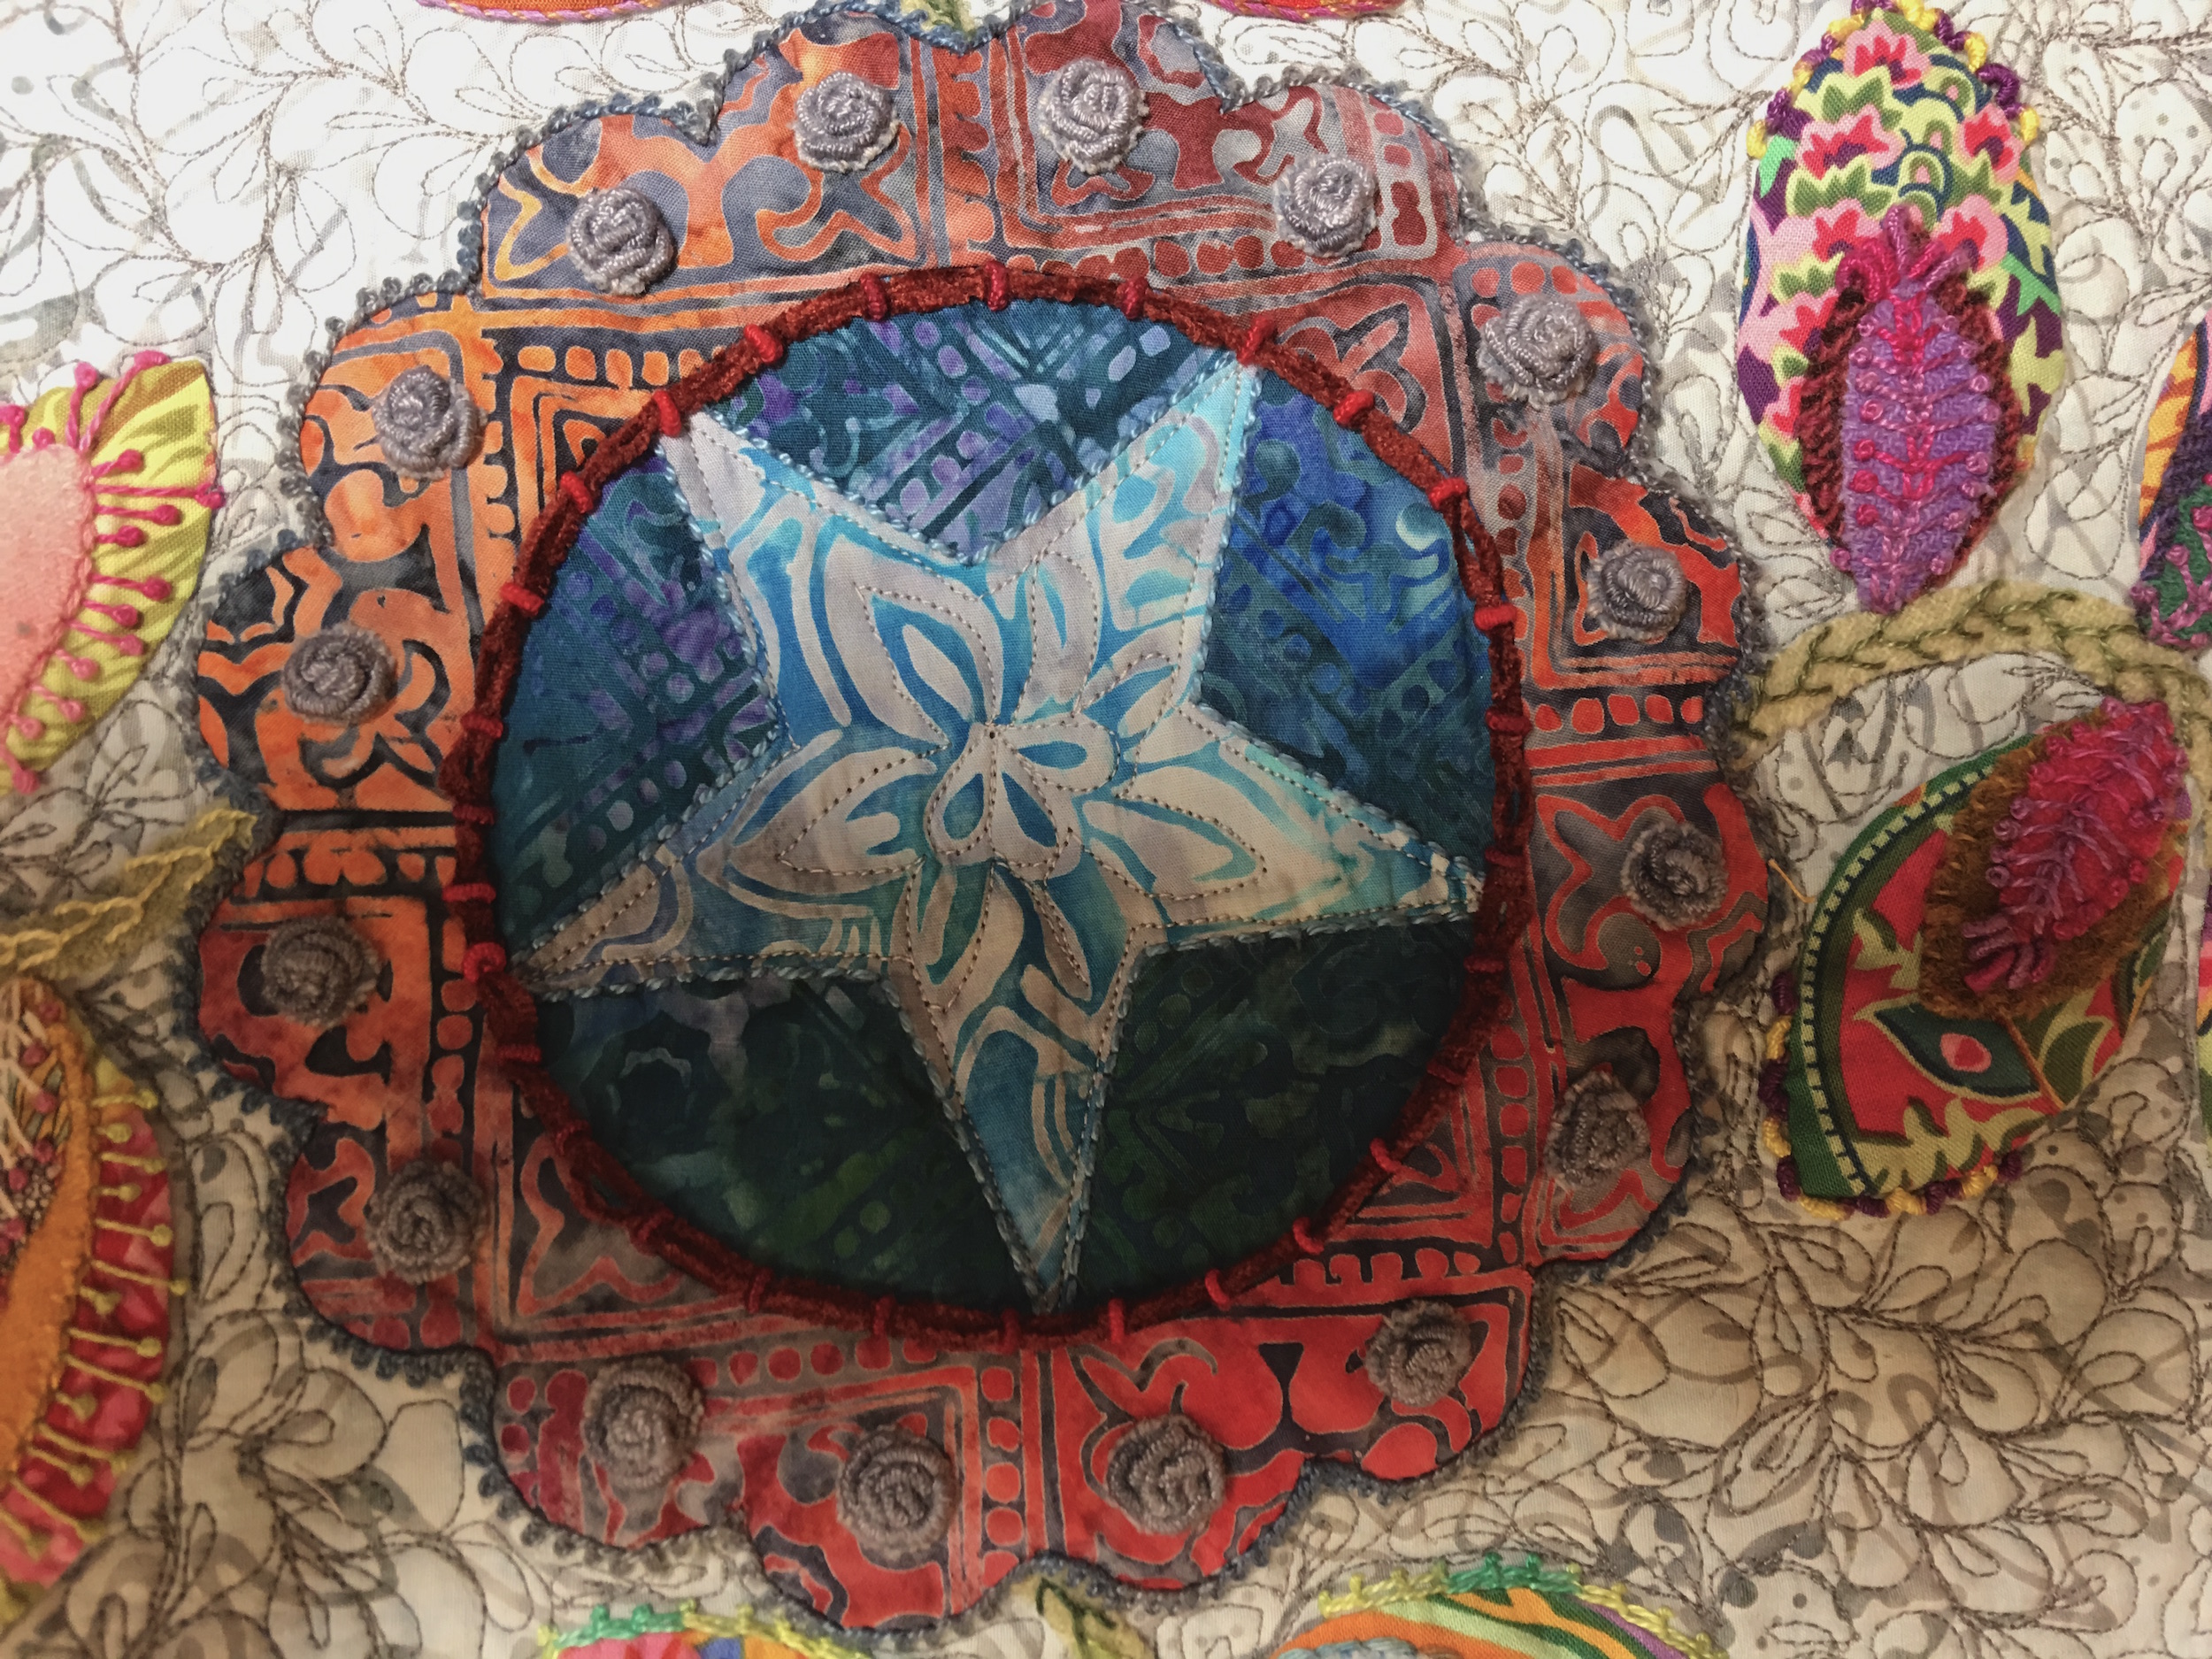
This first picture is of the lower center panel where I decided to try an emerging pattern of double leaf free motion quilting shape. I used a slightly darker grey thread.

Center Star Panel
For the upper center panel I wanted to try my hand at McTavishing, which is named after a woman who created a specific way to free motion quilt. After a few times, I went off and did my own thing, echoing, but also playing with flame shapes.

Top Center Panel
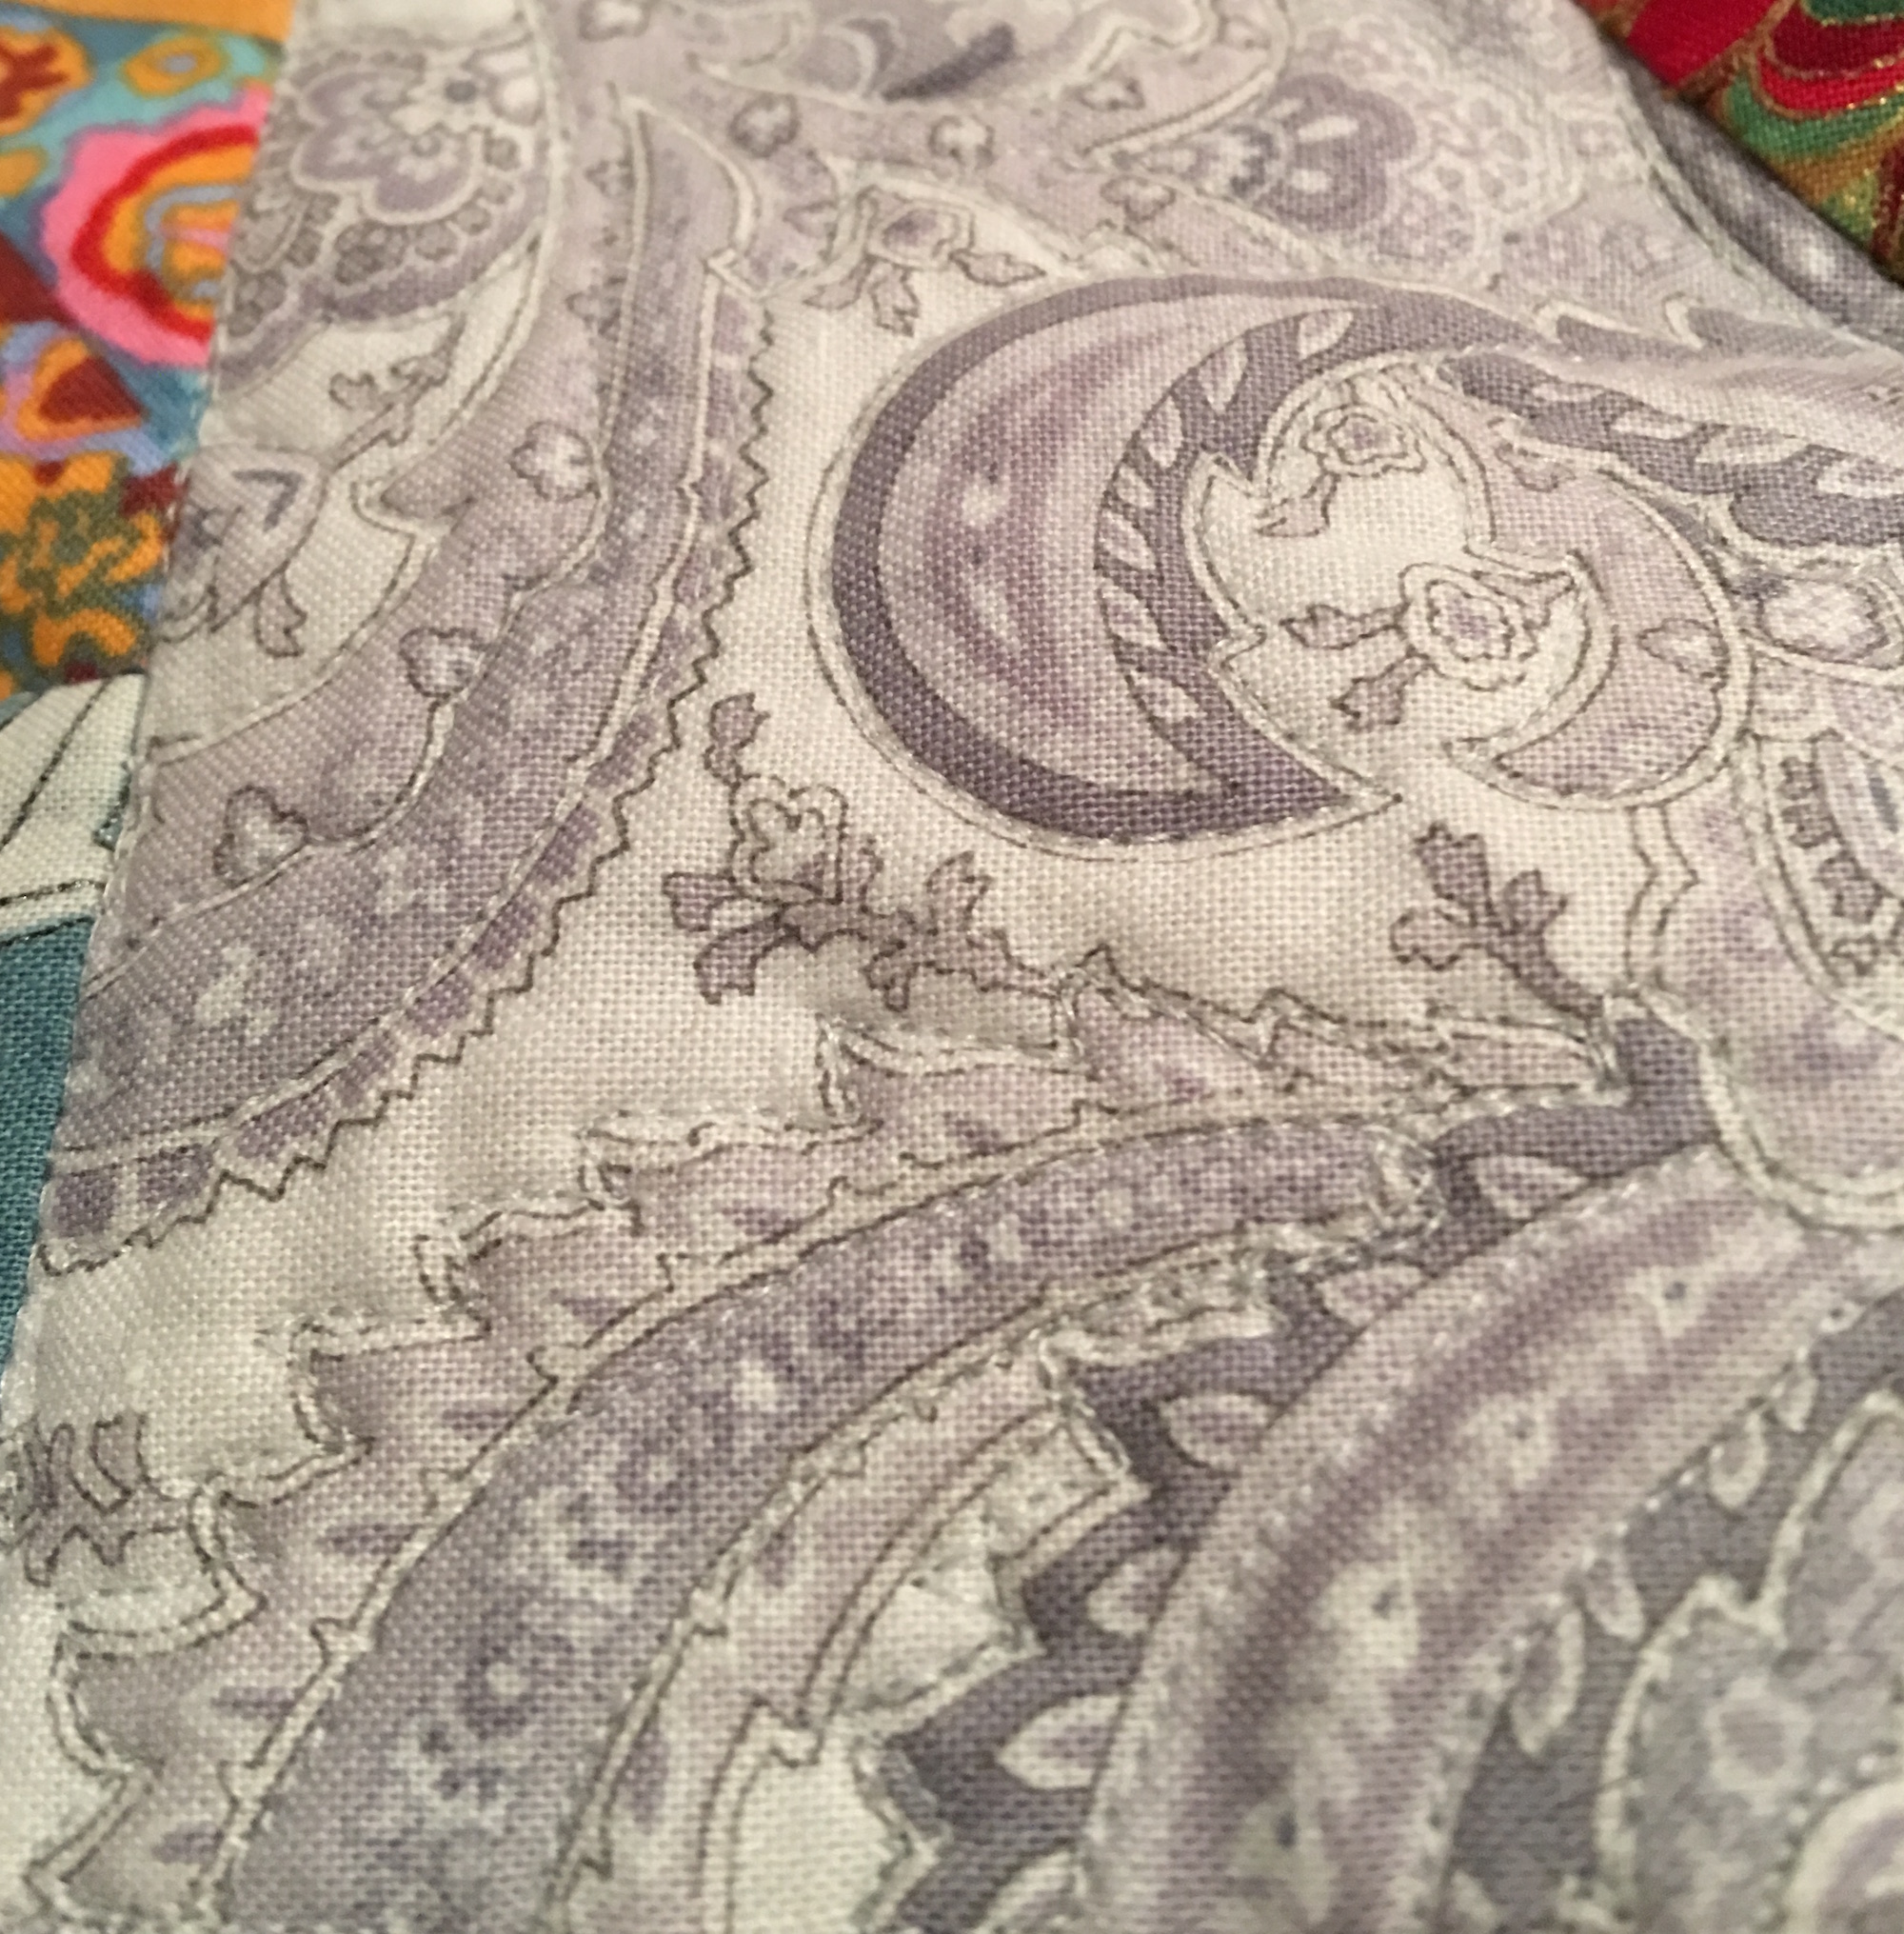
On this long side panel I decided that the paisley fabric was so cool I would just use it as a quilting guideline. I really loved how this turned out, though it’s hard to really see, I did add a close up below.

Side Panel

Detail of the free motion quilting on the side panel
This is the bottom panel and I included pebbles, echoing and swirls, which I did again on the top panel.

Bottom Panel

More of the center panel

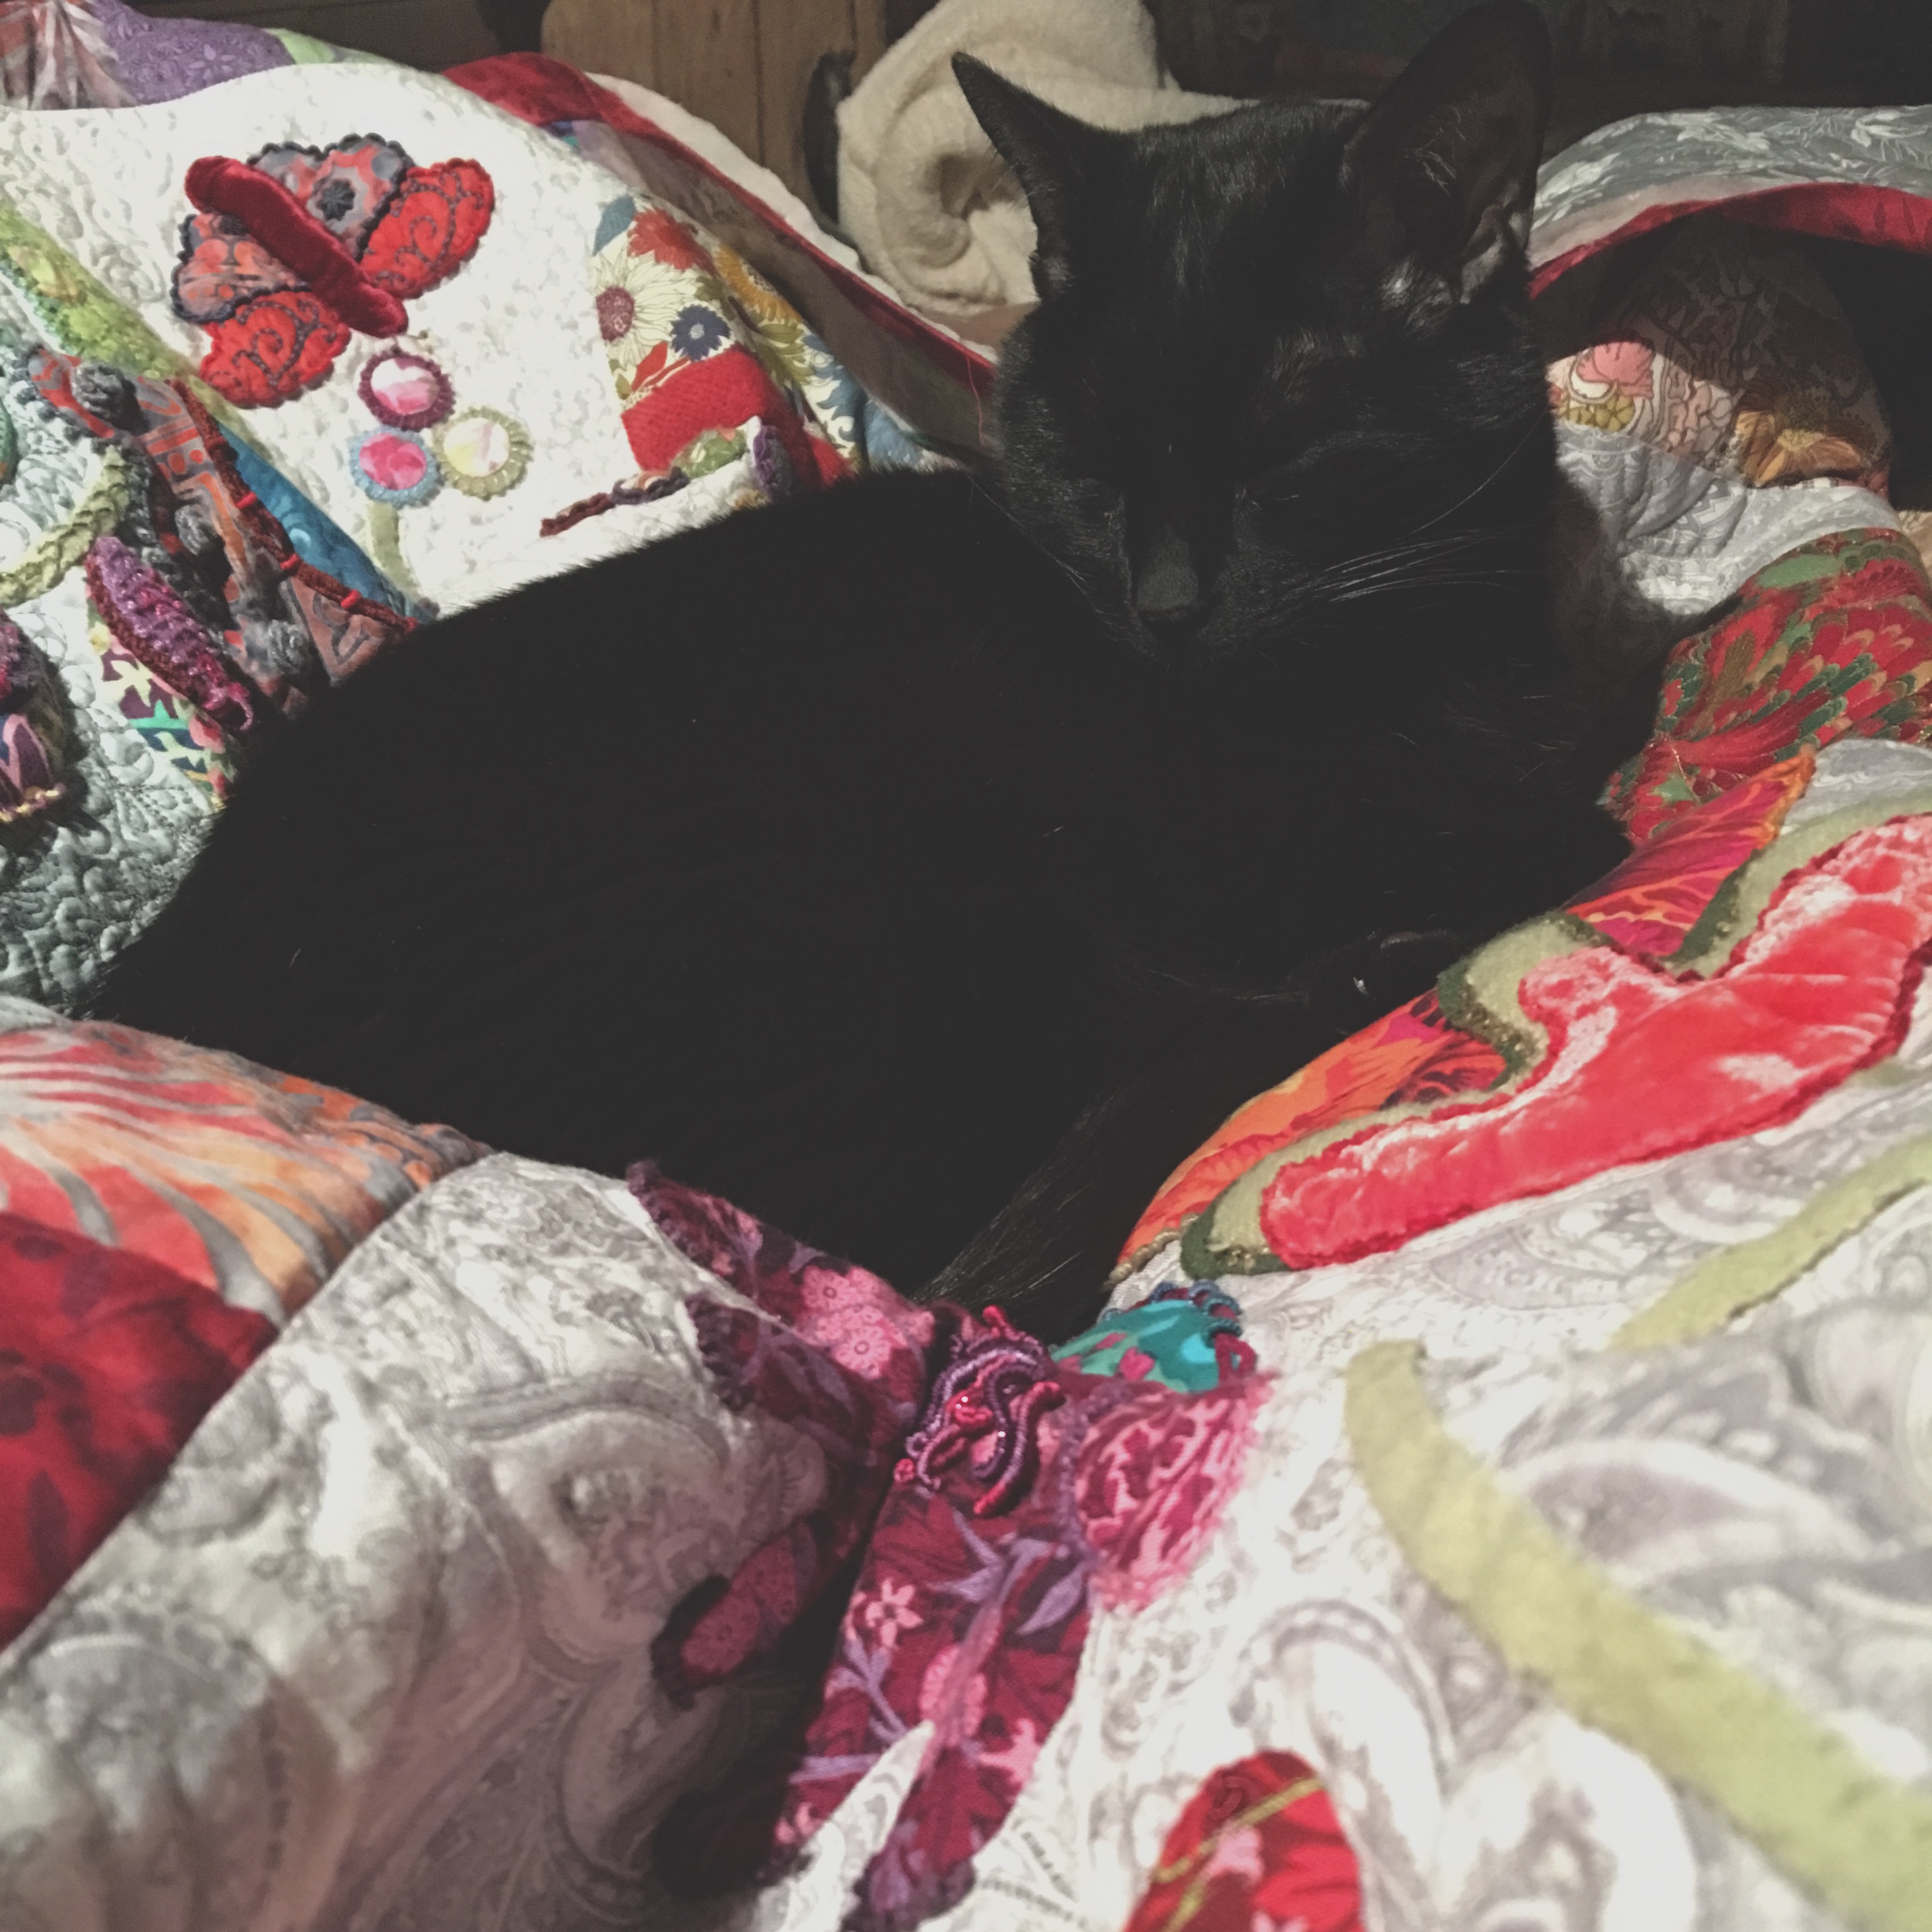
Merlin naps as I work
Merlin was constantly coming over to nap or pretend to nap while secretly inspecting my work. He loved snuggling up amongst the folds as I worked, making for some interesting adjustments on my part as I hated to disturb him!

The border
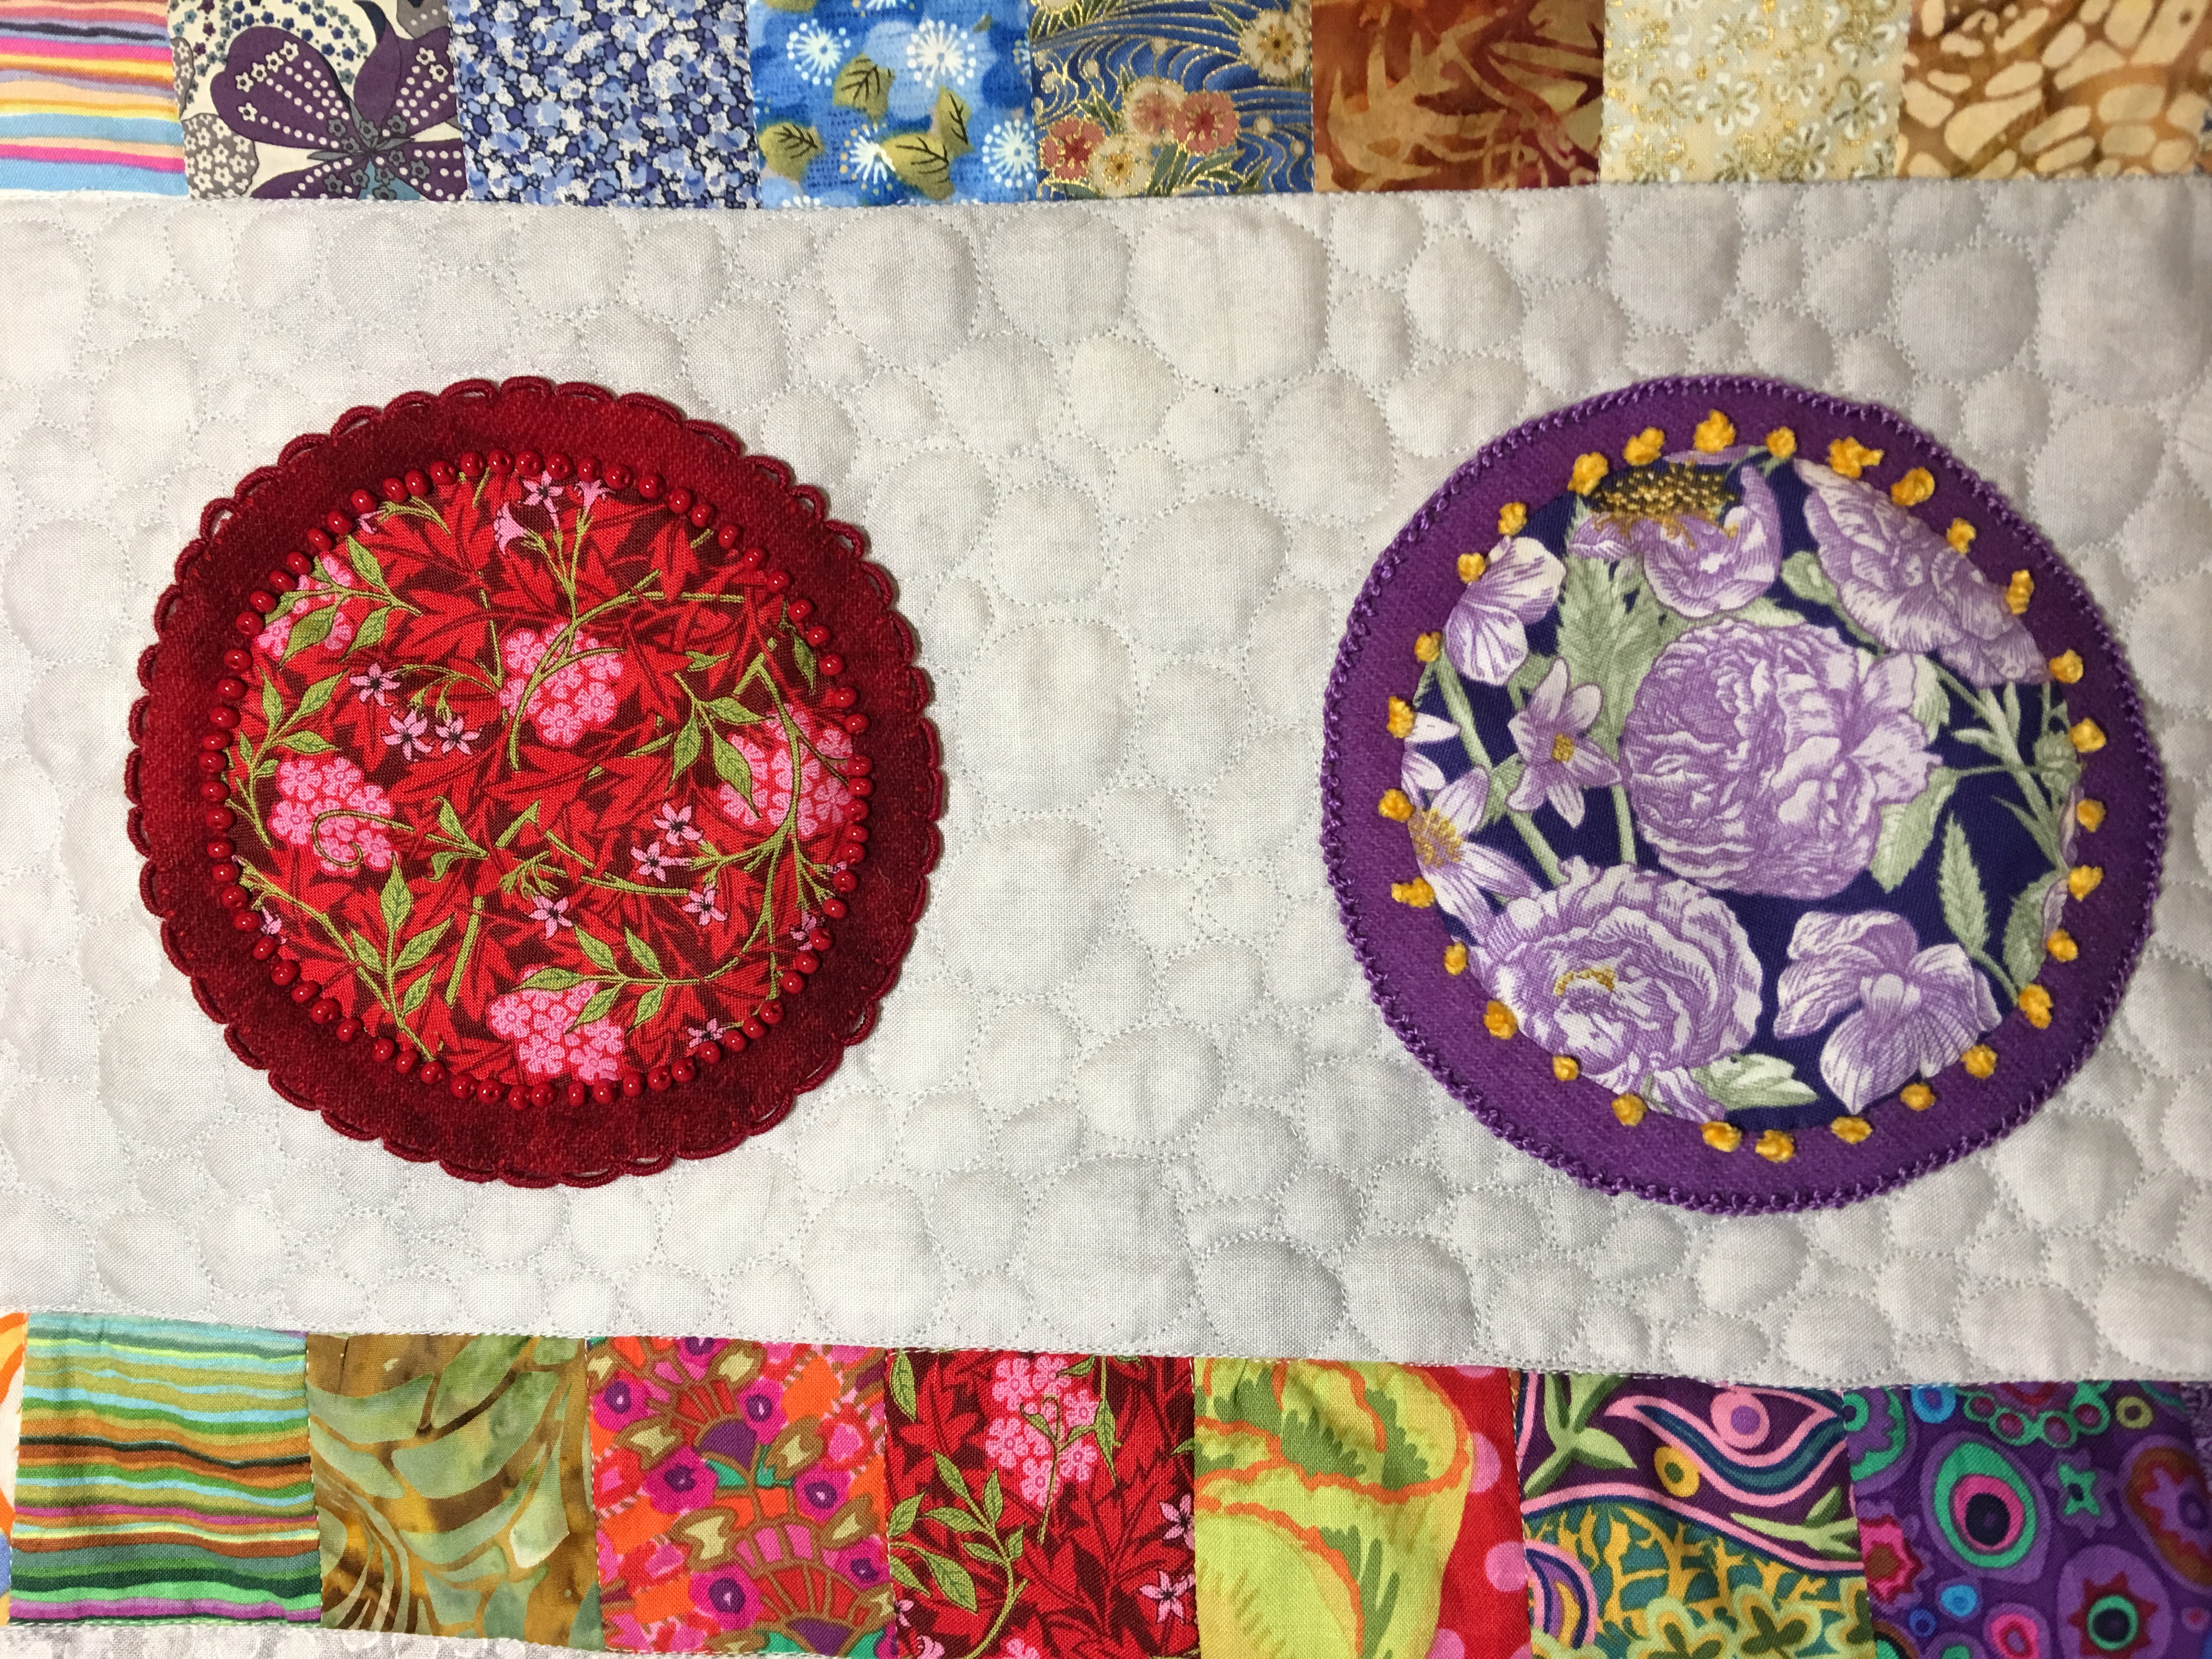
The entire border I did in a pebble stitch, which I love. It’s so reminiscent of shapes I used for my jewelry collection, The Lotus Collection. And now that I think of it, the swirls in the bottom and top panels remind me of my Samadhi Collection.

Hand Sewing the binding
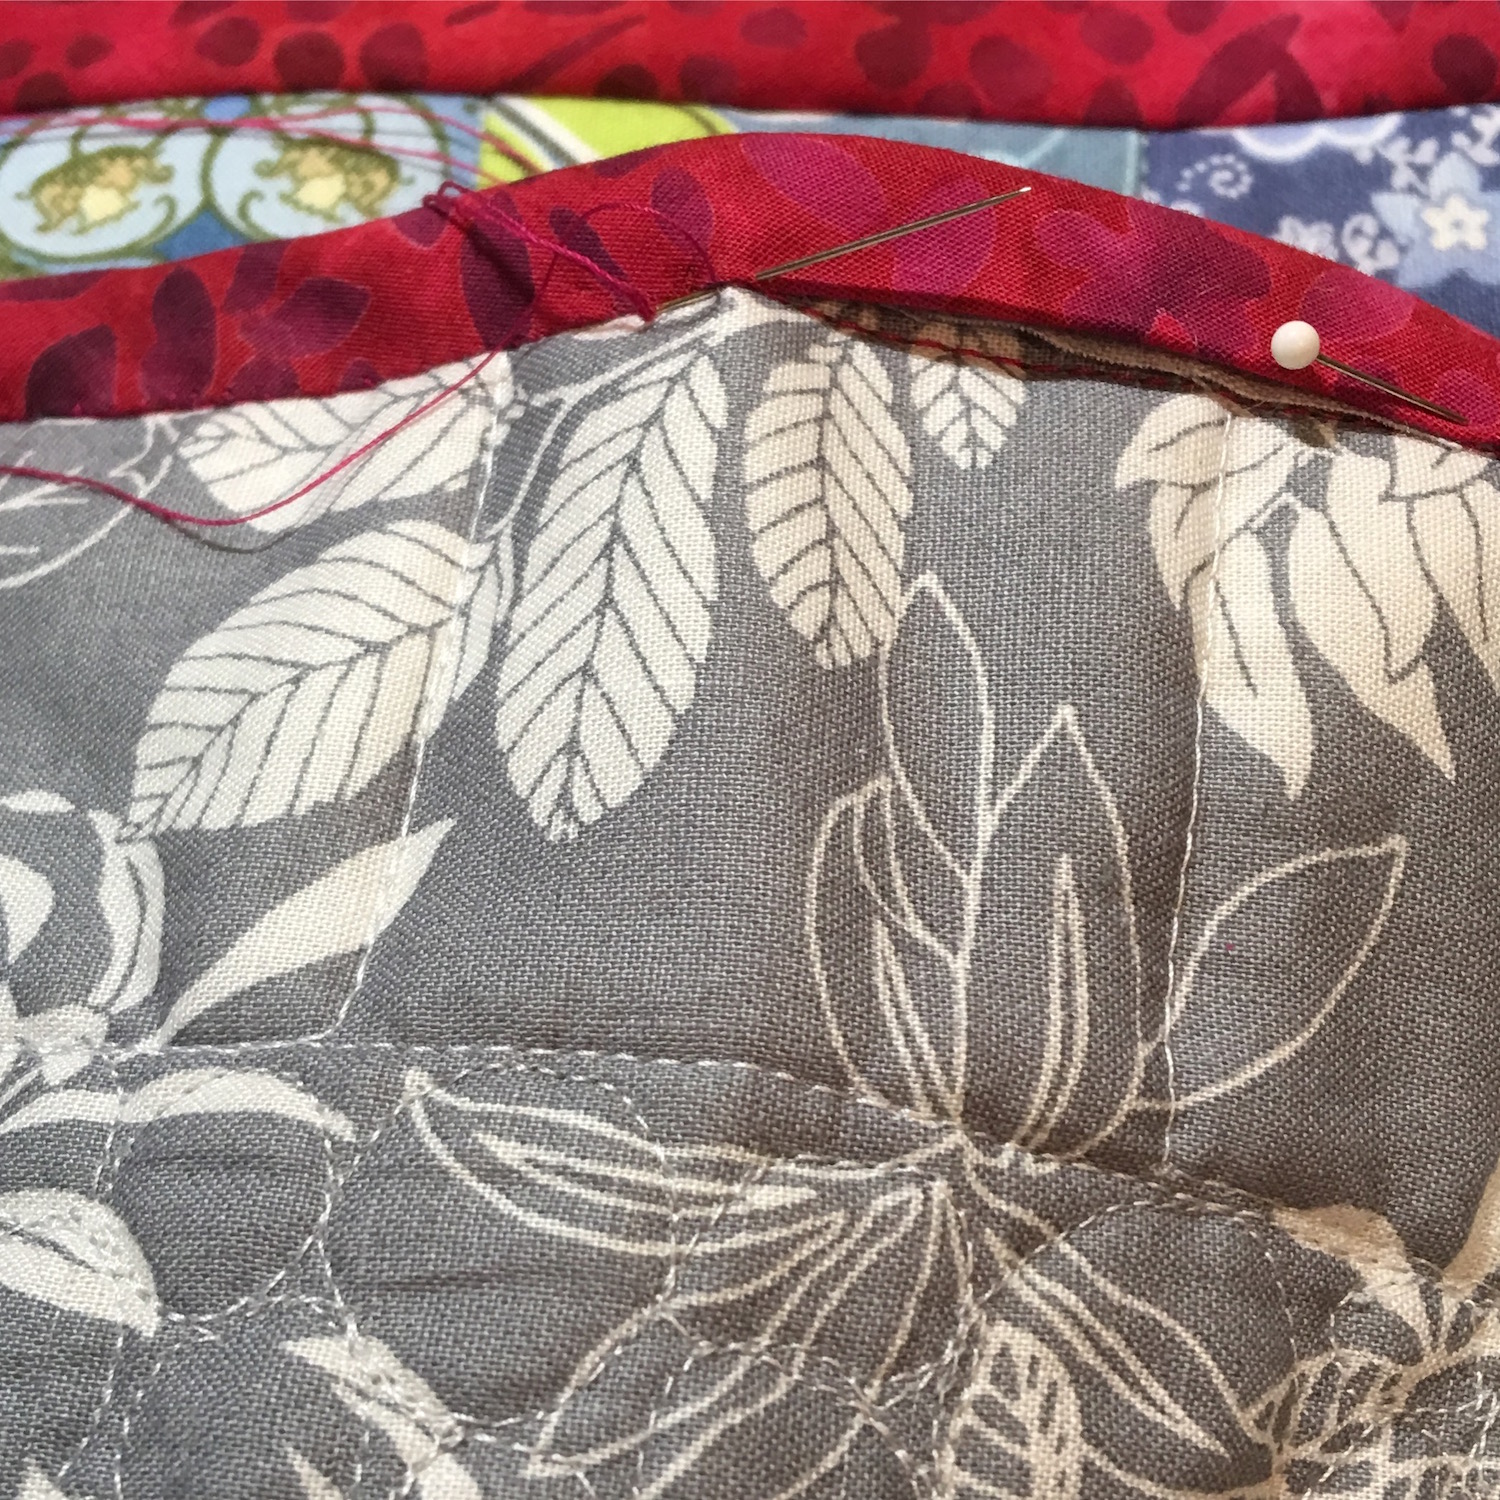
Finally I had to learn how to make and add a binding. After a number of different ideas regarding what fabric to use, I decided, with my FH’s (fabulous husband’s) help, to go with a red batik. Batik tends to be pretty densely woven, and as the binding can get more wear and tear than the rest of the quilt, I thought it was a good choice, plus, I love the red. I cut it on the bias, mitered the corners, and hand stitched the back.

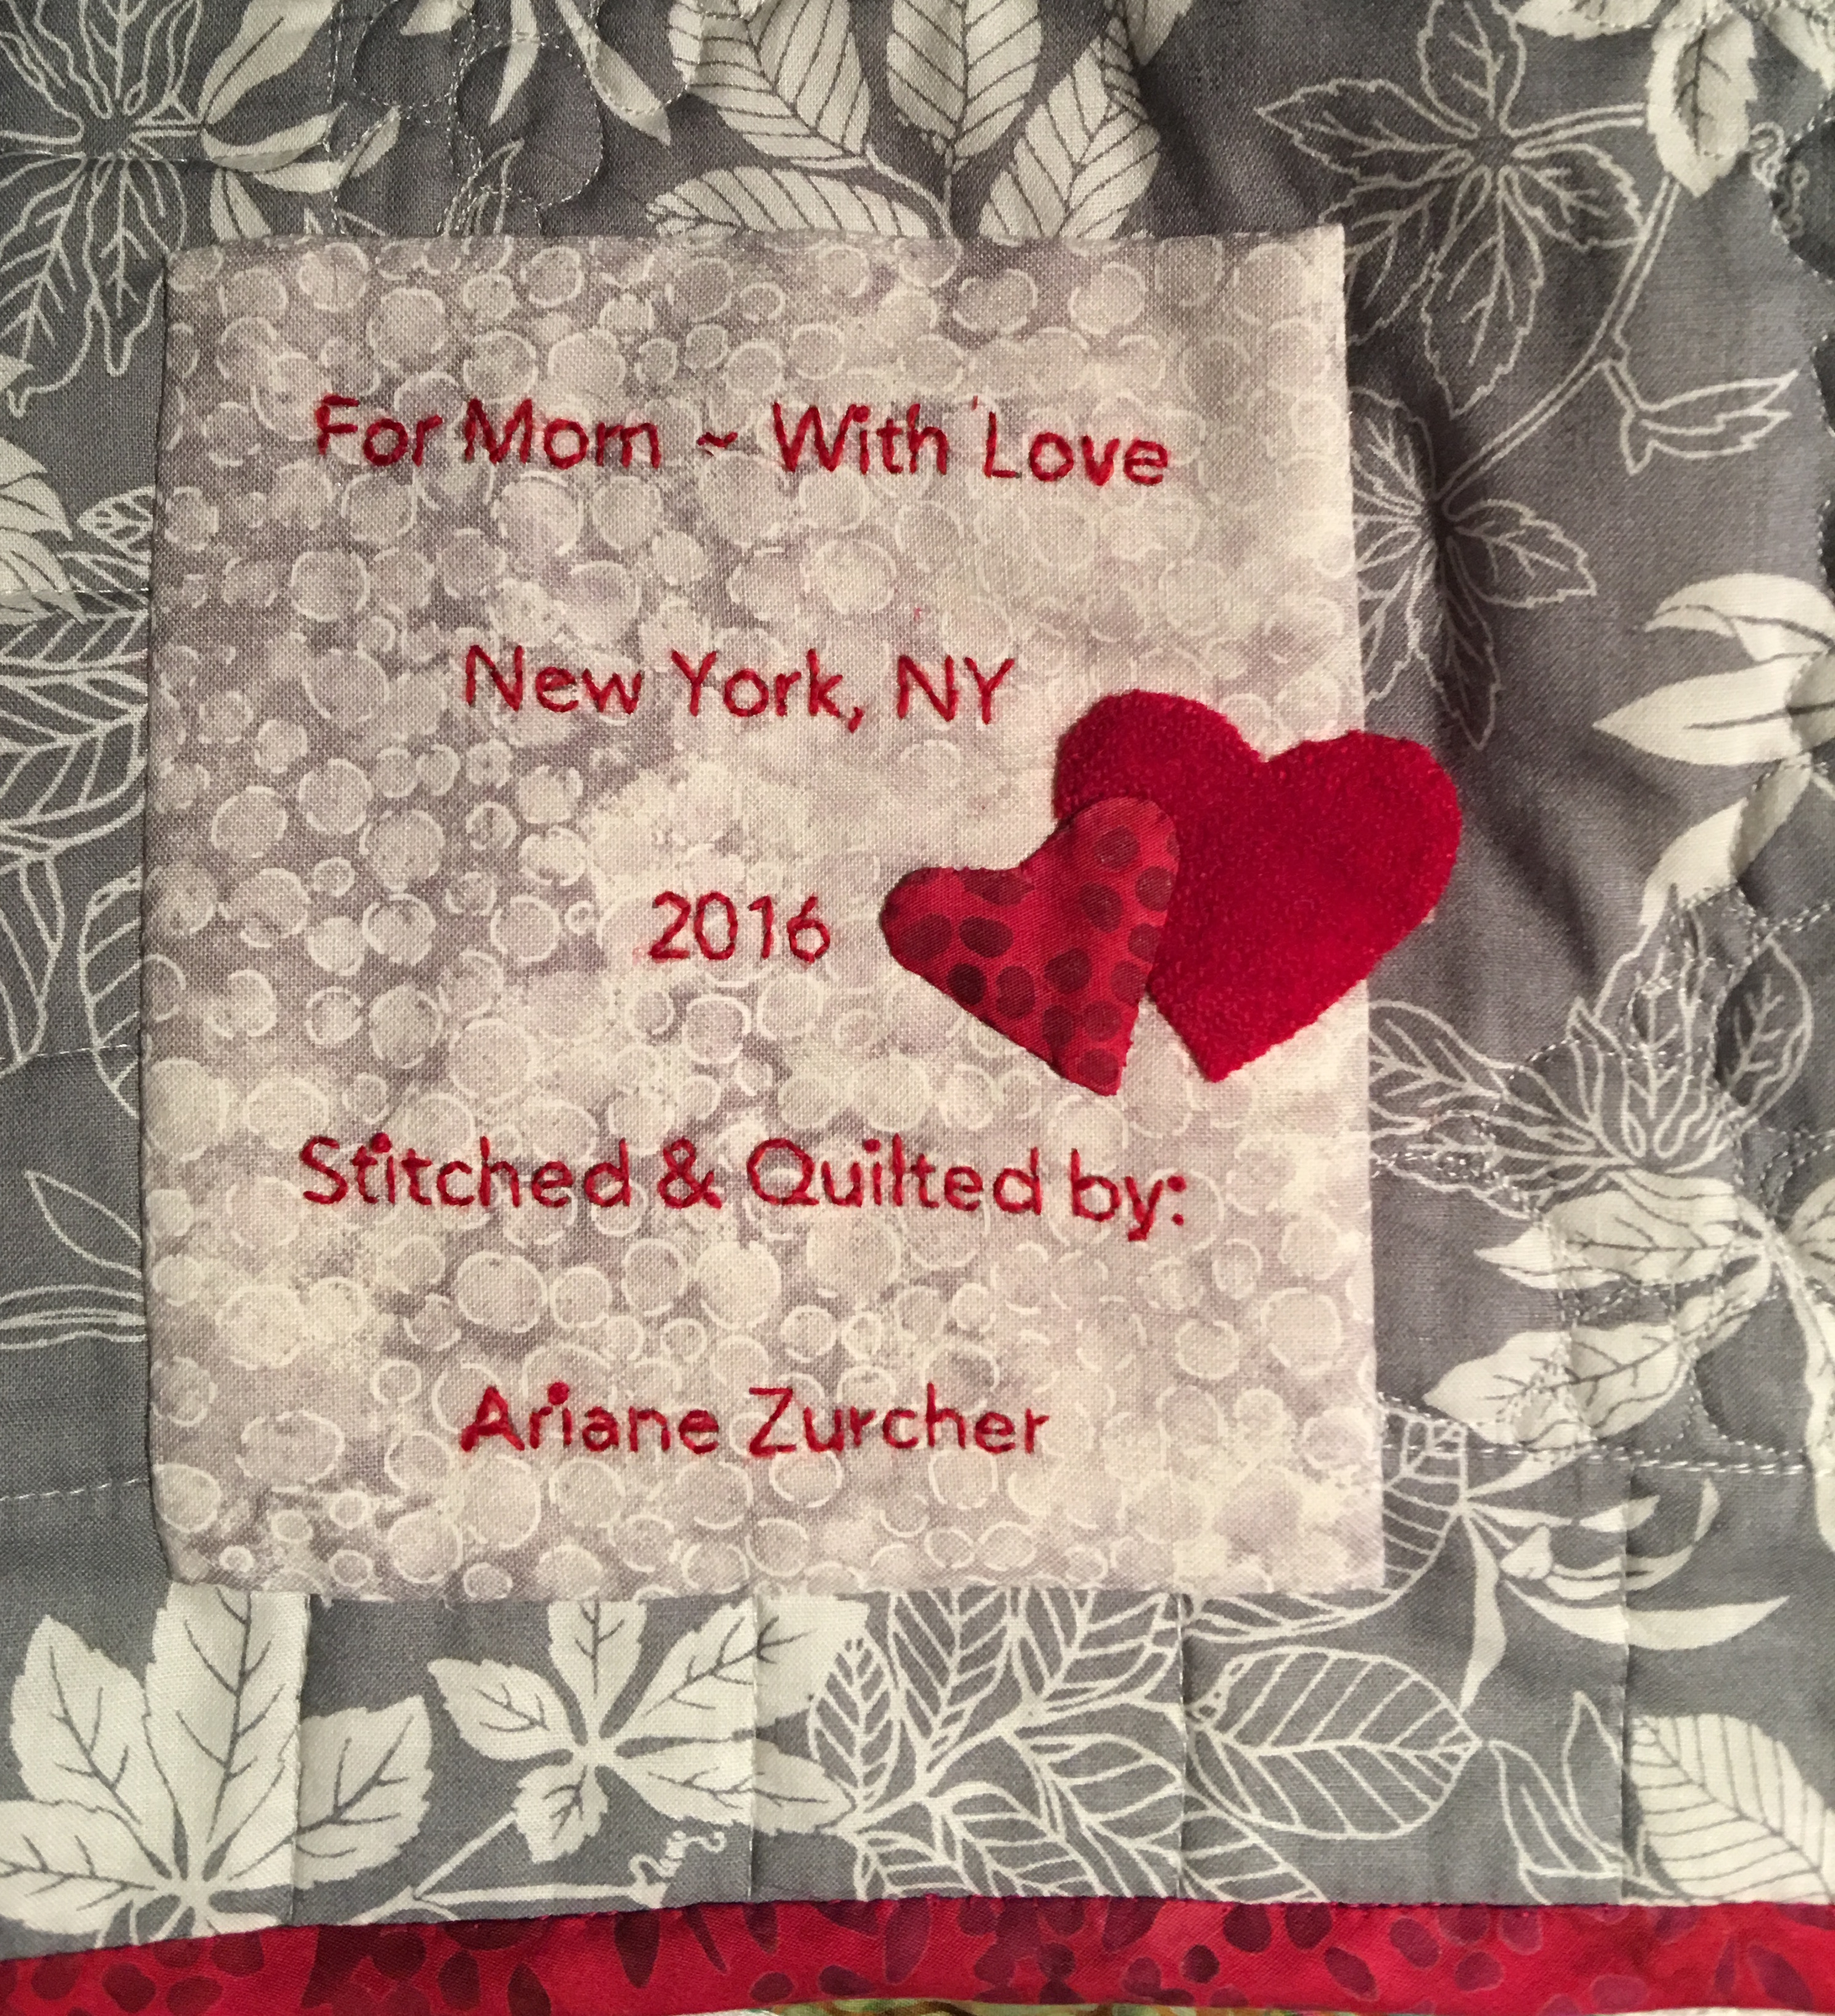
For my beautiful mom ~ Merry Christmas
And then I had to learn how to make a label for my quilt. There are wonderful ideas on Pinterest. Are you on Pinterest? I LOVE, LOVE, LOVE pinterest. I made a label using word documents and then used a freezer paper and cut a piece of fabric that I adhered the freezer paper to and copied the printed label onto the fabric, lightening the tone so it was just readable, but wouldn’t show too much. I then removed the freezer paper, sandwiched the printed material with a cotton batting and muslin and then used red wool thread and stitched the text. I added the little wool red heart and cut out another smaller heart in the same fabric as the binding because I figured I can’t add enough hearts to a quilt made specifically for my mom.
So Mom, if you’re reading this, the cats out of the bag. Merry Christmas!! This quilt was made for you. I thought of you the entire time I was making it. I hope it will keep you wonderfully warm during those cold winter months and I’m told wool batting breathes and should be perfect for the summer months as well. I love you.
What’s next? A twin-sized quilt that I will design, stitch and quilt!! I’ve got my sketch book and am playing with some ideas… I’ll keep you posted! Heh-heh, a little pun to end this post.
![The Joy of Dyeing]()
by Ariane Zurcher | Oct 4, 2016 | Art, creative process, Free Motion Quilting |
My mother has always been a self proclaimed “student,” whether that’s a student of life or of a specific topic, she has always been curious and an avid learner, and as a result, she is a really interesting person to talk to. I, too, am a constant “student.” What this means is that I am often a beginner, which means I’m learning, practicing, making mistakes, perfecting, learning more. When I was younger I wanted to be an expert at something, anything, but as the years wore on I have learned to love the “beginner’s mind,” which can be applied to just about anything. (There are some things I do know quite a bit about and as a result I have strong opinions about those topics, but I’m talking about learning and how it applies to the creative process.) Having a beginner’s mind means being curious, open and filled with wonder. This post is about creating, and in order to create I need to be open to new things.
Last January I took a class, an actual class, not a virtual one, at the soon to be closed City Quilter. It was a BOM (Block of the month) class, and though there were not 12 blocks, but instead six, I figured it would be a good way to learn the process of taking a quilt from start to finish, and it was! I learned a different appliqué technique, I had the support of other classmates, I enjoyed going in once a month to see what everyone else was doing. It was wonderful. It was my first BIG project and I’ve written about it at length in previous posts ‘here’. Each block was hand appliquéd (I’m adding the link to the Craftsy class I took, that helped me enormously, with the hand appliqué technique) and I applied all the stitches I learned from Sue Spargo’s Craftsy class. I’ve talked about the joy of Craftsy in other posts ‘here‘ so I won’t go into all that again.
Once the quilt top was put together, I had to learn how to quilt the whole thing, which took me to this class and this one and this one. I am now in the final stretch and I continue to learn, make mistakes and try again and then learn some more. Each time I don’t know how to do something I google it and look for websites that focus on what I want to do. For Free motion quilting, Lori Kennedy’s The Inbox Jaunt blog is absolutely fantastic with free tutorials on specific motifs. For stitch inspiration there’s of course Sue Spargo’s fantastic website, store and blog, but there are also some great blogs out there that concentrate on stitching, such as Sharon Boggon’s Pintangle where she features a TAST (take a stitch Tuesday) and Mary Corbet’s NeedlenThread, which is more traditional embroidery and oh my goodness is her work beautiful, then there’s Eleanor Pigman’s blog, she’s a bead artist and her work is absolutely incredible! A couple other, not-to-be-missed-blogs are: Kelly Cline Quilting, a blog filled with amazing work, both stitching AND quilting and Trish Burr, the queen of embroidered birds and flowers, though all her work is absolutely incredible and beautiful.
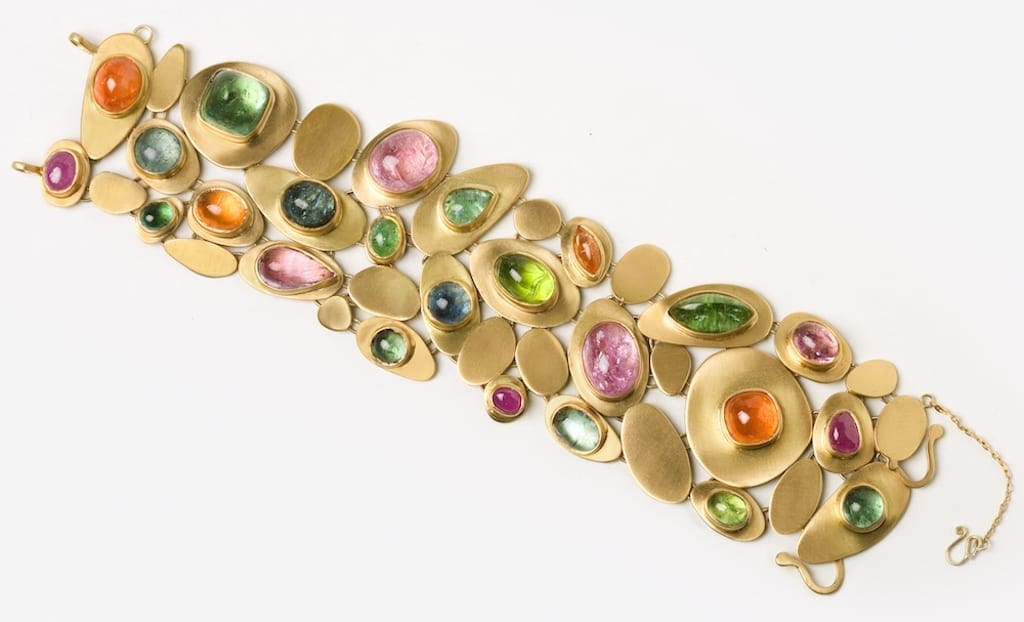
There is a whole world of knowledge, expertise, creativity and art out there and I love finding, learning, applying that knowledge and then creating my own designs. Interestingly I’m drawn to similar motifs over and over again, no matter what the medium is. Below is my 18 kt Gold, Tourmaline and Paraiba Bracelet from my Lotus Collection. It’s no surprise one of my favorite free motion quilting motifs is Pebbles!

Ariane Zurcher Jewelry – B26 Lotus Collection – 18 Kt Brushed Yellow Gold, 25.08 ct Pink Topaz, 2.69 ct Pink Sapphire, 12 ct Tourmaline, 2.96 ct Aquamarine, 17.21 ct Mandarin Garnet, 4.03 ct African Paraiba

Free motion quilting Pebbles on my Queen-Sized Quilt Top
Here’s to autumn and here’s to the joy of creating and learning new things!
![The Joy of Dyeing]()
by Ariane Zurcher | Sep 26, 2016 | Art, creative process, Design |
At three in the morning, in a fit of frenzied sleeplessness I decided my work space was in desperate need of reorganization. And what great idea that comes to you in the wee hours of the morning isn’t a brilliant one?! However, upon further reflection, I decided reorganizing is not one of my strengths and so, I did what anyone would do. I solicited the help of someone who excels at reorganizing. Step into the limelight my fabulous husband (FH) and take a bow. He is extremely good at just this sort of thing. “Okay,” he said, all business-like, “talk me through this.” And then proceeded to ask me a series of questions.
From this conversation he prioritized and broke down what I needed to do in manageable steps. I forgot to take a photograph of the disaster that was once my work space, but this is what it looked like at about the halfway point.
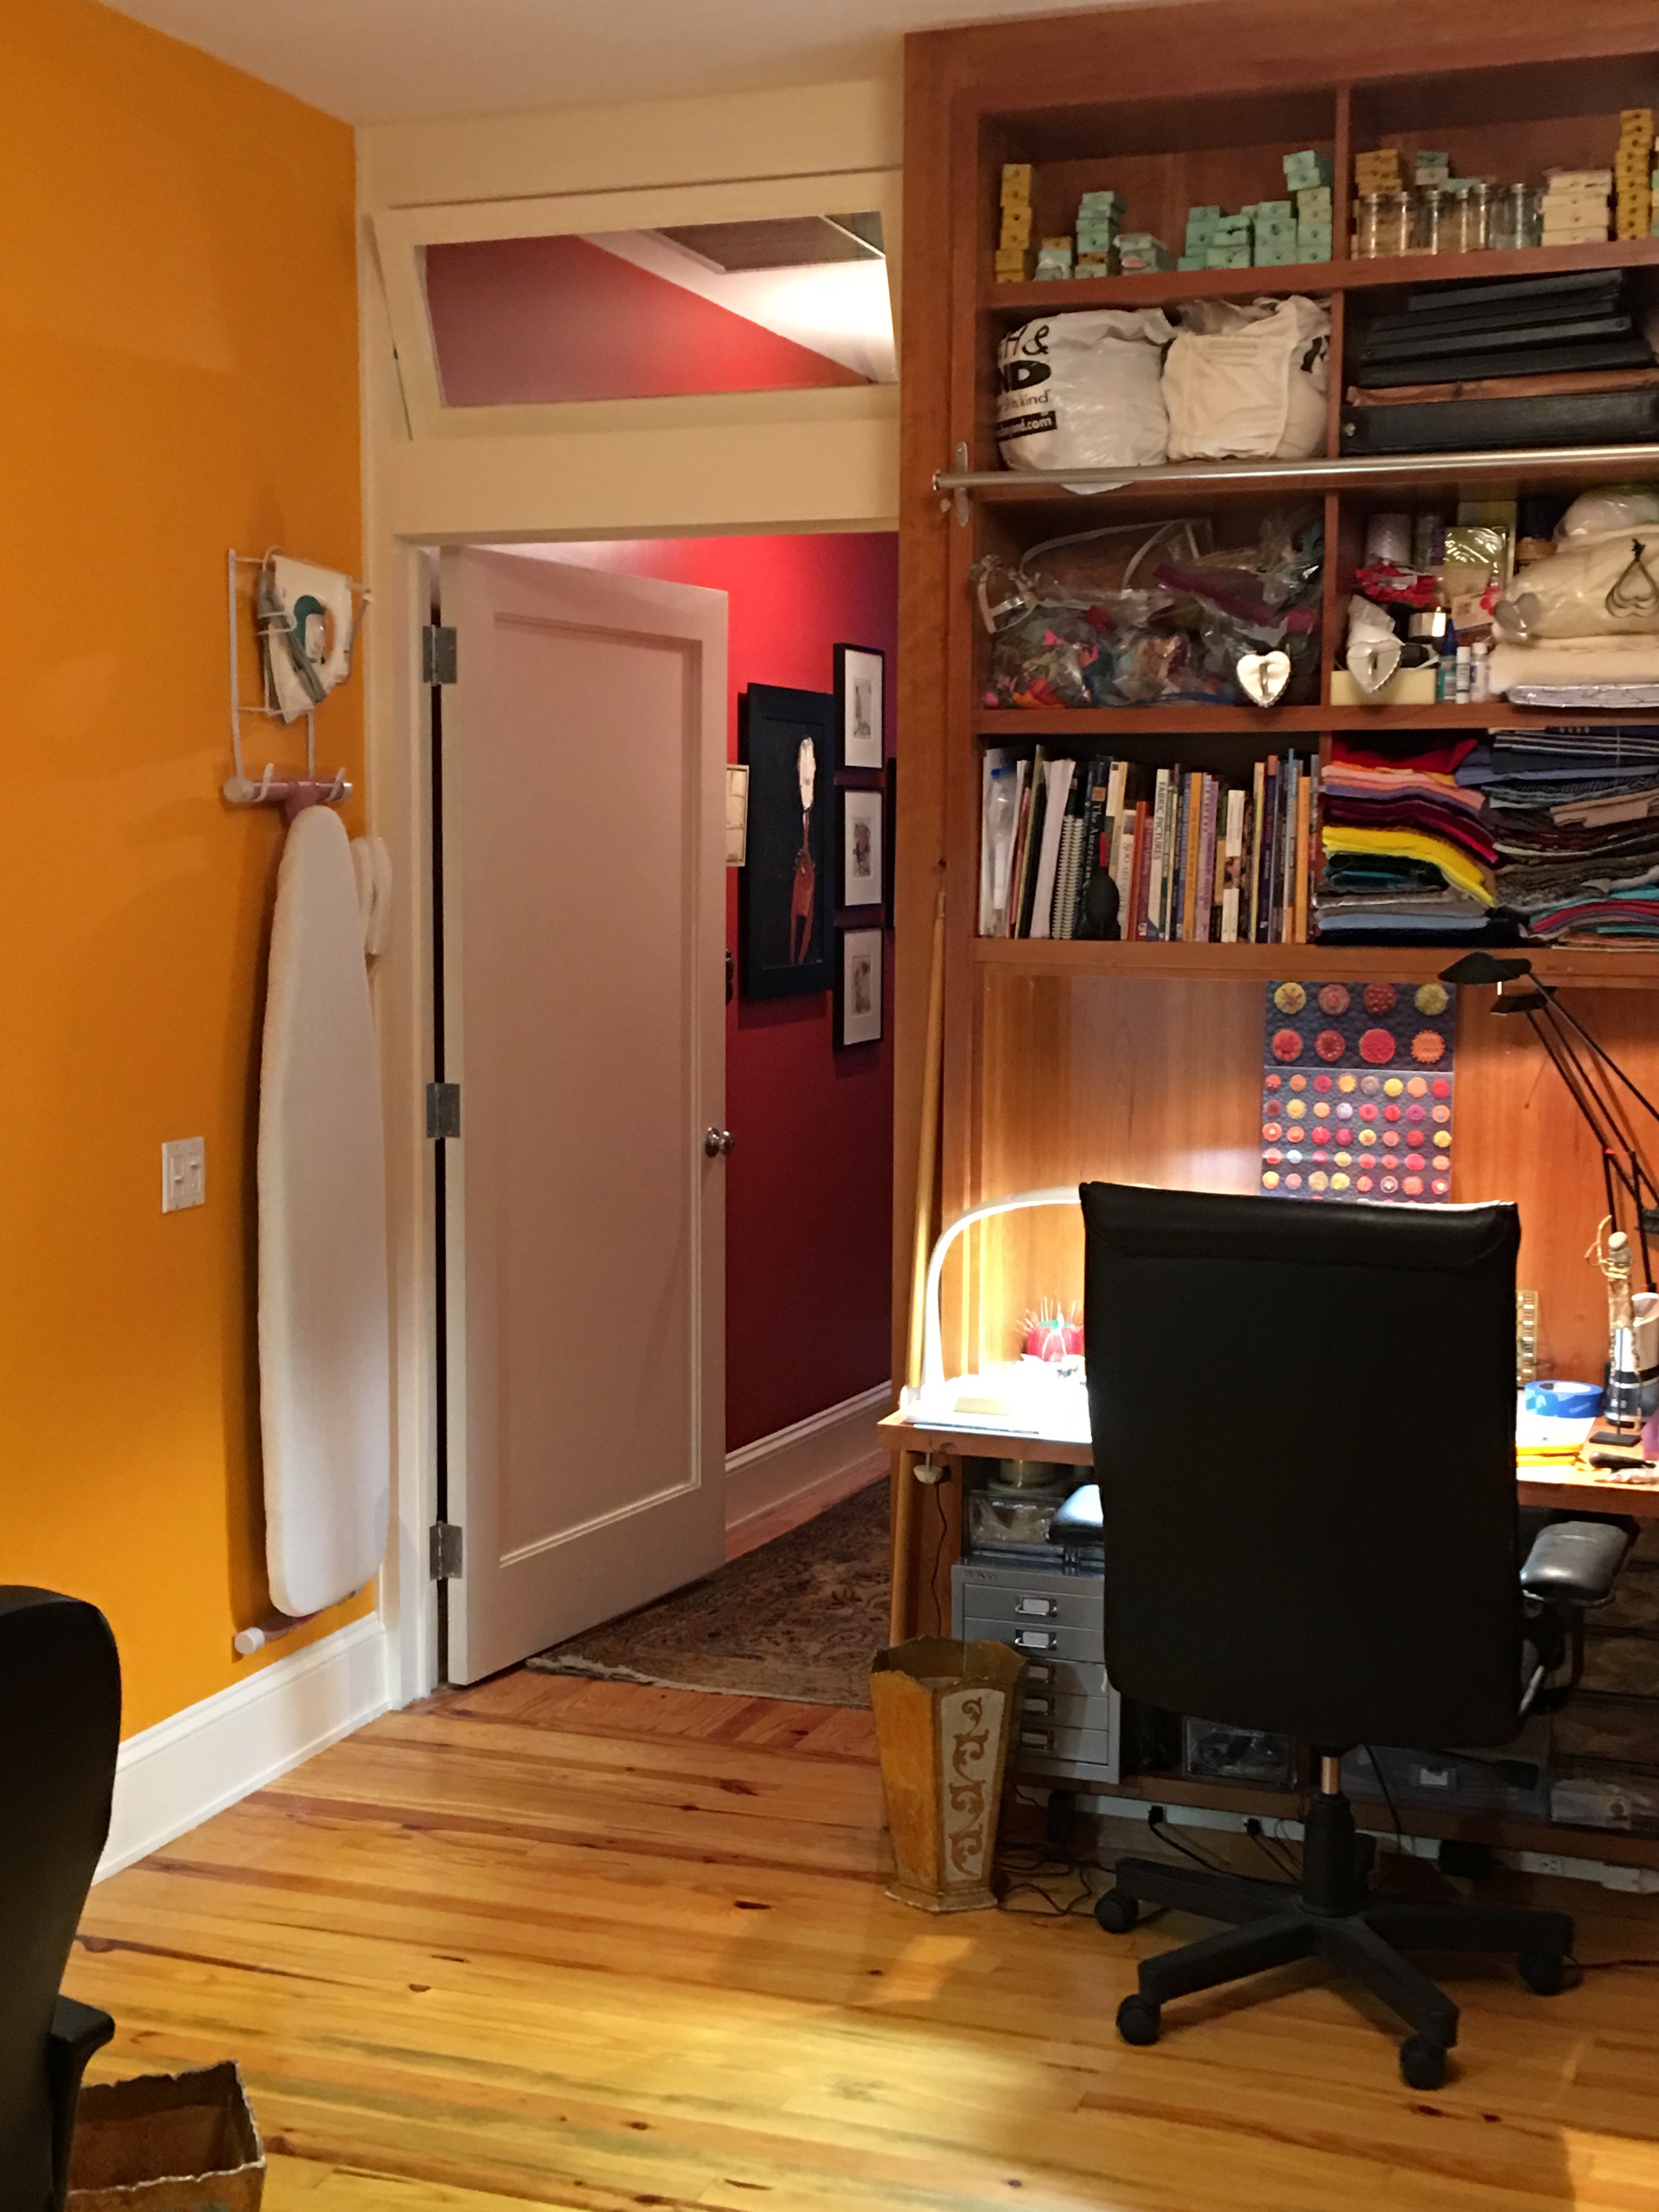
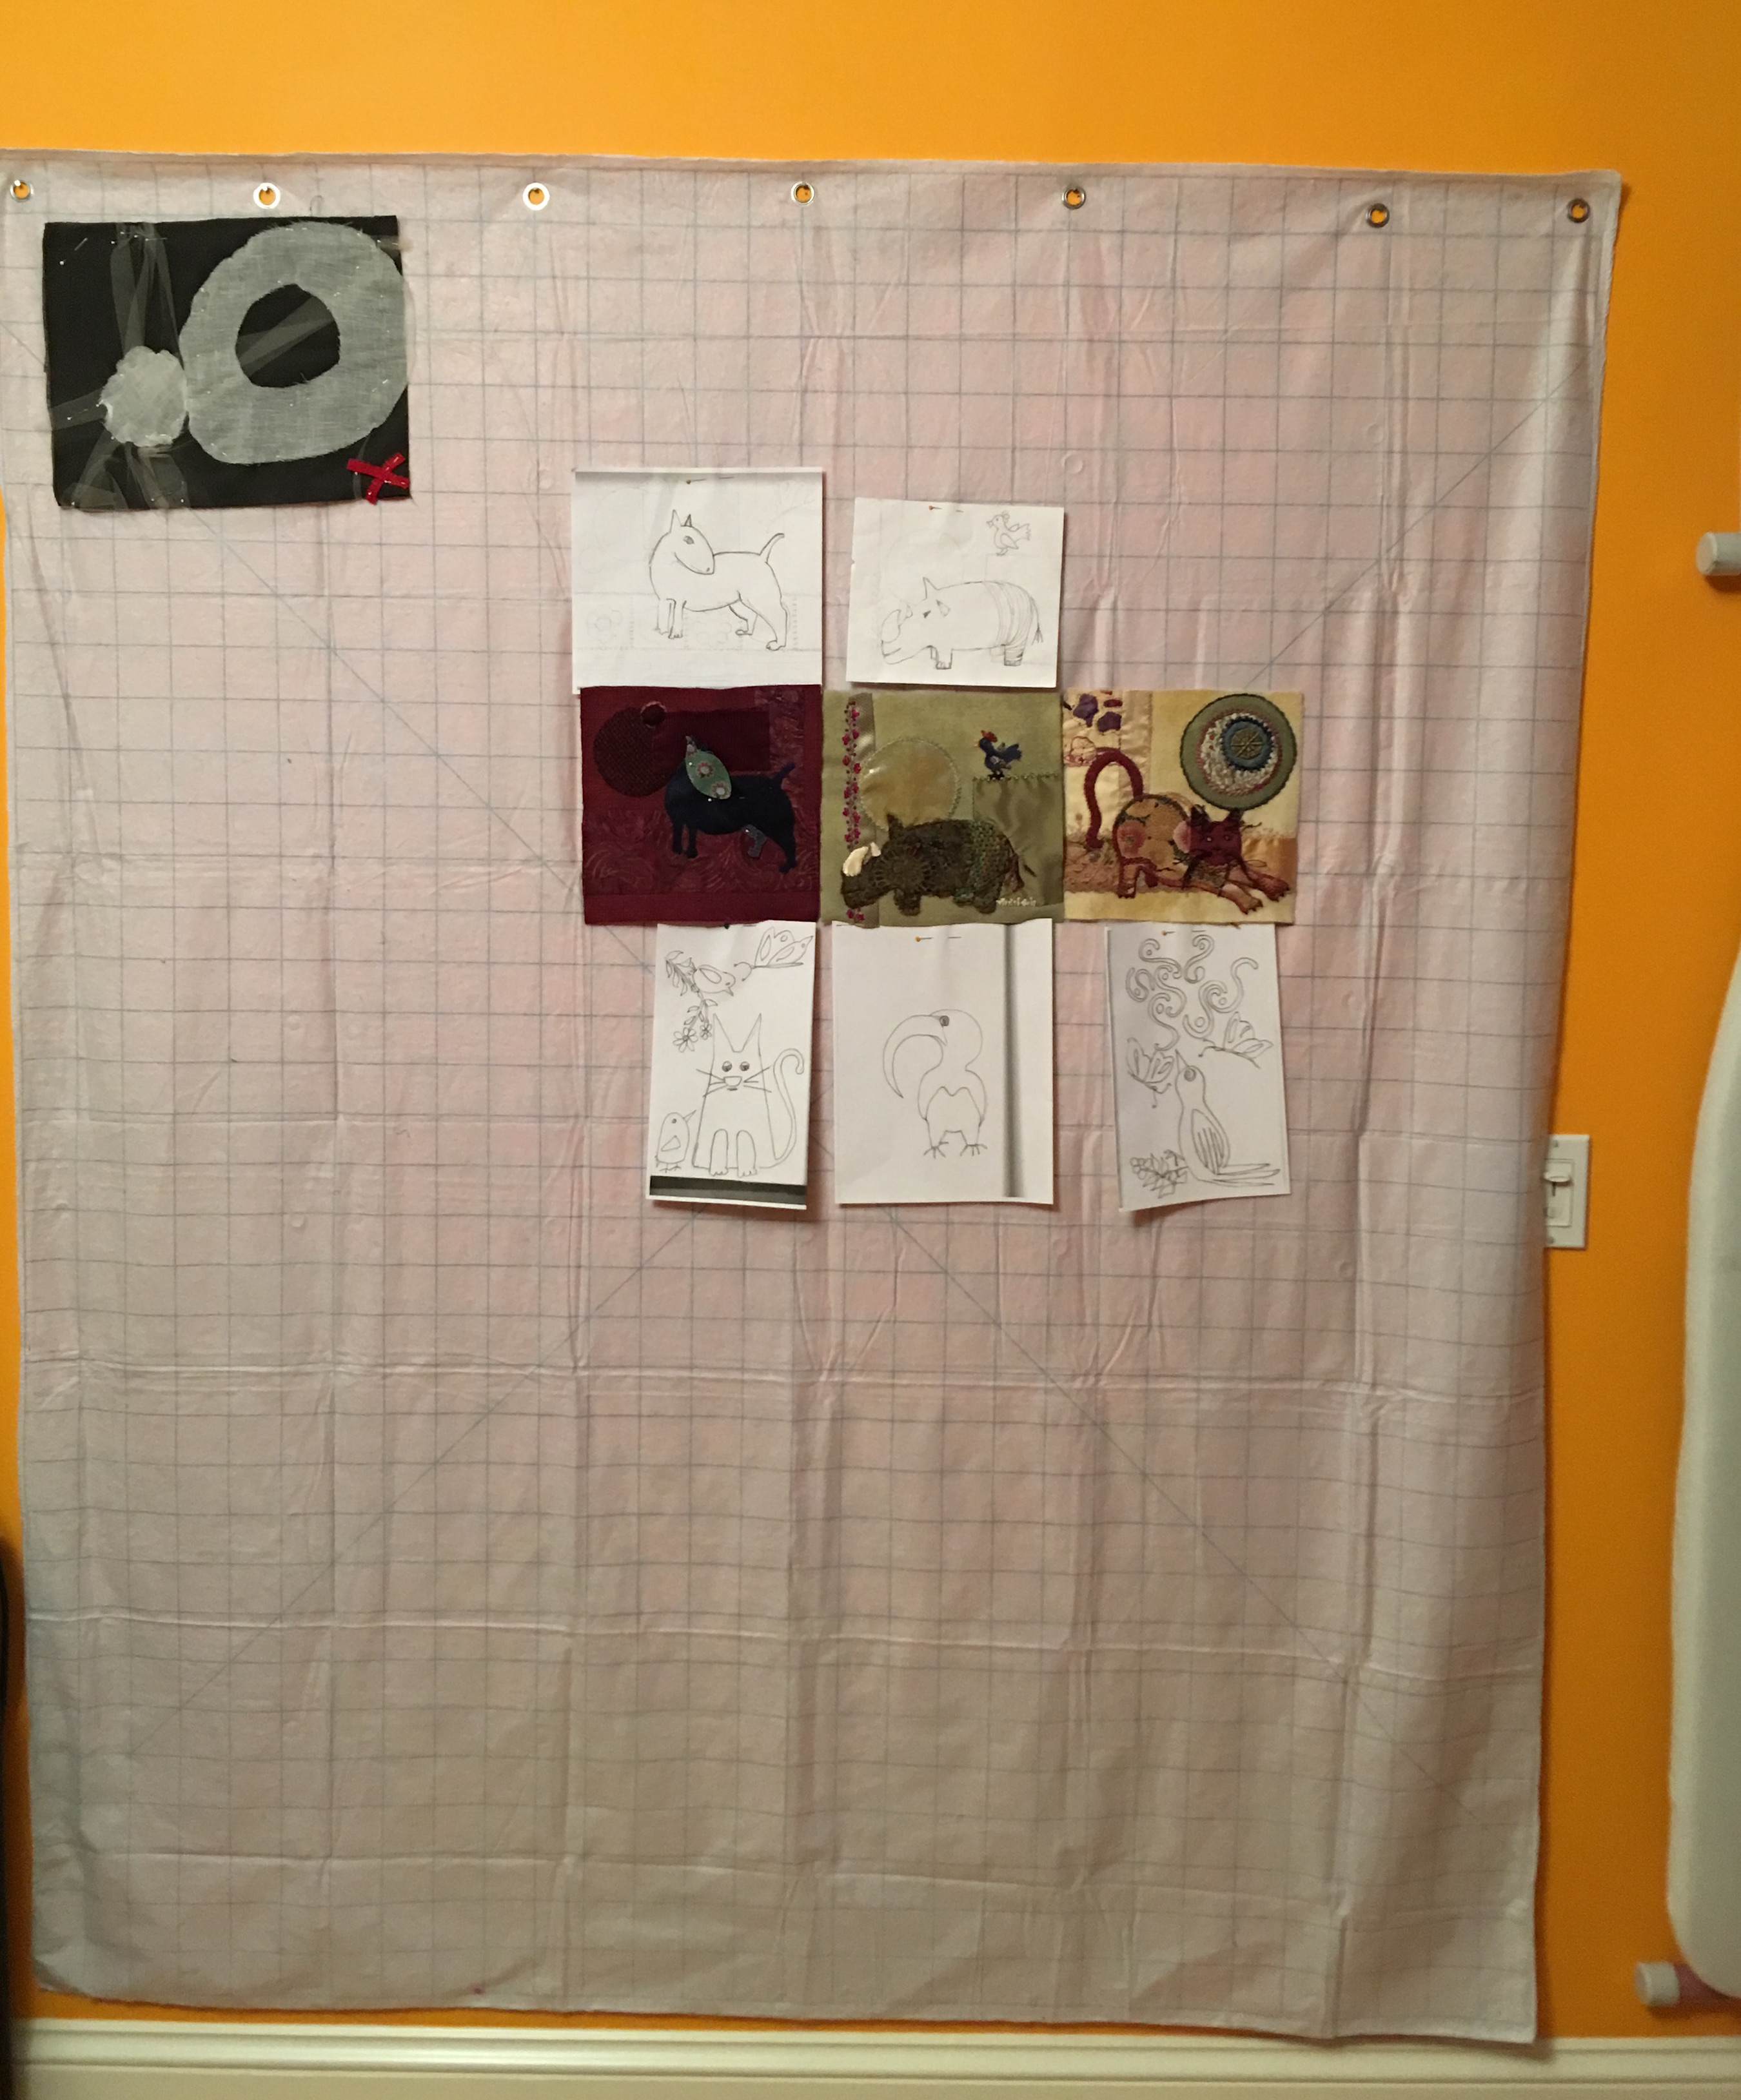
As I was trying to decide what color I should paint that great expanse of white wall (this was a tricky decision as it is a dark room, made even darker by the red carpet I bought decades ago in Turkey) I thought, “I need a design wall!” This is not essential, after all I have sketch books and a table where I can play with ideas, but a design wall would be really, really nice to have. So I googled design walls and found some wonderful ones. I decided I wanted one that is at least 62″ x 72.” In order to do this I needed to get rid of a great many things scattered all over the place.
I decided on a bright mango color to brighten the room up. However, as with so many things in life, painting one wall proved more complicated than I anticipated. I ran into bubbles. Thousands and thousands of tiny bubbles appeared after the first coat of paint. I pricked one of them with a pin and, much to my horror, the bubble expanded exponentially, revealing all the coats of paint below the fresh coat I’d just painted, so that I was staring at dry board! I was so horrified I didn’t have the presence of mind to take photos, but my FH was witness. I ended up pulling off great sheets of bubbled up paint. After running to the hardware store for advice, making a couple of emergency phone calls to friends of mine who are far more experienced in painting walls than I am, I finally pulled up as much paint as I could, sanded, dusted, spackled, sanded some more, dusted some more and finally repainted and held my breath. What should have taken a few hours took more than a day and a half, BUT it came out pretty well, if I do say so myself! FH had the great idea of hanging my ironing board.
 Then there was the question of my design wall, which is removable.
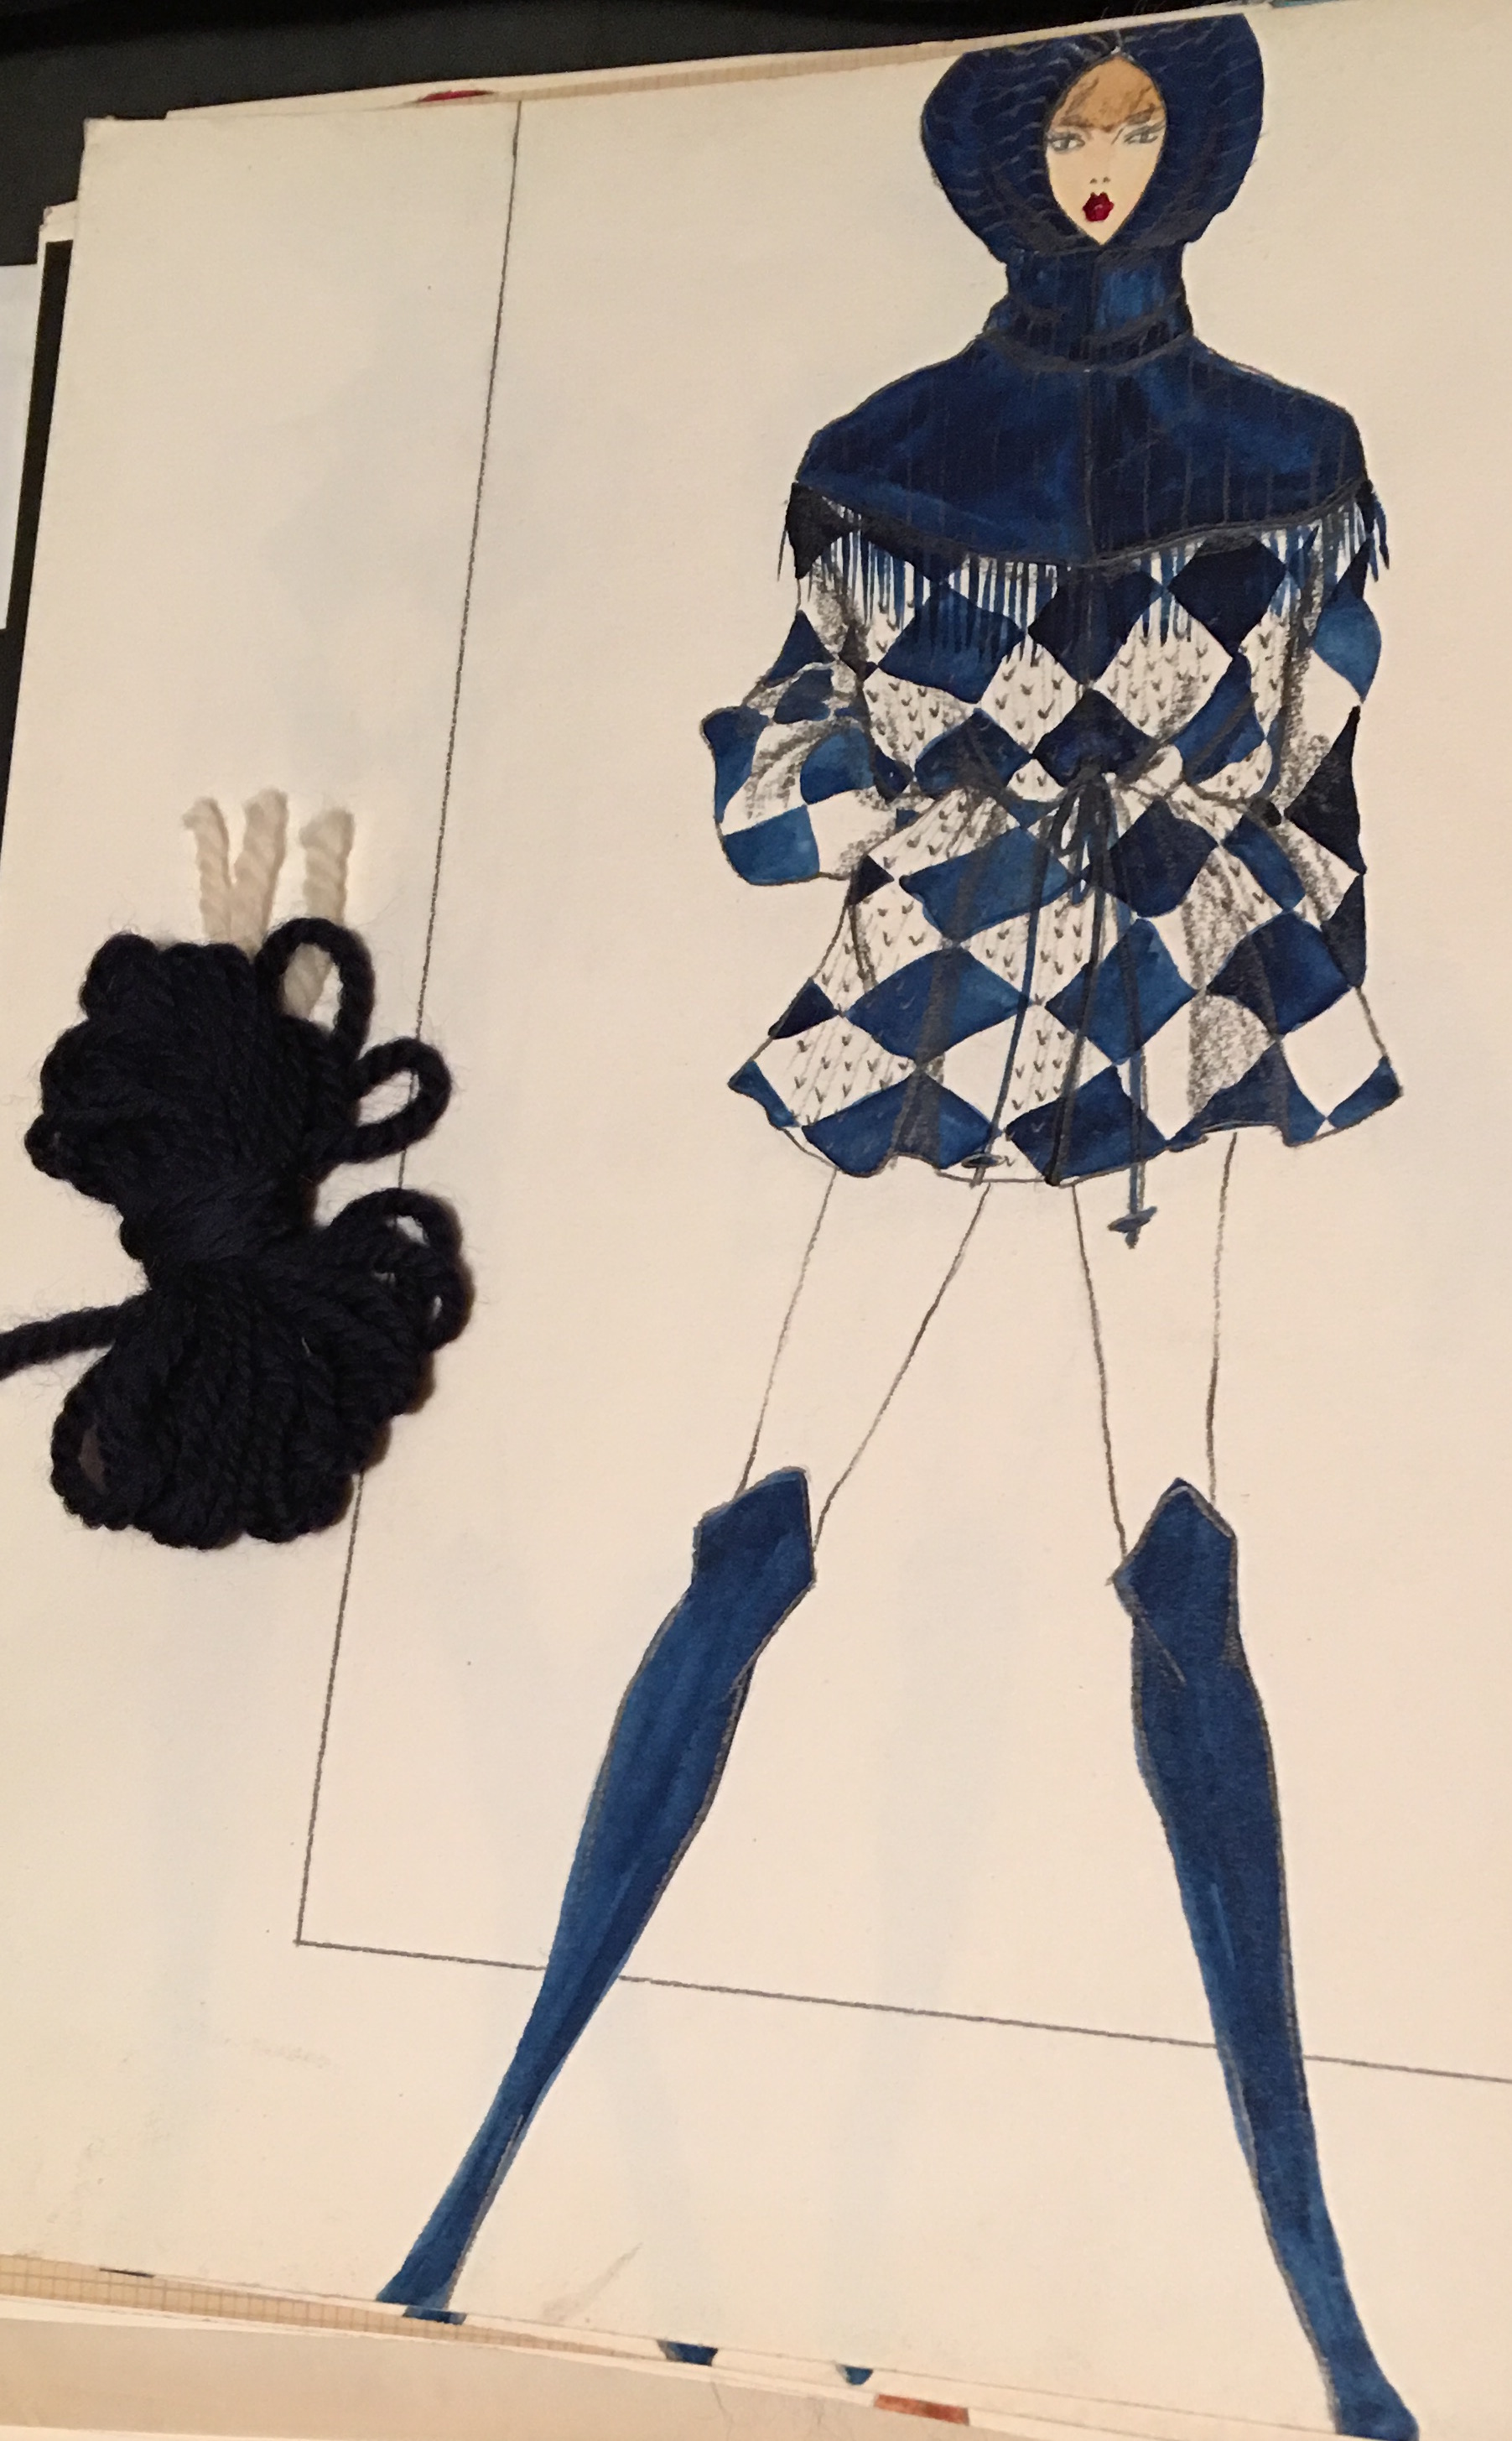
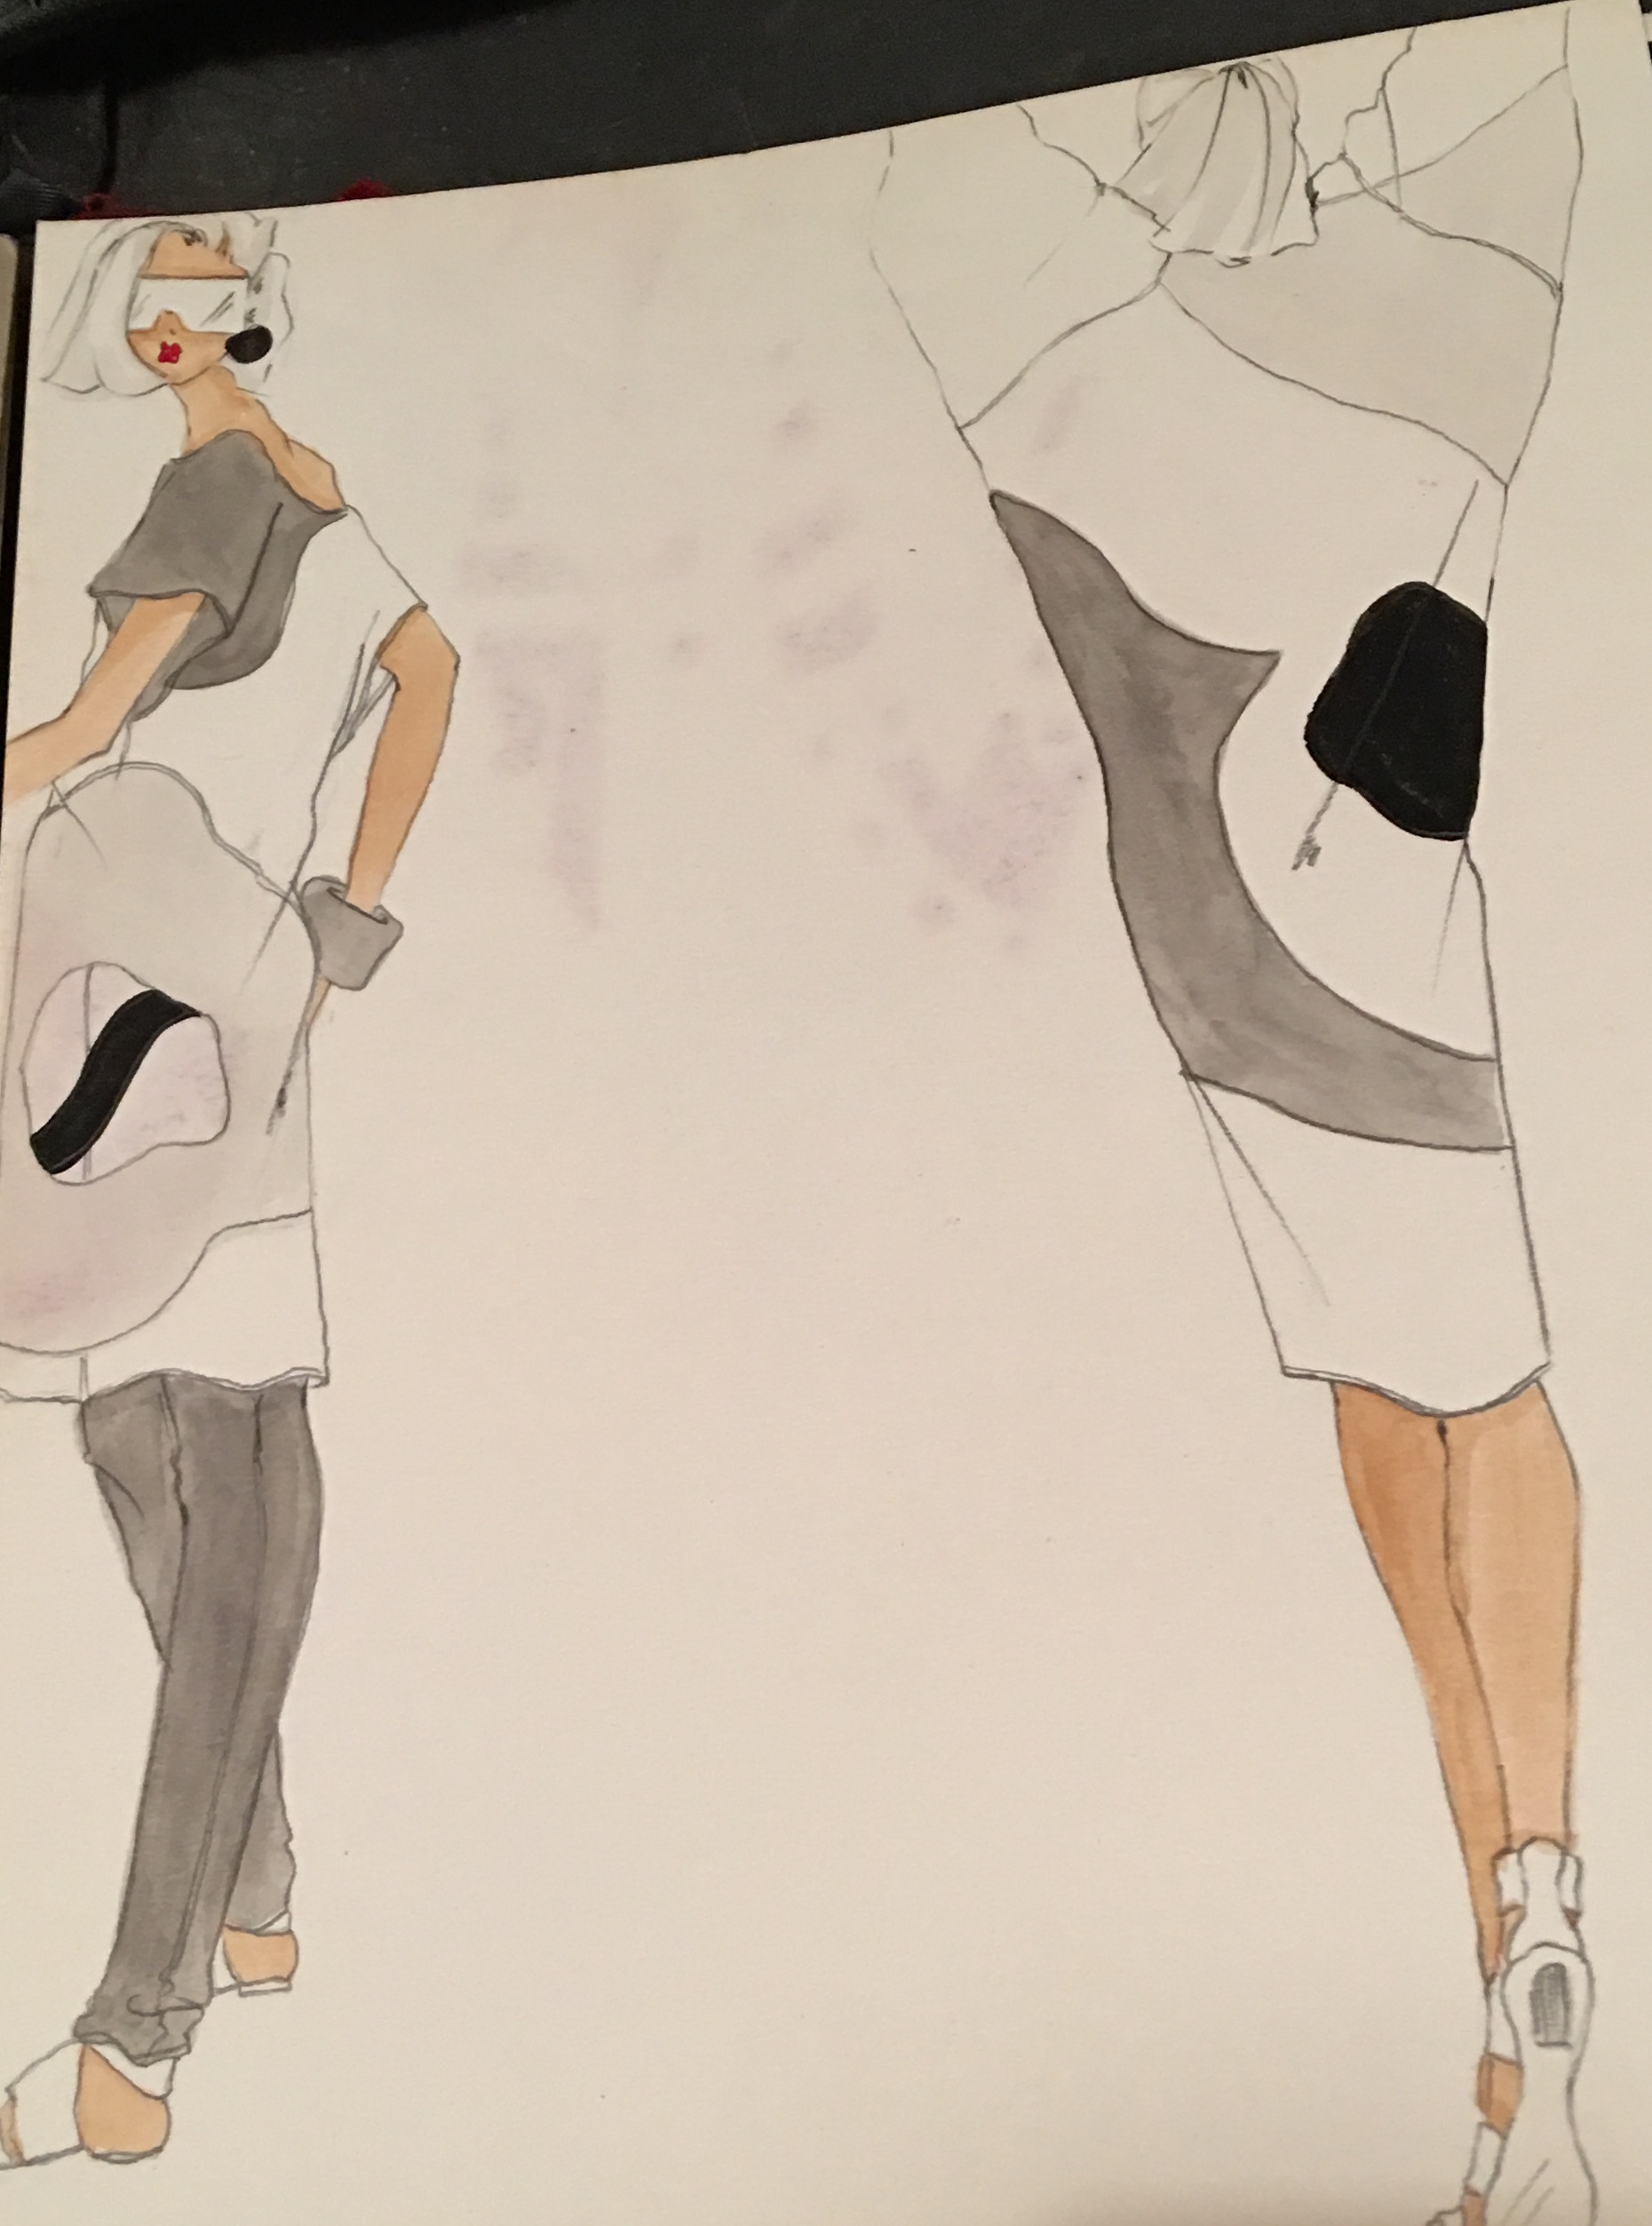
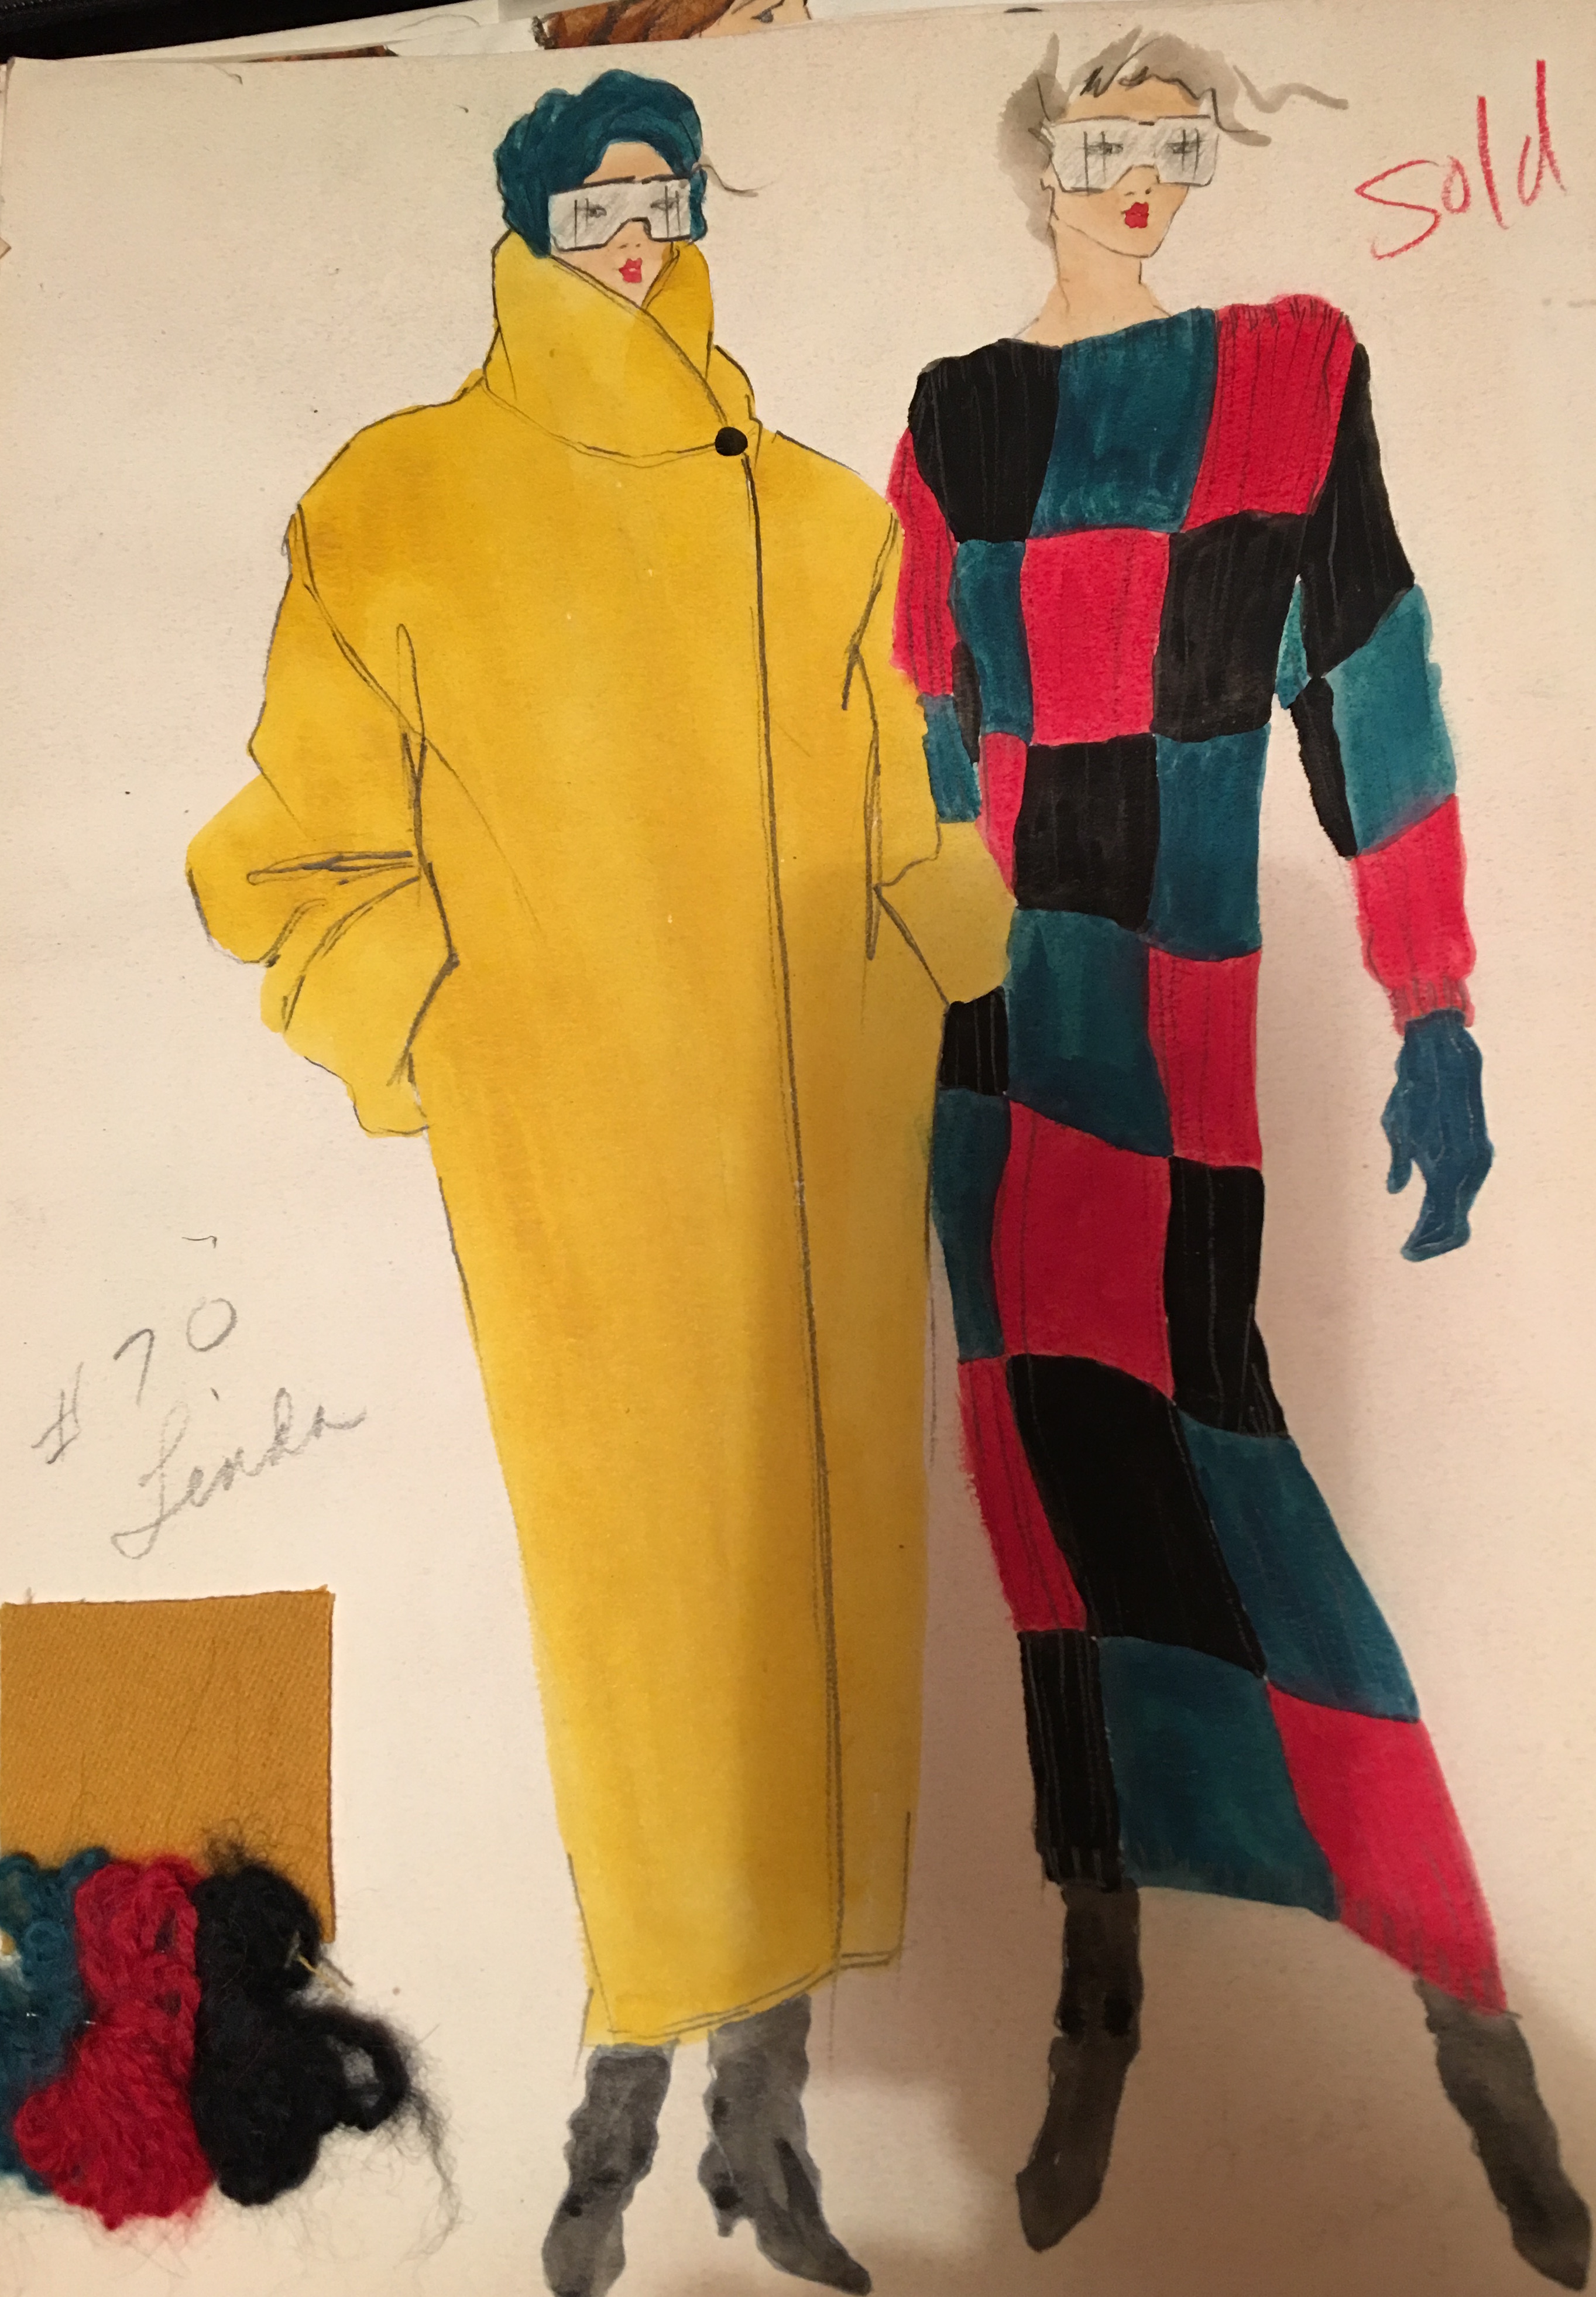
 I needed to organize my fabrics and other materials that I use for my jewelry design, such as wax, files, metals, wire, etc. While I was doing all of this, I came across my old portfolio from my days in fashion design and got a little side tracked…

 Finally, after all of that, I got back on track.
And here is the finished space!
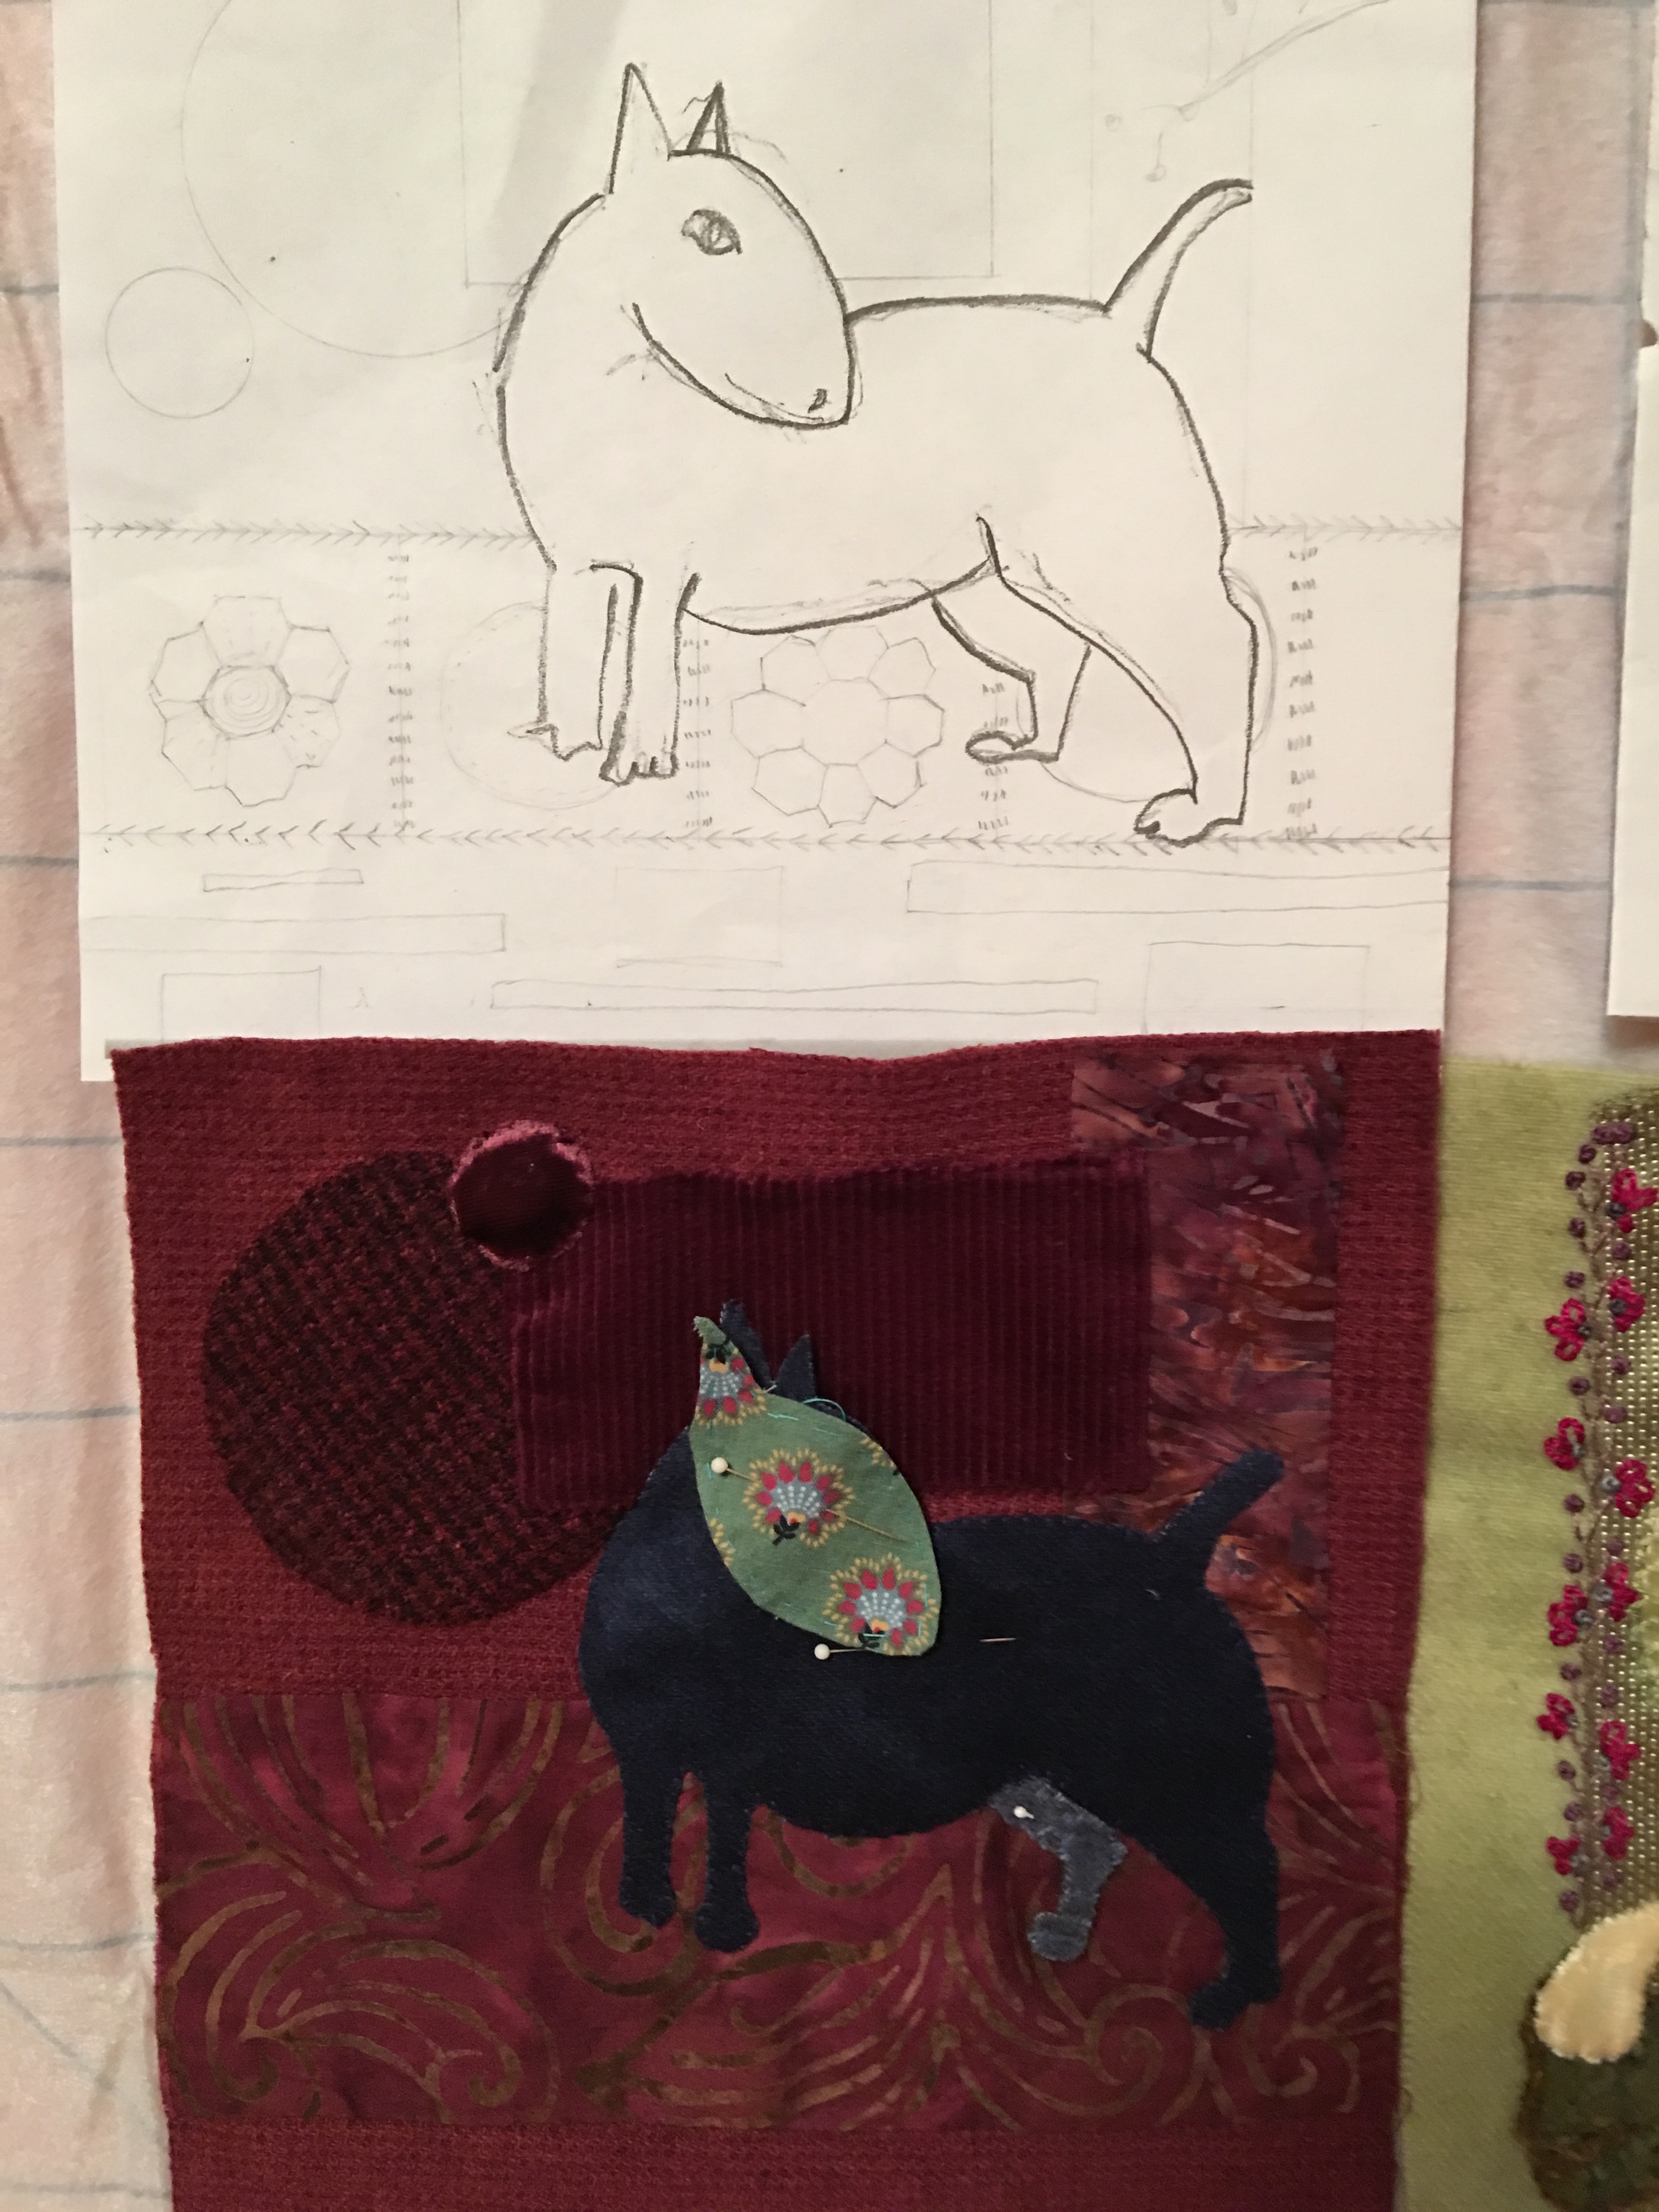
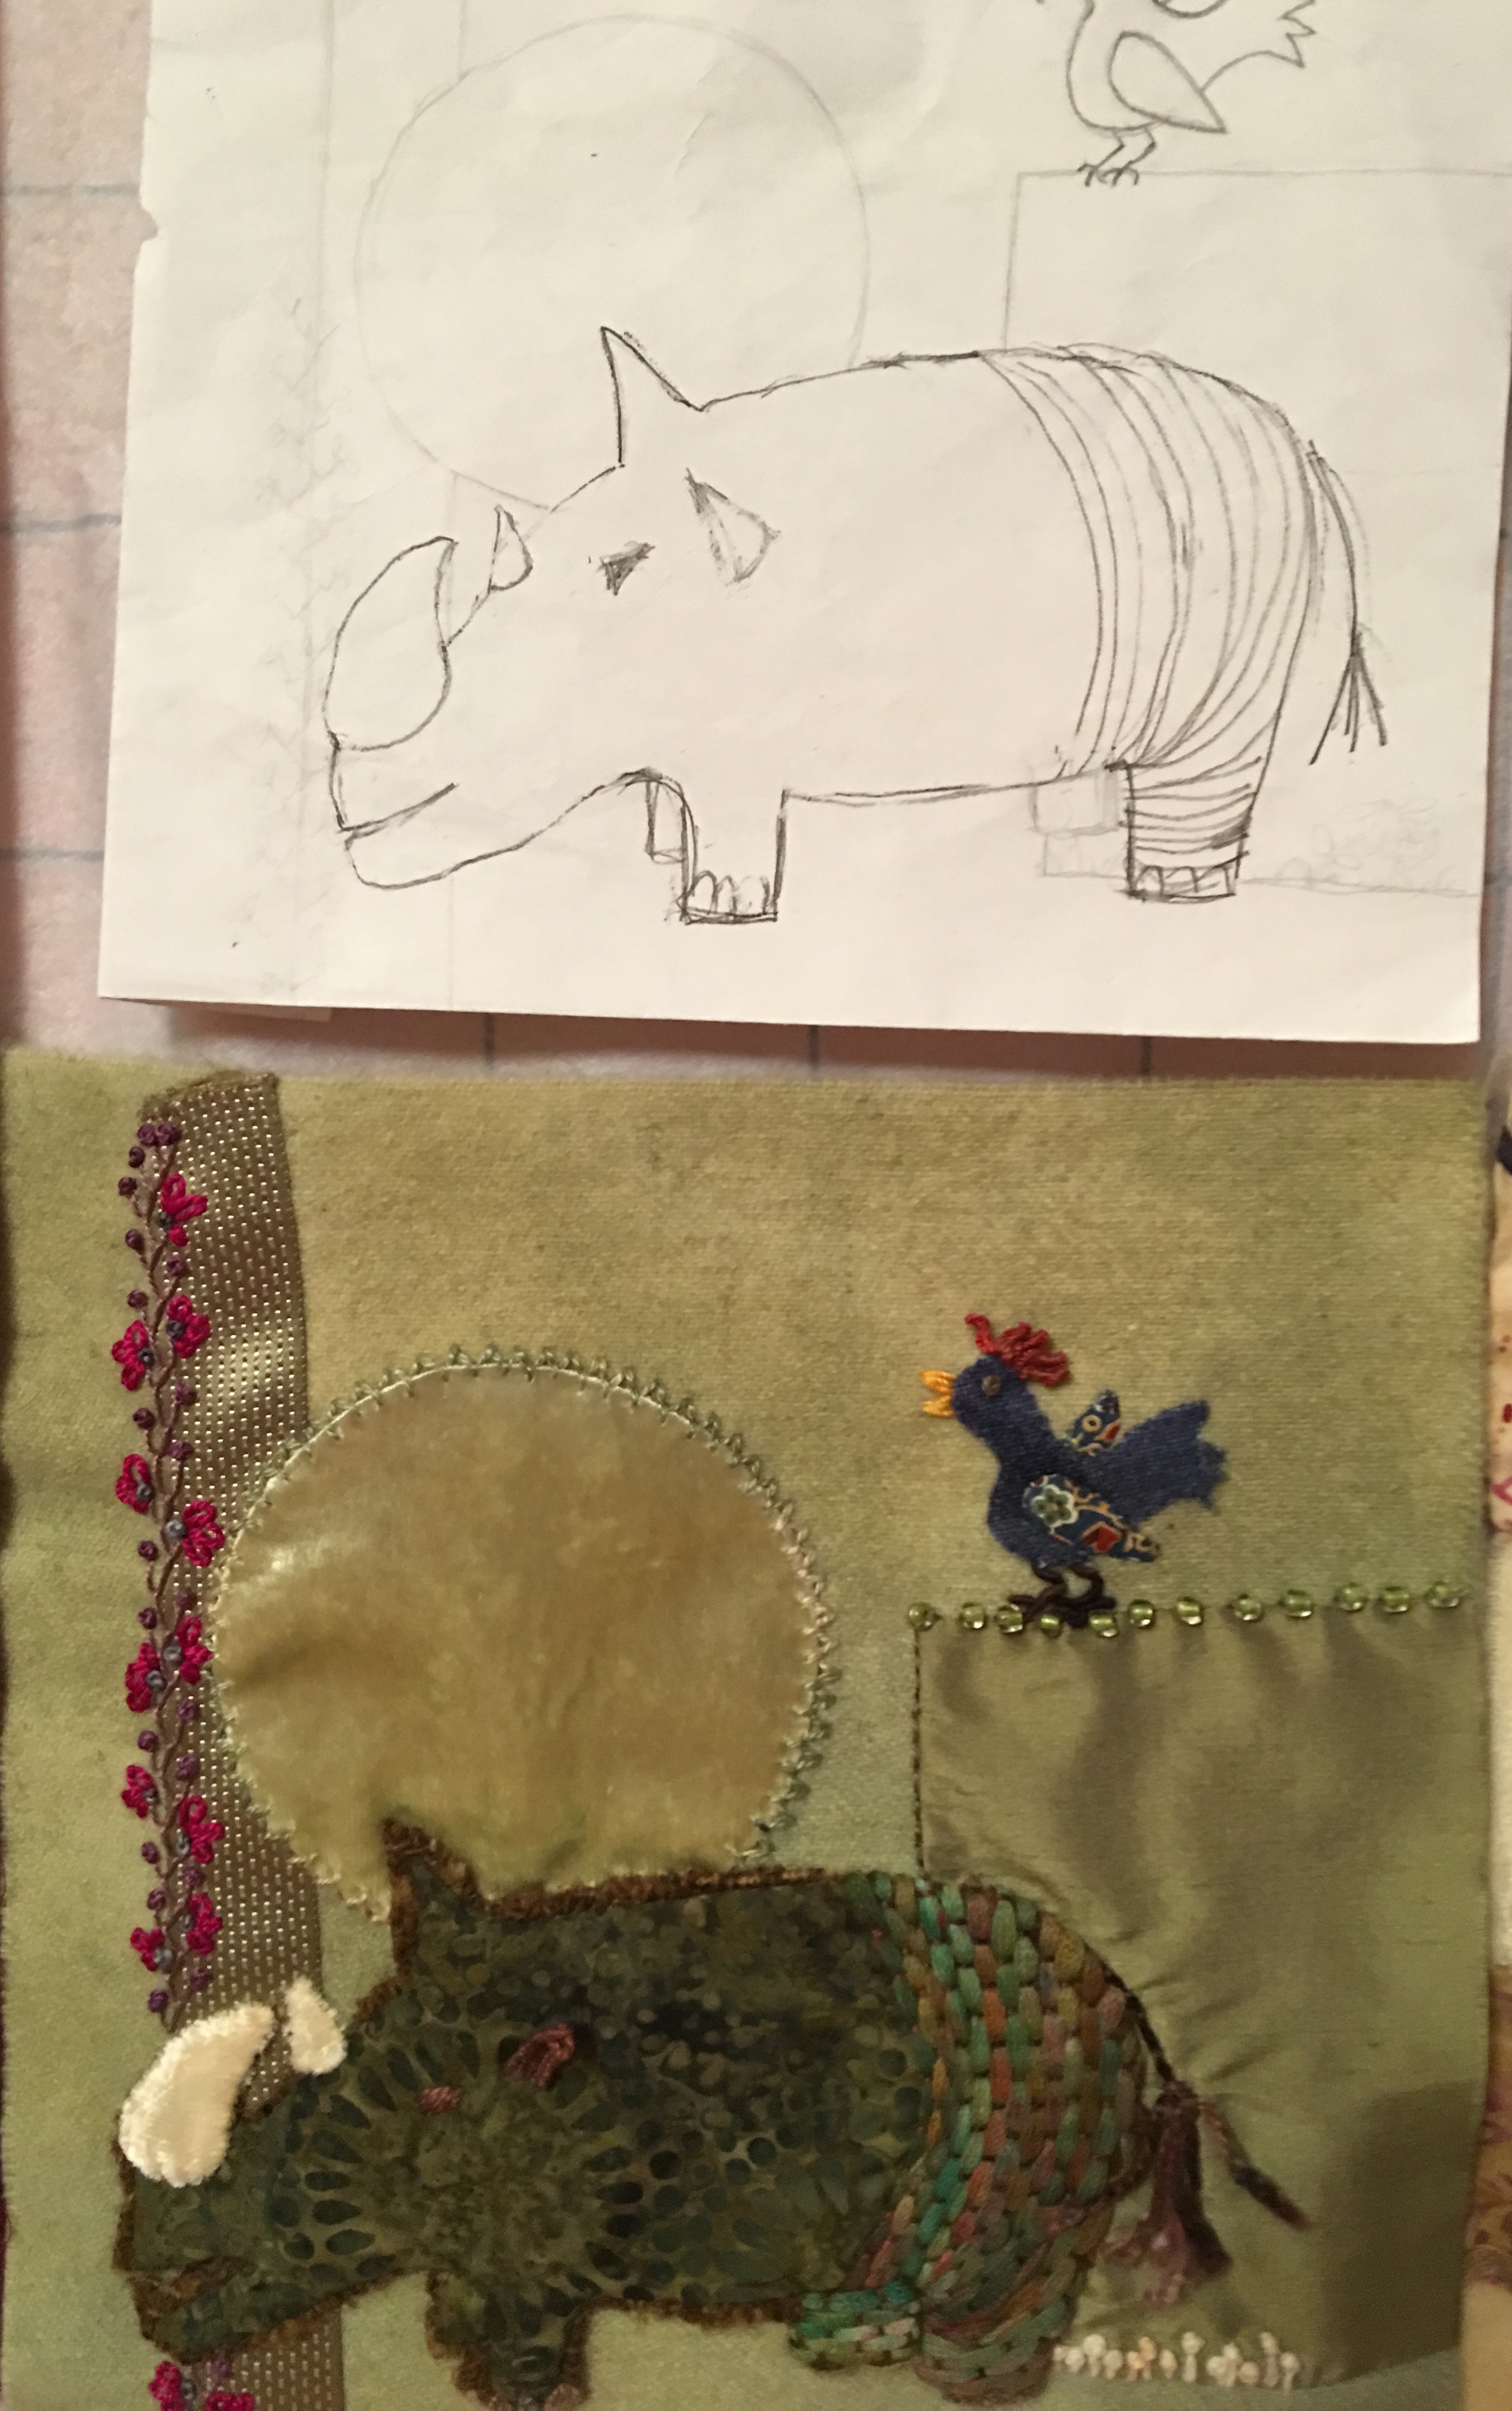
 Now it’s time to get back to work – I have a queen-sized quilt to sandwich, baste and free motion quilt and then there are these little guys who keep calling to me.

A work in progress – Sharkey Dog

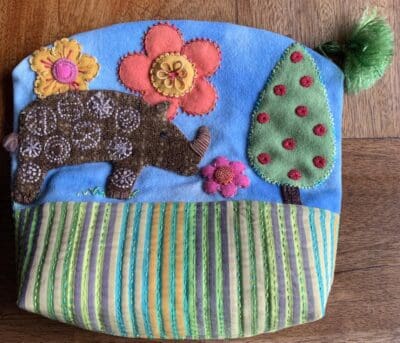
The African Rhino and his Friend – Blue Bird
![The Joy of Dyeing]()
by Ariane Zurcher | Sep 12, 2016 | Art, Free Motion Quilting, quilting |
In my last post I was busy learning how to free motion quilt and began practicing on a sandwich made for just this purpose, practice. I wrote about all of this ‘here‘ so I won’t go into all of that again.
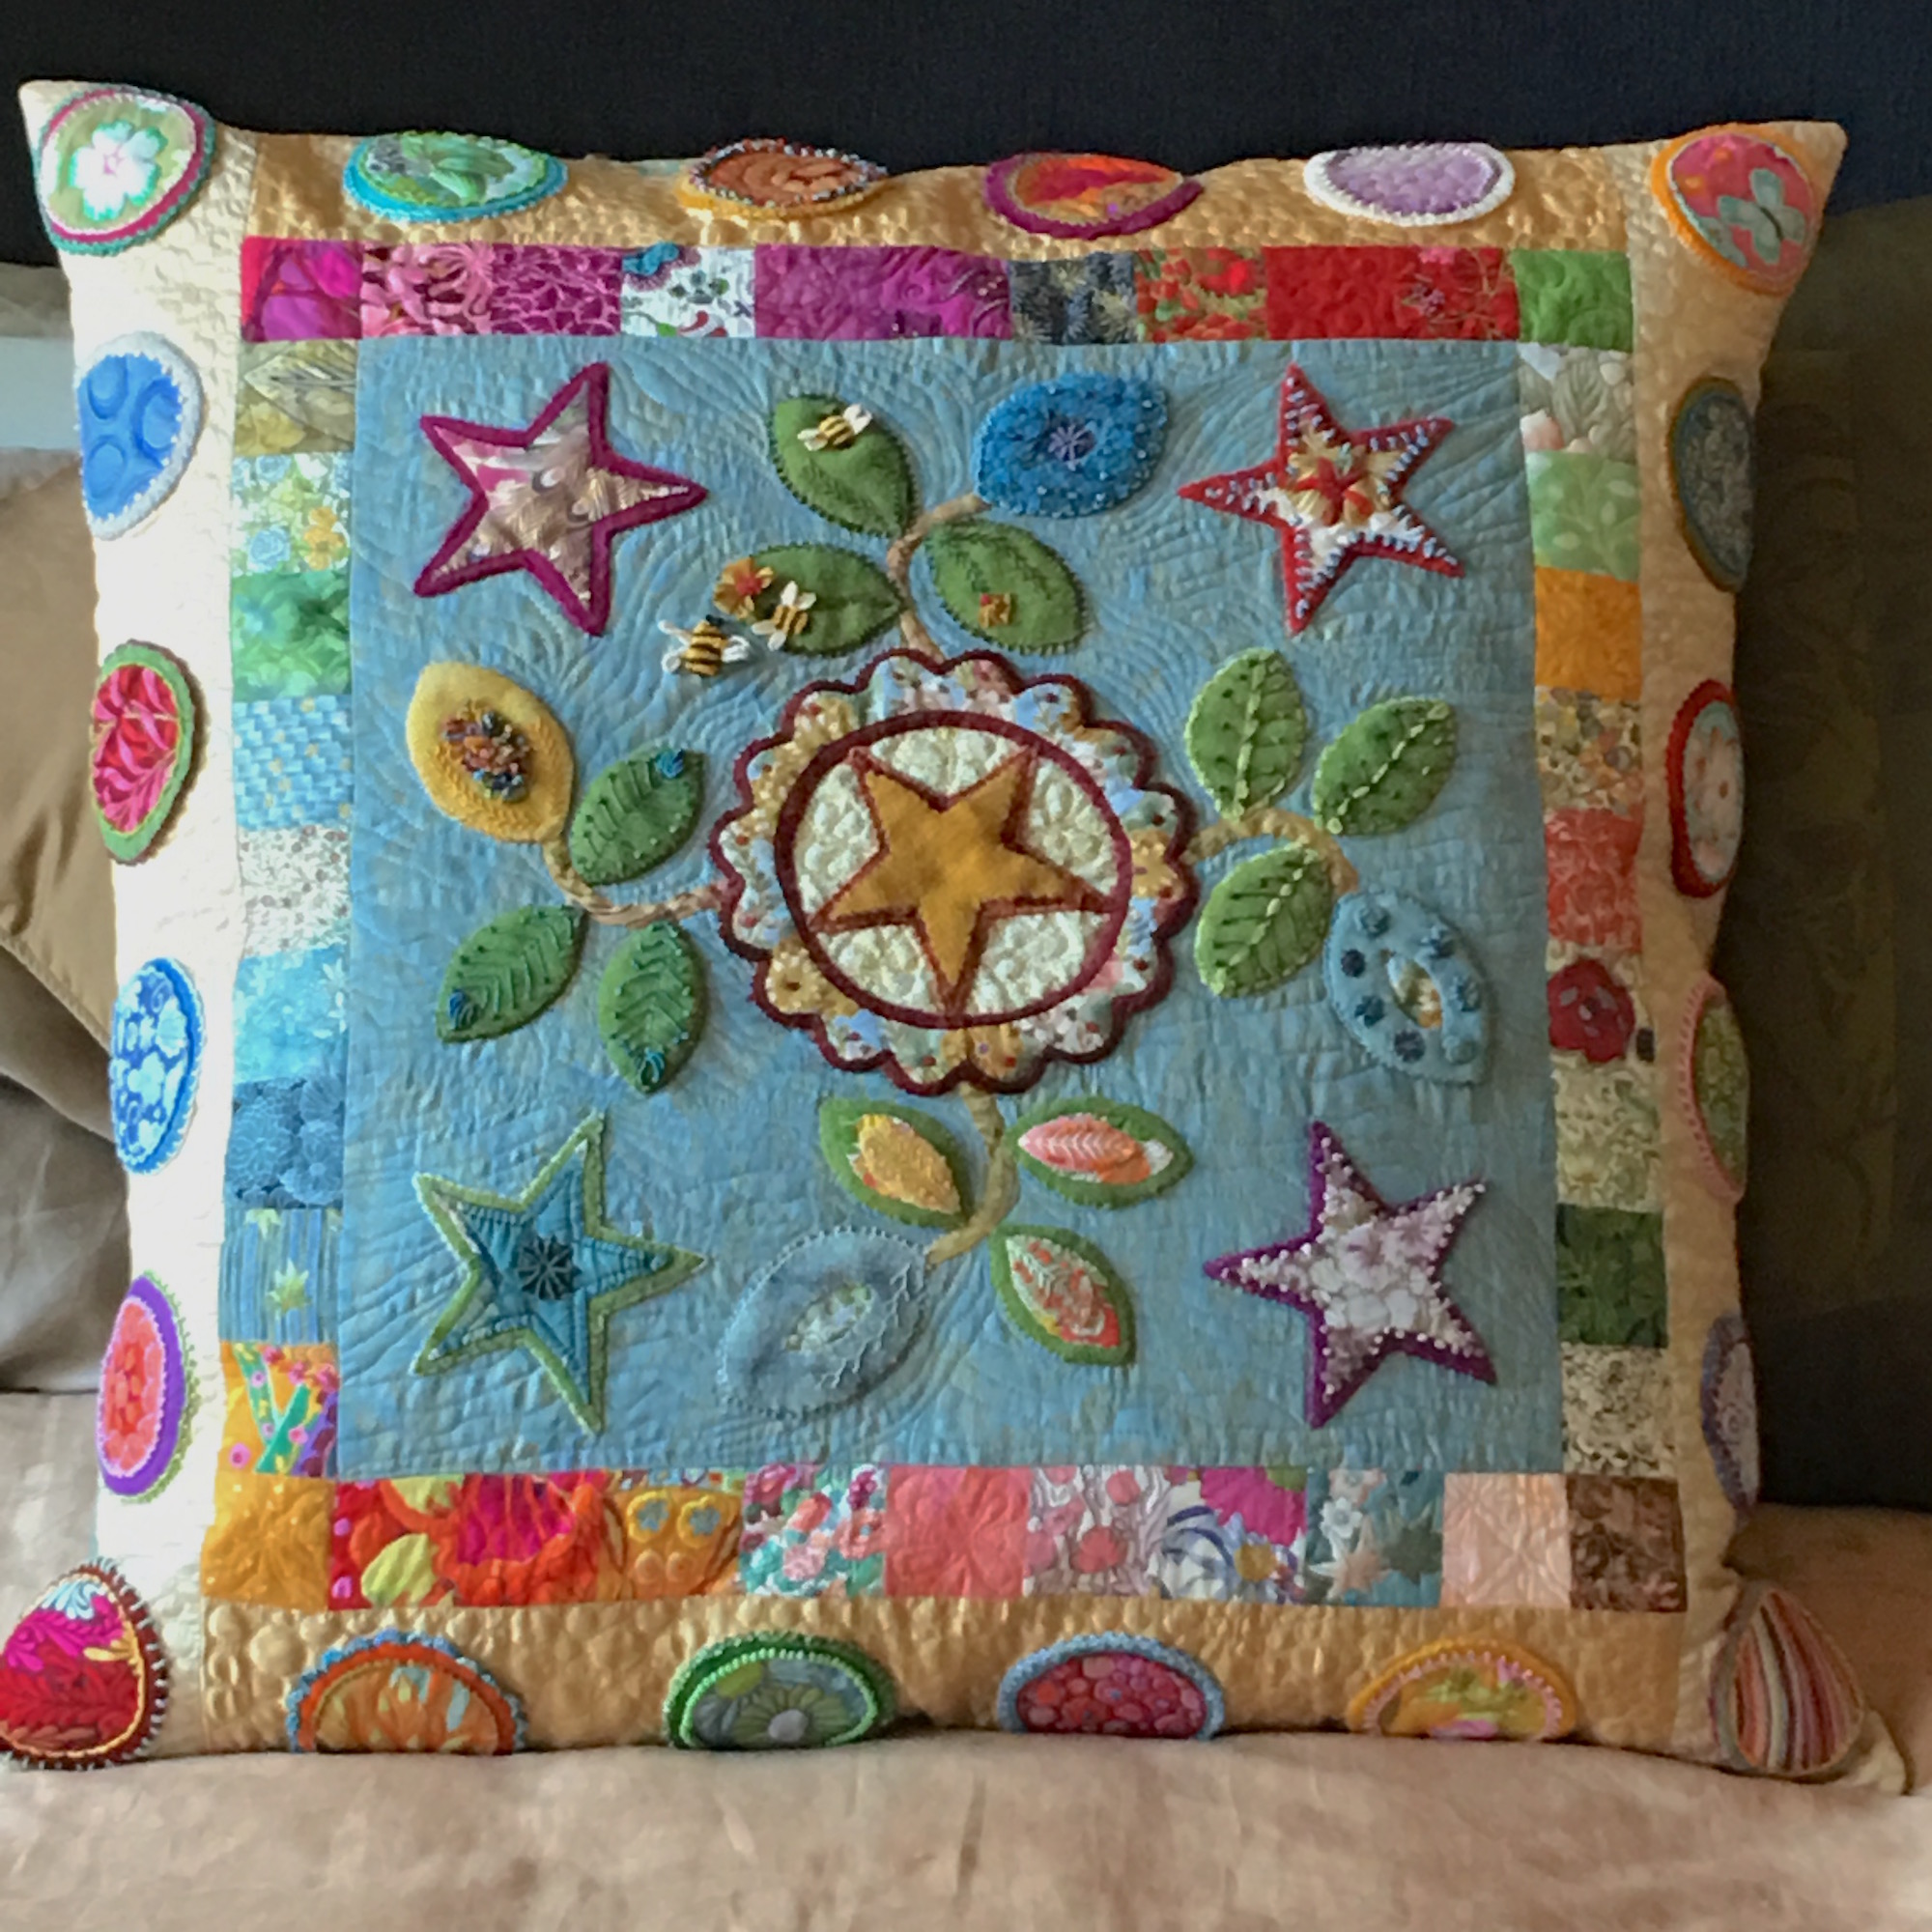
But now you have to see the finished product!

The Quilted Pillow!
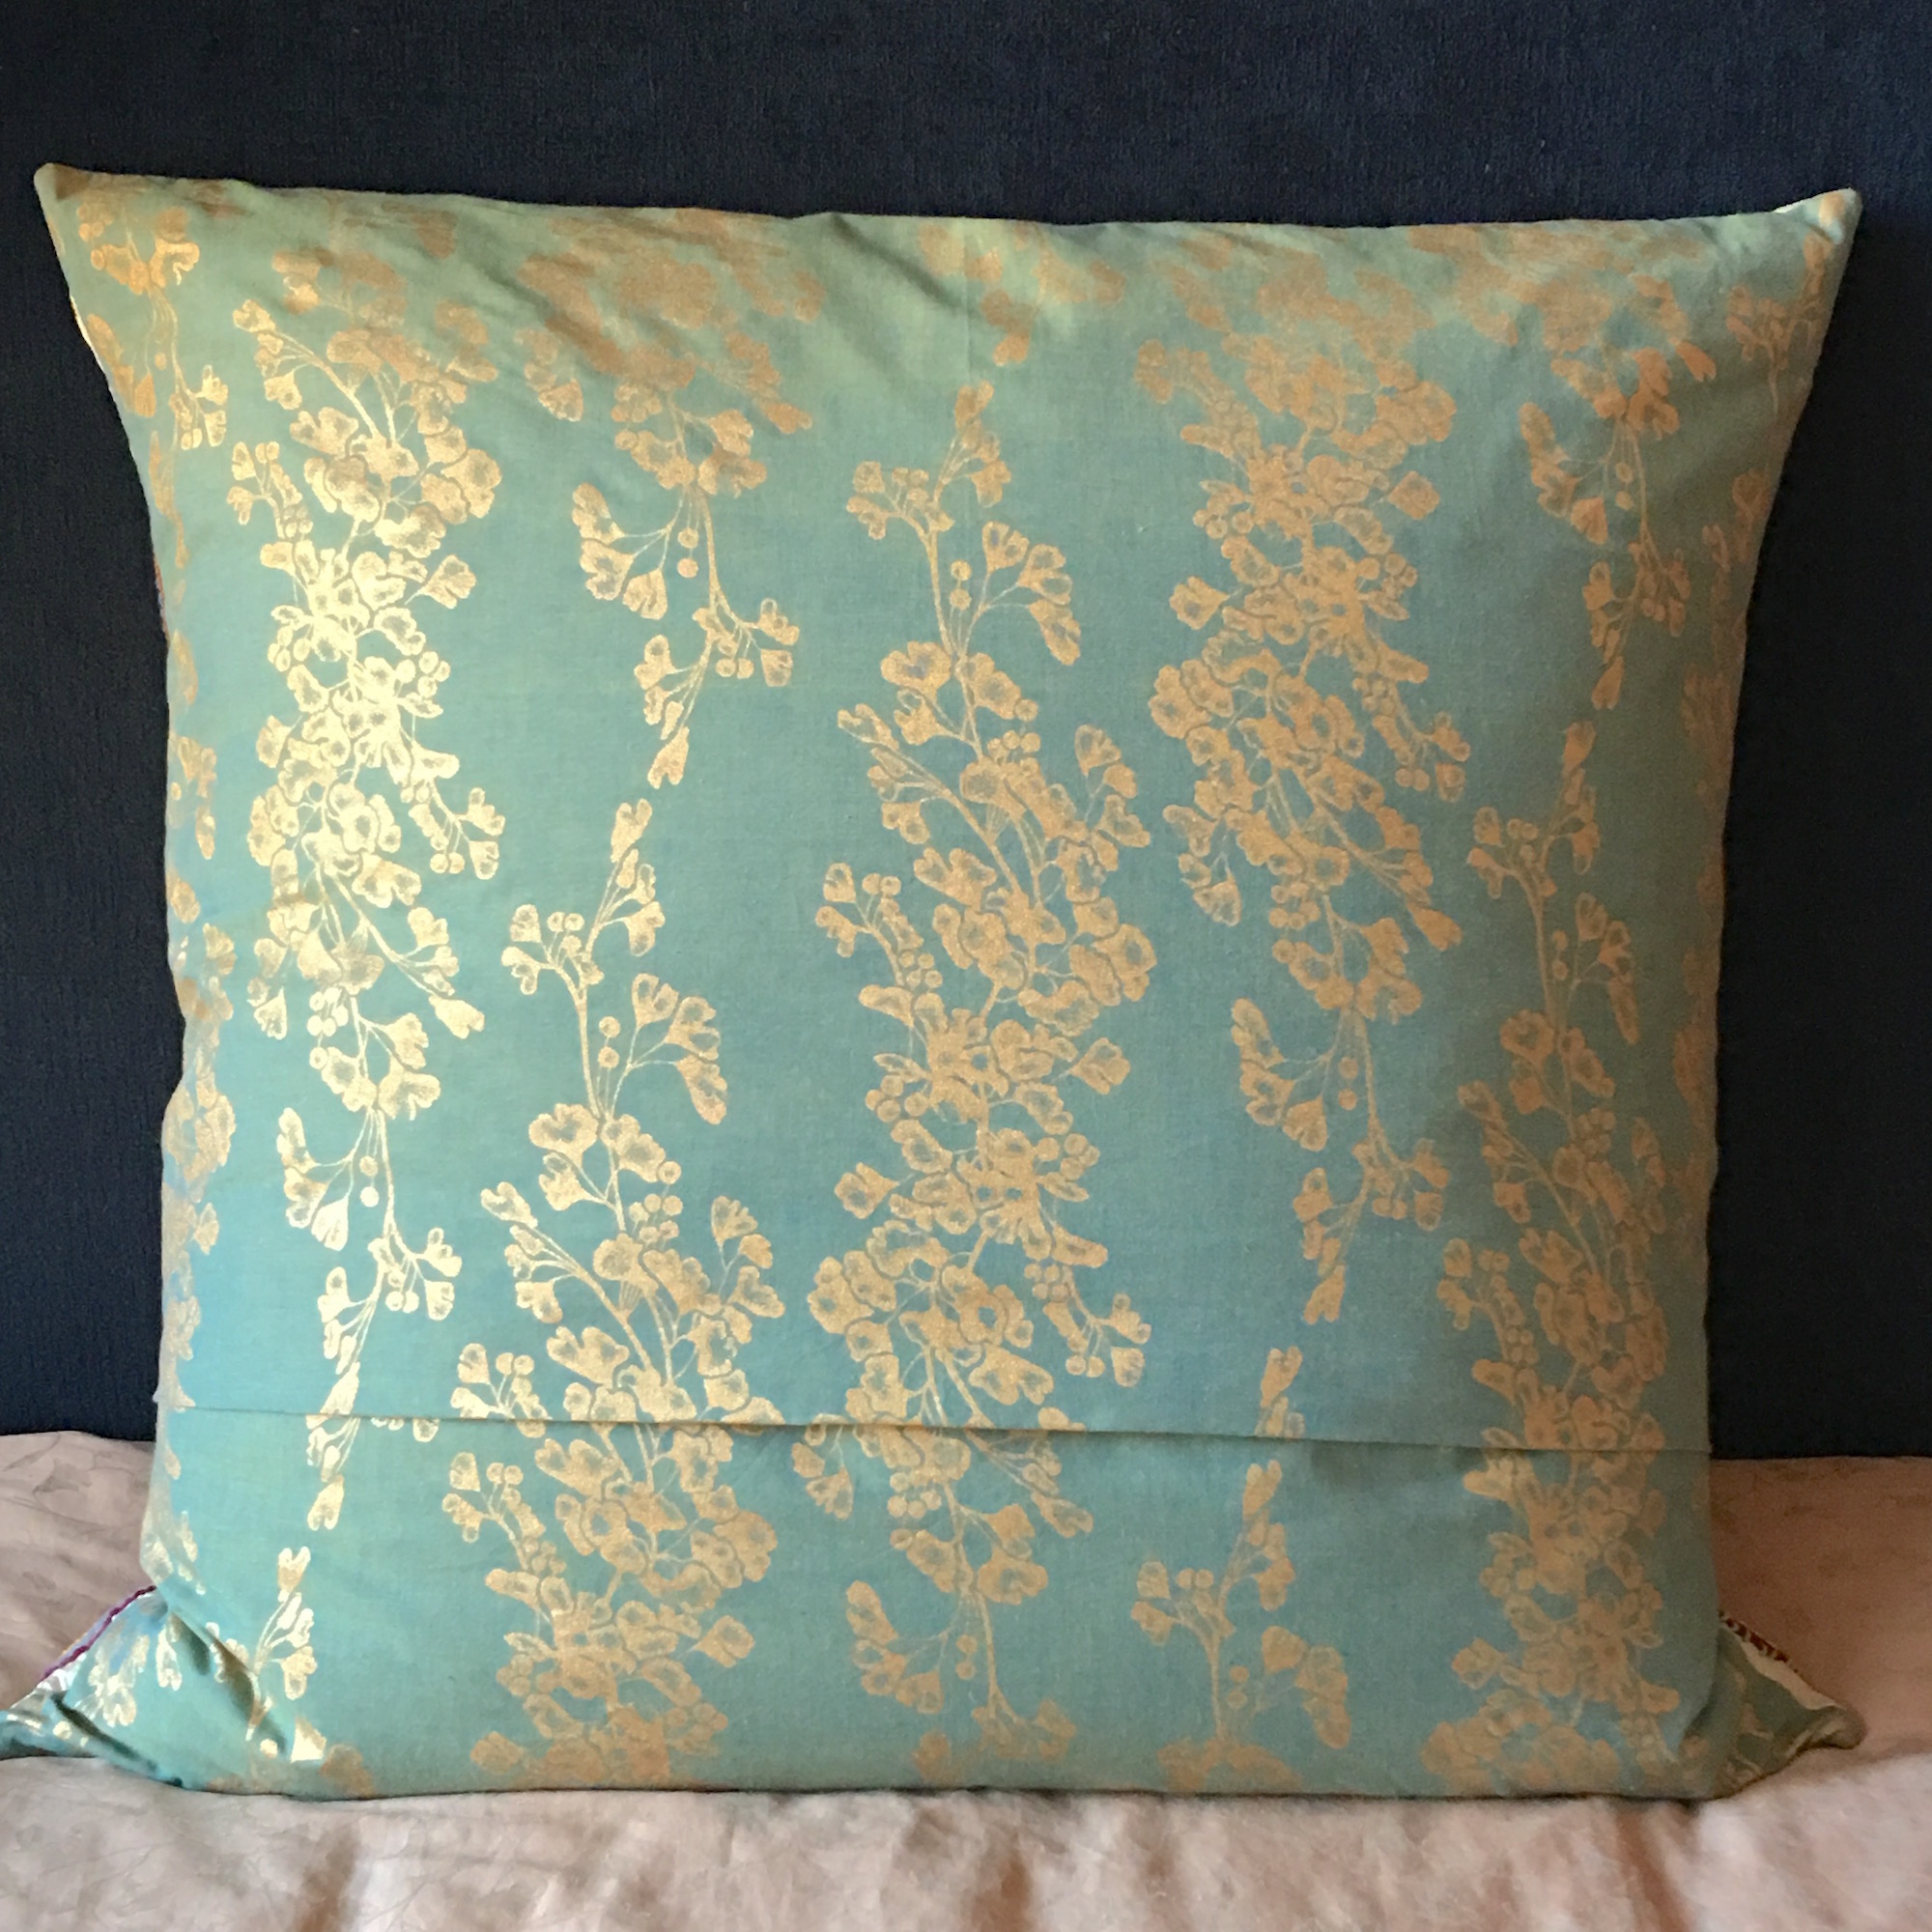
And it’s only fair to show you the back, because I agonized over the material. I asked for lots of people’s opinions and then the quilter, teacher, fabric enthusiast, Diane Rode Schneck, whom many of you in the quilting world may know, pulled out this fabric and said, “I like this one.” And that was it. She was right. It was perfect!

The back
This pillow is BIG, measuring 30″ square and it will go with the quilt top I have not yet begun quilting as my machine is STILL not repaired. In the meantime I have a work space to reorganize.
Happy creating!
 Designing a piece using these gradations was next. I had a couple ideas and with Elizabeth’s encouragement settled on this one, which also happened to be the first idea I came up with.
 After consulting Elizabeth (again), she suggested linear and horizontal stitching, I began quilting, but left the larger square alone as I wasn’t sure what to do with it. I wanted to do something, but couldn’t figure out what.
 The thing about dyeing your own fabric is how utterly seductive it is. You can mix any color you want by tweaking the proportions of your primary colors. The mottled effect enhances the overall feel of the fabric, making it completely unique and like no other.



 Then there was the question of my design wall, which is removable.
 I needed to organize my fabrics and other materials that I use for my jewelry design, such as wax, files, metals, wire, etc. While I was doing all of this, I came across my old portfolio from my days in fashion design and got a little side tracked…
 Finally, after all of that, I got back on track.
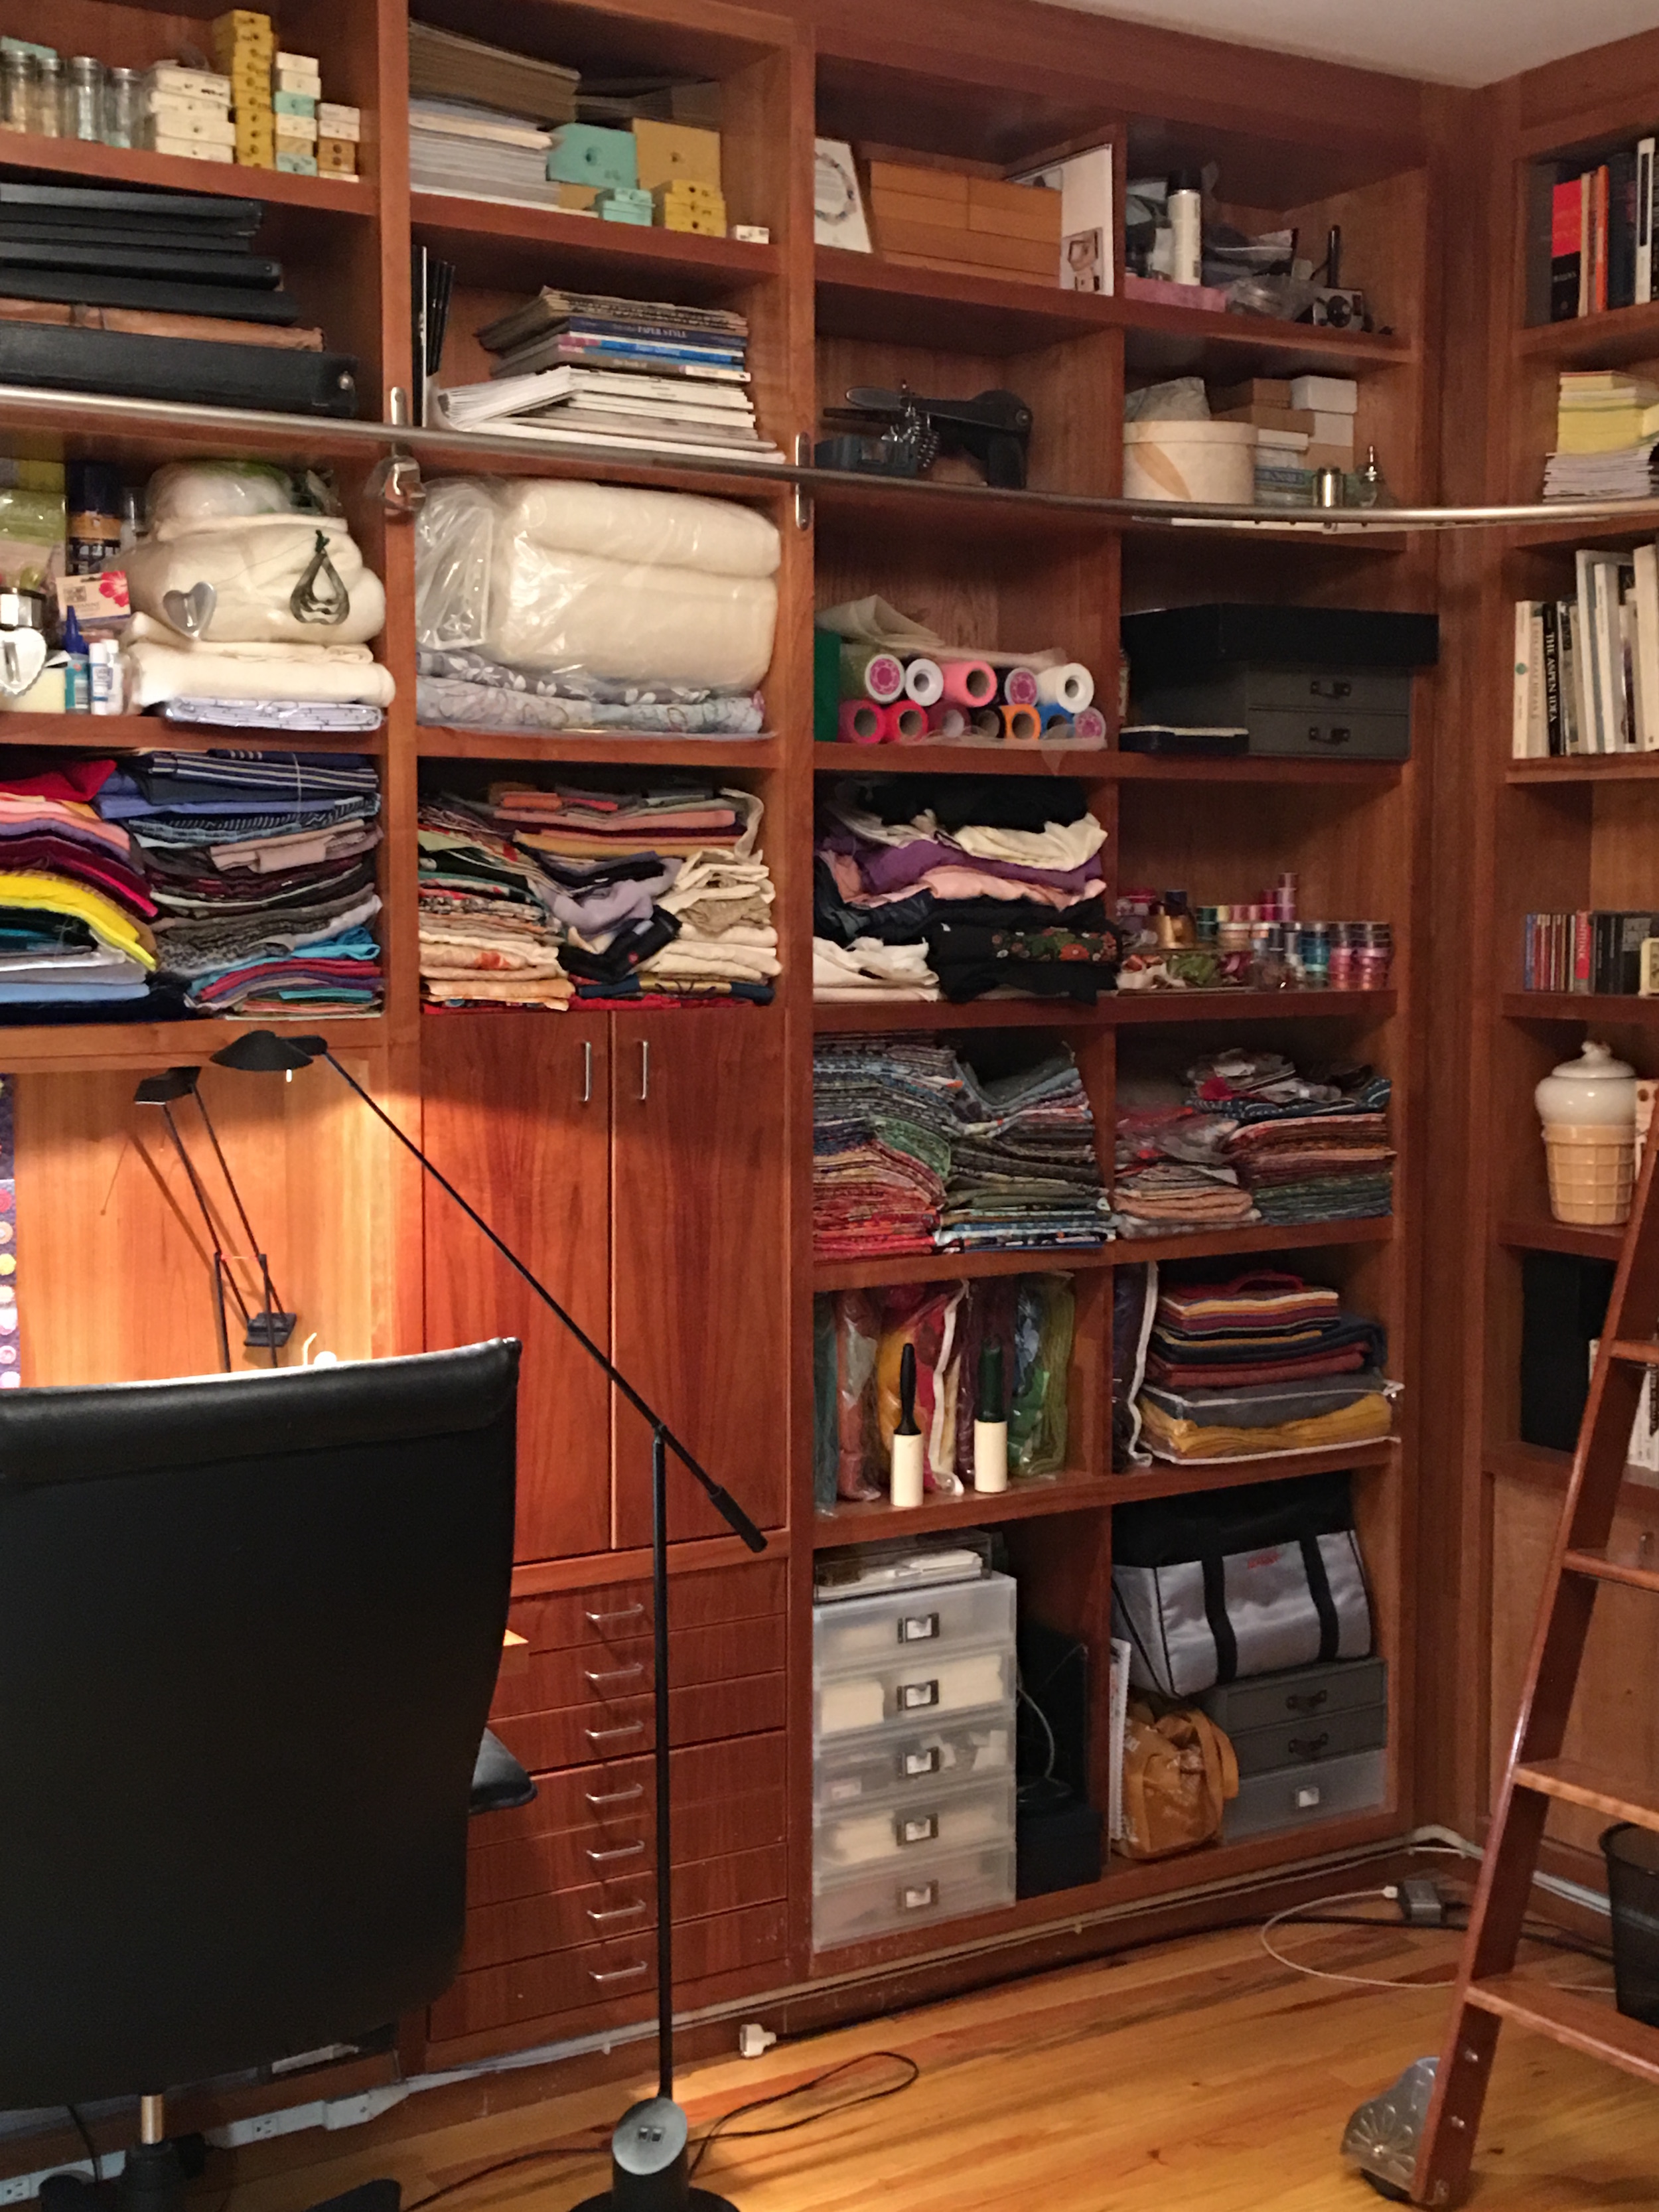
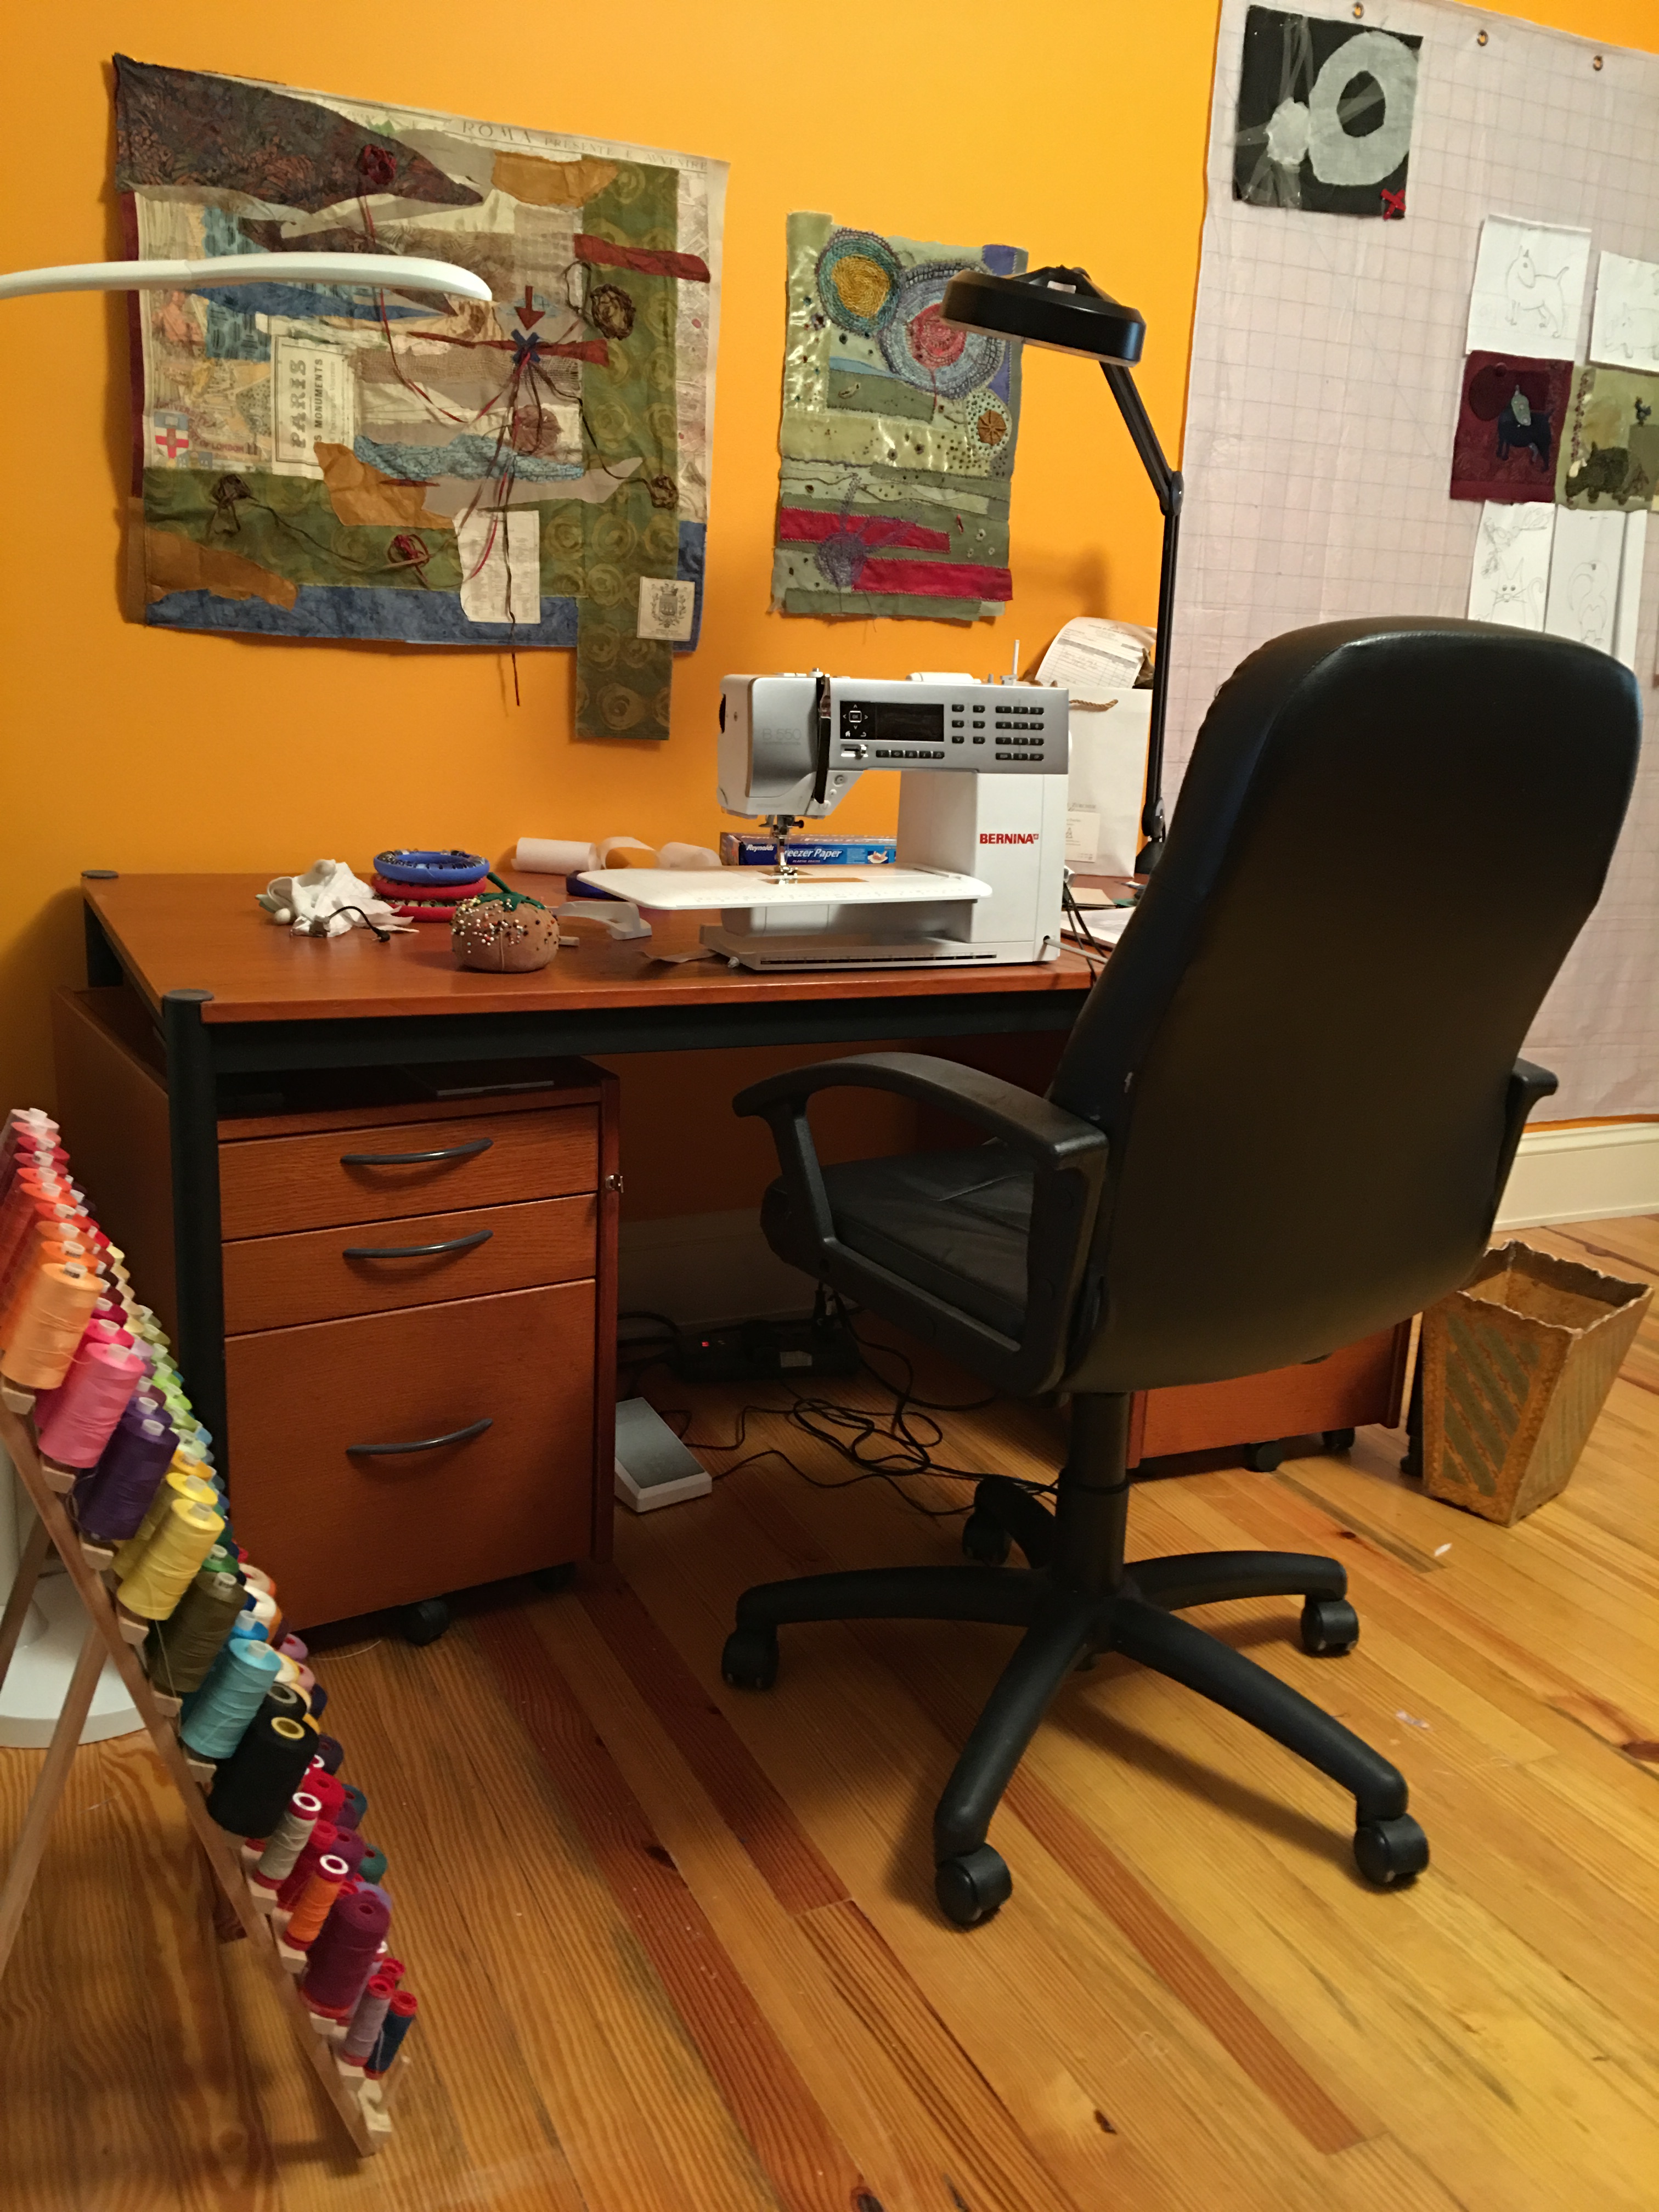 Now it’s time to get back to work – I have a queen-sized quilt to sandwich, baste and free motion quilt and then there are these little guys who keep calling to me.
Recent comments