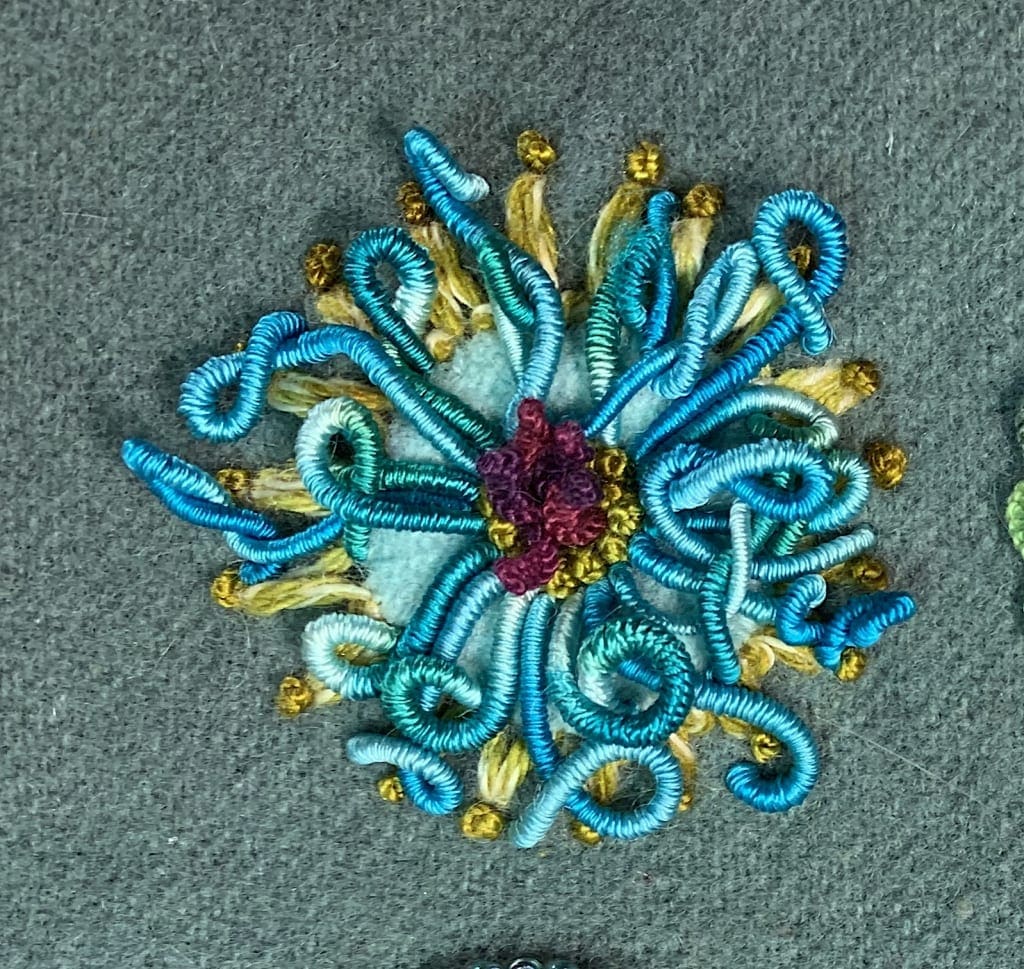
The day before yesterday I came up with this wild looking circle as one of the circles I’m doing, loosely following Sue Spargo’s Toned-Down Circle Sampler 90-day project that she is doing on Instagram. Often I’ve been using a stitch or two that she’s using for that day as a prompt and then seeing what I come up with. This one quickly announced itself as a diva.
The Diva that became my thirtieth circle inspired by the Drizzle Stitch.
Yesterday I posted a video about the creative process and a number of people messaged me privately, and a few publicly, about their process and how it was similar or differed. What struck me when reading other people’s experiences while creating or even just attempting to create is that unless you are one of those people who has felt the brutal horror of indecision, making the wrong choices, battling perfectionism and the inner mean voice, it’s very, very difficult to understand. Those who have experienced it know how awful it can be to constantly question what one is doing. Is it any good? Should I have done it differently? Maybe I’m just not creative, and do it anyway. As a result, I’m going to be doing a weekly youtube video – exploring the creative process; what stalls us, and how to work around those challenges.
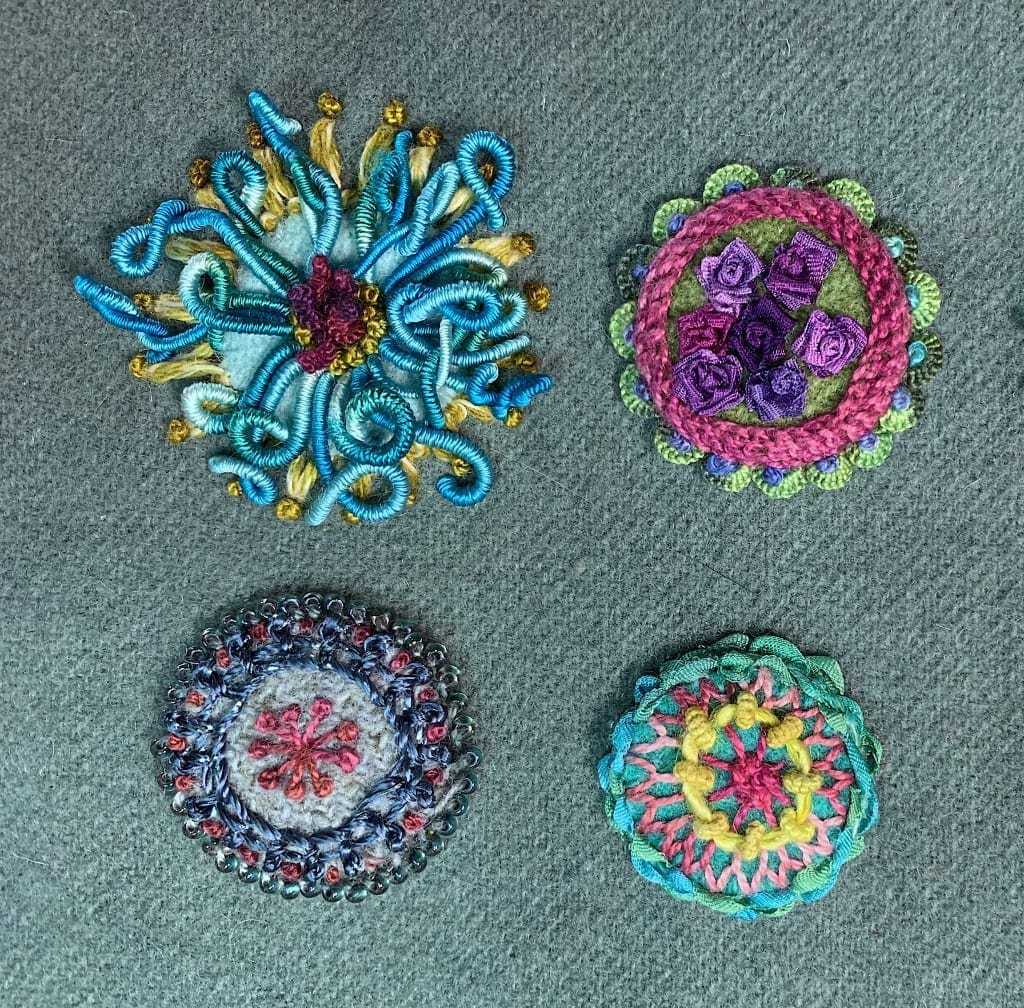
The circle I created after the Diva was the backup band in comparison. It was all I could do not to tear it out. However I had no time to redo the whole thing, and part of my efforts to combat my own inner critic is to force myself to leave things that I want to completely redo, alone. This requires sitting with the discomfort and desire to “get it right”, “make it better” and any number of other things I tell myself I’m doing. The discomfort can be, and often is, quite painful. But once done a few times, the next time becomes a bit easier.
The Diva is above the backup singer who is directly below.
All of this is not to suggest that we settle for mediocracy. This has nothing to do with that. This is very specifically about how to move forward when creating.
What are you creating? Is it easy? Difficult? I’d love to hear.
A number of people expressed interest in seeing the pieces I use to illustrate a particular stitch I’m demonstrating during my YouTube videos. As I’m showing how to do a stitch, the camera is focused on my stitching, and doesn’t pull back enough to see more than a few inches of the piece I’m working on, so I made a “Studio Tour” video.
Which got me thinking about the other question I get a lot of, “Where do you find your inspiration?”
And the answer to that is – everywhere.
What follows are a few things that have inspired me over the last few weeks. I’ve included a couple of quick tours of buildings that caught my eye on a recent stroll I took with my husband a few days ago. These are just random buildings that we pass all the time as we walk about our beautiful city. Inspiration is literally around every corner. Welcome to the beauty and inspiration of Manhattan!
This is the cheesecake I made for our very small family dinner on Easter Sunday. It reminds me of the Raised Cup Stitch. The recipe is from my mother. I cannot remember where she got it from. Perhaps she will remind me!
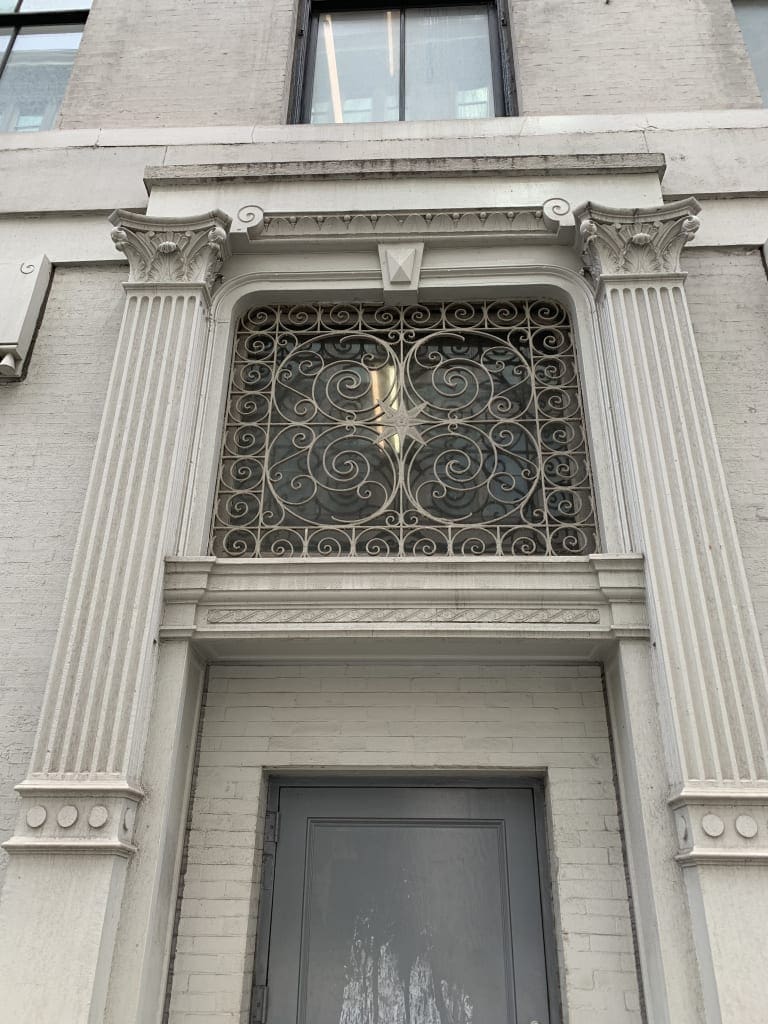
The beautiful iron work grill above a doorway right around the corner from where I live in Manhattan. One of thousands – a building’s facade reminding me to look up!
Built in 1906, I couldn’t find out anything more about what this building once was; it is now an office building.
Built in 1900, this building was originally a button factory. But look at those lion’s heads. Amazing.
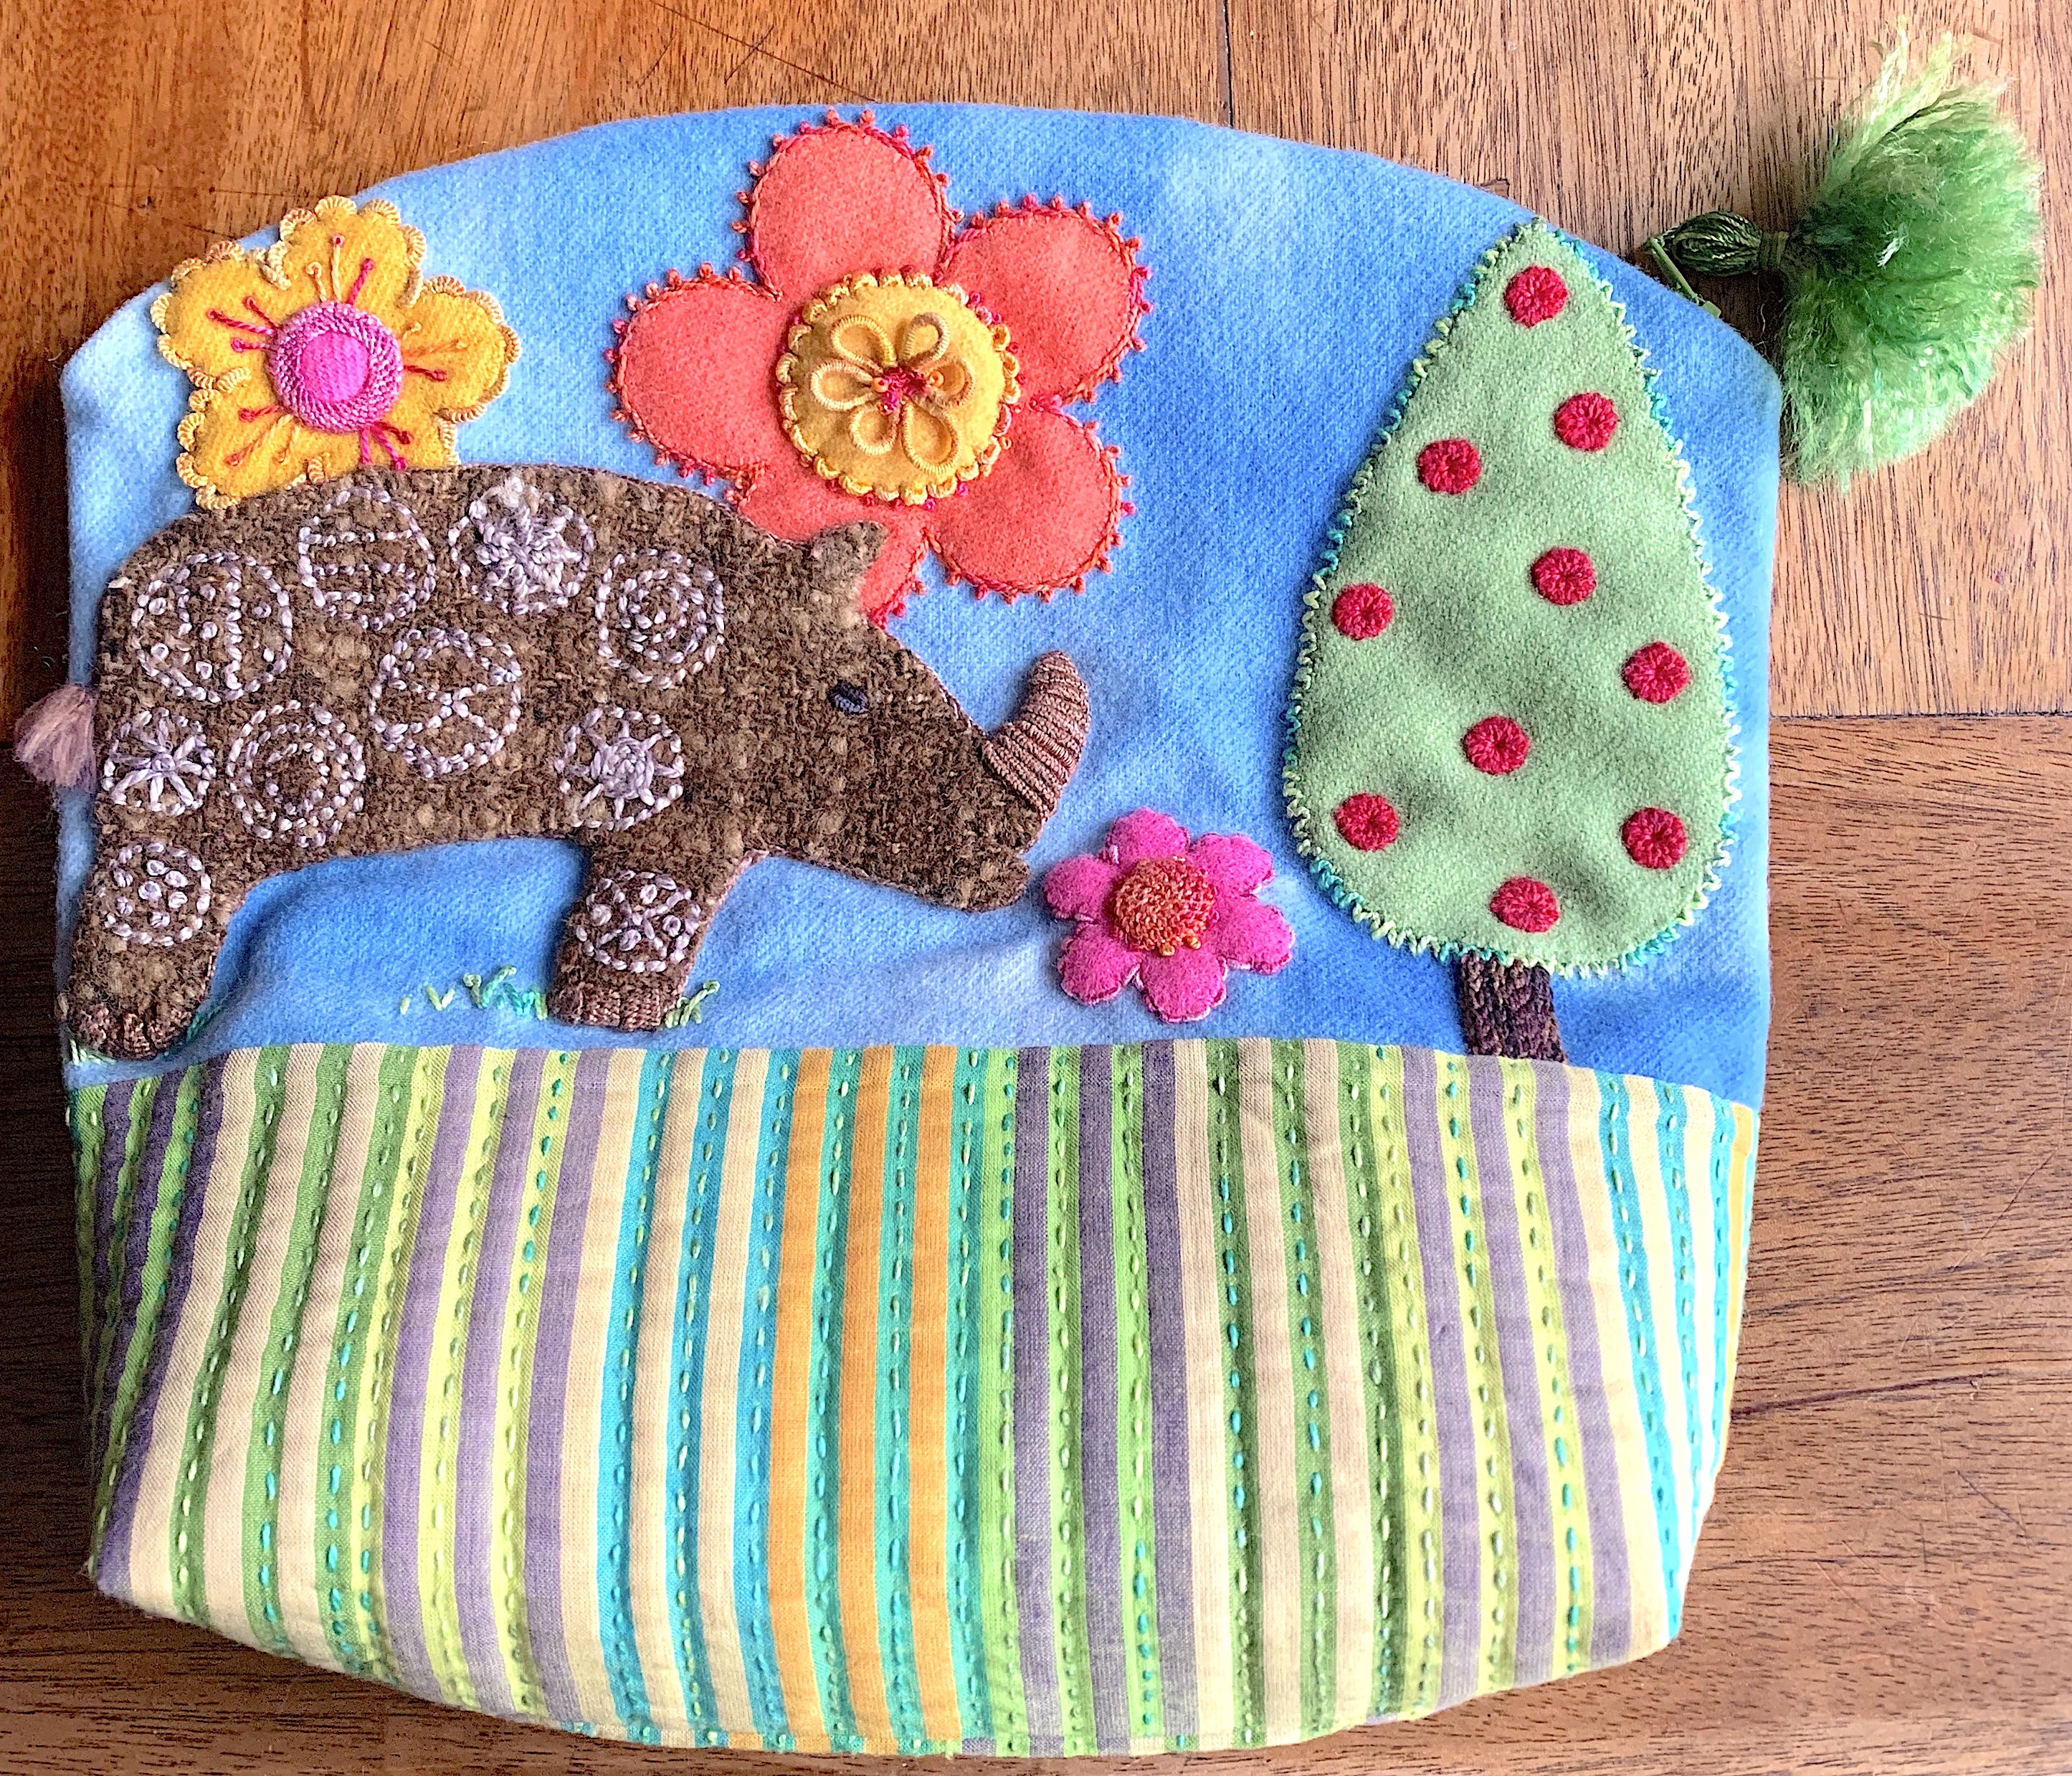
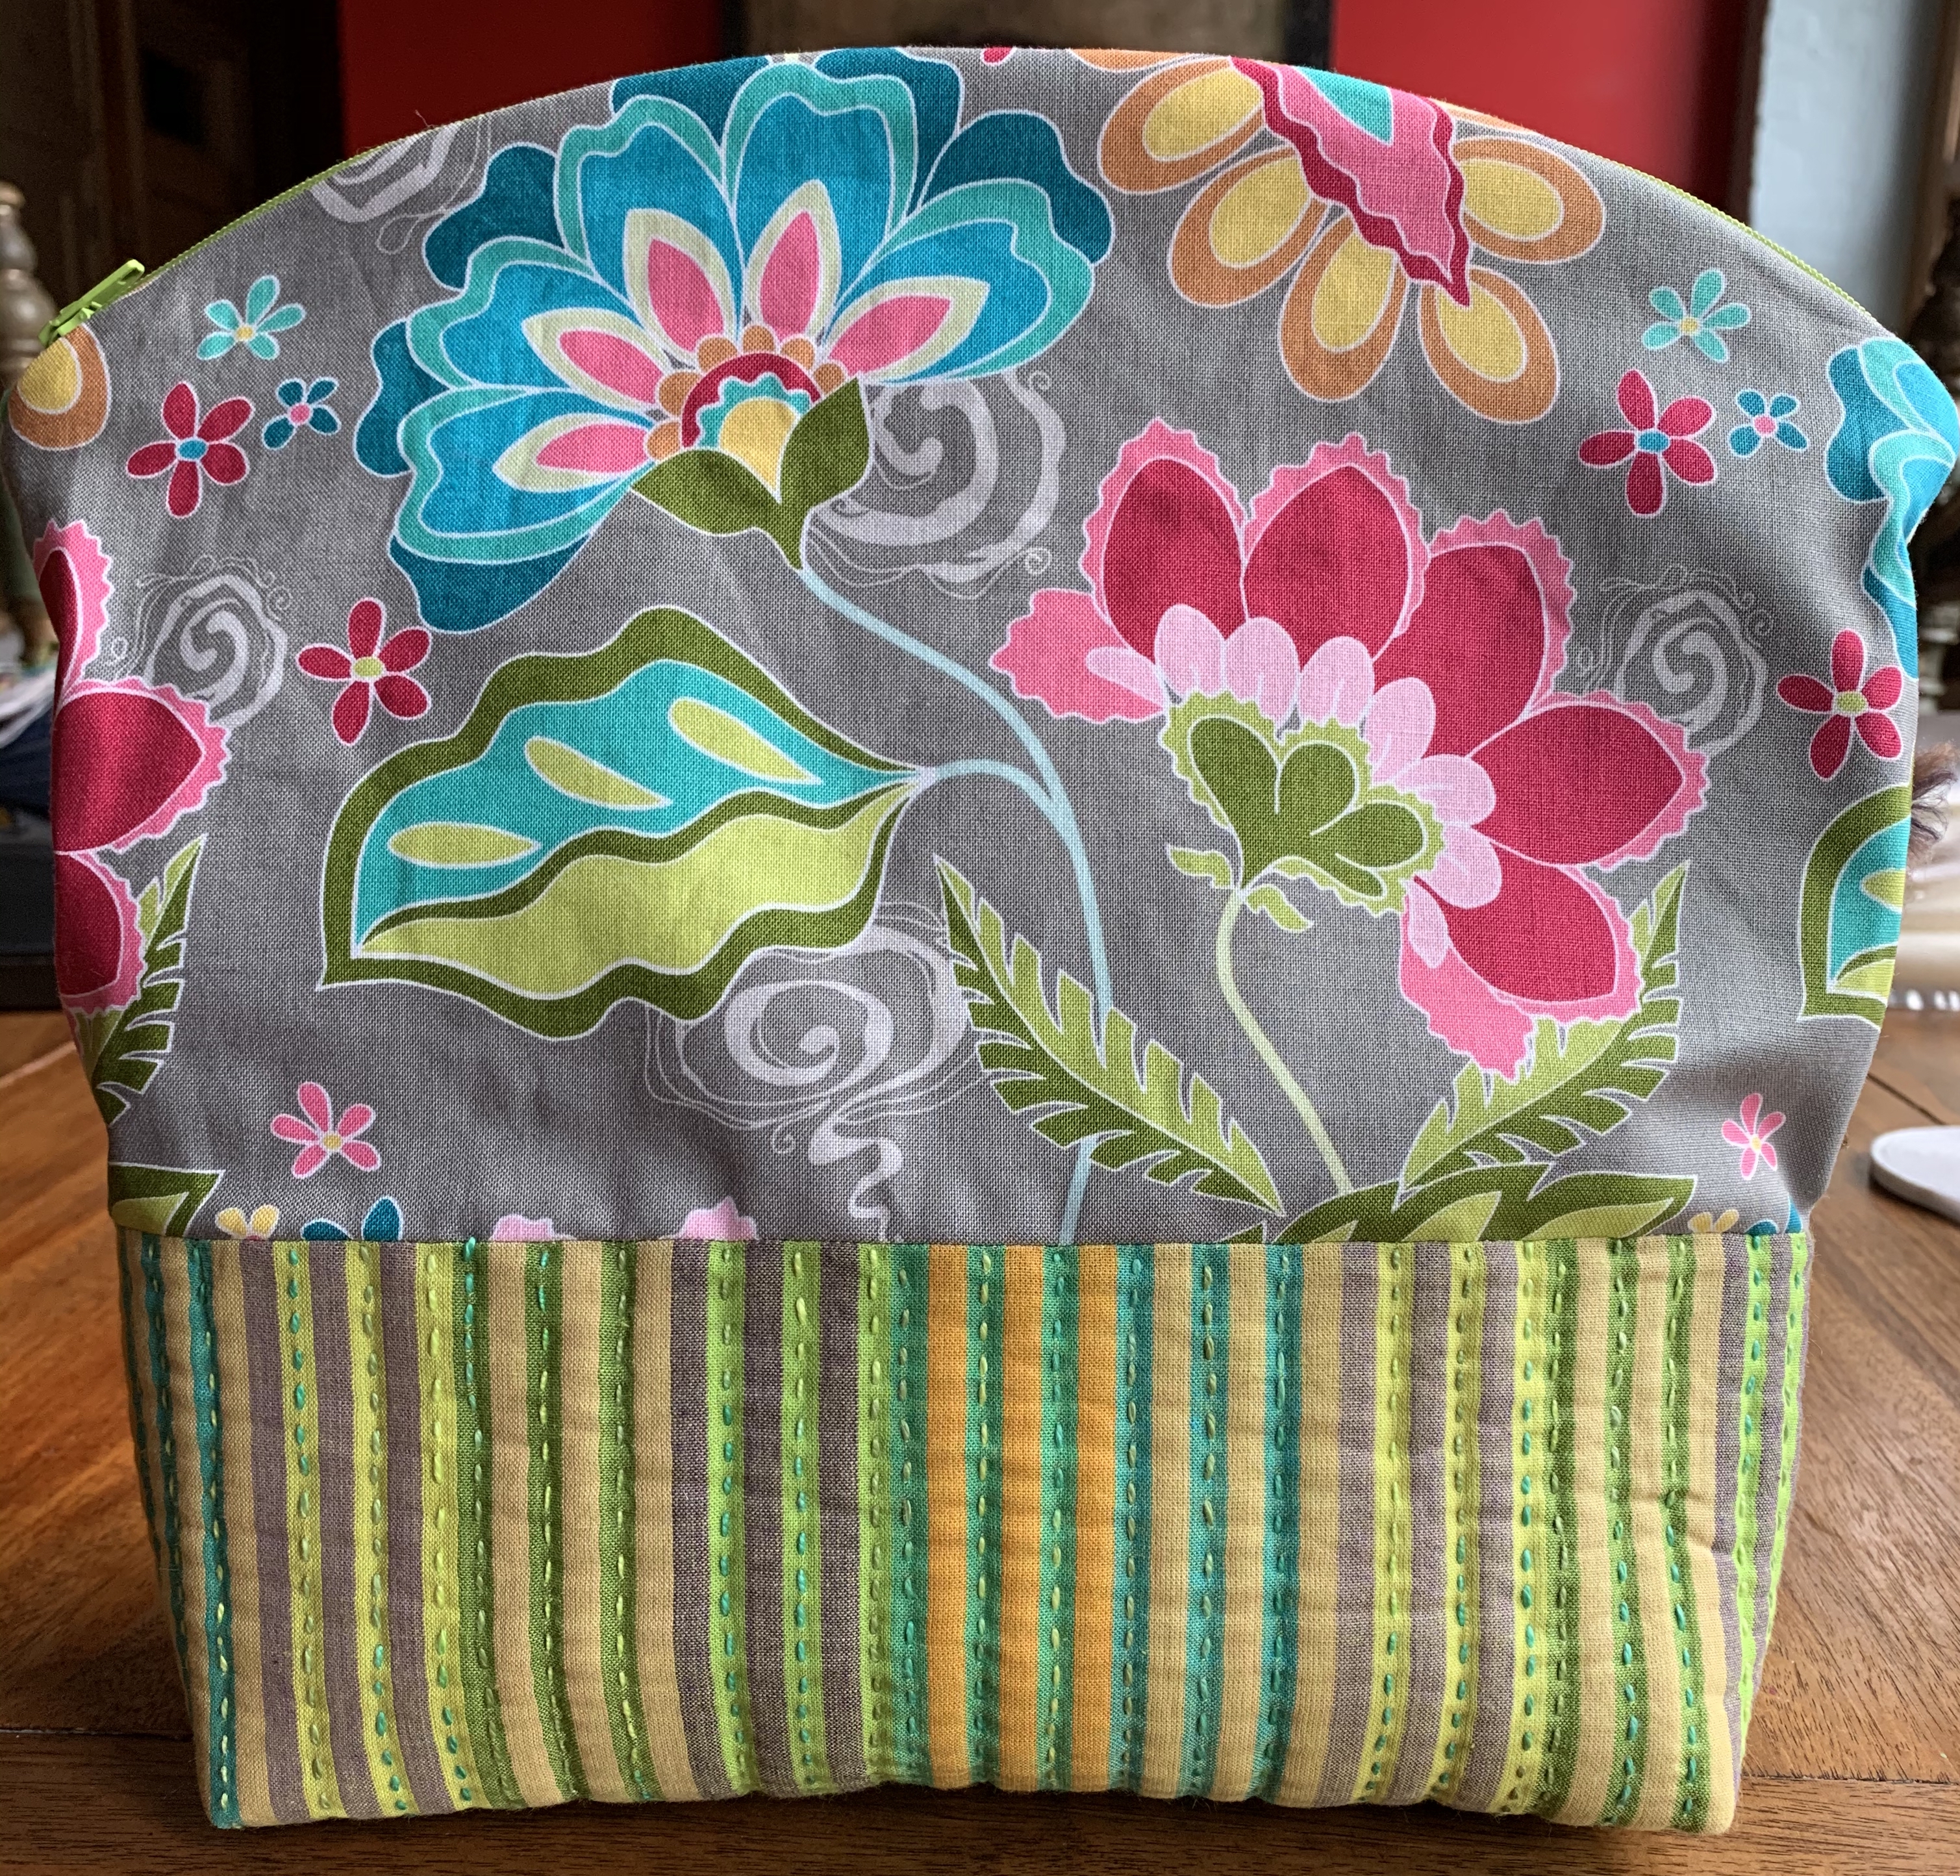
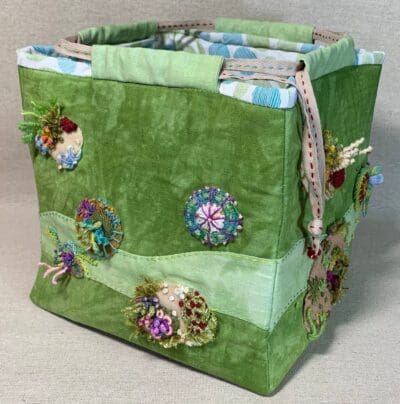
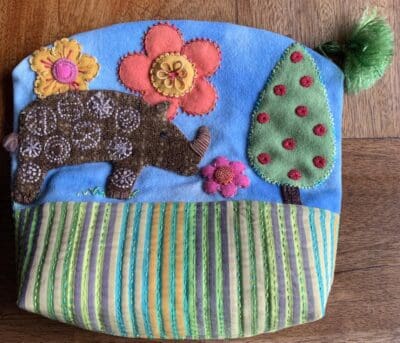
I love a good zippered pouch. Preferably one that I can take on an airplane, large enough for a tablet or small sketch book, a needle roll, small pair of scissors, and project, but not so large that it becomes cumbersome. I began looking around at what is already out there and found many lovely bags, but finally decided to design my own. It measures 12″ x 12″, has a slightly curved top with a tassel for the zipper pull.
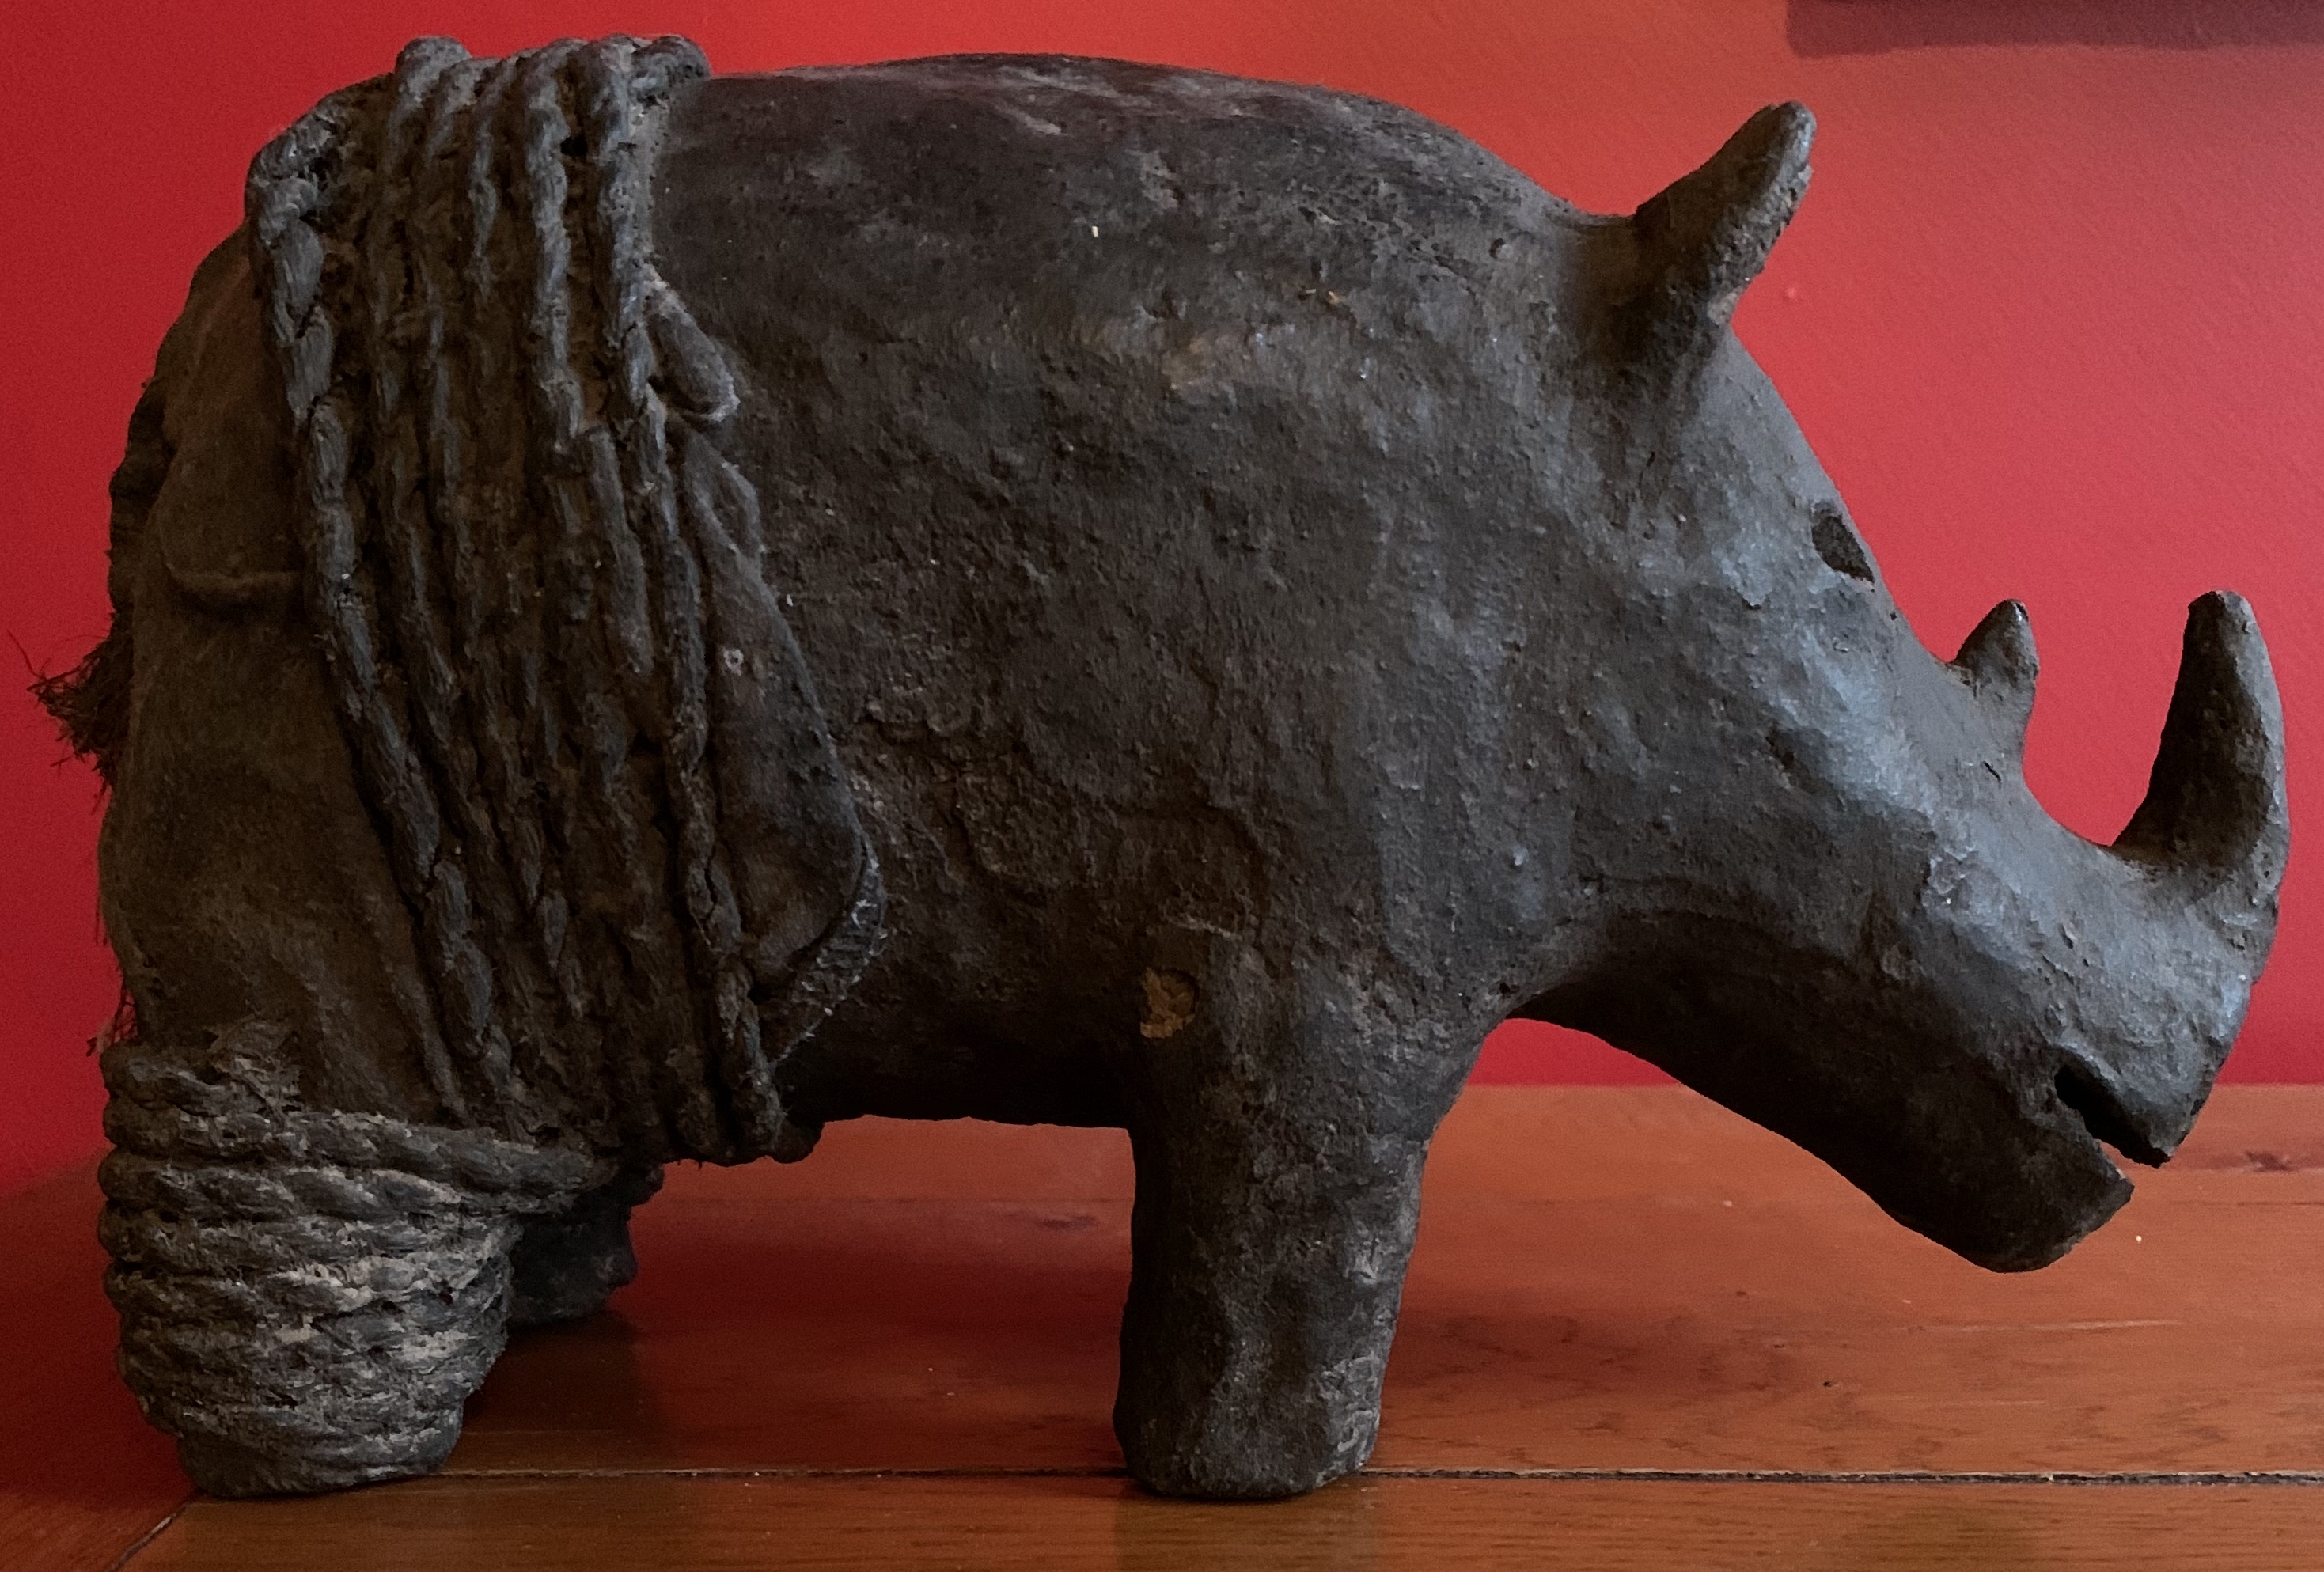
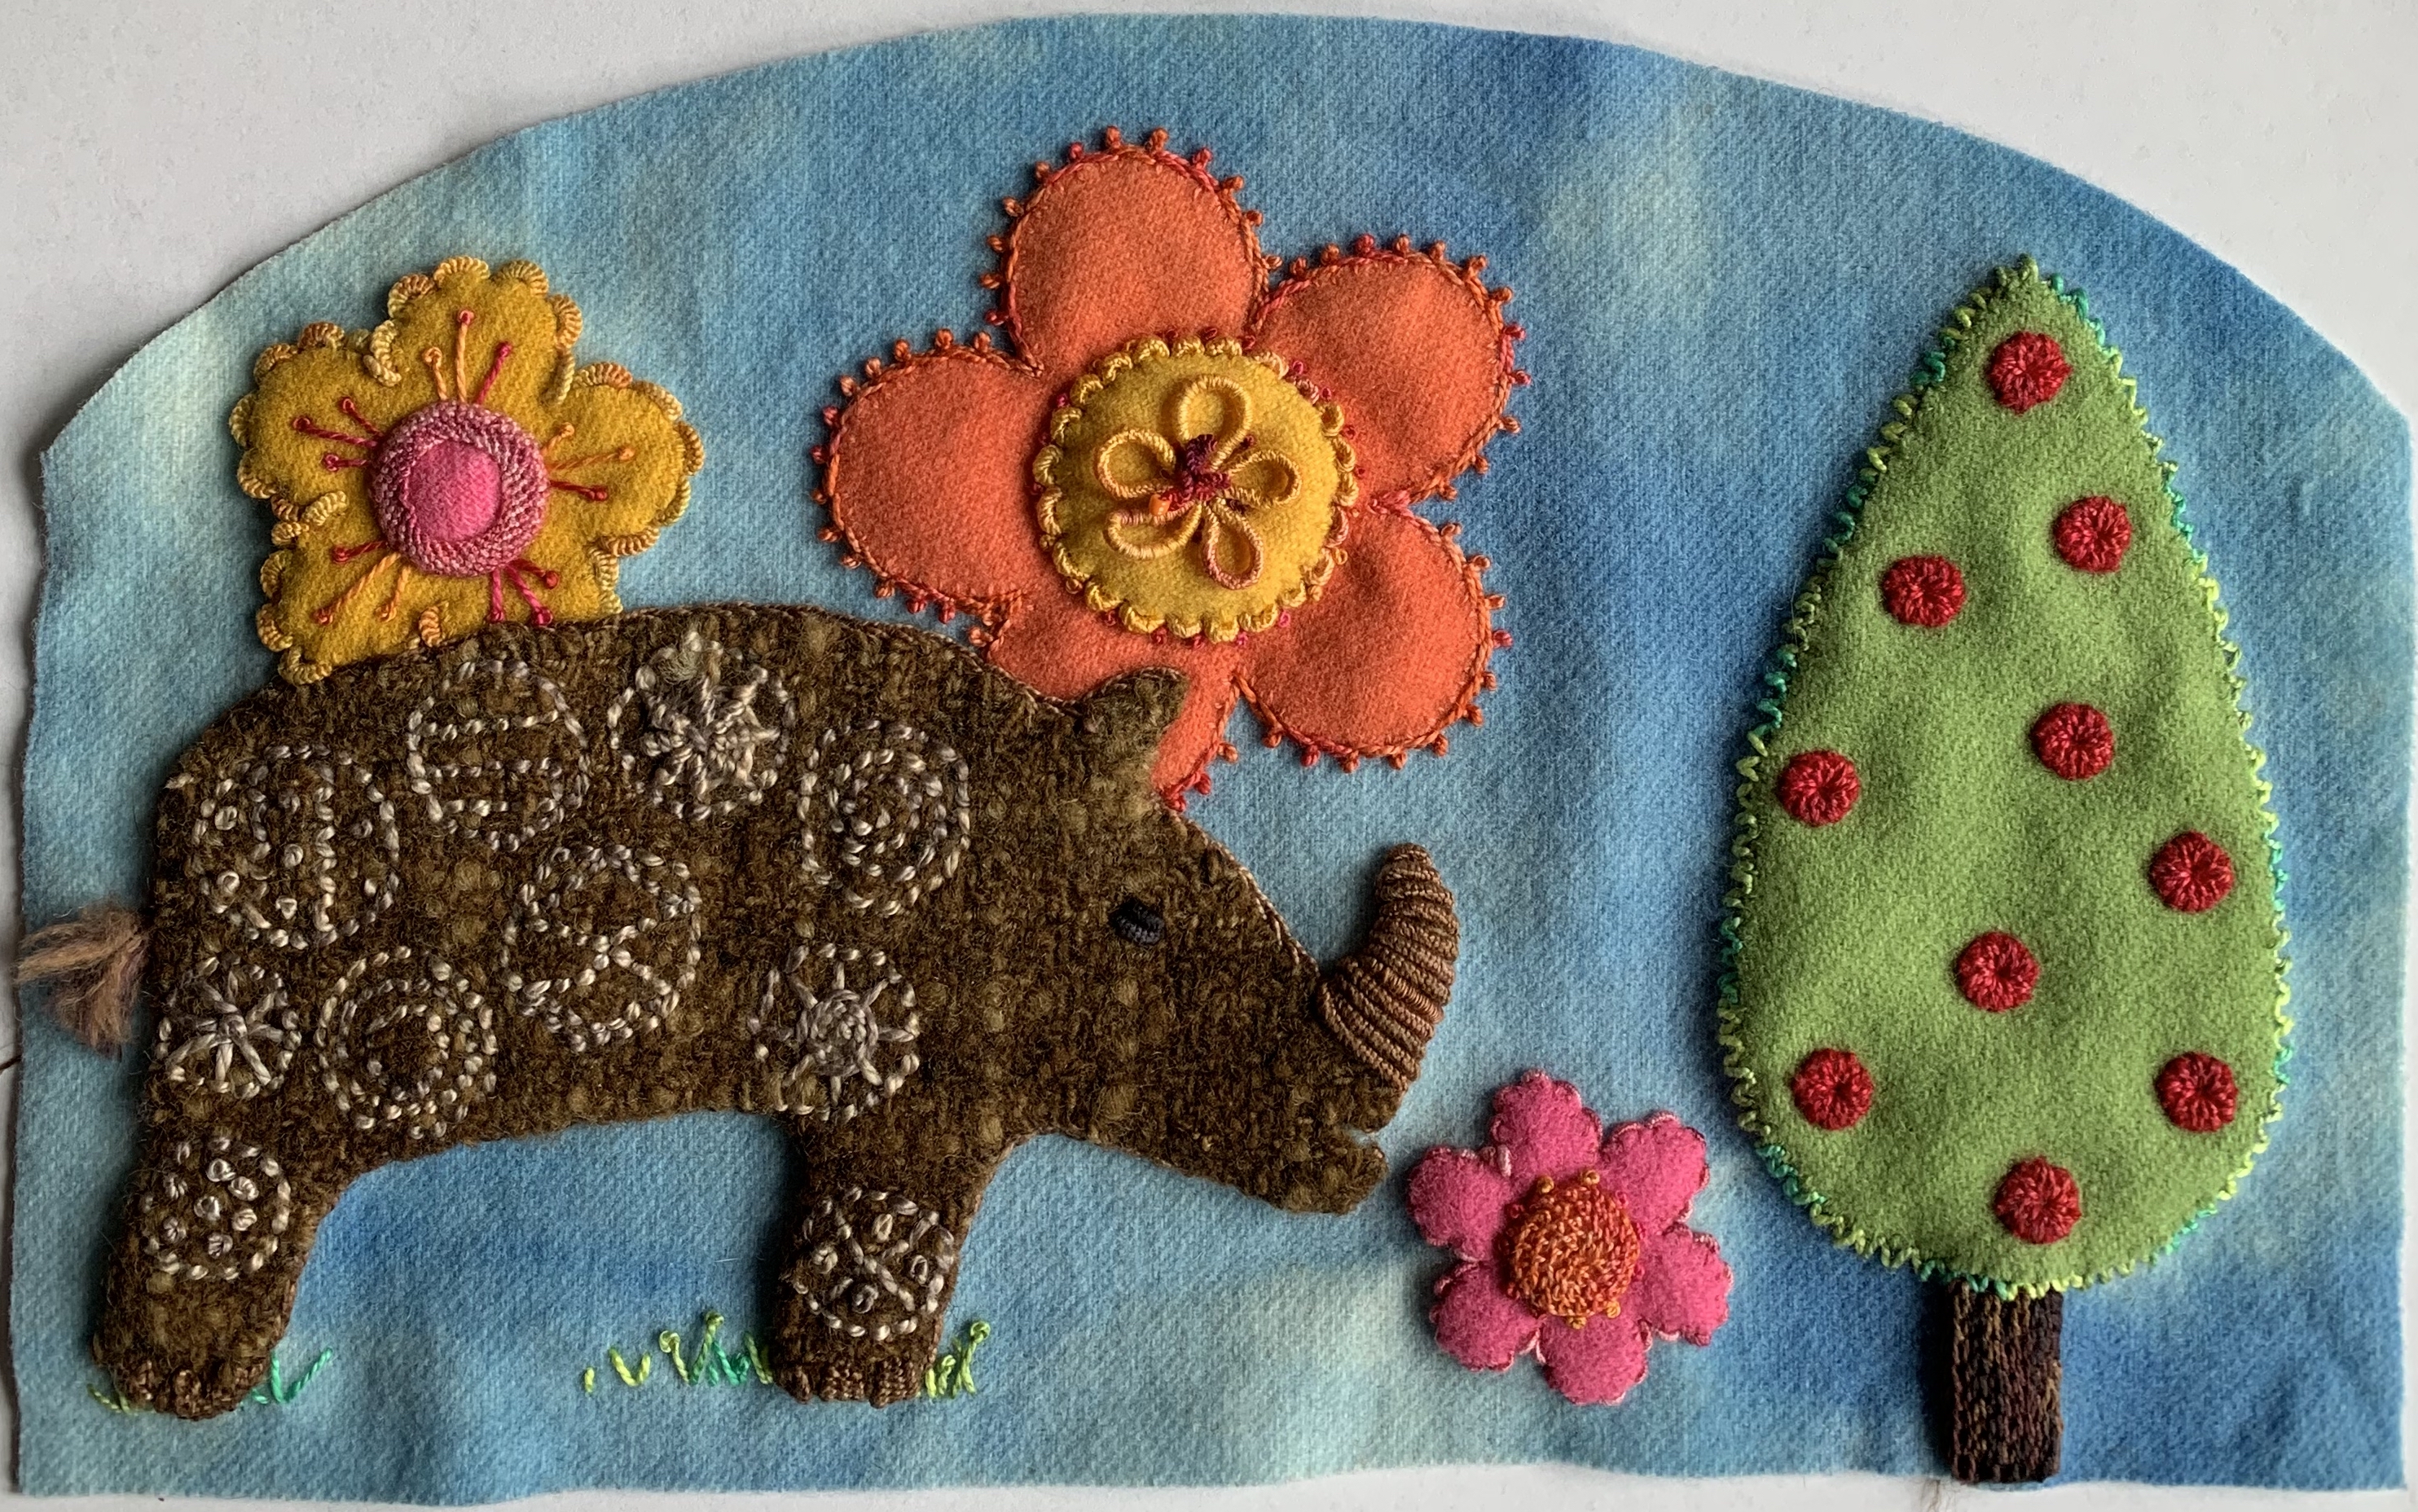
Years ago my husband and I came upon this beautiful African Rhino and decided we had to have him. This became my inspiration for the design on the front of my bag.
As many of you know, I re-found hand stitching through Sue Spargo. I fell in love with the way she used traditional embroidery stitches, but used all kinds of different threads, to add another dimension to wool appliqué. I responded to the “folk art” style of her designs, but also to the layering she employs in her work. Using wool as her base, she then might layer another piece of wool, which is then layered with a smaller piece of silk velvet, cotton print, linen, cork, ribbon, beading, whatever best accents her design – the options are endless! That was five years ago…
Today, I’m honored to call Sue my friend. She gives me endless encouragement, suggestions, helpful tips, and is one of the kindest, most generous souls I’ve ever met. She also happens to be one of the hardest working women I know, is a smart business woman and runs a thriving brick and mortar store as well as online business at suespargo.com, all while teaching year round all over the country and world. If you haven’t taken a class with Sue, you are in for a treat. Sue is patient, helpful, encourages everyone to put their own personal touches onto their pieces, is incredibly talented, oozes creativity and did I mention how kind she is? Kind. Just incredibly kind.
So when I decided to design my own zippered pouch I immediately sent it off to Sue to get her okay. After all I’m using her techniques, her wools, her threads and never want to take credit for any of that. She, of course, being Sue, told me she loved it and so here it is, ready for others to make if they choose.
The Embellished Top
If you want to make this pouch yourself, you can purchase the pattern, templates and detailed instructions, including tons of step by step photographs to help you, as well as a list of materials you will need from my Etsy Site. I even added instructions for us lefties out there, so that our zipper will be on the opposite side! All the wool, fabric, and threads you need to make this pouch are on Sue Spargo’s website except maybe the zipper. It’s a one-stop shopping experience. And who doesn’t want a zippered, fully lined pouch!? Also – if you don’t want to make the wool Rhino top, you can use the pattern templates to make the whole thing out of cotton fabric or bark cloth or canvas or linen or whatever you like!
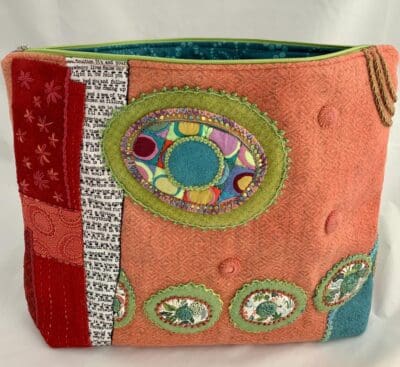
The Back of the Zippered Pouch
When I was designing my pouch, I first made it using all cotton fabrics and added Soft and Stable to the whole thing to give it more oomph. I swear that’s the technical word…
Zippered Pouch using all cotton fabric
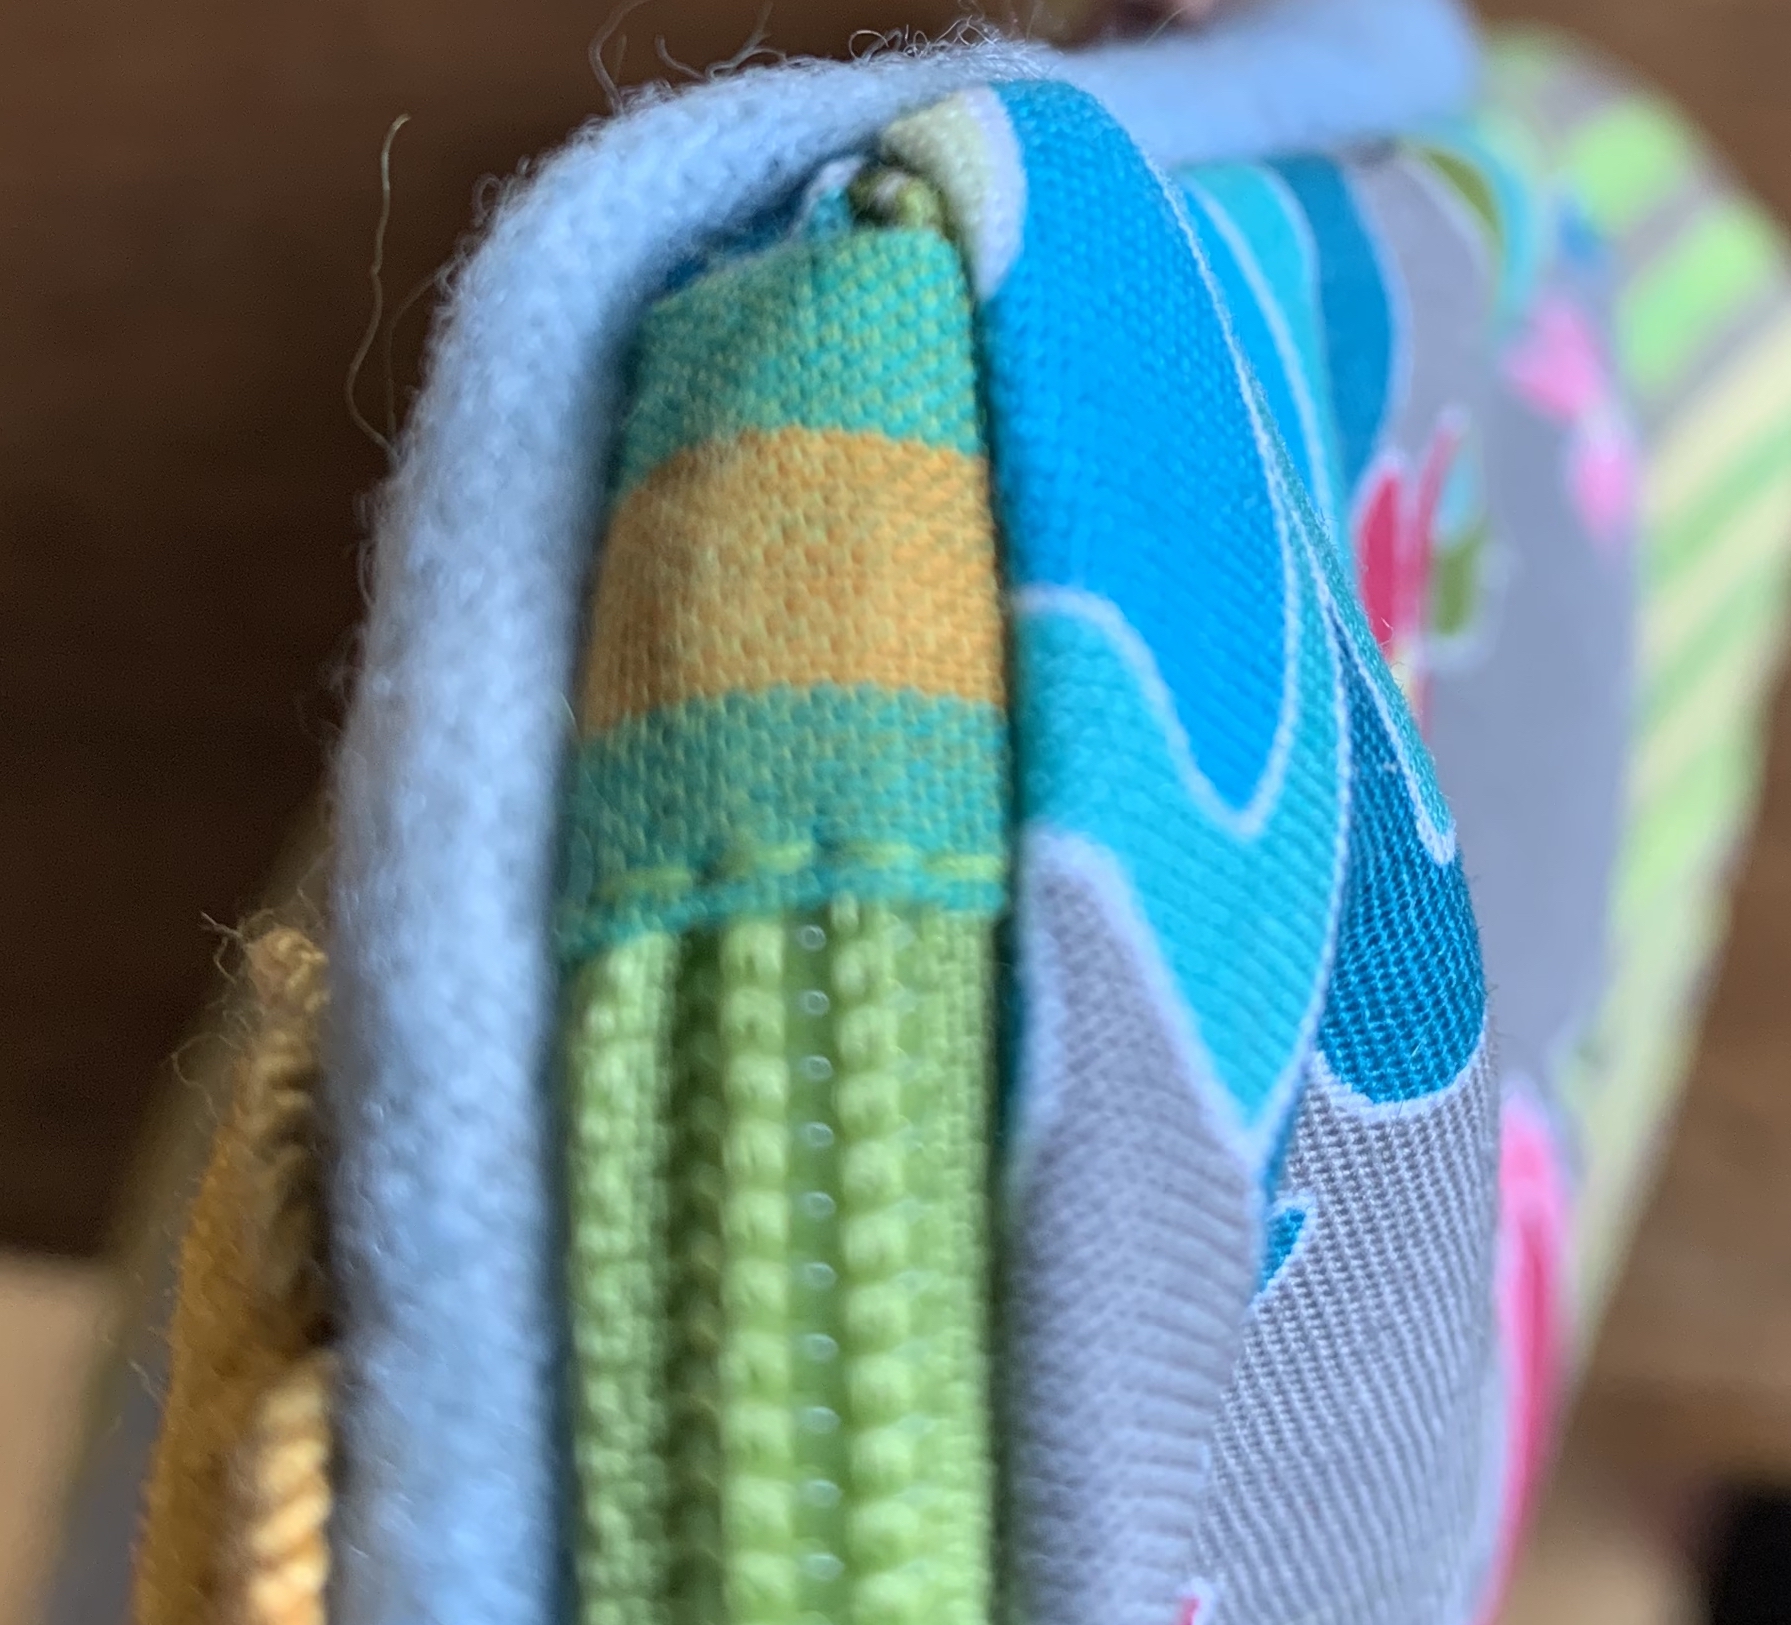
I also re-designed the curve so it was gentler, with the added plus being it is easier to sew in the zipper, and I added fabric tabs to the ends of the zipper, which gives it a nice, clean finish.
Zipper Tab Close Up
Tell me what you think. Post your finished bag on Instagram and tag me and/or on Facebook. Don’t forget to tag me so I can applaud your efforts.
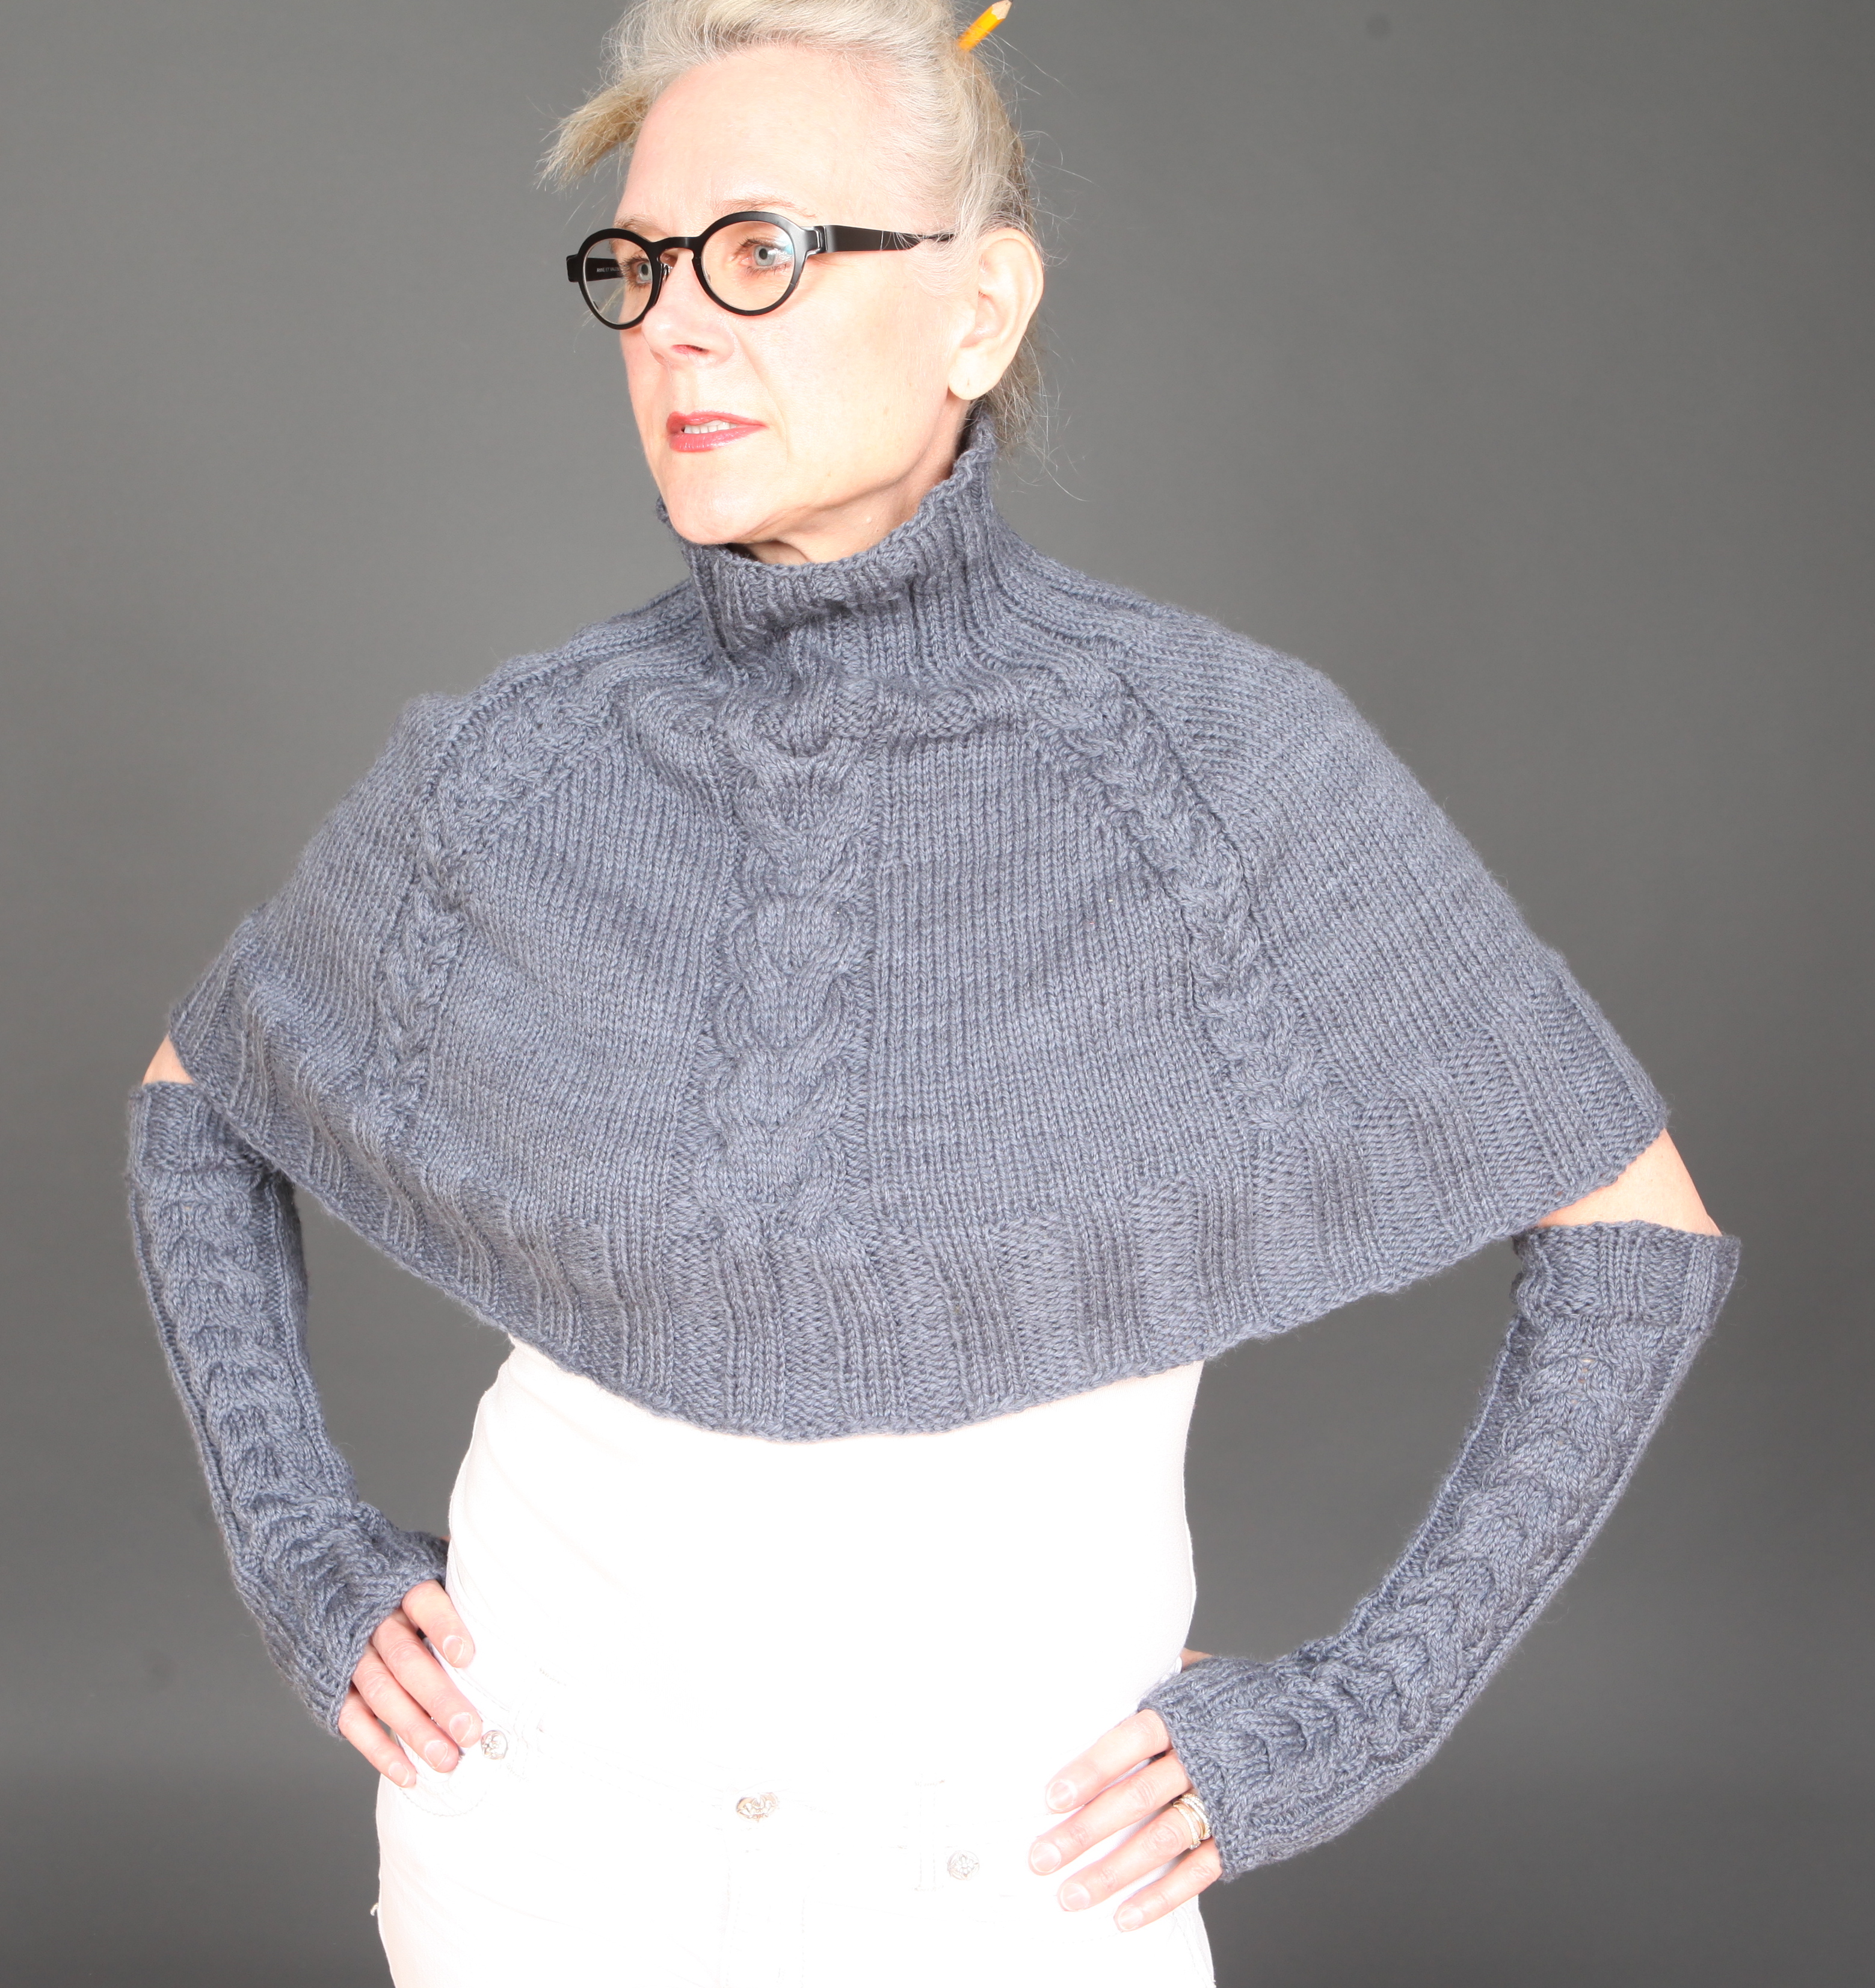
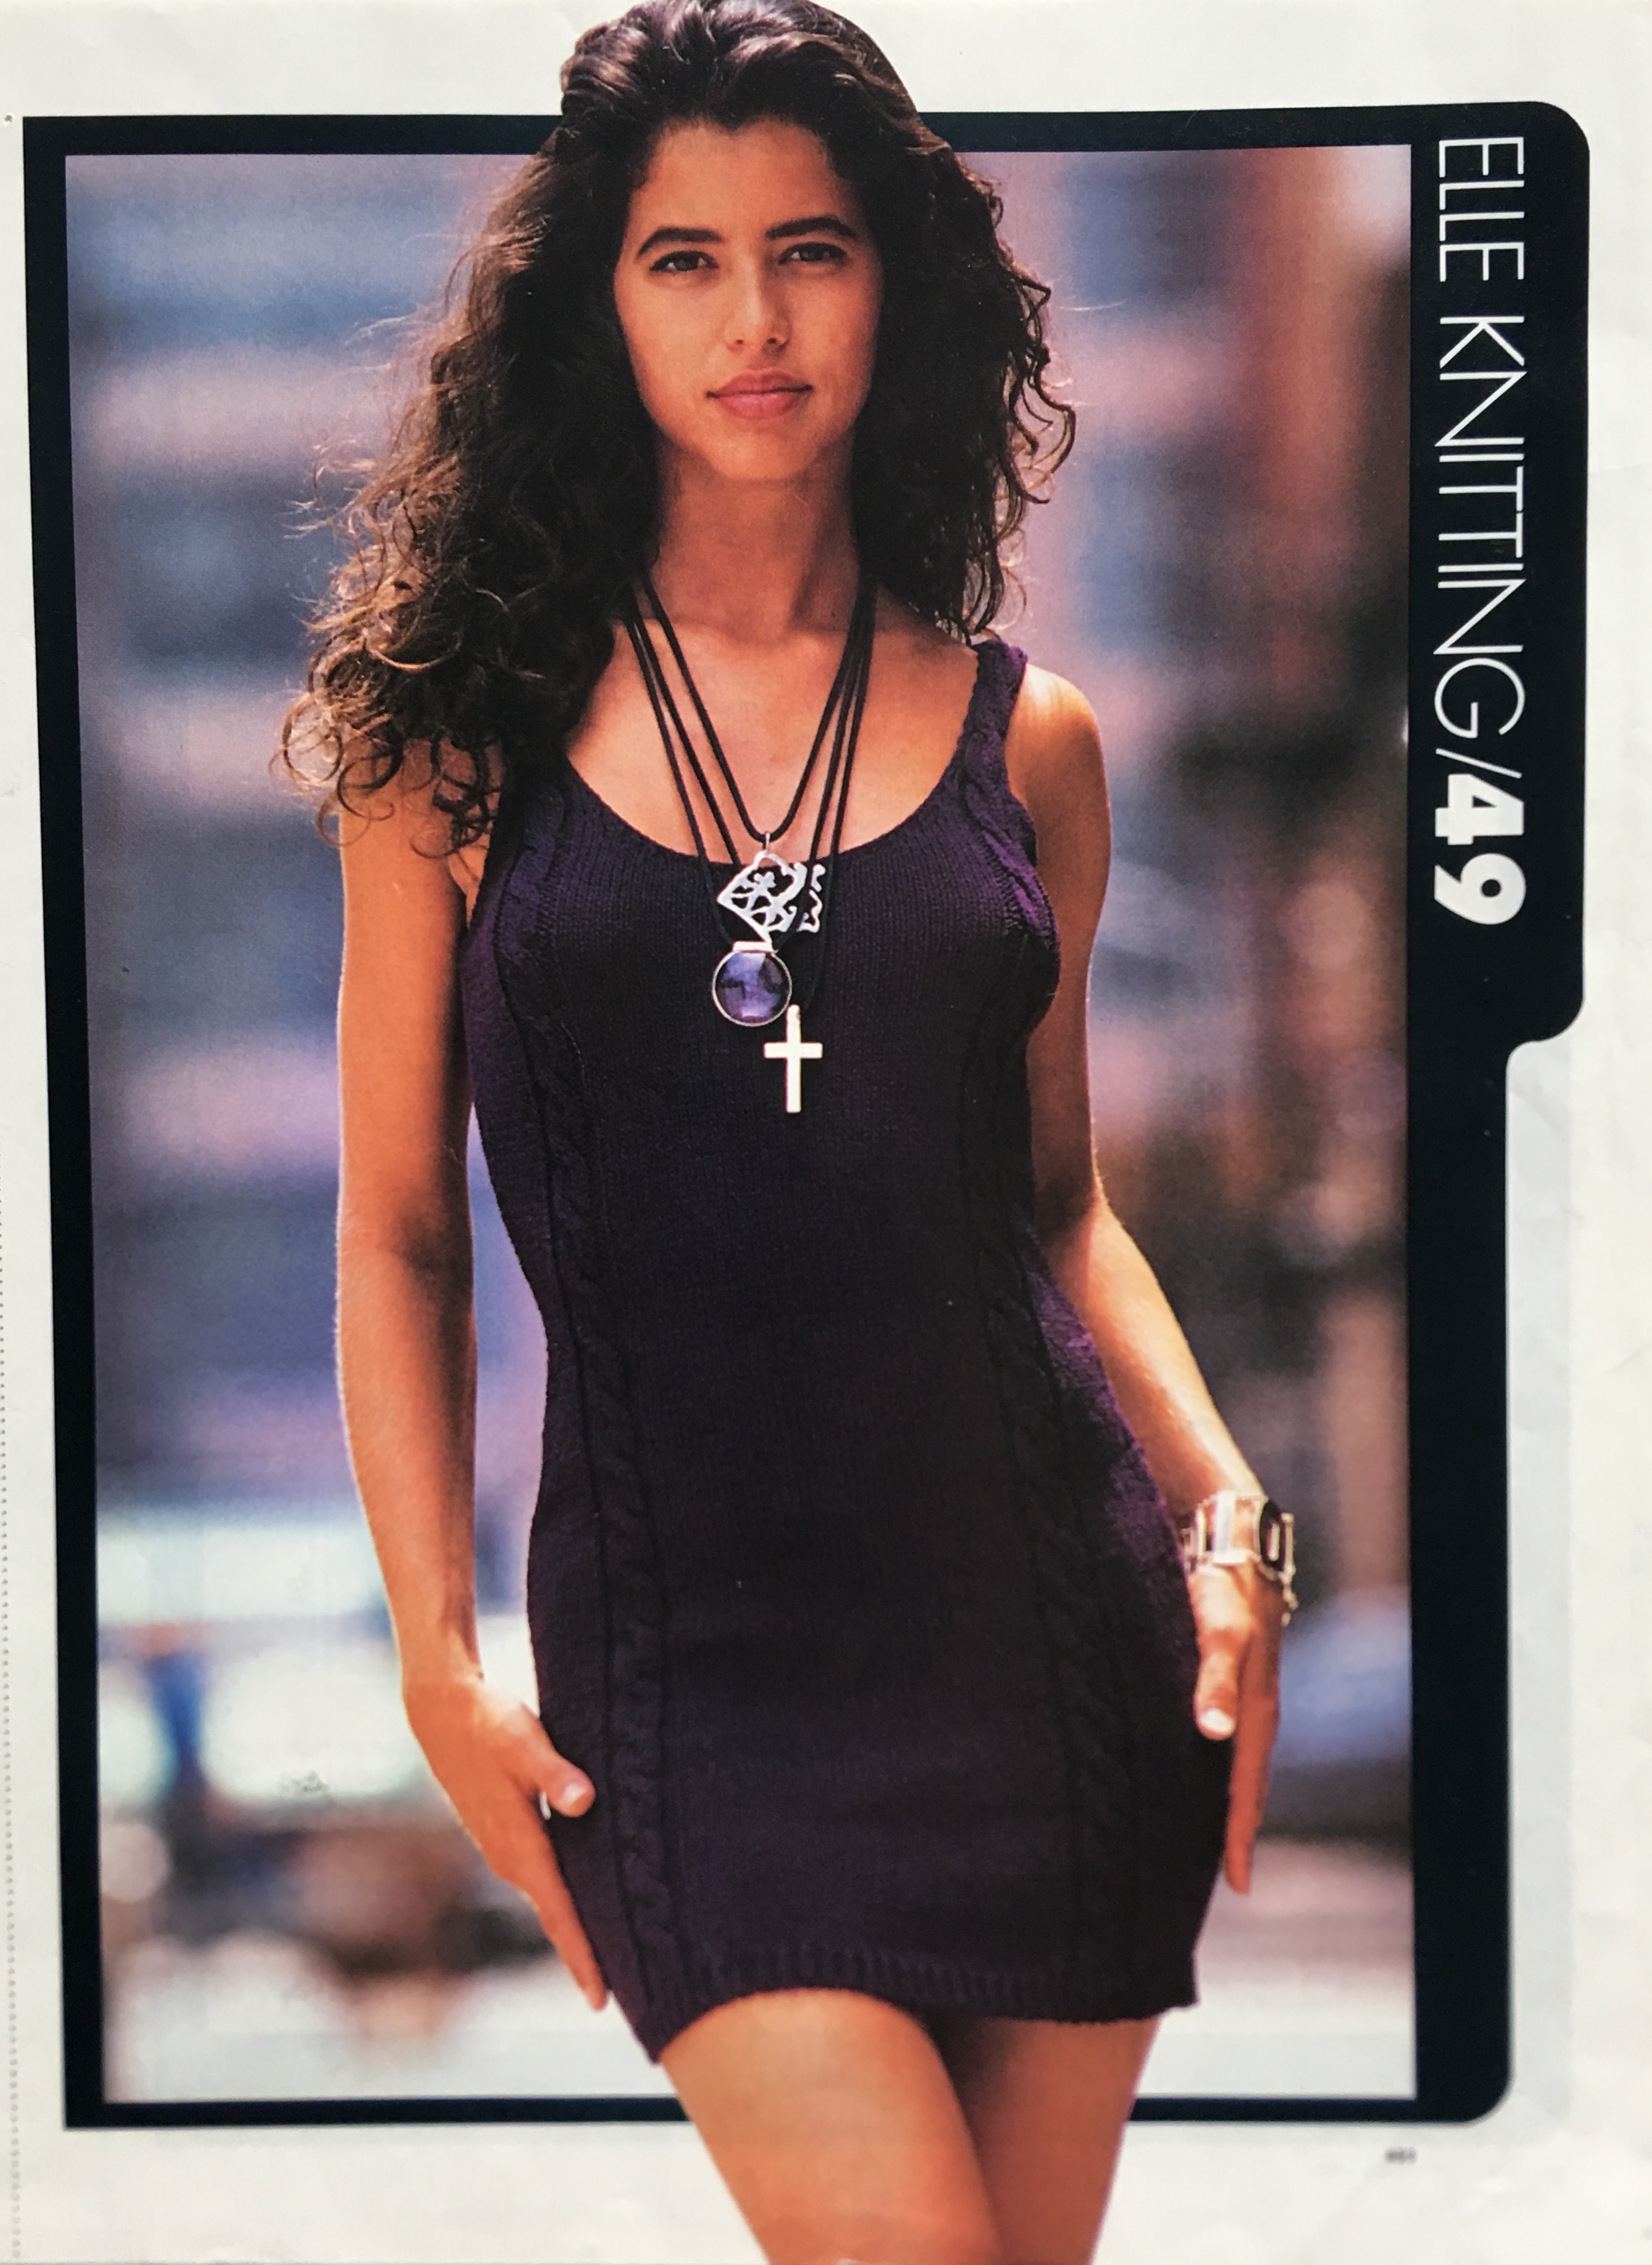
“Crafts” have occupied a large part of my life. I was fifteen years old when I knitted my first sweater. My mother taught me to knit when I was so young my fingers had trouble wrapping the yarn around them. I didn’t realize it then, but being left-handed certainly must have made it more difficult for me to learn, yet learn I did, and to this day I knit as a right handed person does. It was the beginning of a love affair. When I was in my twenties I had a brief moment when I was the editor of the “How To Knit” page in Elle Magazine.
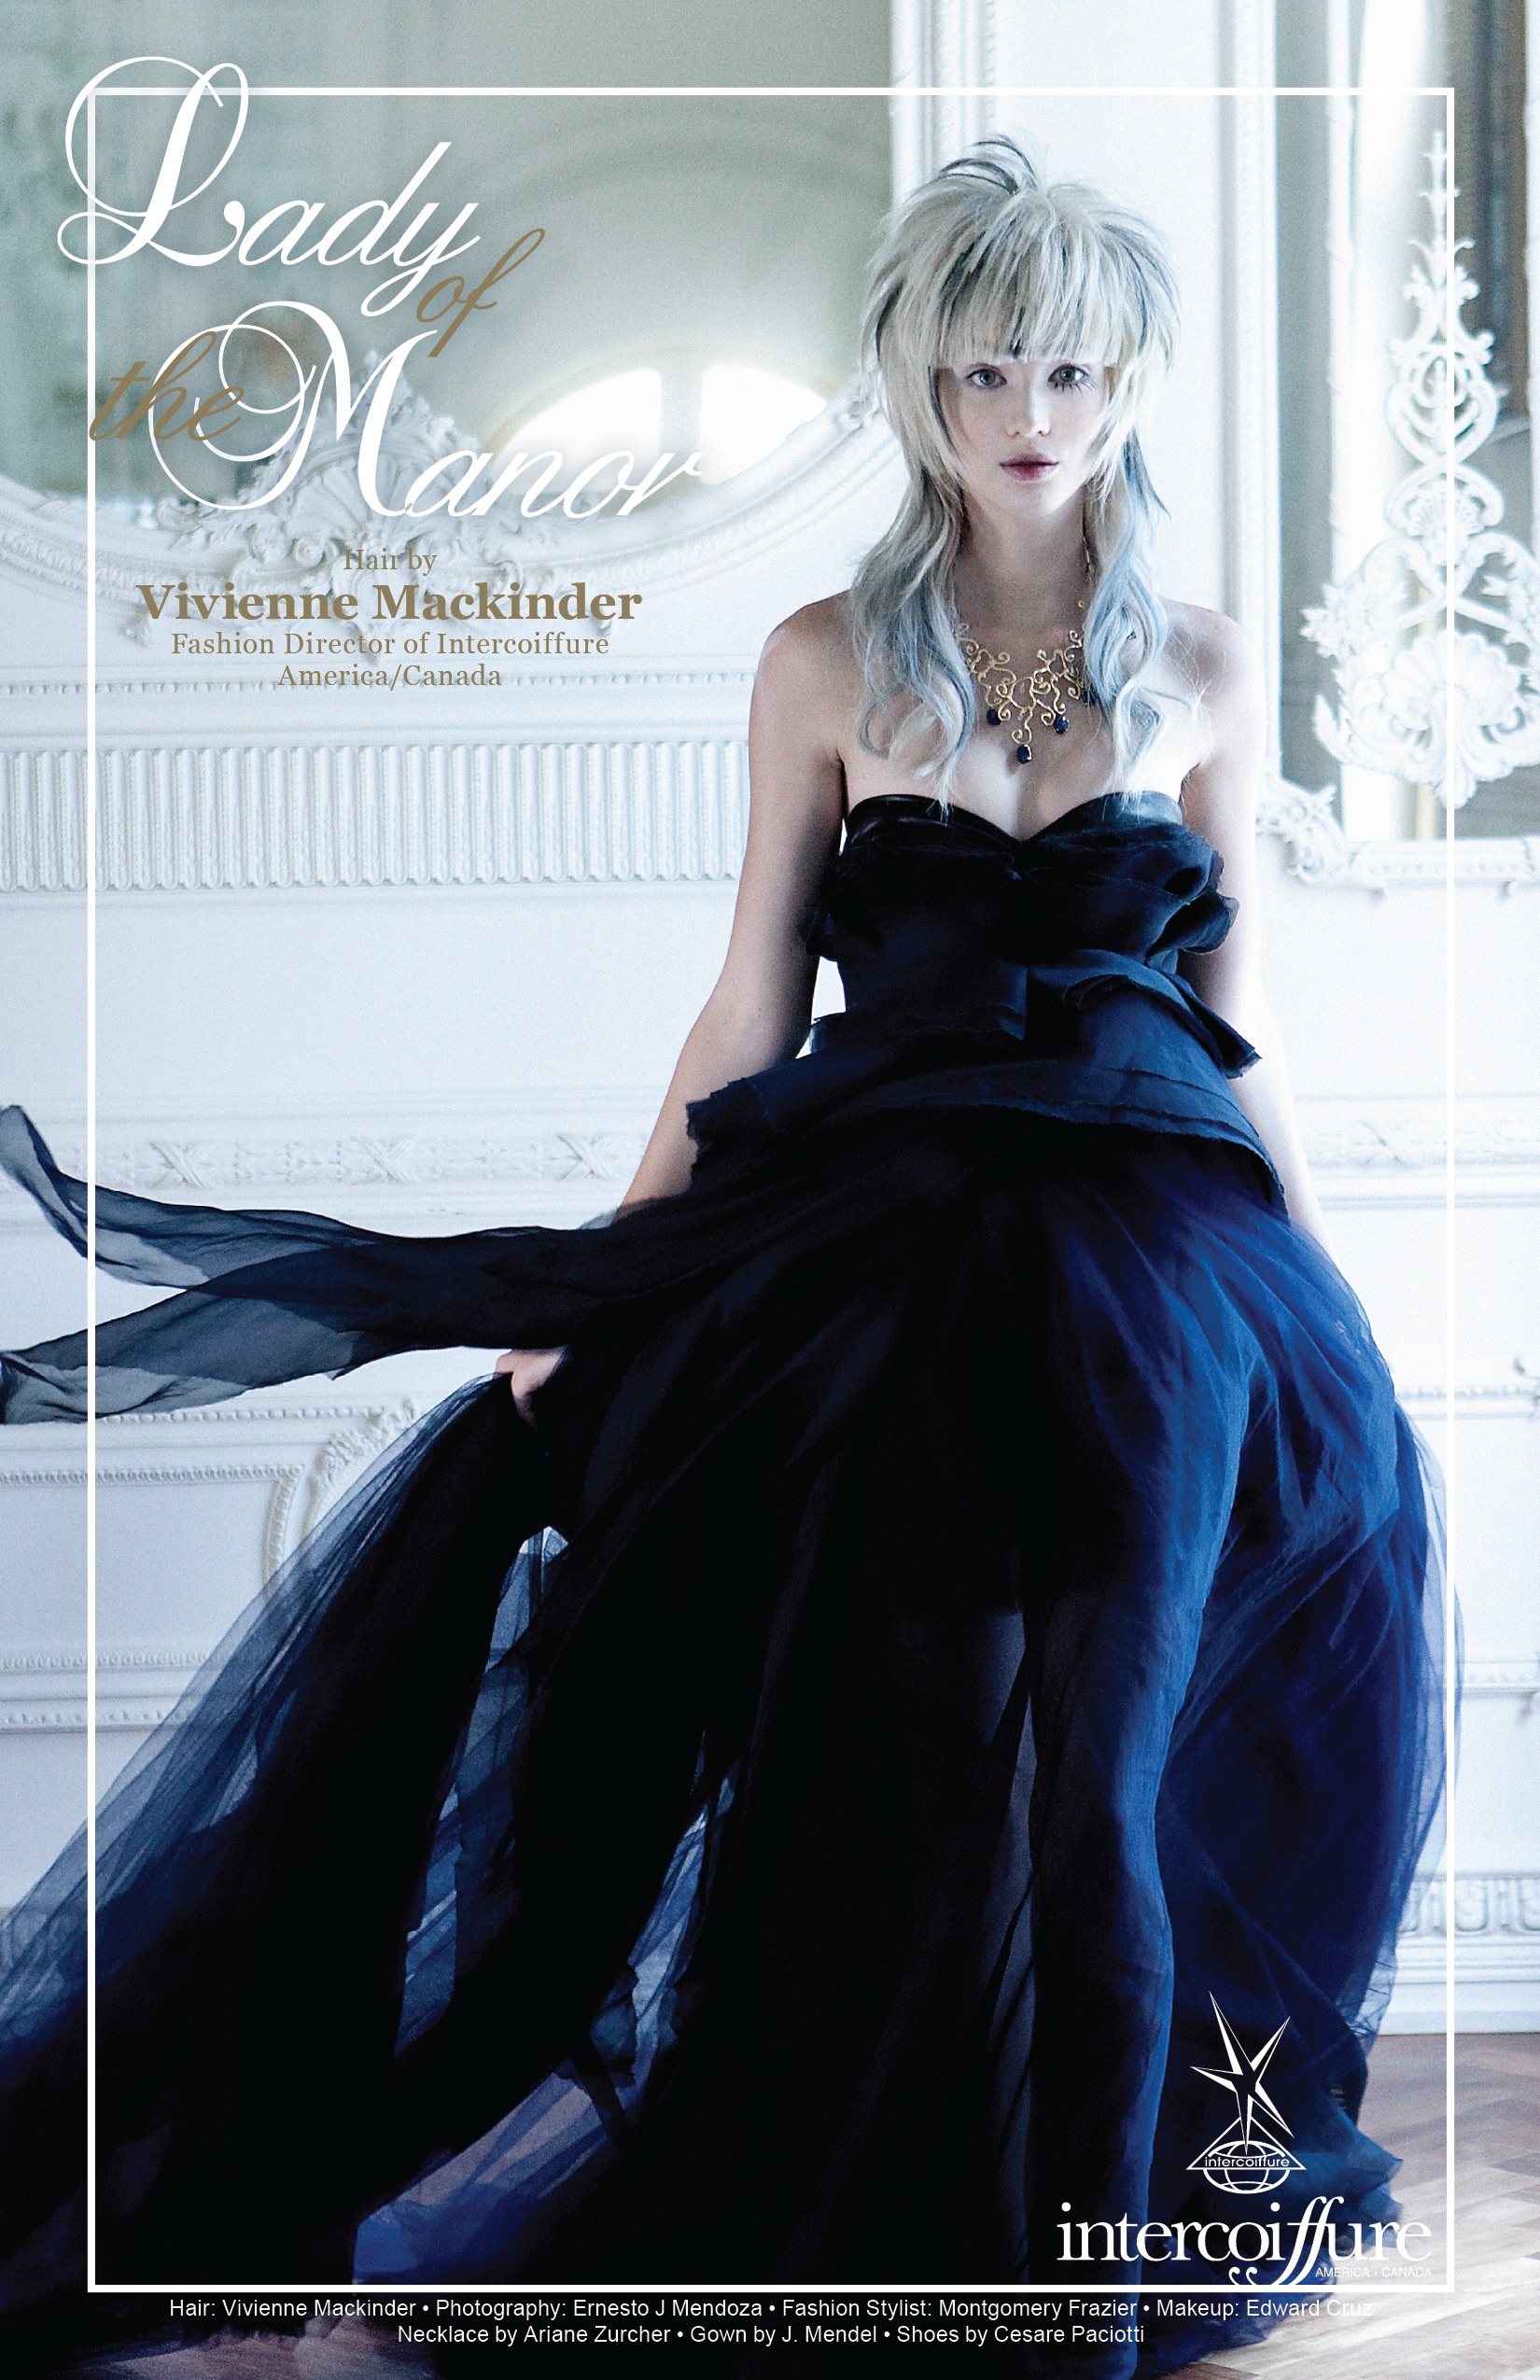
Ariane Zurcher DesignsAriane Zurcher Designs Capelet and Sleeves
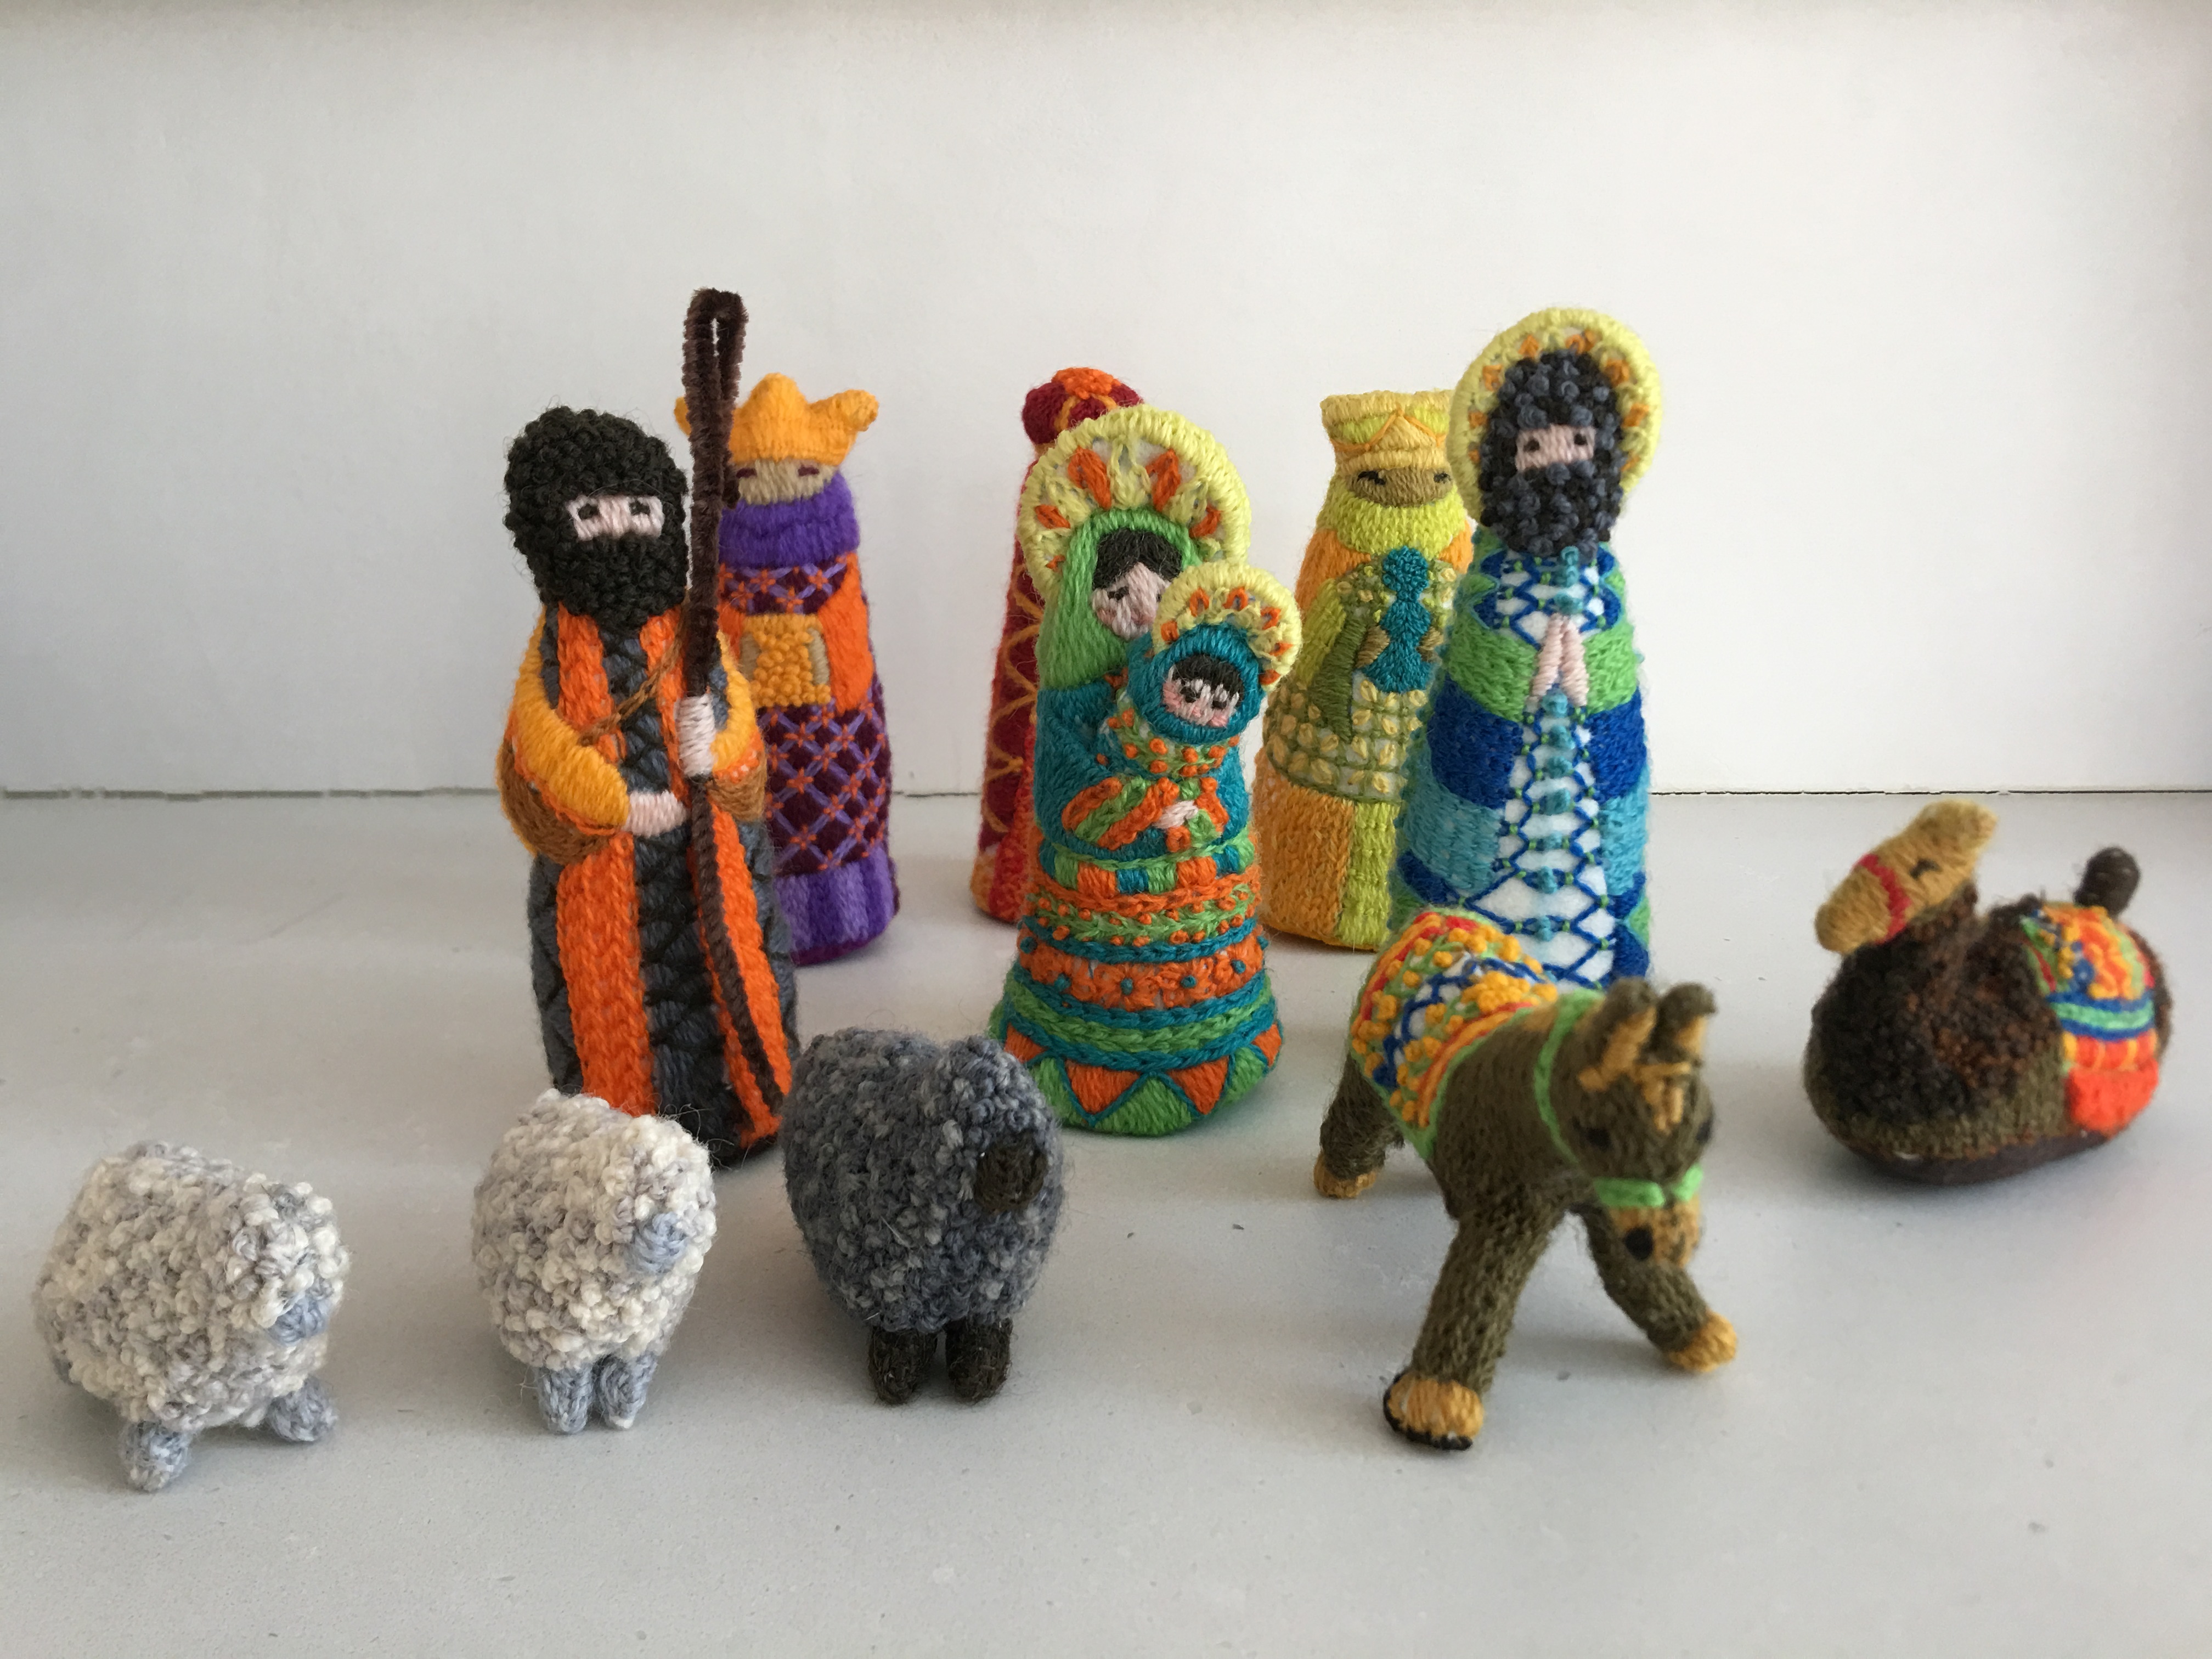
My mother also taught me to do embroidery and sewing, this was in the days when knitting and fabric shops were as abundant as Starbucks. It was a special occasion when my mother would drive me to San Francisco so we could visit Britex, which carried the most luxurious silks and fabrics from all over the world. When I moved to New York City there was a little knitting shop on Sixth Avenue in the village that had hand dyed and spun specialty yarns. They were out of my price range as I was a student on a budget, but I would wander into that shop and just smell the wool and gaze at the beautiful colors, coveting the skeins that hung like candy along the walls.
Emroidered Creche my mother & I made when I was a teenager.
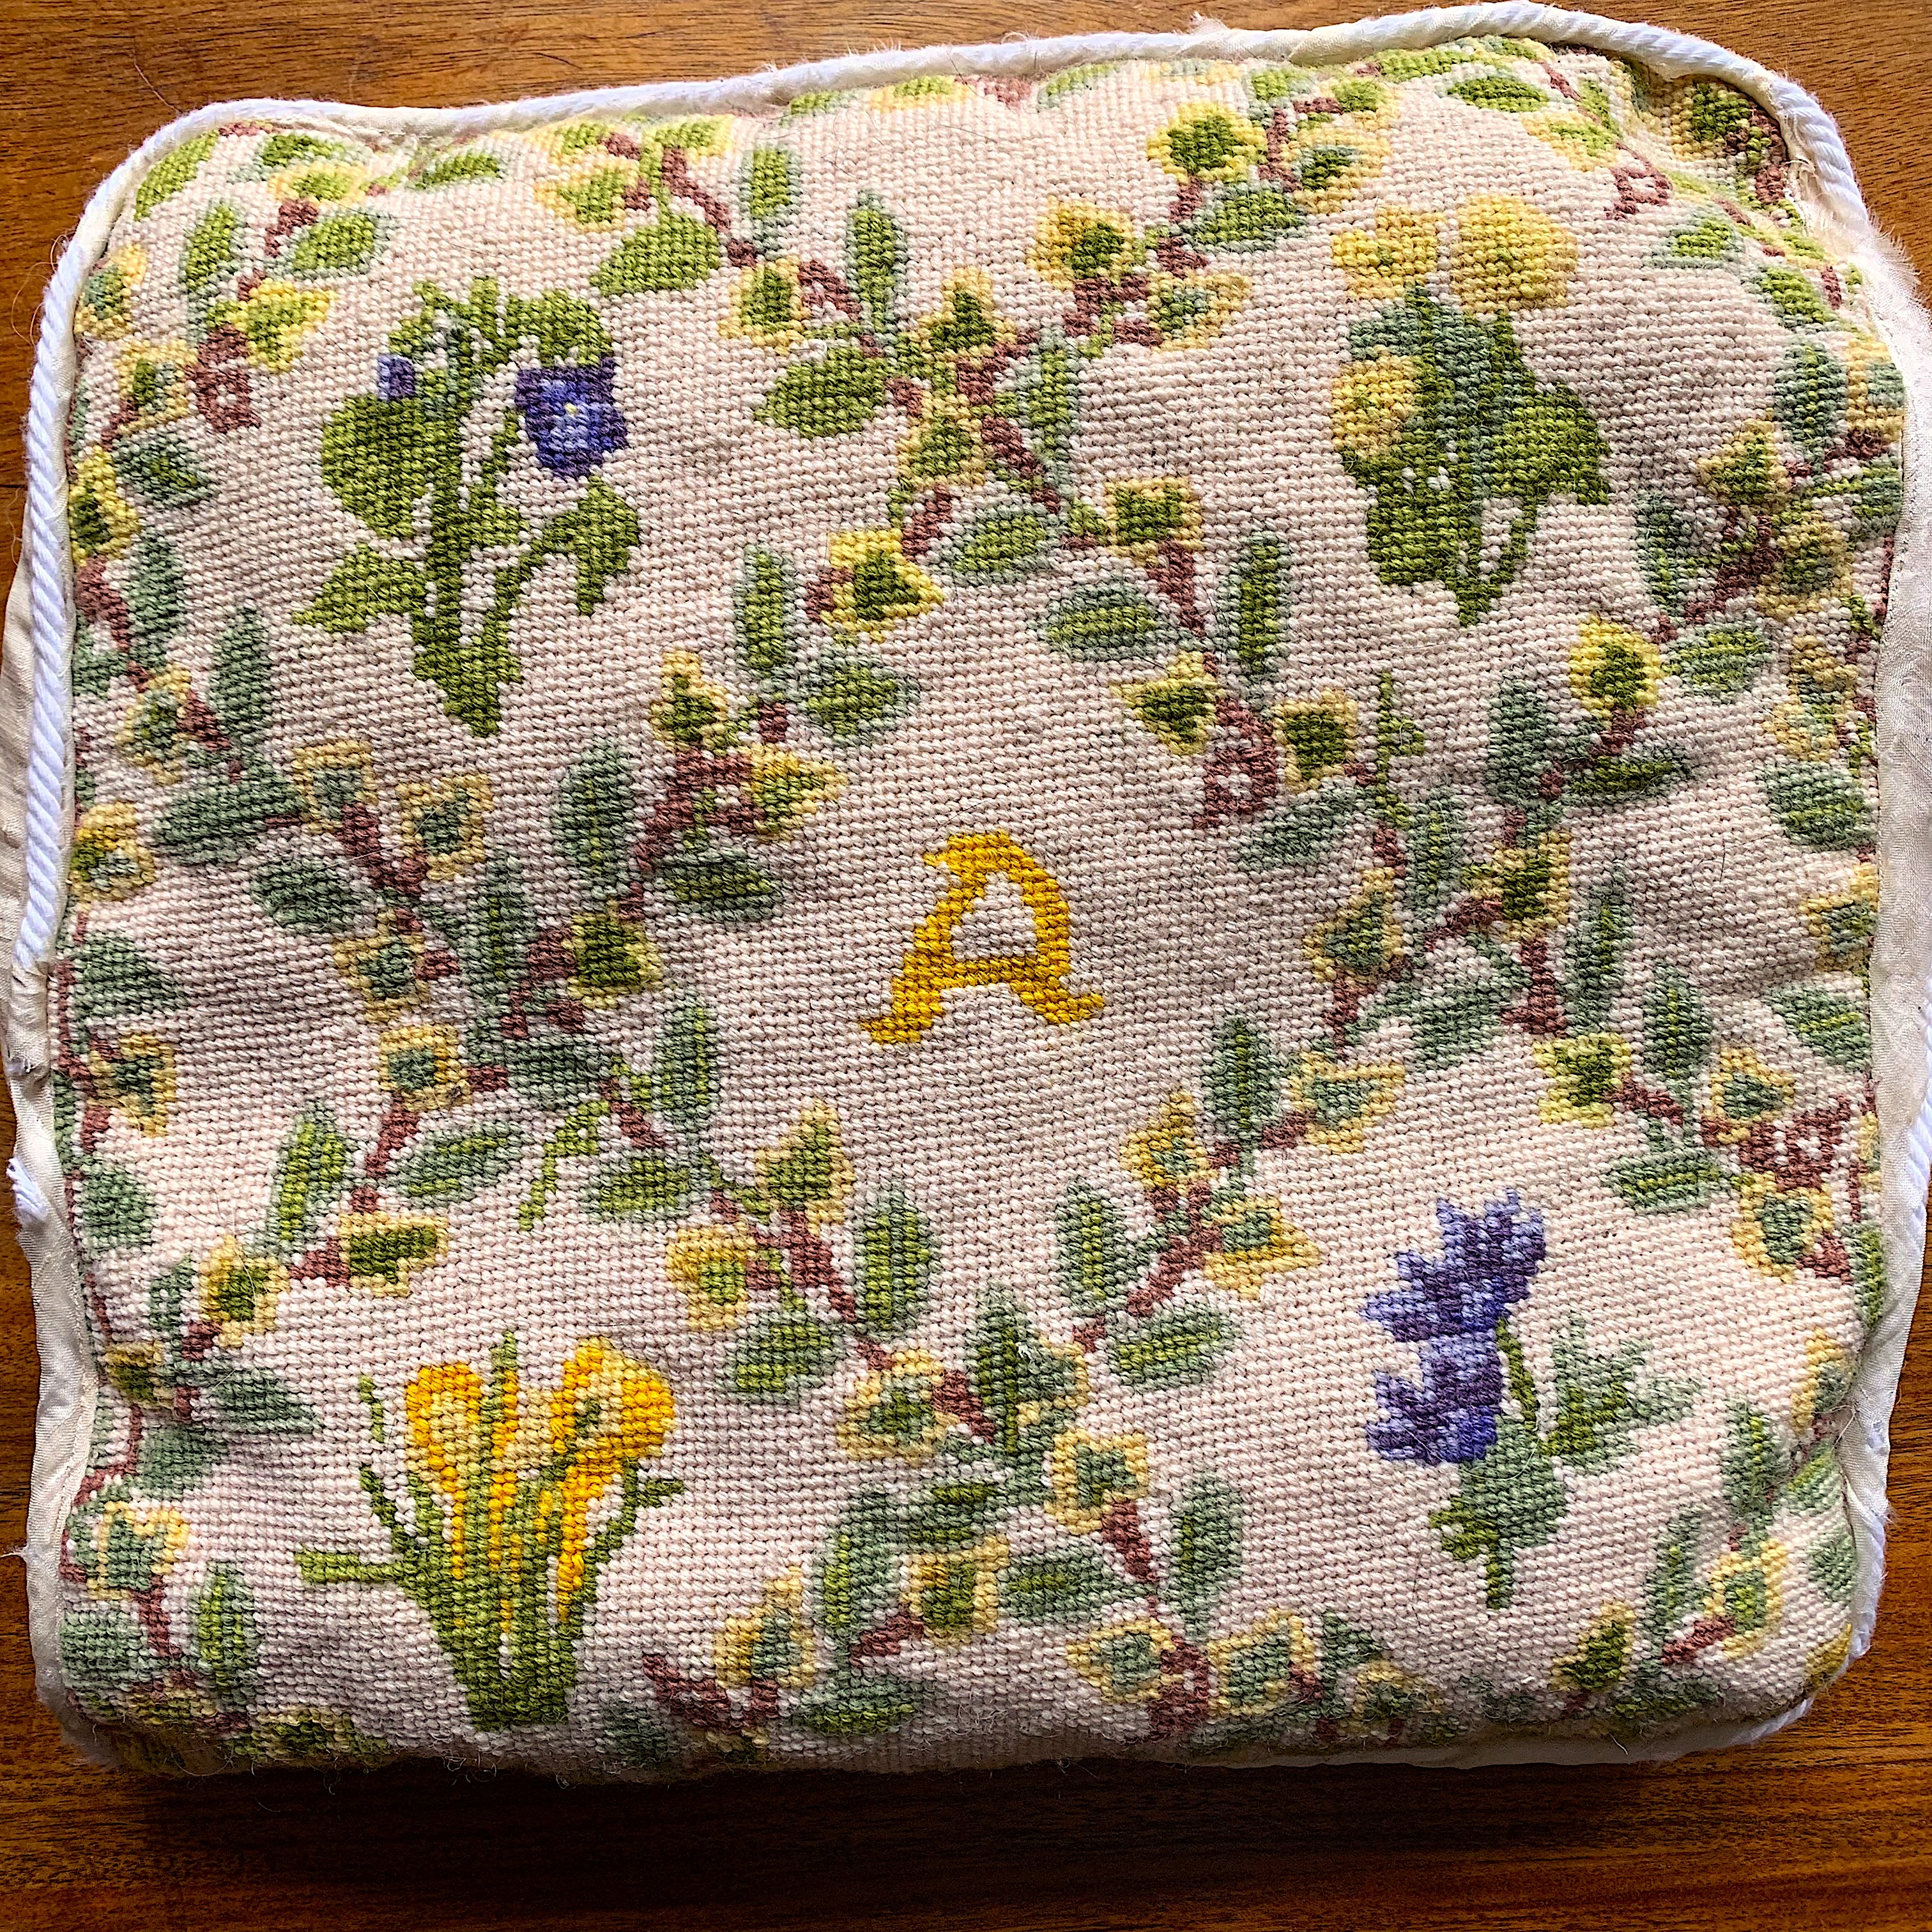
My father, born and raised in Paris, used to do Petit Point, at least this is what he called it, though in fact I believe he was doing what in America we call needlepoint. It was my father who taught me how to do basket weave needle point so the back of the tapestry resembled a basket weave, and was not as prone to warping the fabric and lay flatter or so he insisted. He looked down upon those who did their needlepoint by going back and forth horizontally. I have a pillow he made for me with the letter A prominently displayed in the center, it’s tattered back and edges giving clues to how old it now is.
The Pillow my father made for me
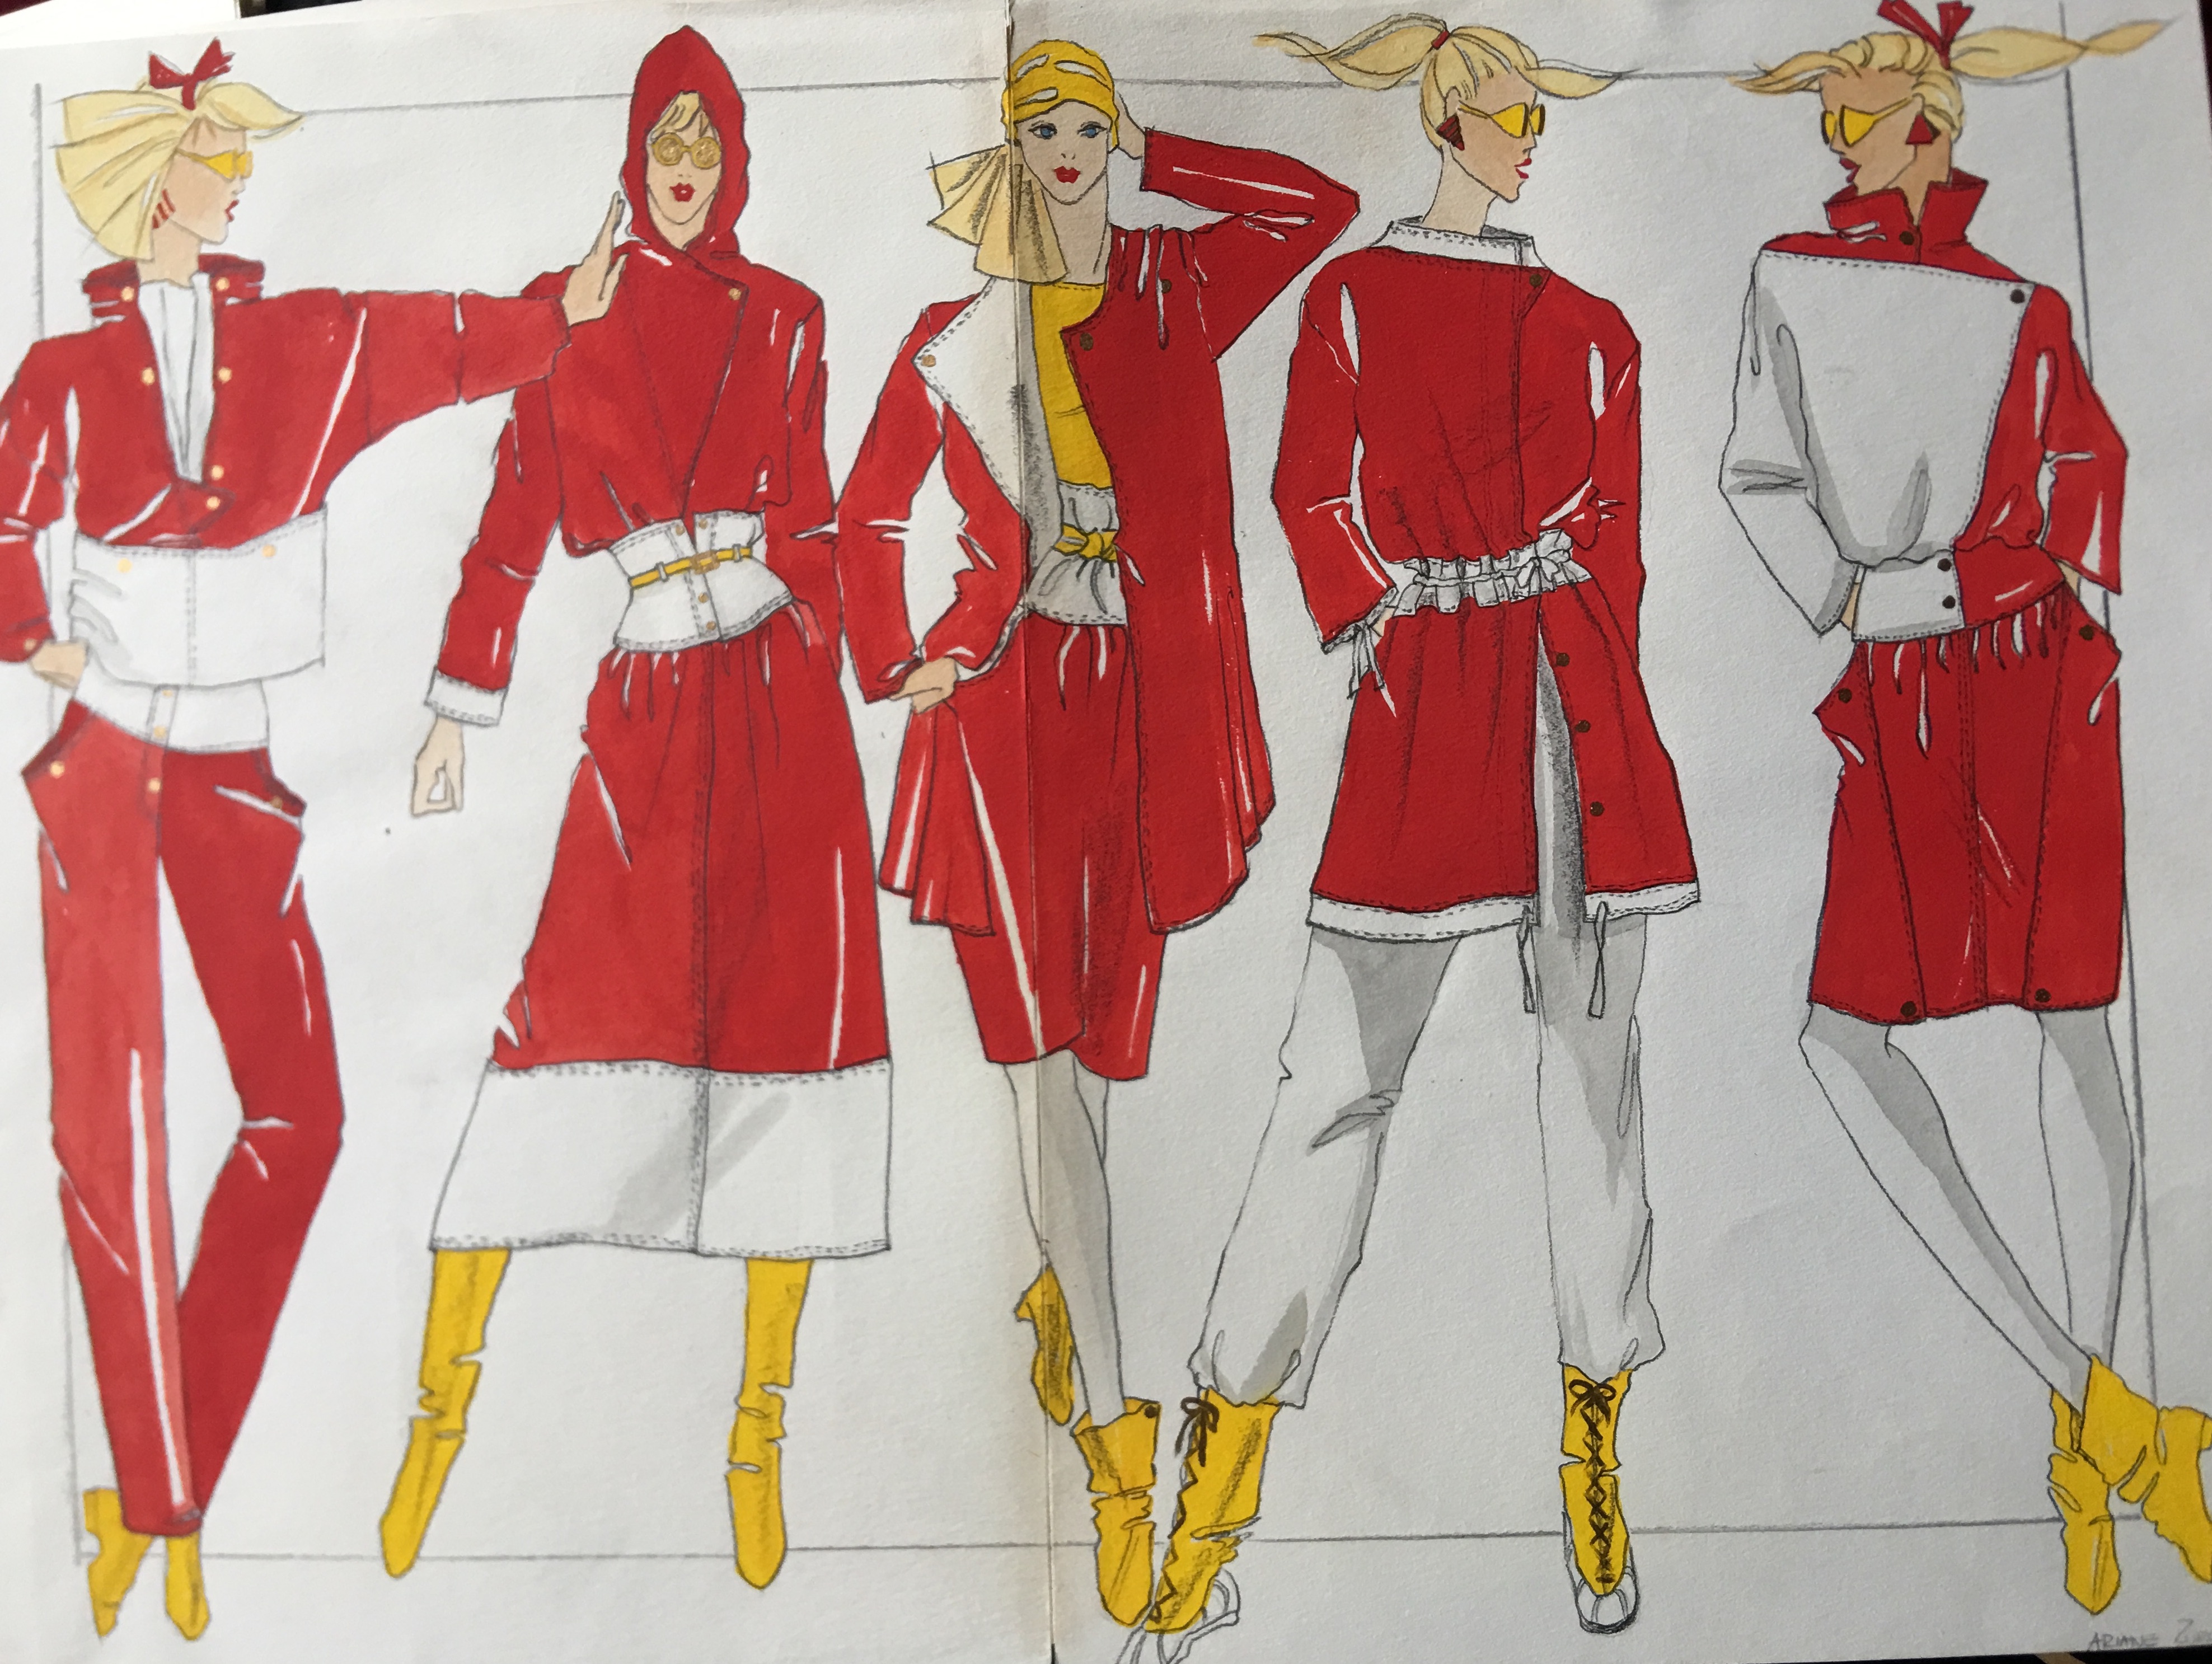
When I came to New York City it was because I’d been accepted to Parsons School of Design. My love of fabrics, sewing, knitting and all things crafts-related propelled me into the world of fashion design. It was an uneasy alliance and ultimately one I could not reconcile. I learned early on that anything “Crafts” related was the sullied, unkept cousin to “high fashion.” Crafts were what housewives did, it wasn’t the sort of thing an “artist” indulged in. So the thing I loved most, creating things by hand, became the thing I felt ashamed of. The world of fashion and the designers whose work hung on exquisitely tall and impossibly thin models, exemplified all that I wasn’t. My love of crafts became something I began to hide and even reject. It was “woman’s work” and if I was ever to make a career for myself, it was best to put those “childish pursuits” behind me.
“Craft” has begun to get its well deserved recognition and I couldn’t be happier. It is no coincidence that female artists in general are generating more interest in museums and galleries. Women’s work finally elevated to more prominence in a male dominated world is as it should be. “Craft” and all that it encompasses is yet another way we have been taught to undermine, under value and even ridicule work done by, mostly, women. We have a lot further to go, but it is wonderful to see that beginning to change!
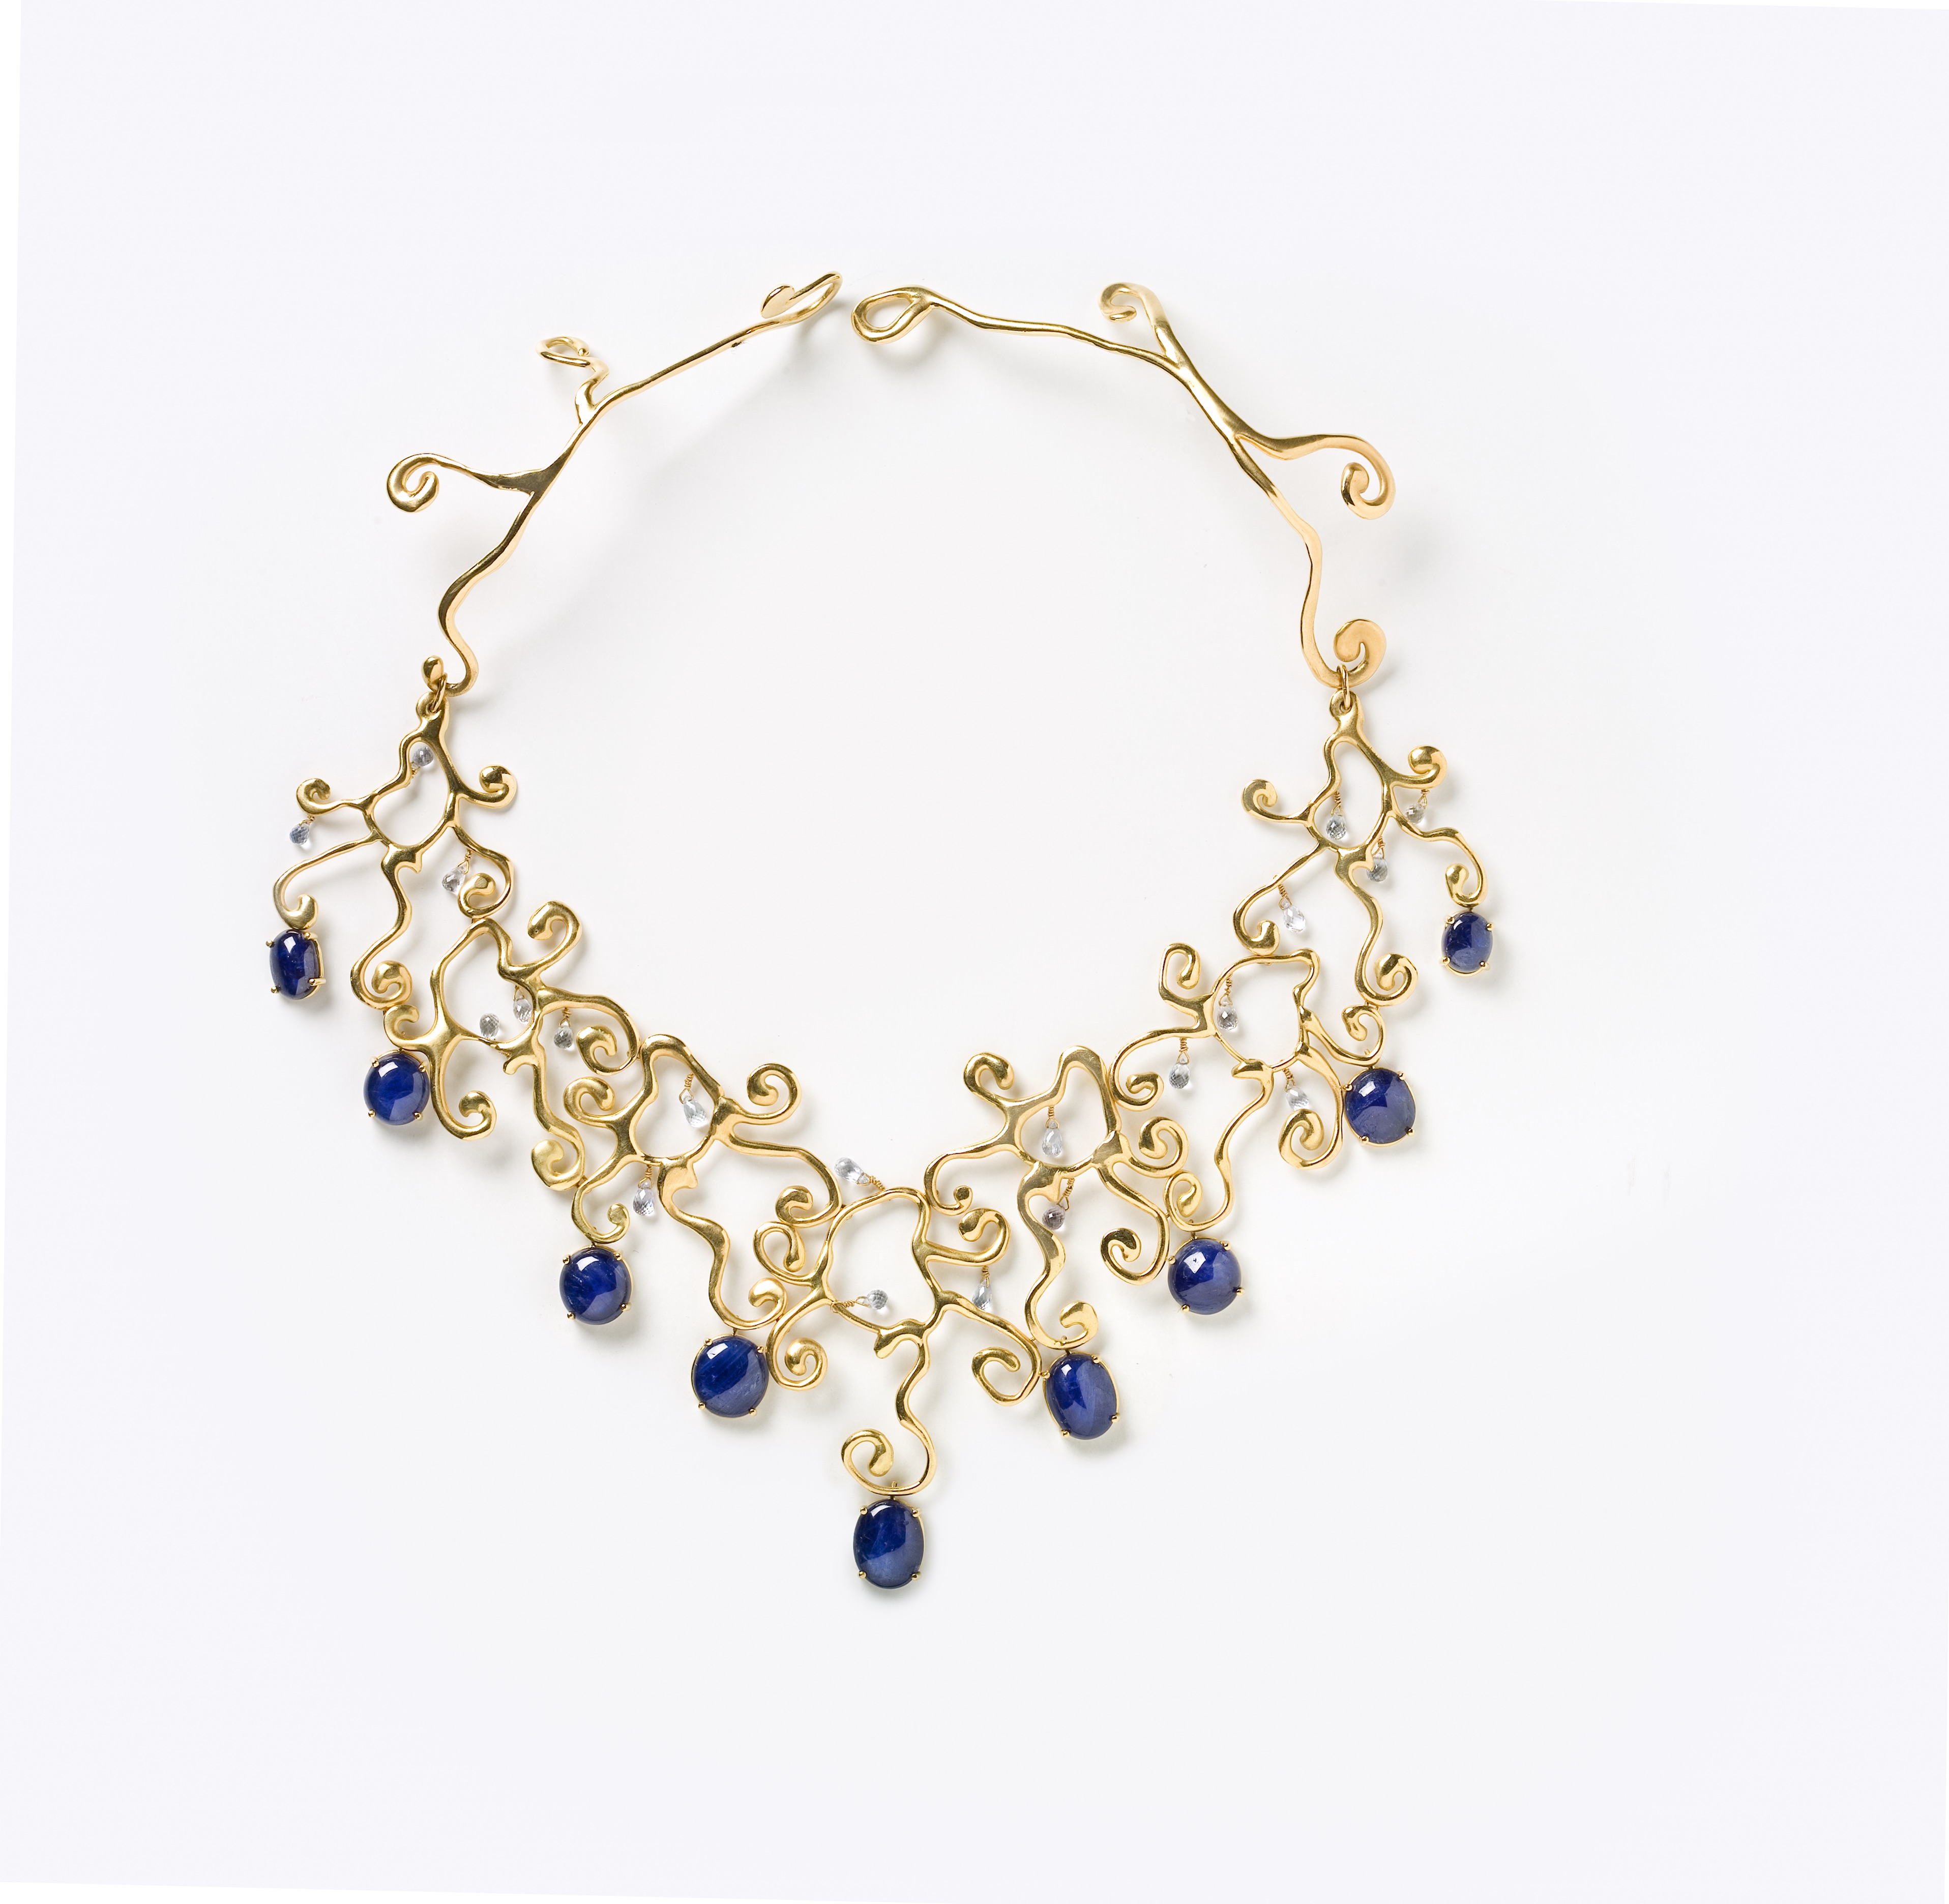
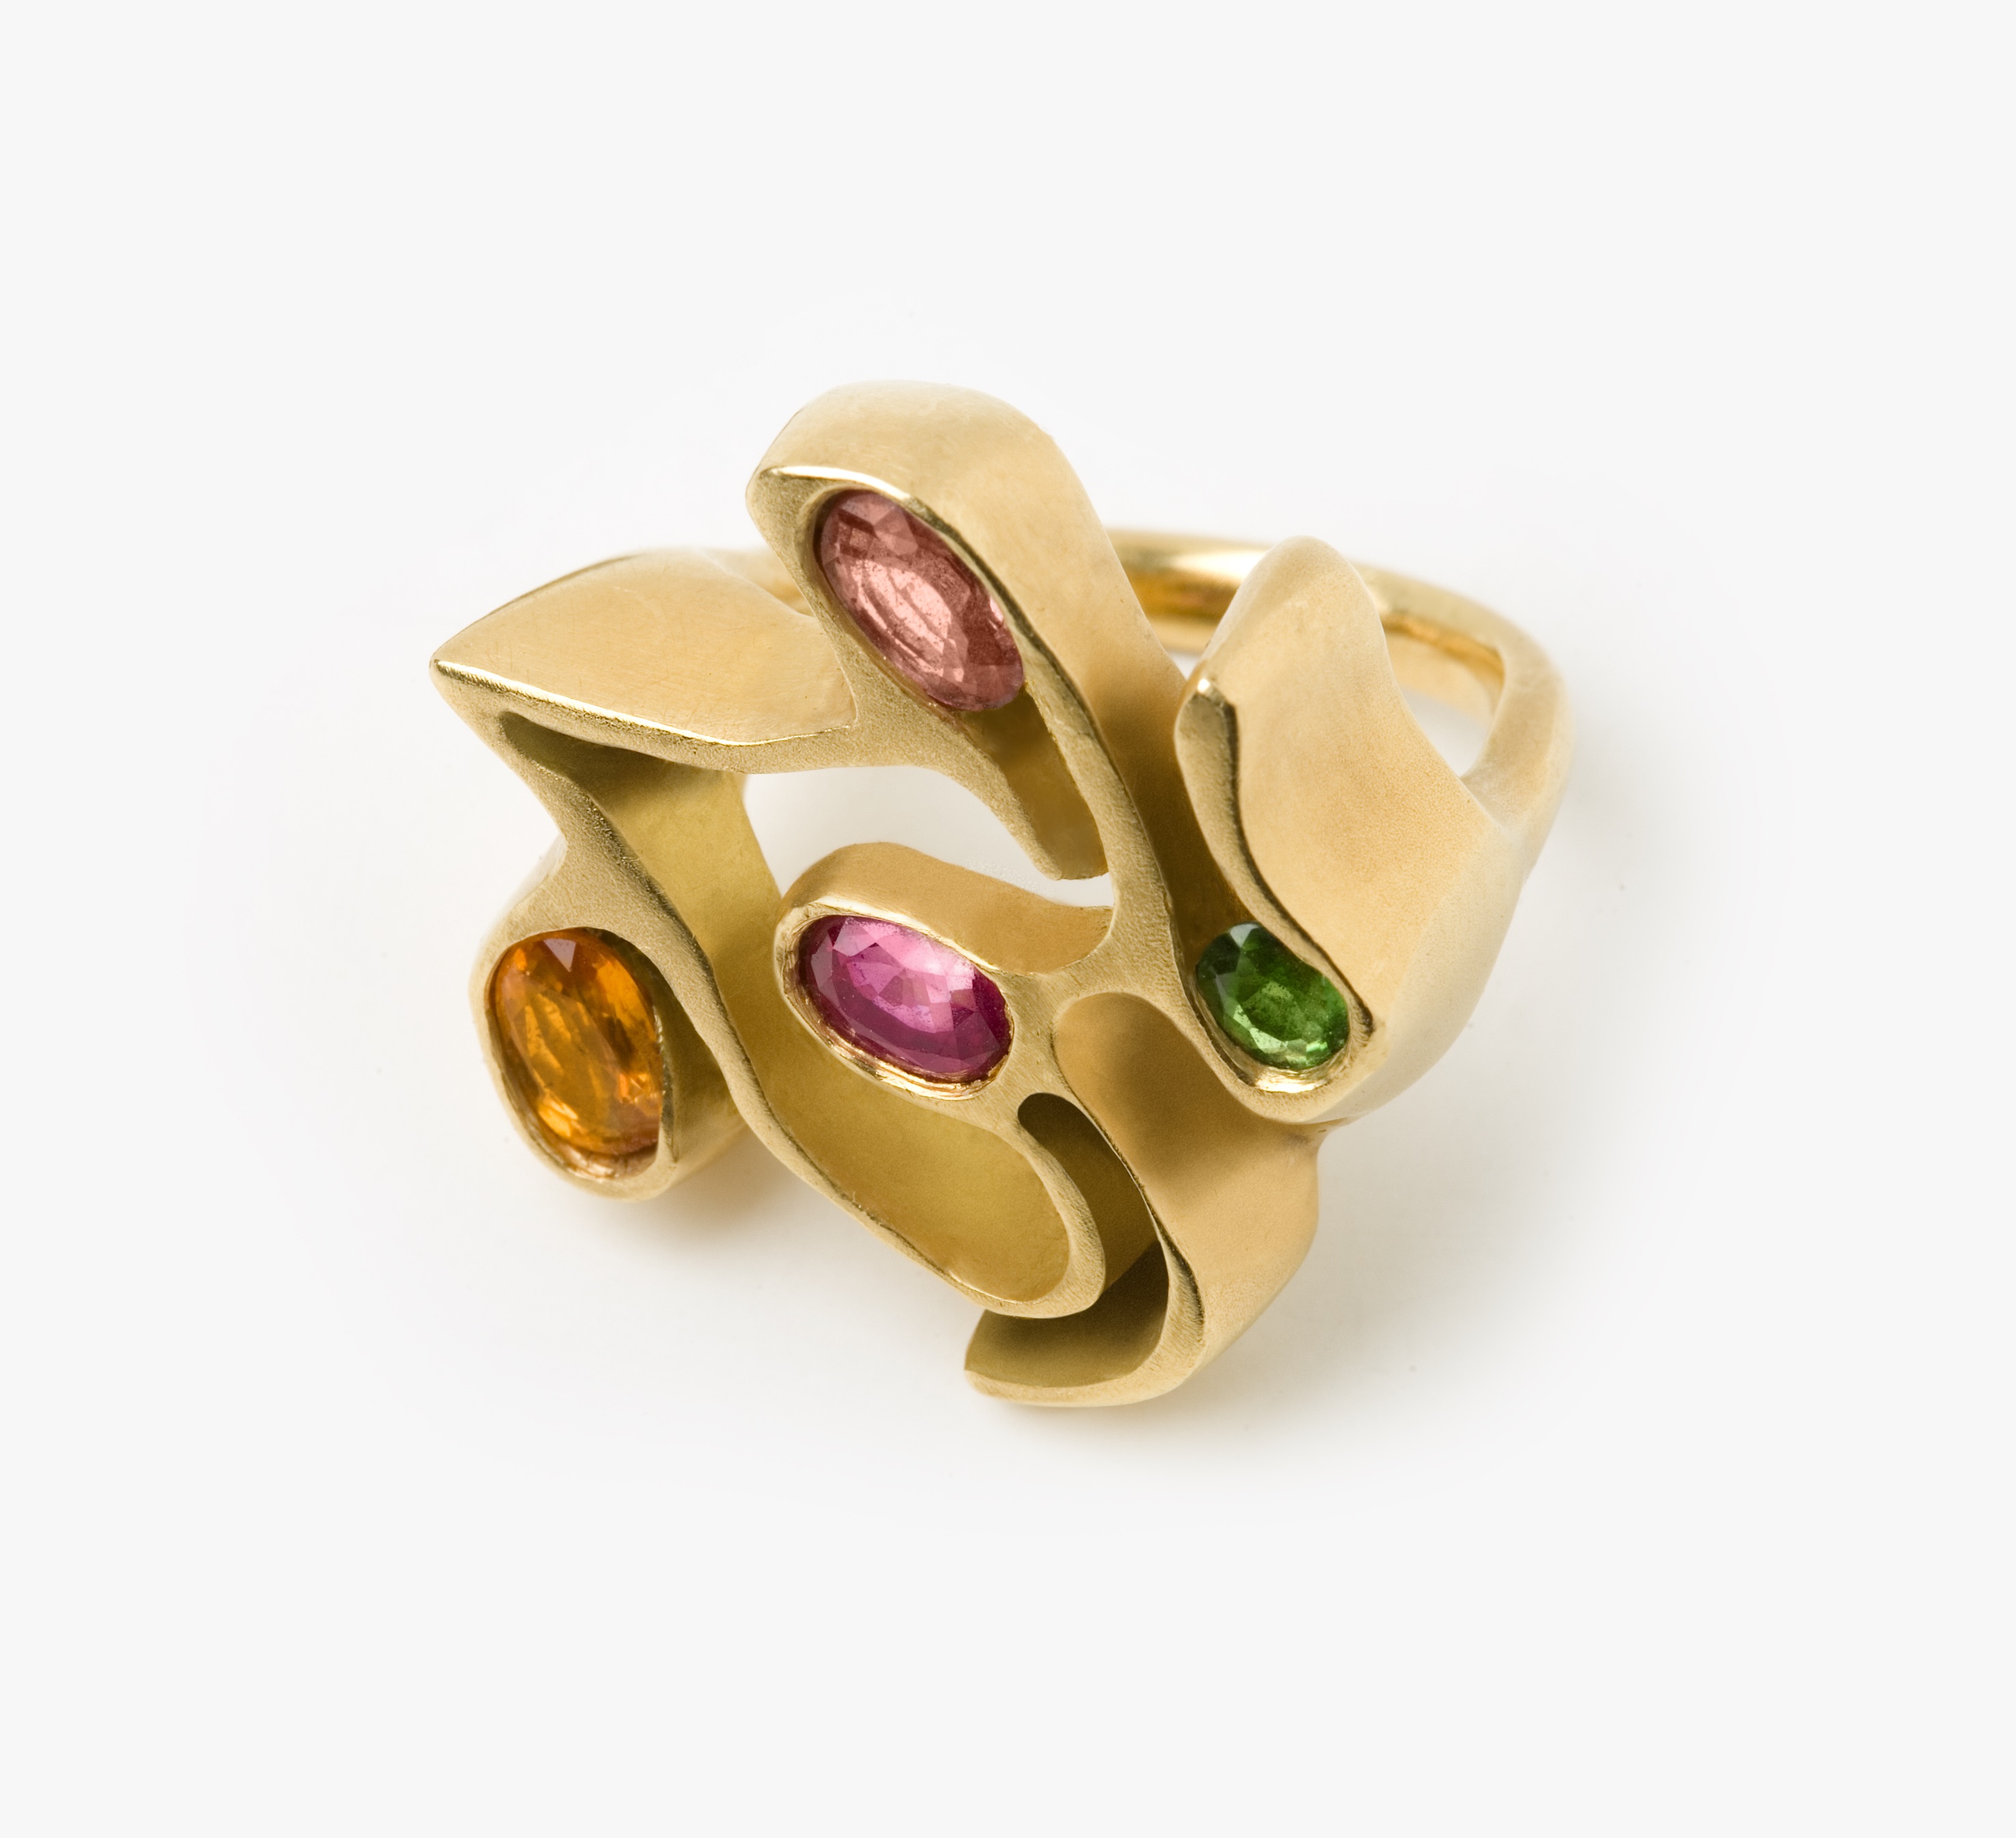
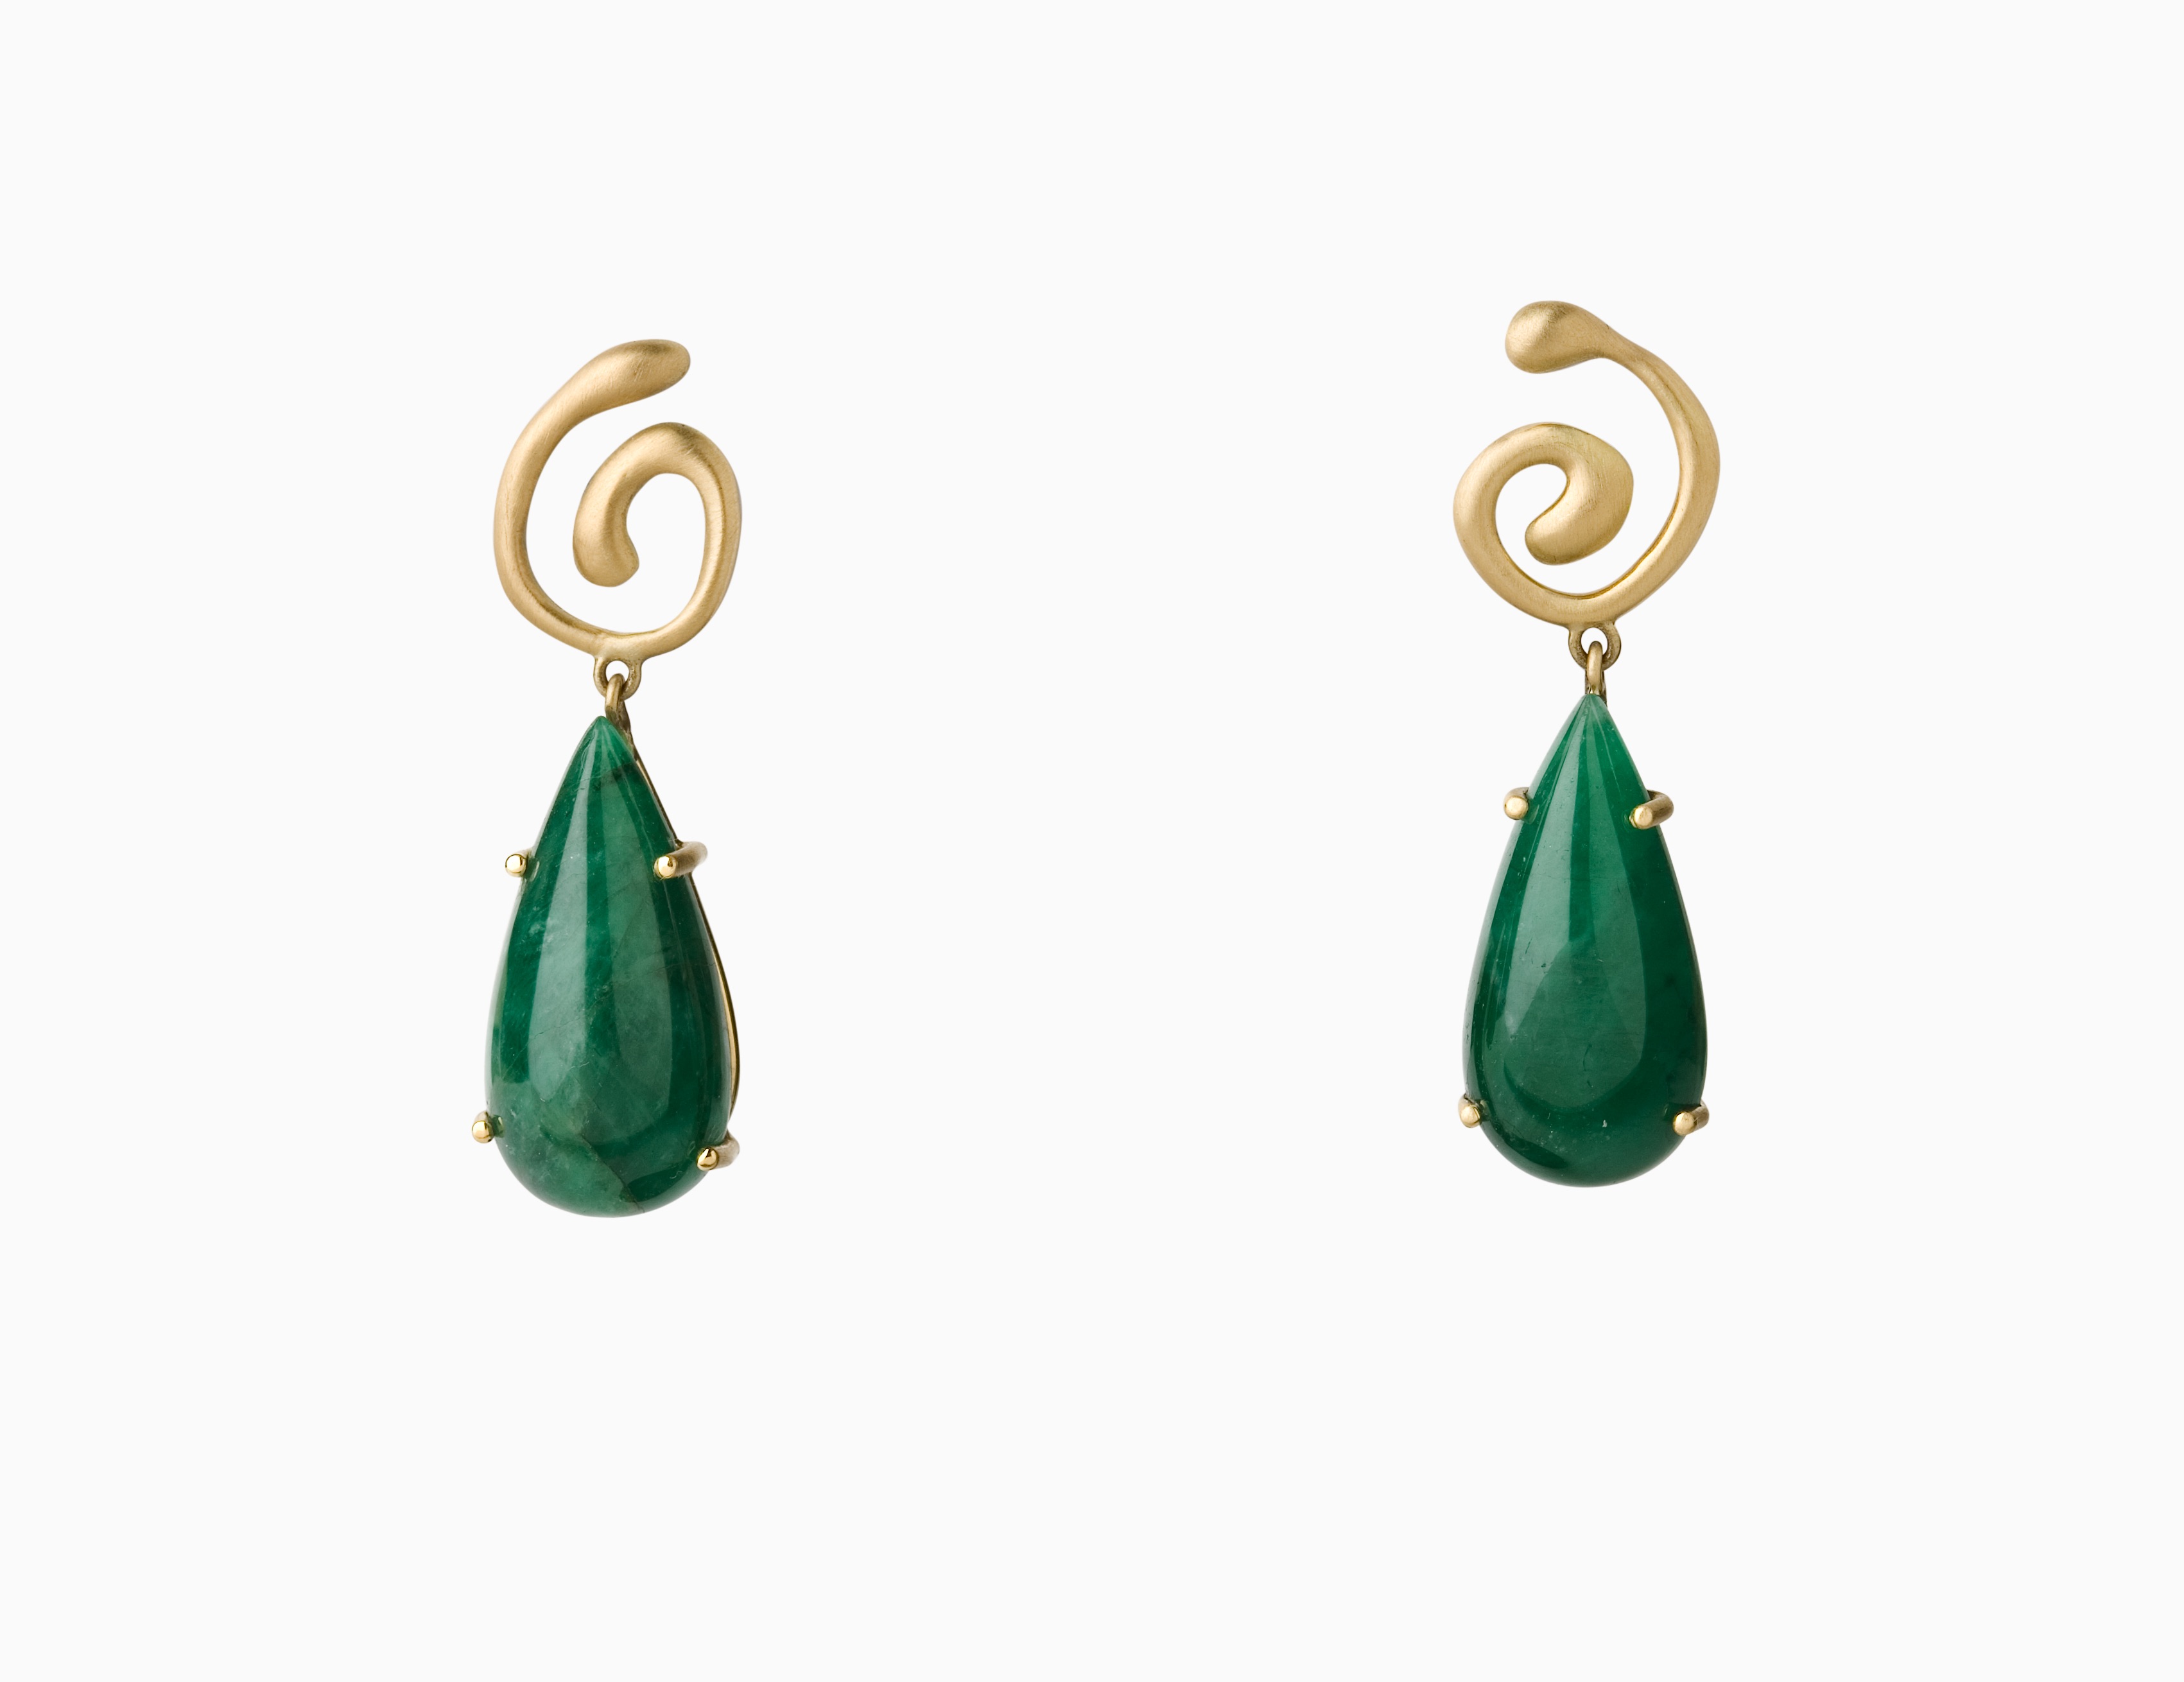
In January I had the opportunity to go to one of Sue Spargo‘s fabulous workshops in Tucson, Arizona, a place I’d never been. While there I met some lovely people, one of whom was Anna Bates, who has a blog, Woolie Mammoth, a YouTube channel – Quilt Roadies, and blogs for The Quilt Show once a week under the heading – Anna and G on the Road. During the course of our five days together, Anna interviewed me and wrote a lovely post about me and my work. Though I realized afterward that while I sent her photographs of my early designs in fashion and knitting, even a photo of one of my hand thrown and hand painted pots, I didn’t send photos of my jewelry! (insert wide eyed emoji). So here are a few additions to her post…
Because of my conversation with Anna, I reflected on the past (almost) forty years now, when I began my studies at Parsons School of Design and now, when I am learning everything I can about quilting, quilts, dyeing, and manipulating fabric in different ways to create an image, a feeling, an idea…
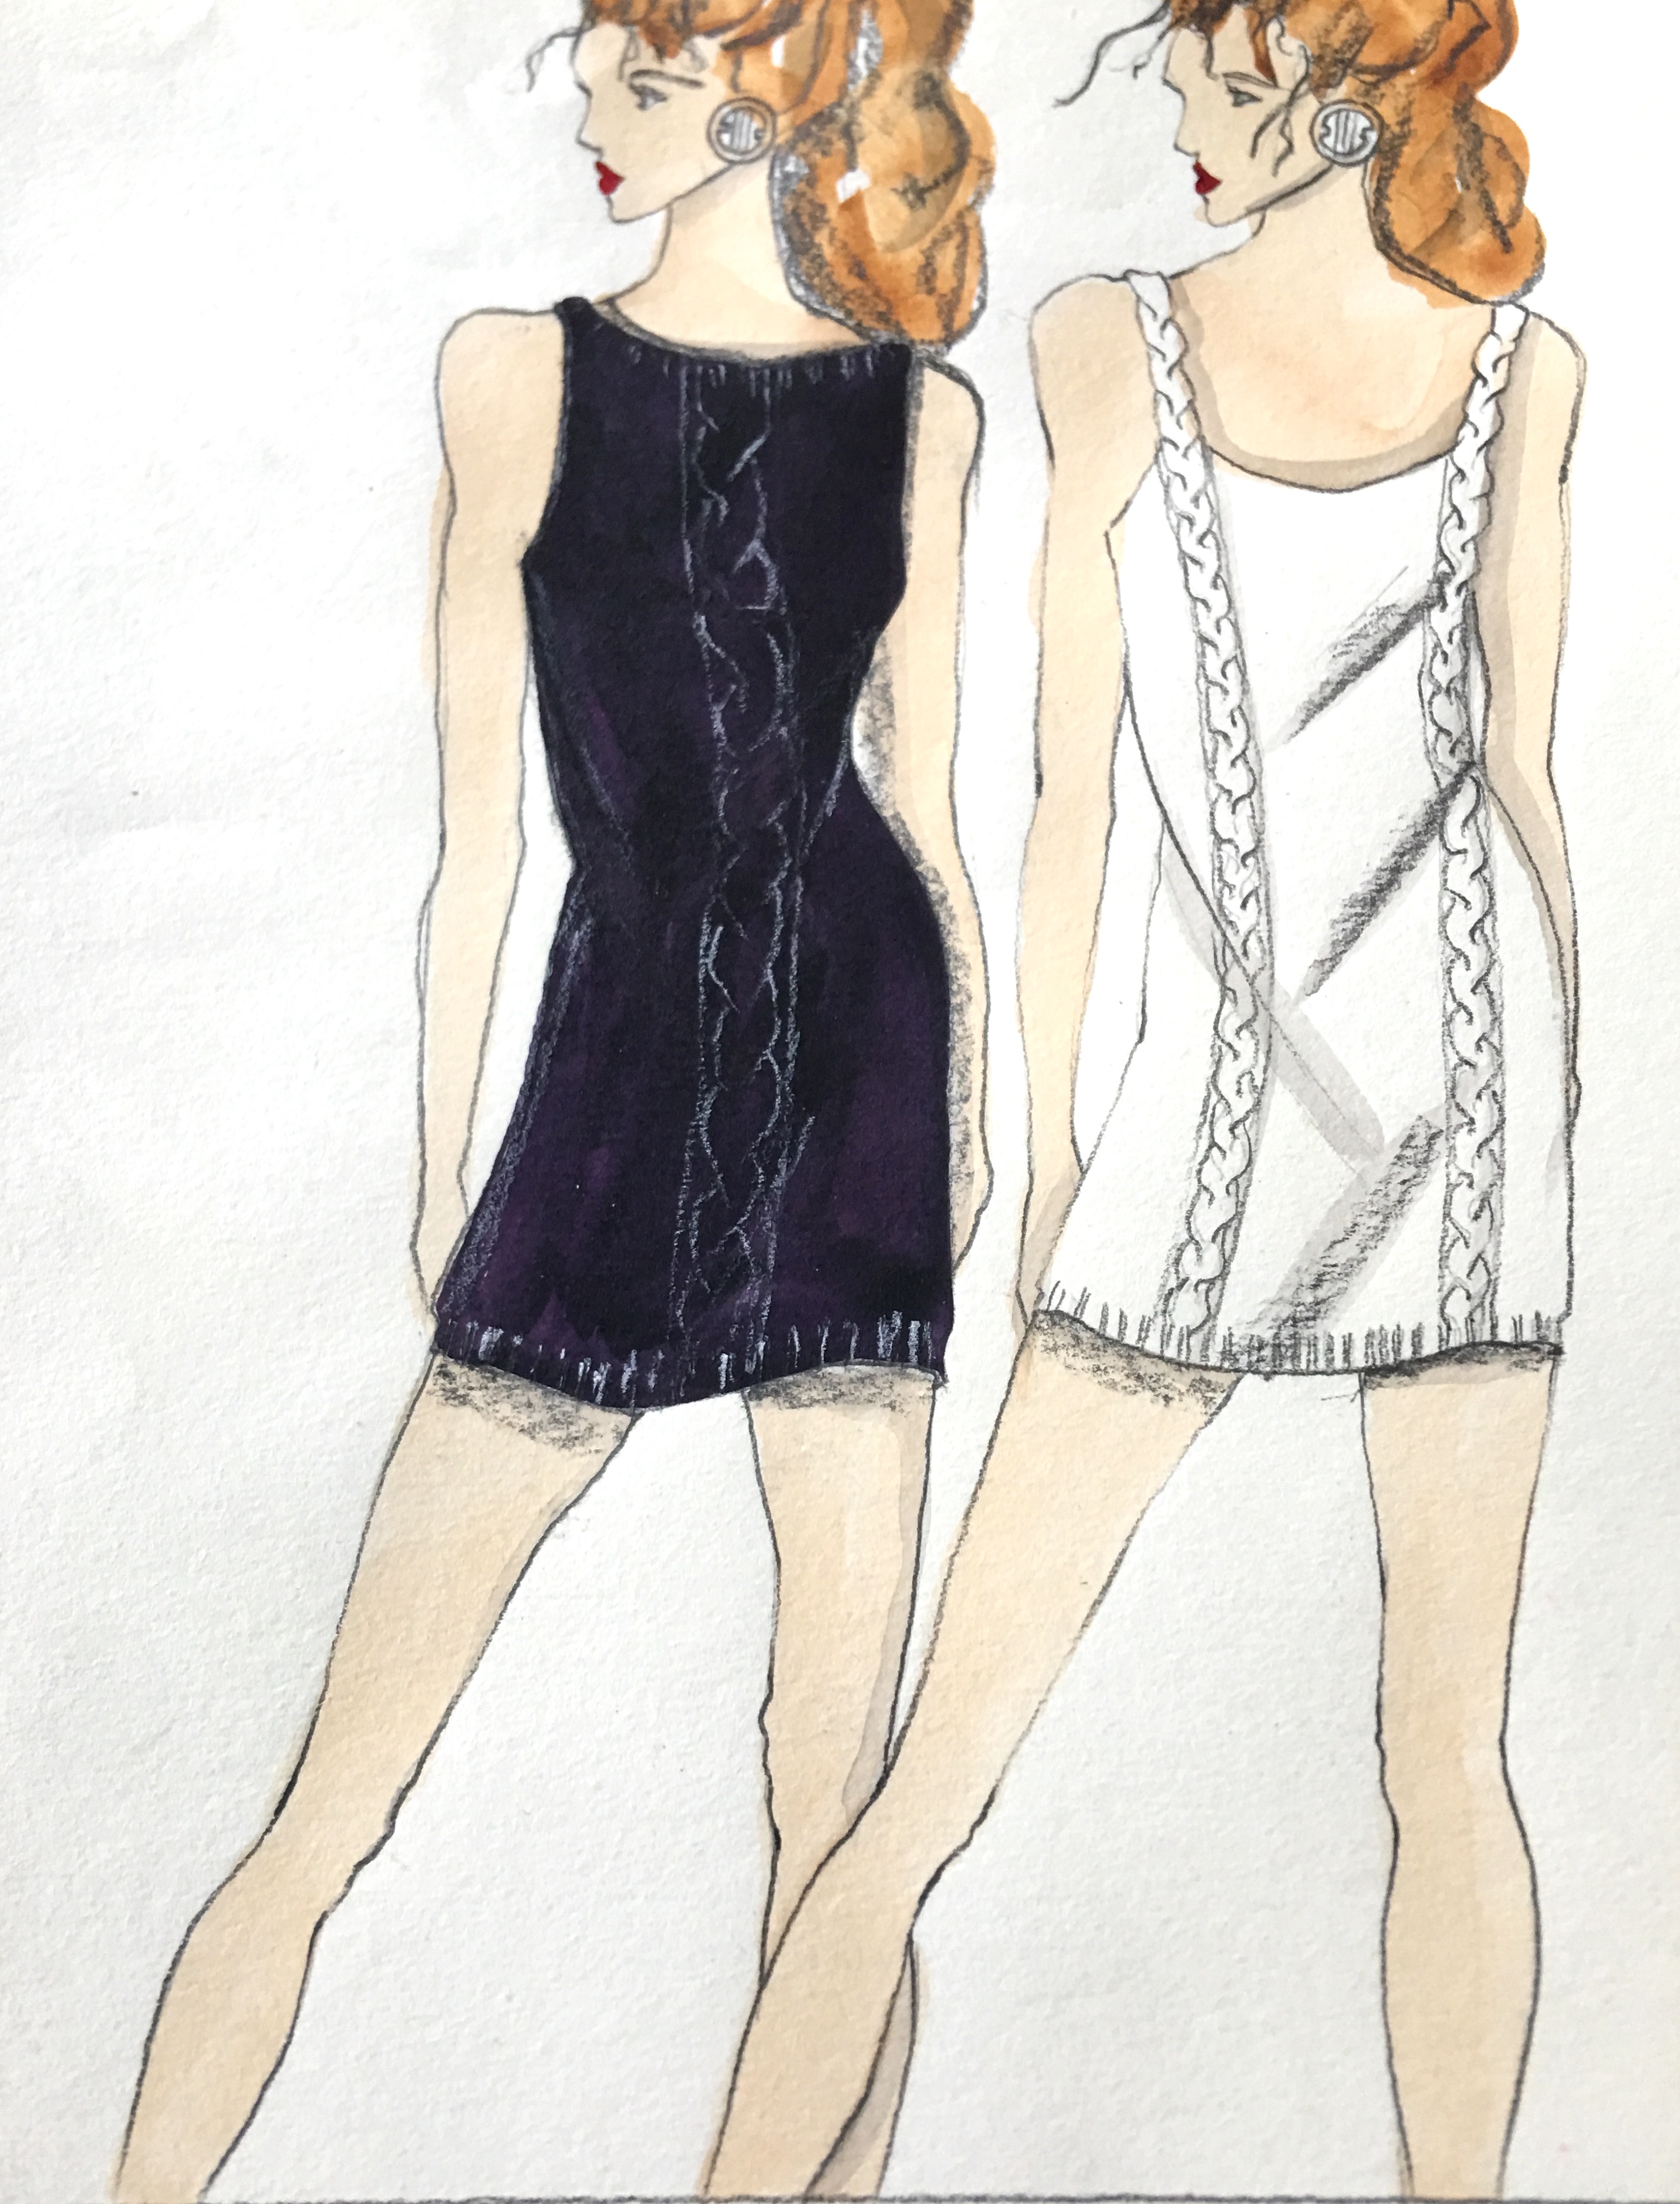
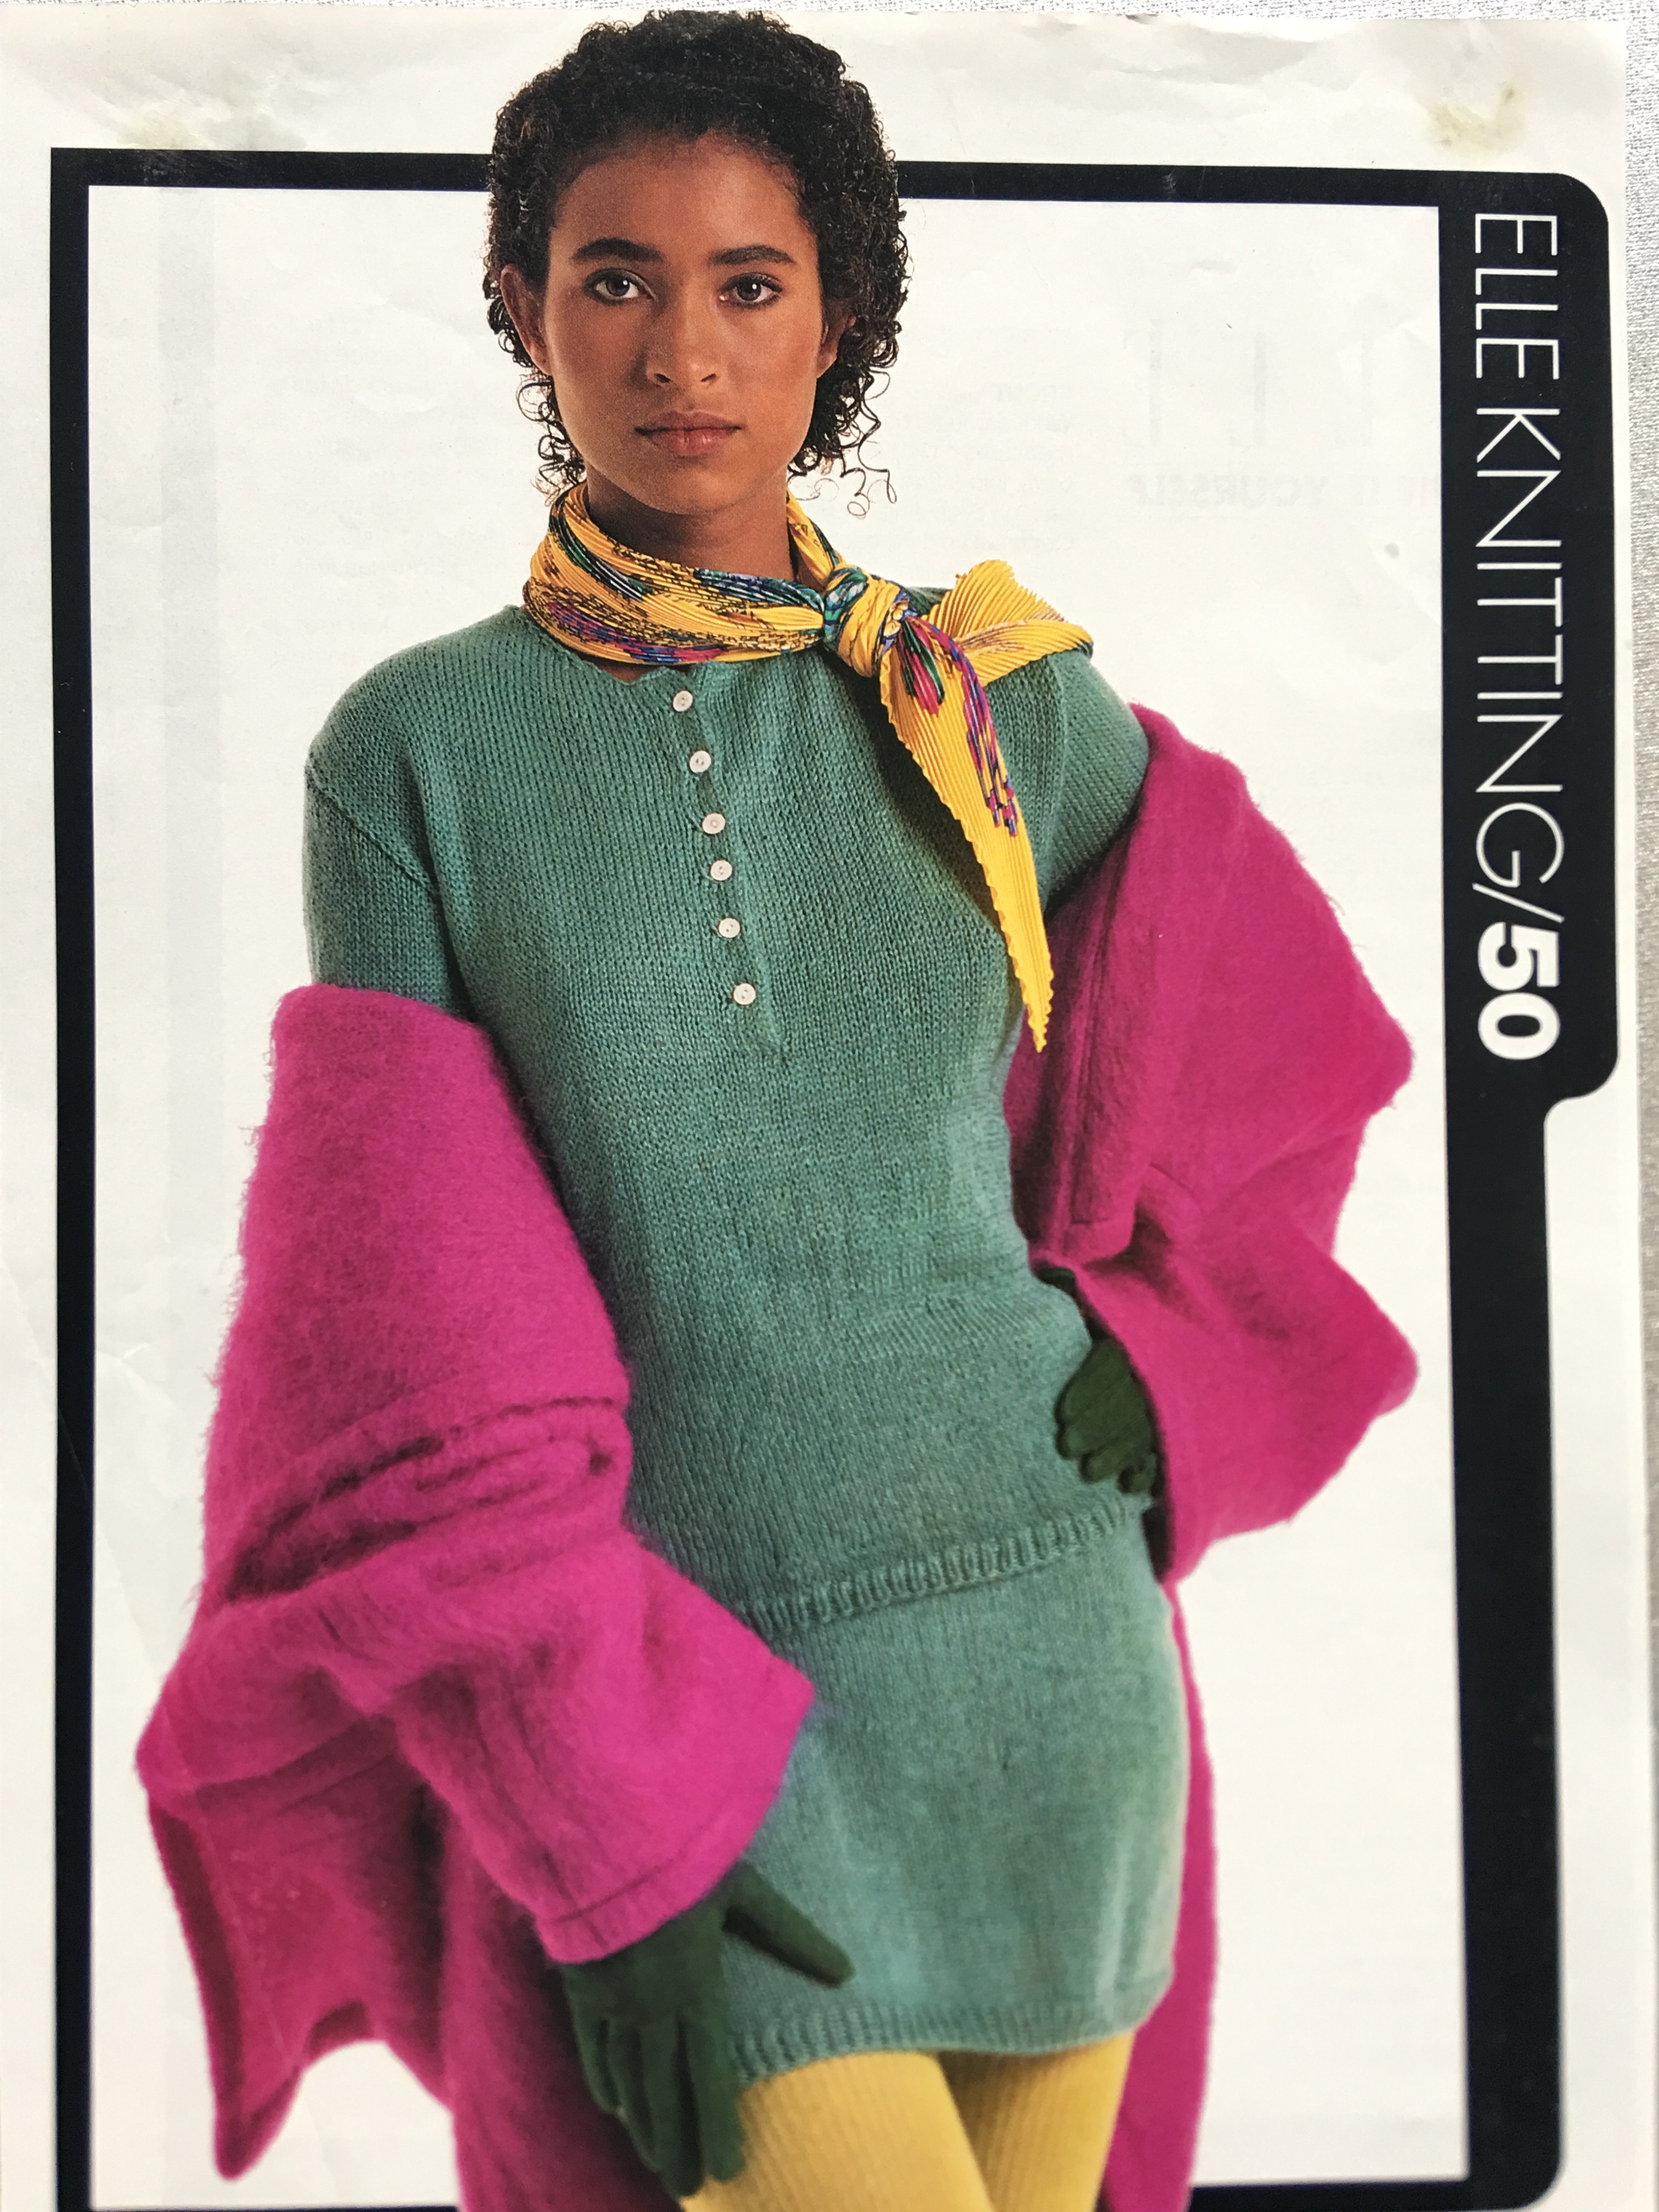
Another of my knit designs for Elle MagazineAn early design ensemble from my days at Parsons School of Design
All of which led me to a recurring topic – finding one’s artistic voice. How does one find it? How can it be nurtured, cultivated, encouraged?
While listening to a podcast a few weeks ago, two musicians were discussing this very idea and one of them repeated something they’d been told by another artist friend, who basically said – the only way to find your voice is by doing, and in the doing, you will not only find your voice, but it will make itself heard.
I love that! And it aligns with what I have learned through my experiences designing, whether that was fashion, knits, jewelry or quilts and fabric art.
A few months ago I decided I needed to learn how to piece. In quilting terms this is the ability to make something that looks like this: (This hen block was designed by Janet Nesbitt of One Sister.)
I have had a number of design ideas, such as combining pieced blocks with appliqué blocks and overlapping design elements that I cannot realize because there are some pretty basic things I do not know how to do. Piecing was one of them. I’m working on two quilts at the moment that cover all of these things, but in order to do them, and do them well, I need to learn how and then to practice, practice, practice.
So I signed up for Sarah Fielke’s 2019 BOM and began making Janet Nesbitt’s Half Crazy Quilt (which the pieced hen shown above is part of). In addition I joined a craftsy, now Bluprint class – Learn To Quilt with Amy Gibson. And while most of that class I was able to fast forward through, there were a couple of key take-aways that have helped me, such as getting seams to meet up perfectly and squaring up.
With each of these projects I’m learning and in learning how others do it, I am practicing and expanding what I can design, and hopefully my own voice will become clearer and more refined.


Recent comments