![Designing & Quilting To Cope]()
by Ariane Zurcher | Oct 26, 2016 | Art, creative process, Design |
After I finished the QFM – Quilt For Mom – I felt at a loss. It’s the same feeling I experience after finishing a wonderful book. Elated, but also sad it’s over and wondering what’s next. I knew I wanted to design my own quilt, but am still so new to this form and didn’t want to be too ambitious. Things were in limbo.
My life is busy, I homeschool our daughter, as well as, like and need to, spend time with my eldest and then of course there’s FH (fabulous husband) and did I mention I have my own business? All of this means I have a full, albeit hectic, and at times, overwhelming life, and I desperately need time to design and create without worrying about how to promote it, the cost basis, manufacturing, orders, etc. When I don’t have the time or when other things make it impossible, I feel off, am more easily stressed, saddened and even depressed by things that happen in the world and in my life. I worry more. I feel more sensitive, raw and fragile. These same things don’t have as devastating an impact on me when I carve out time for my artistic pursuits. Because of all this, I knew I had to start a new project, and given all that is happening in the world and my life right now, the sooner, the better!
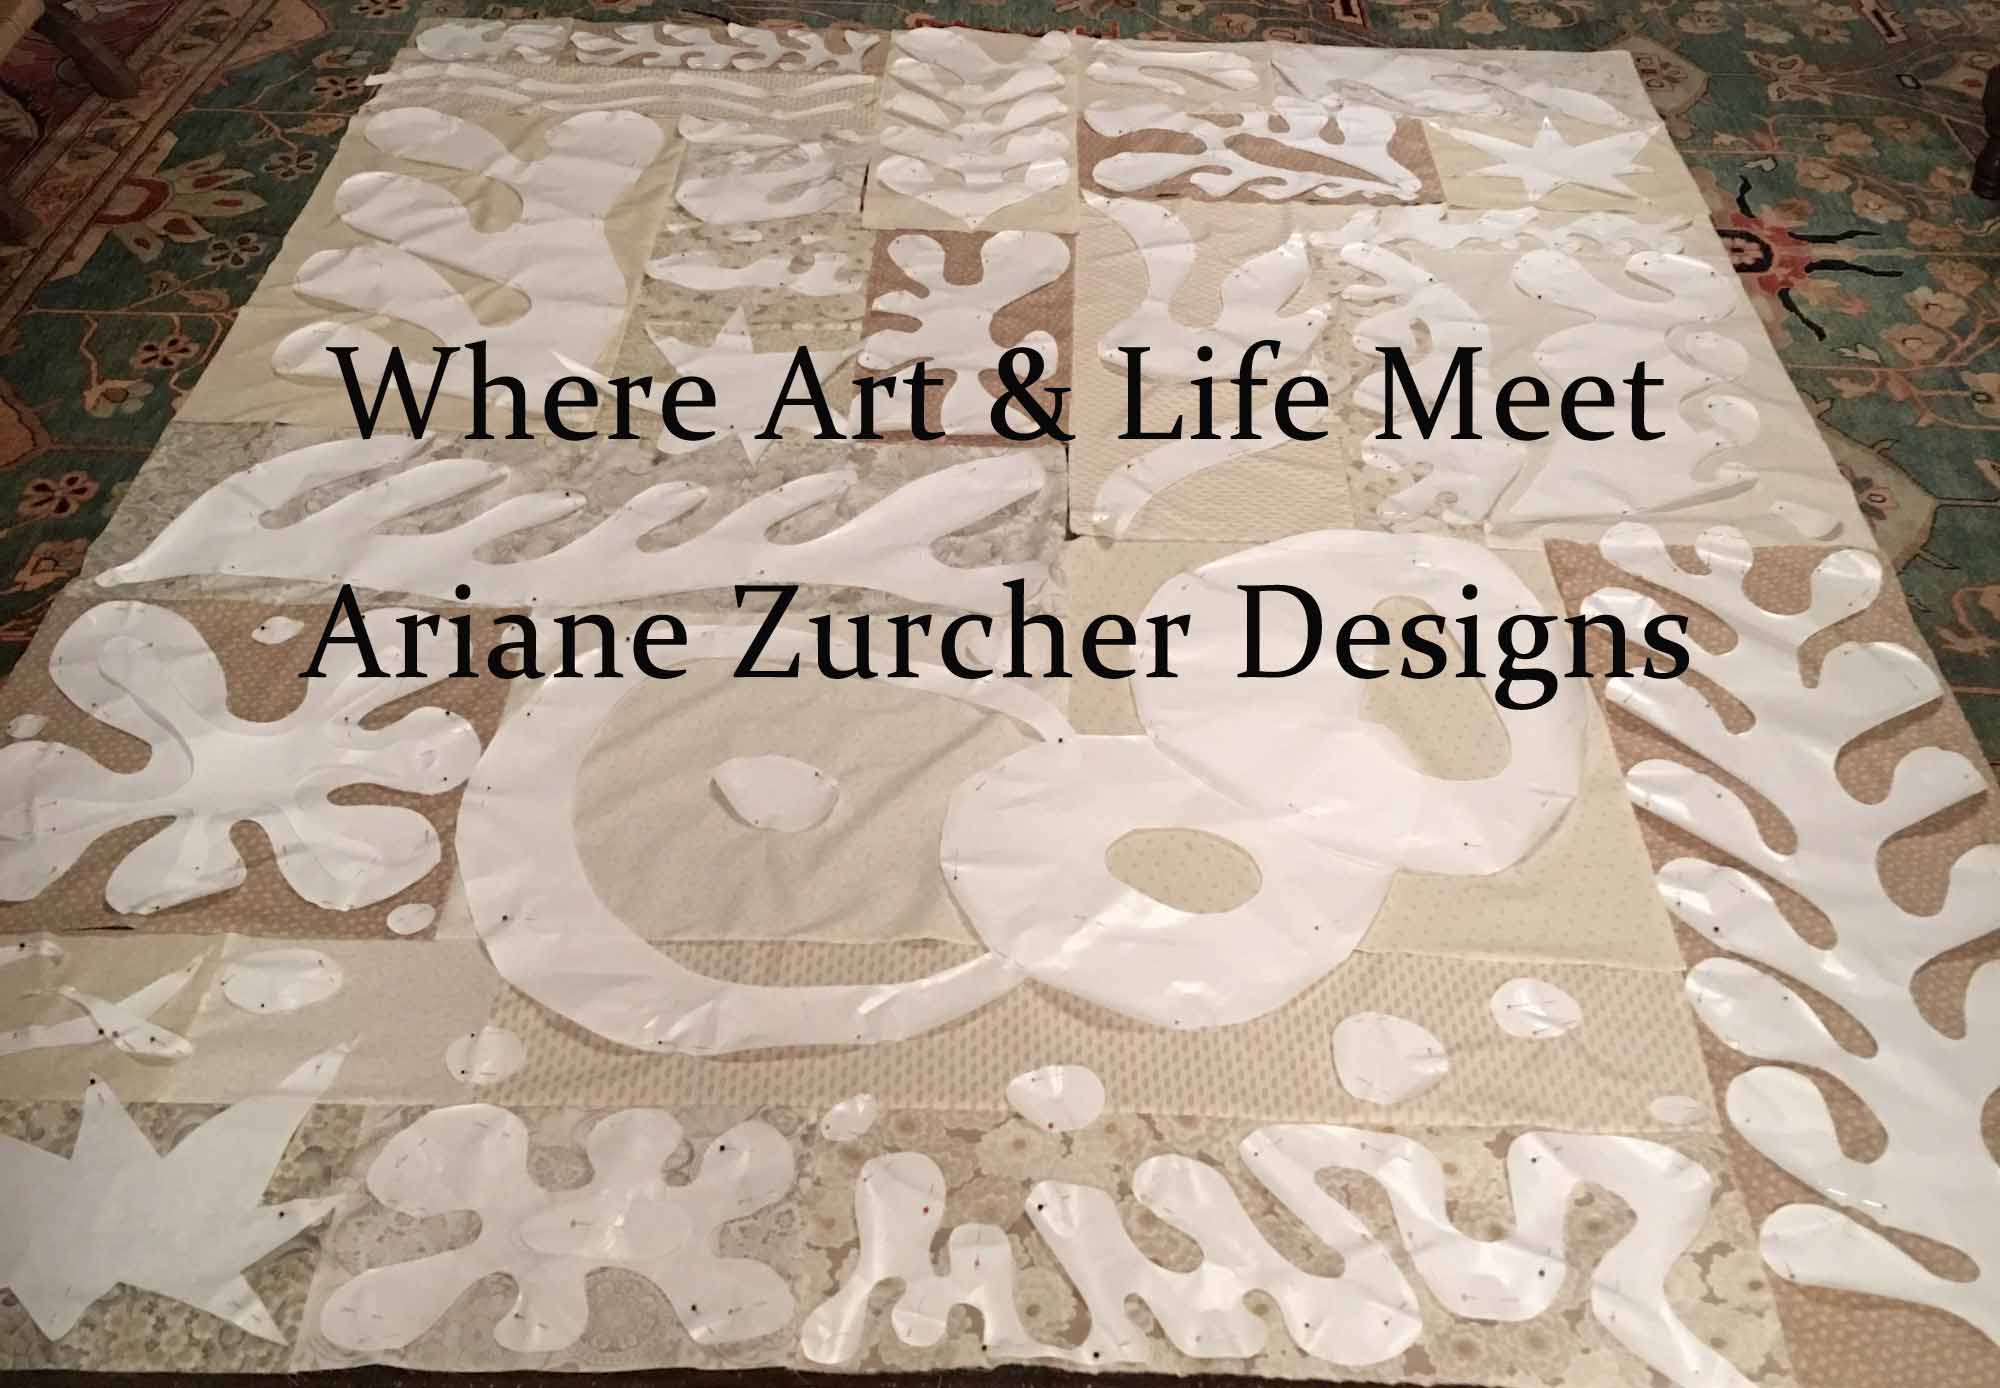
Out came my sketch book. I began doodling. From those doodles I found a few shapes I kept coming back to and slowly a design came into focus.
This is my Ode To Matisse.

The Sketch
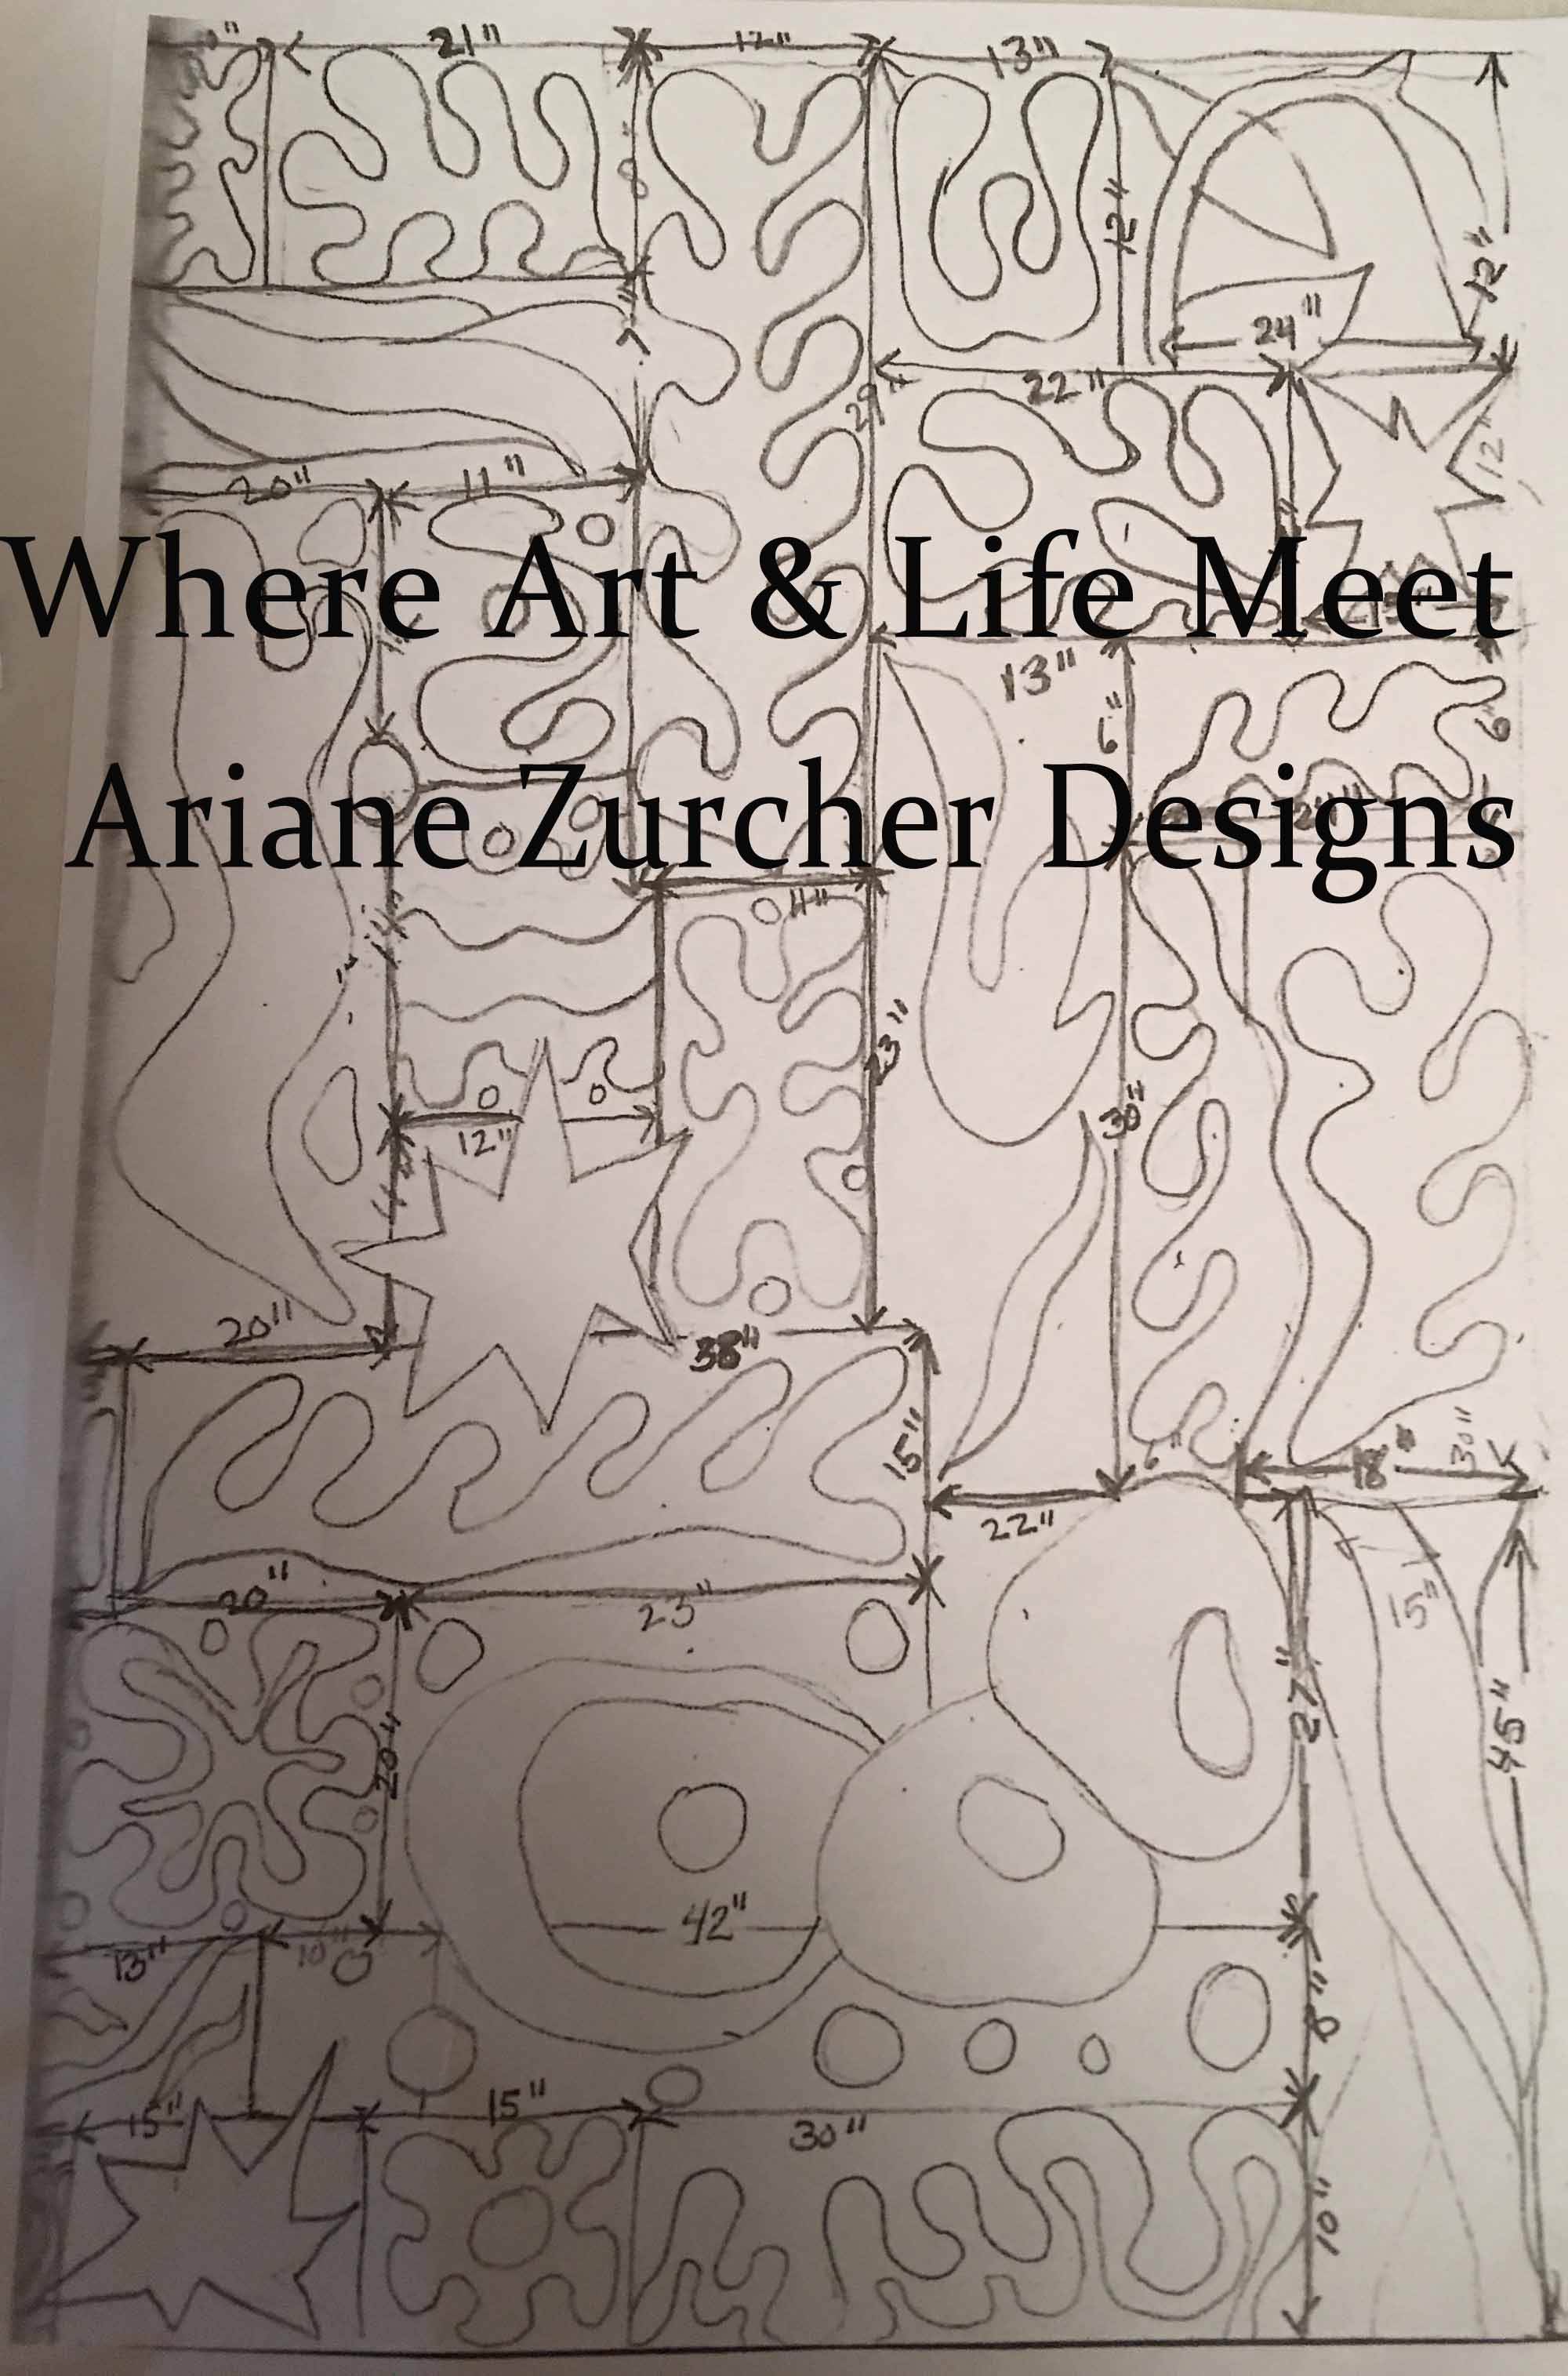
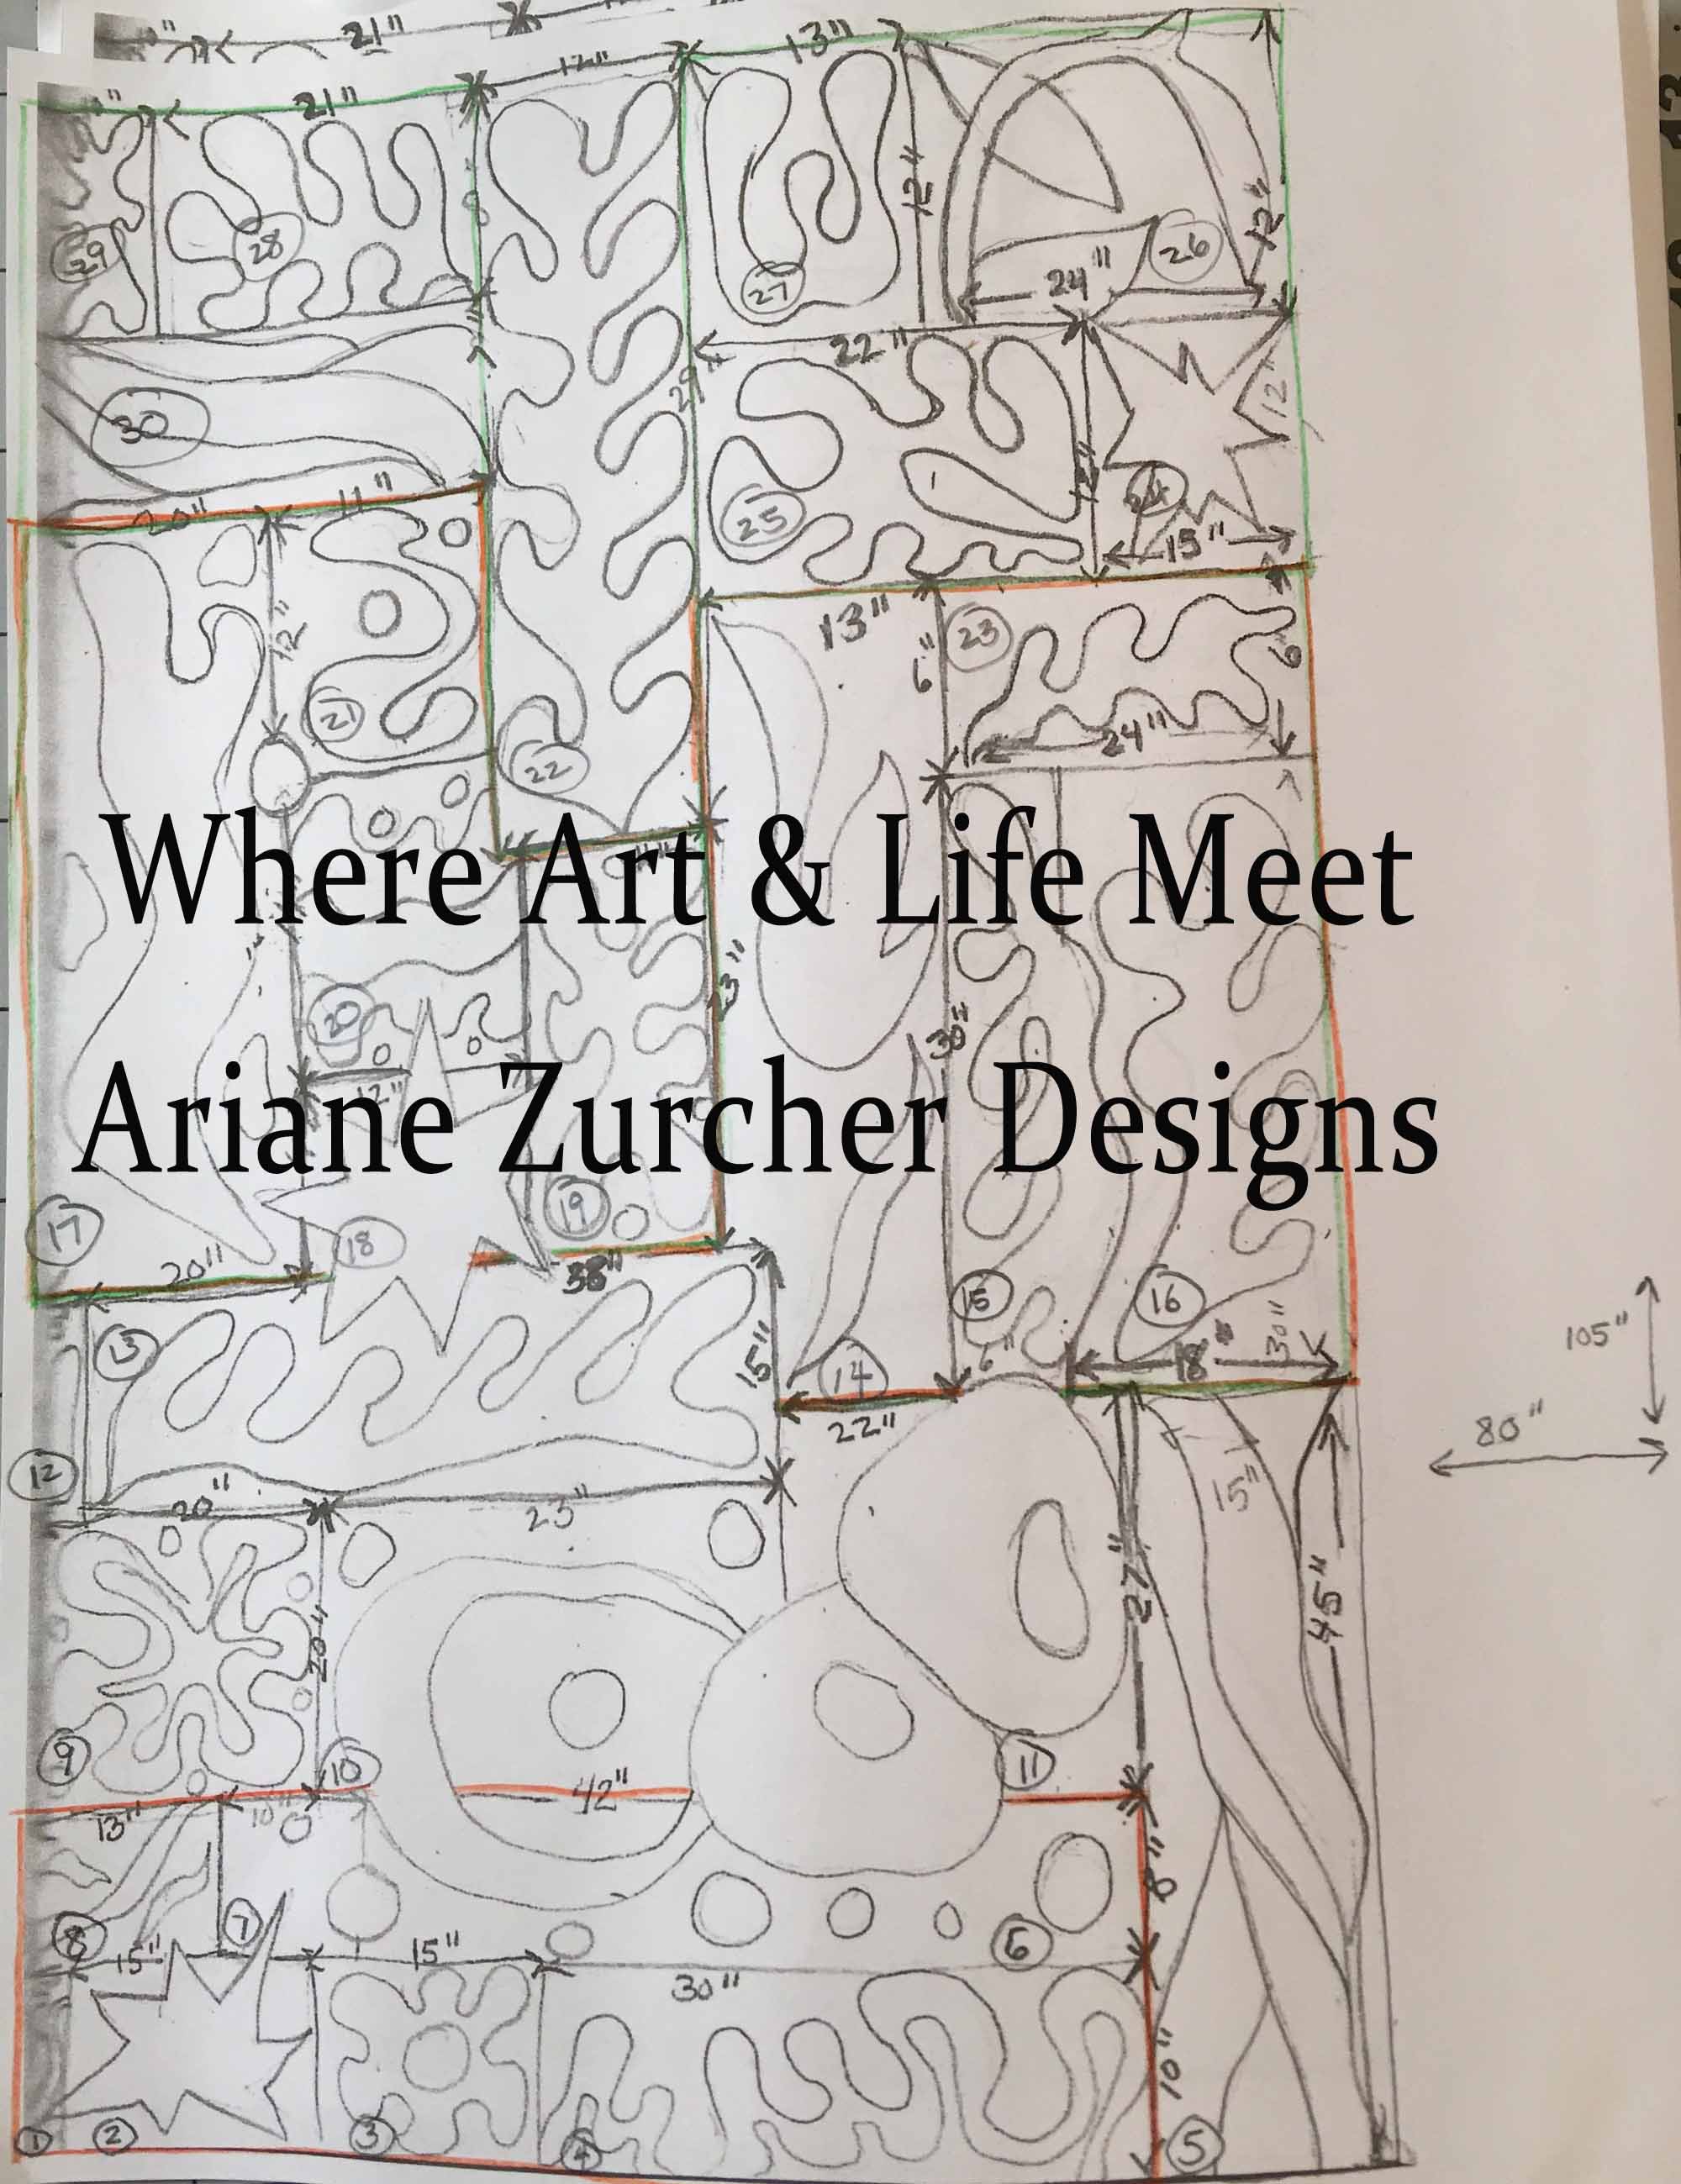
After I finished the first sketch, I photocopied it several times and began mapping out the measurements. I knew the sketch was going to be skewed and out of proportion because I wanted the quilt to end up being 80″ by 105″, which is big enough to drape down on either side of a twin sized bed or even skimpily cover a queen sized bed and long enough to allow for folding over pillows. This will be the quilt I take with me to my retreat at Quilting by the Lake next summer where we stay in air-conditioned (last summer I was FREEZING) dorm rooms, which have twin-sized beds!
I needed to figure out how I was going to block it, in other words how I would divide it up as I envisioned several different background fabrics, all beiges. With colored pencils I marked out my blocks, with approximate measurements and numbered the blocks.
Blocking out the Sketch
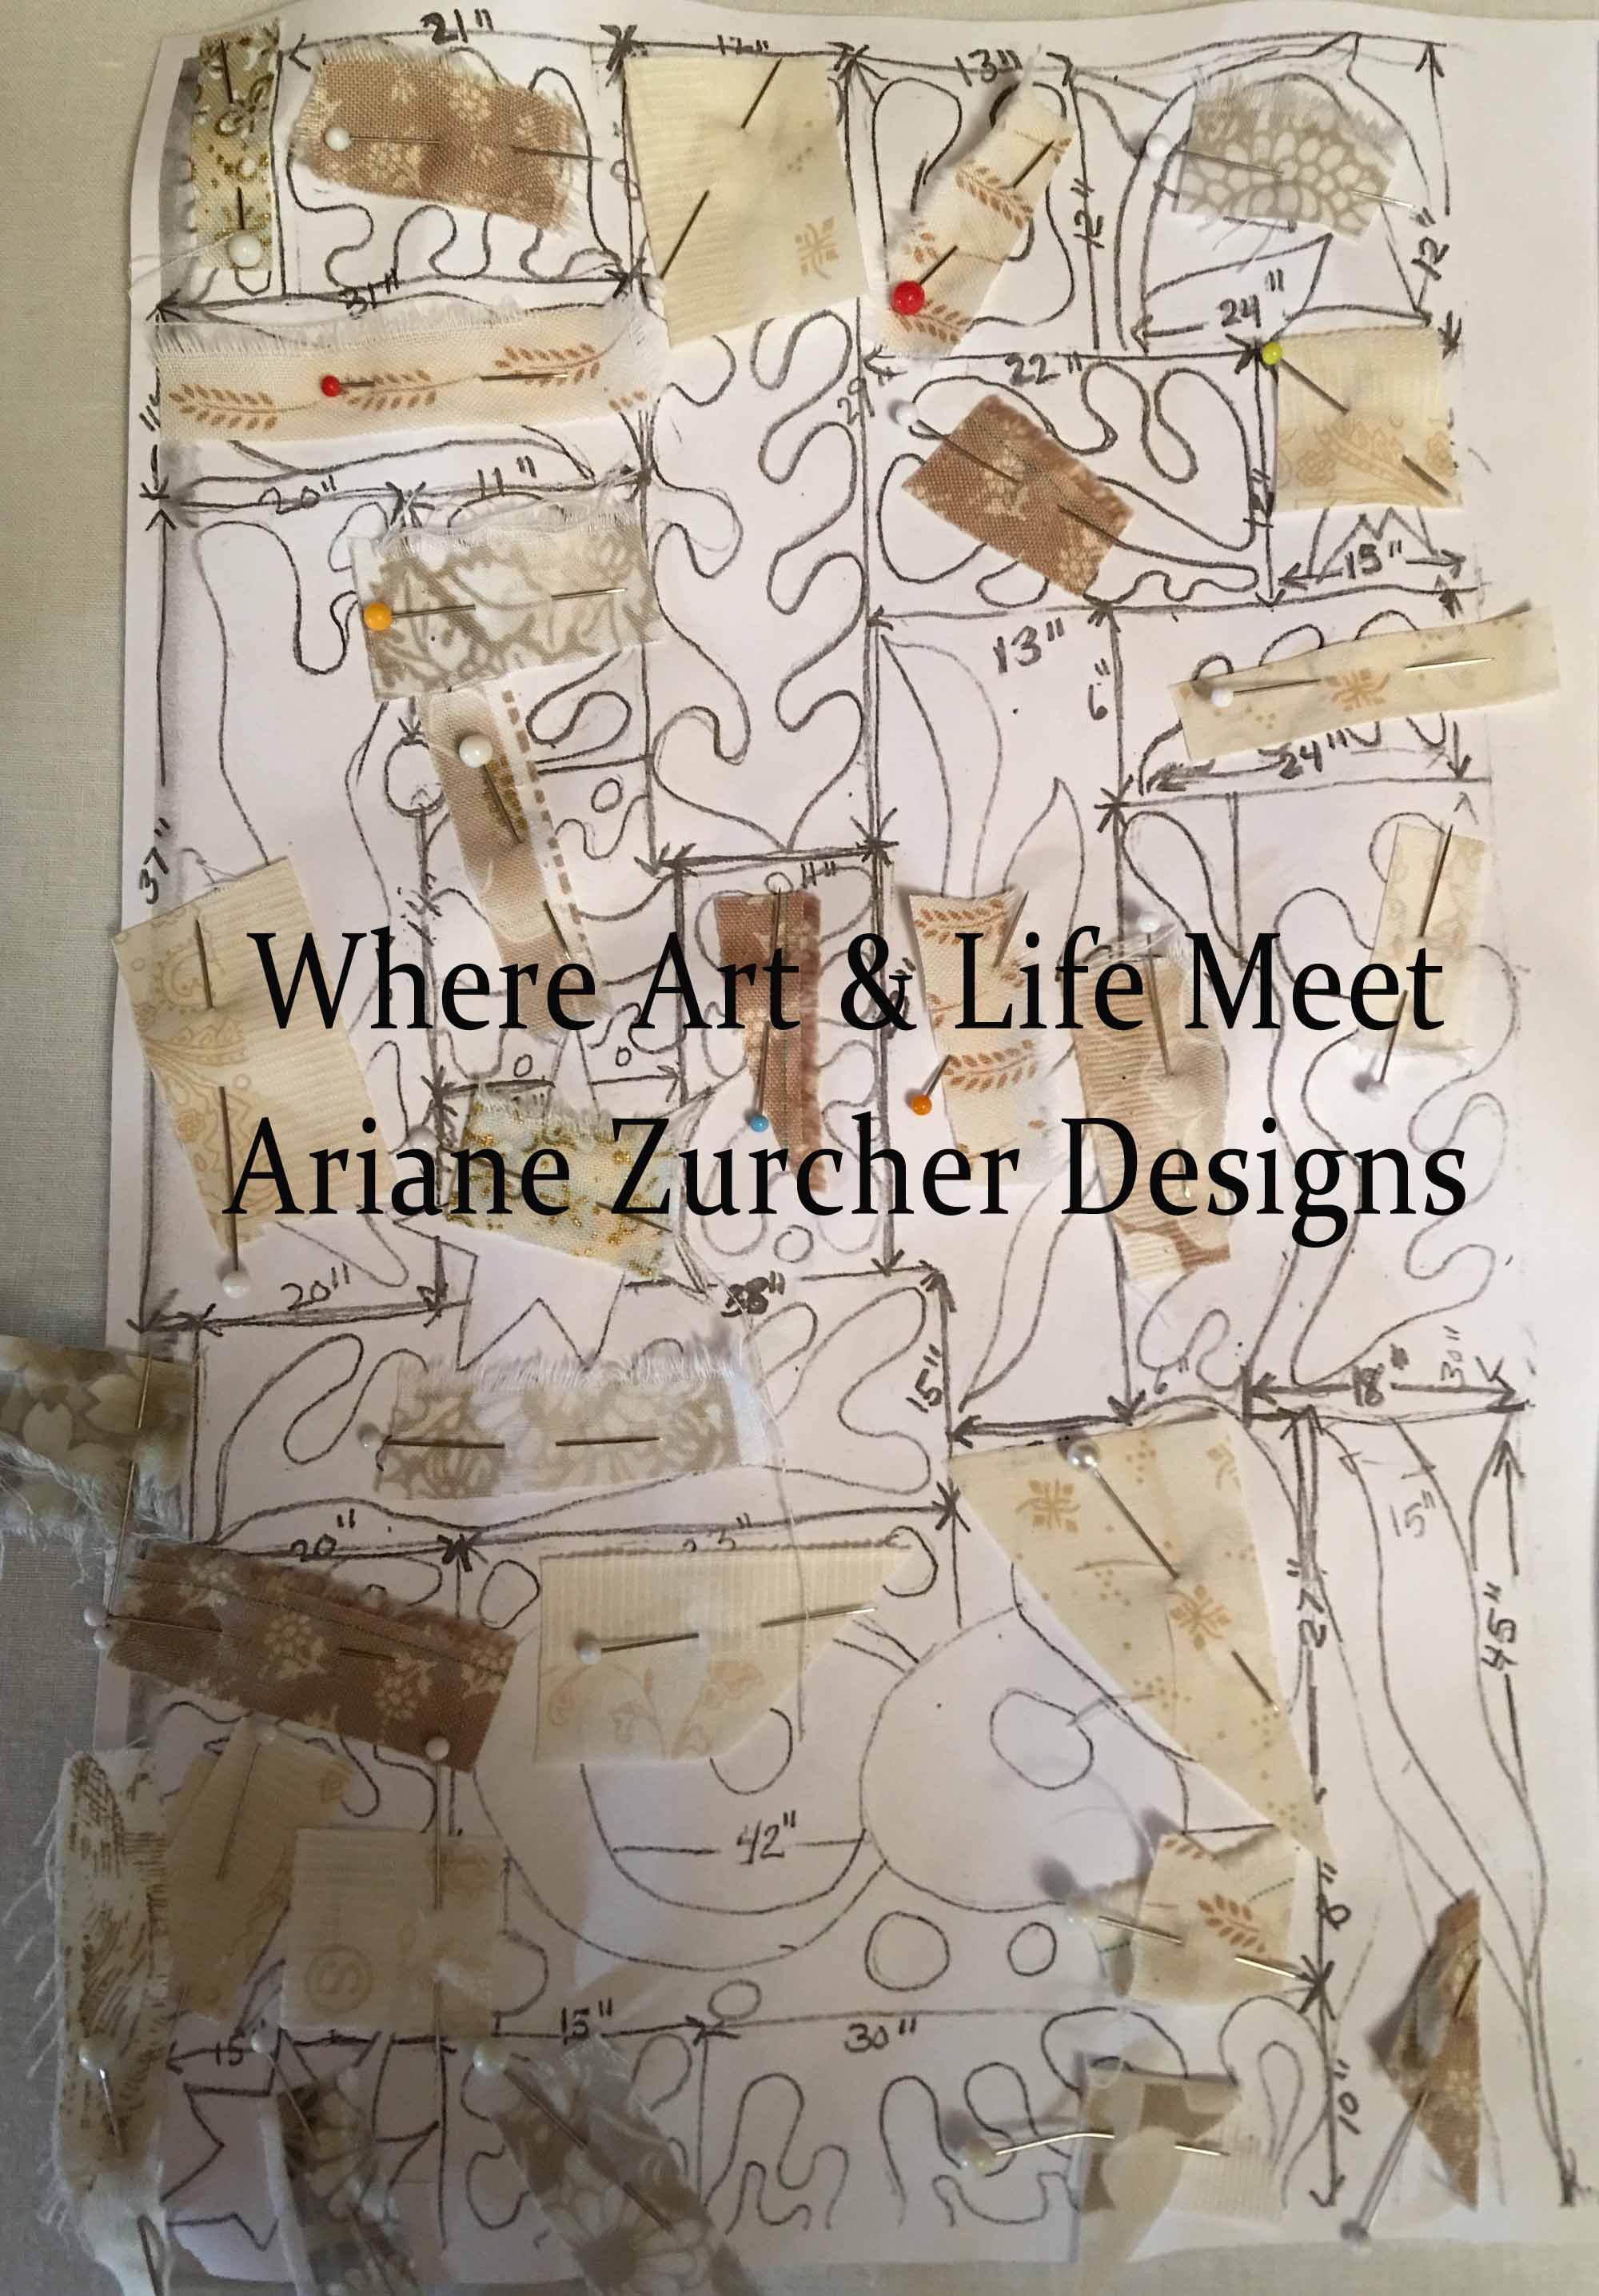
I then went to my stash and began pulling background fabrics. After a trip to the fabric store, I decided on eight different fabrics, all beiges/cream of some kind.
Placing the Background Fabrics
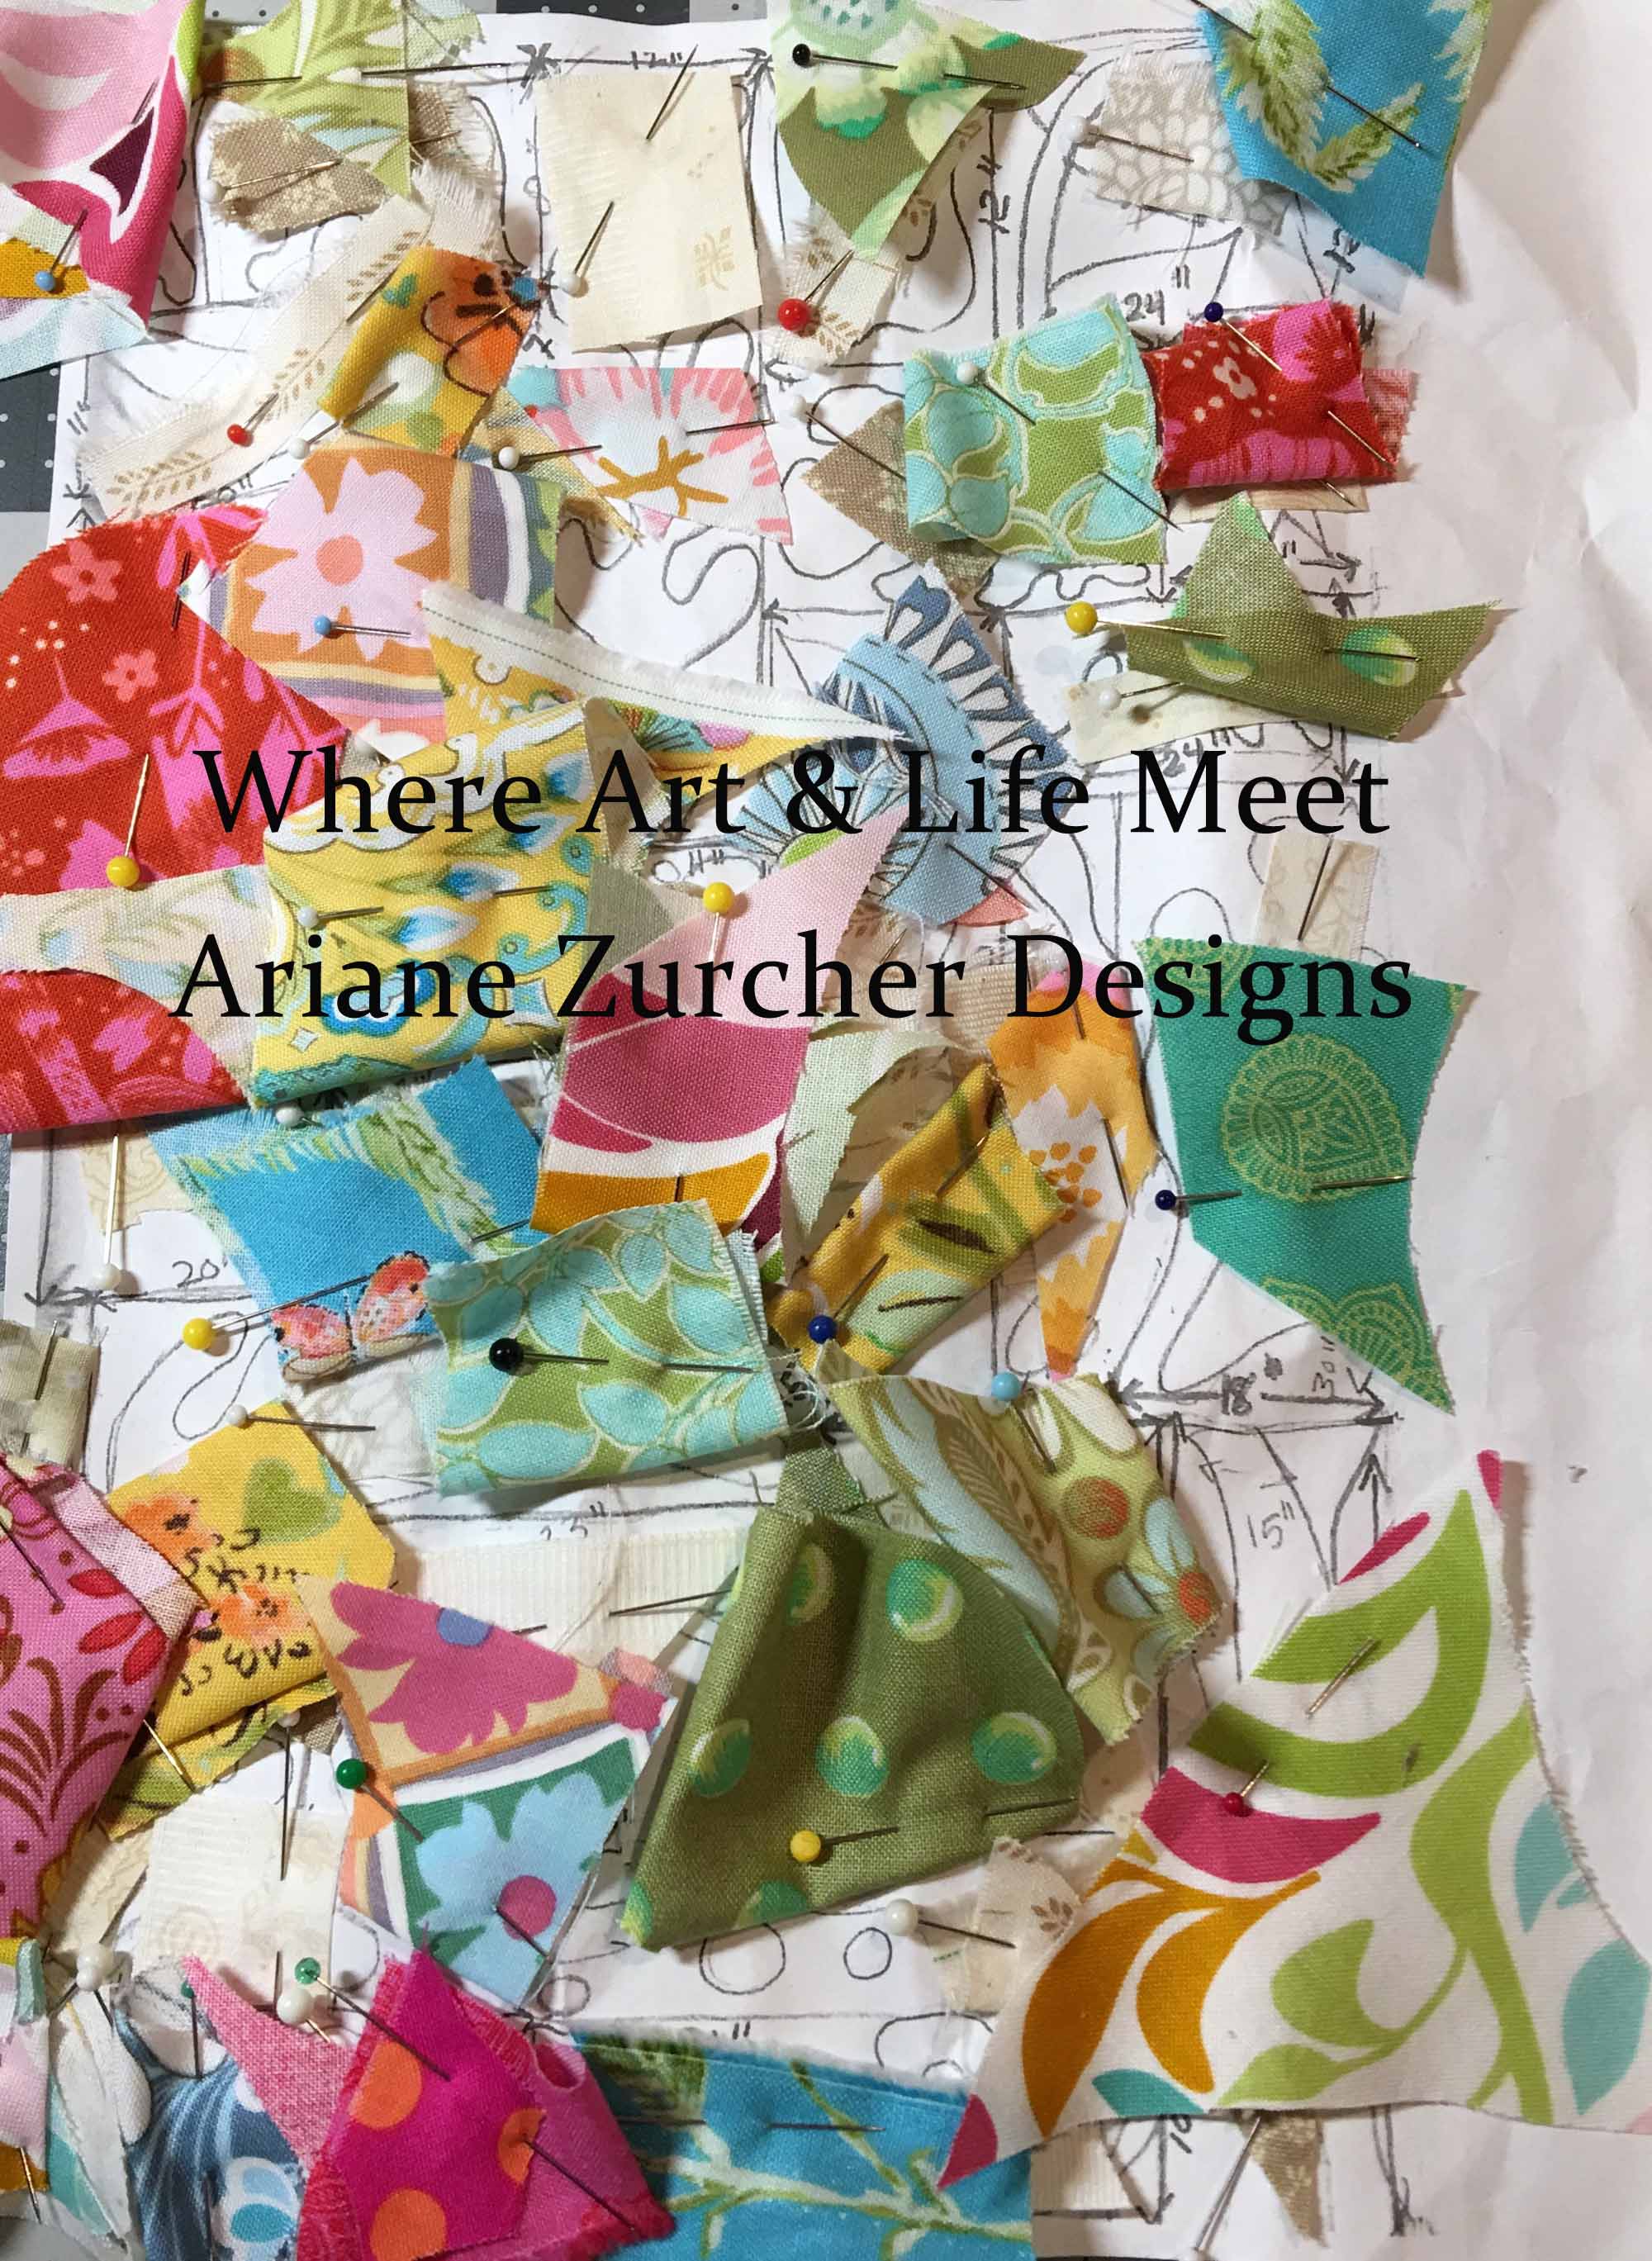
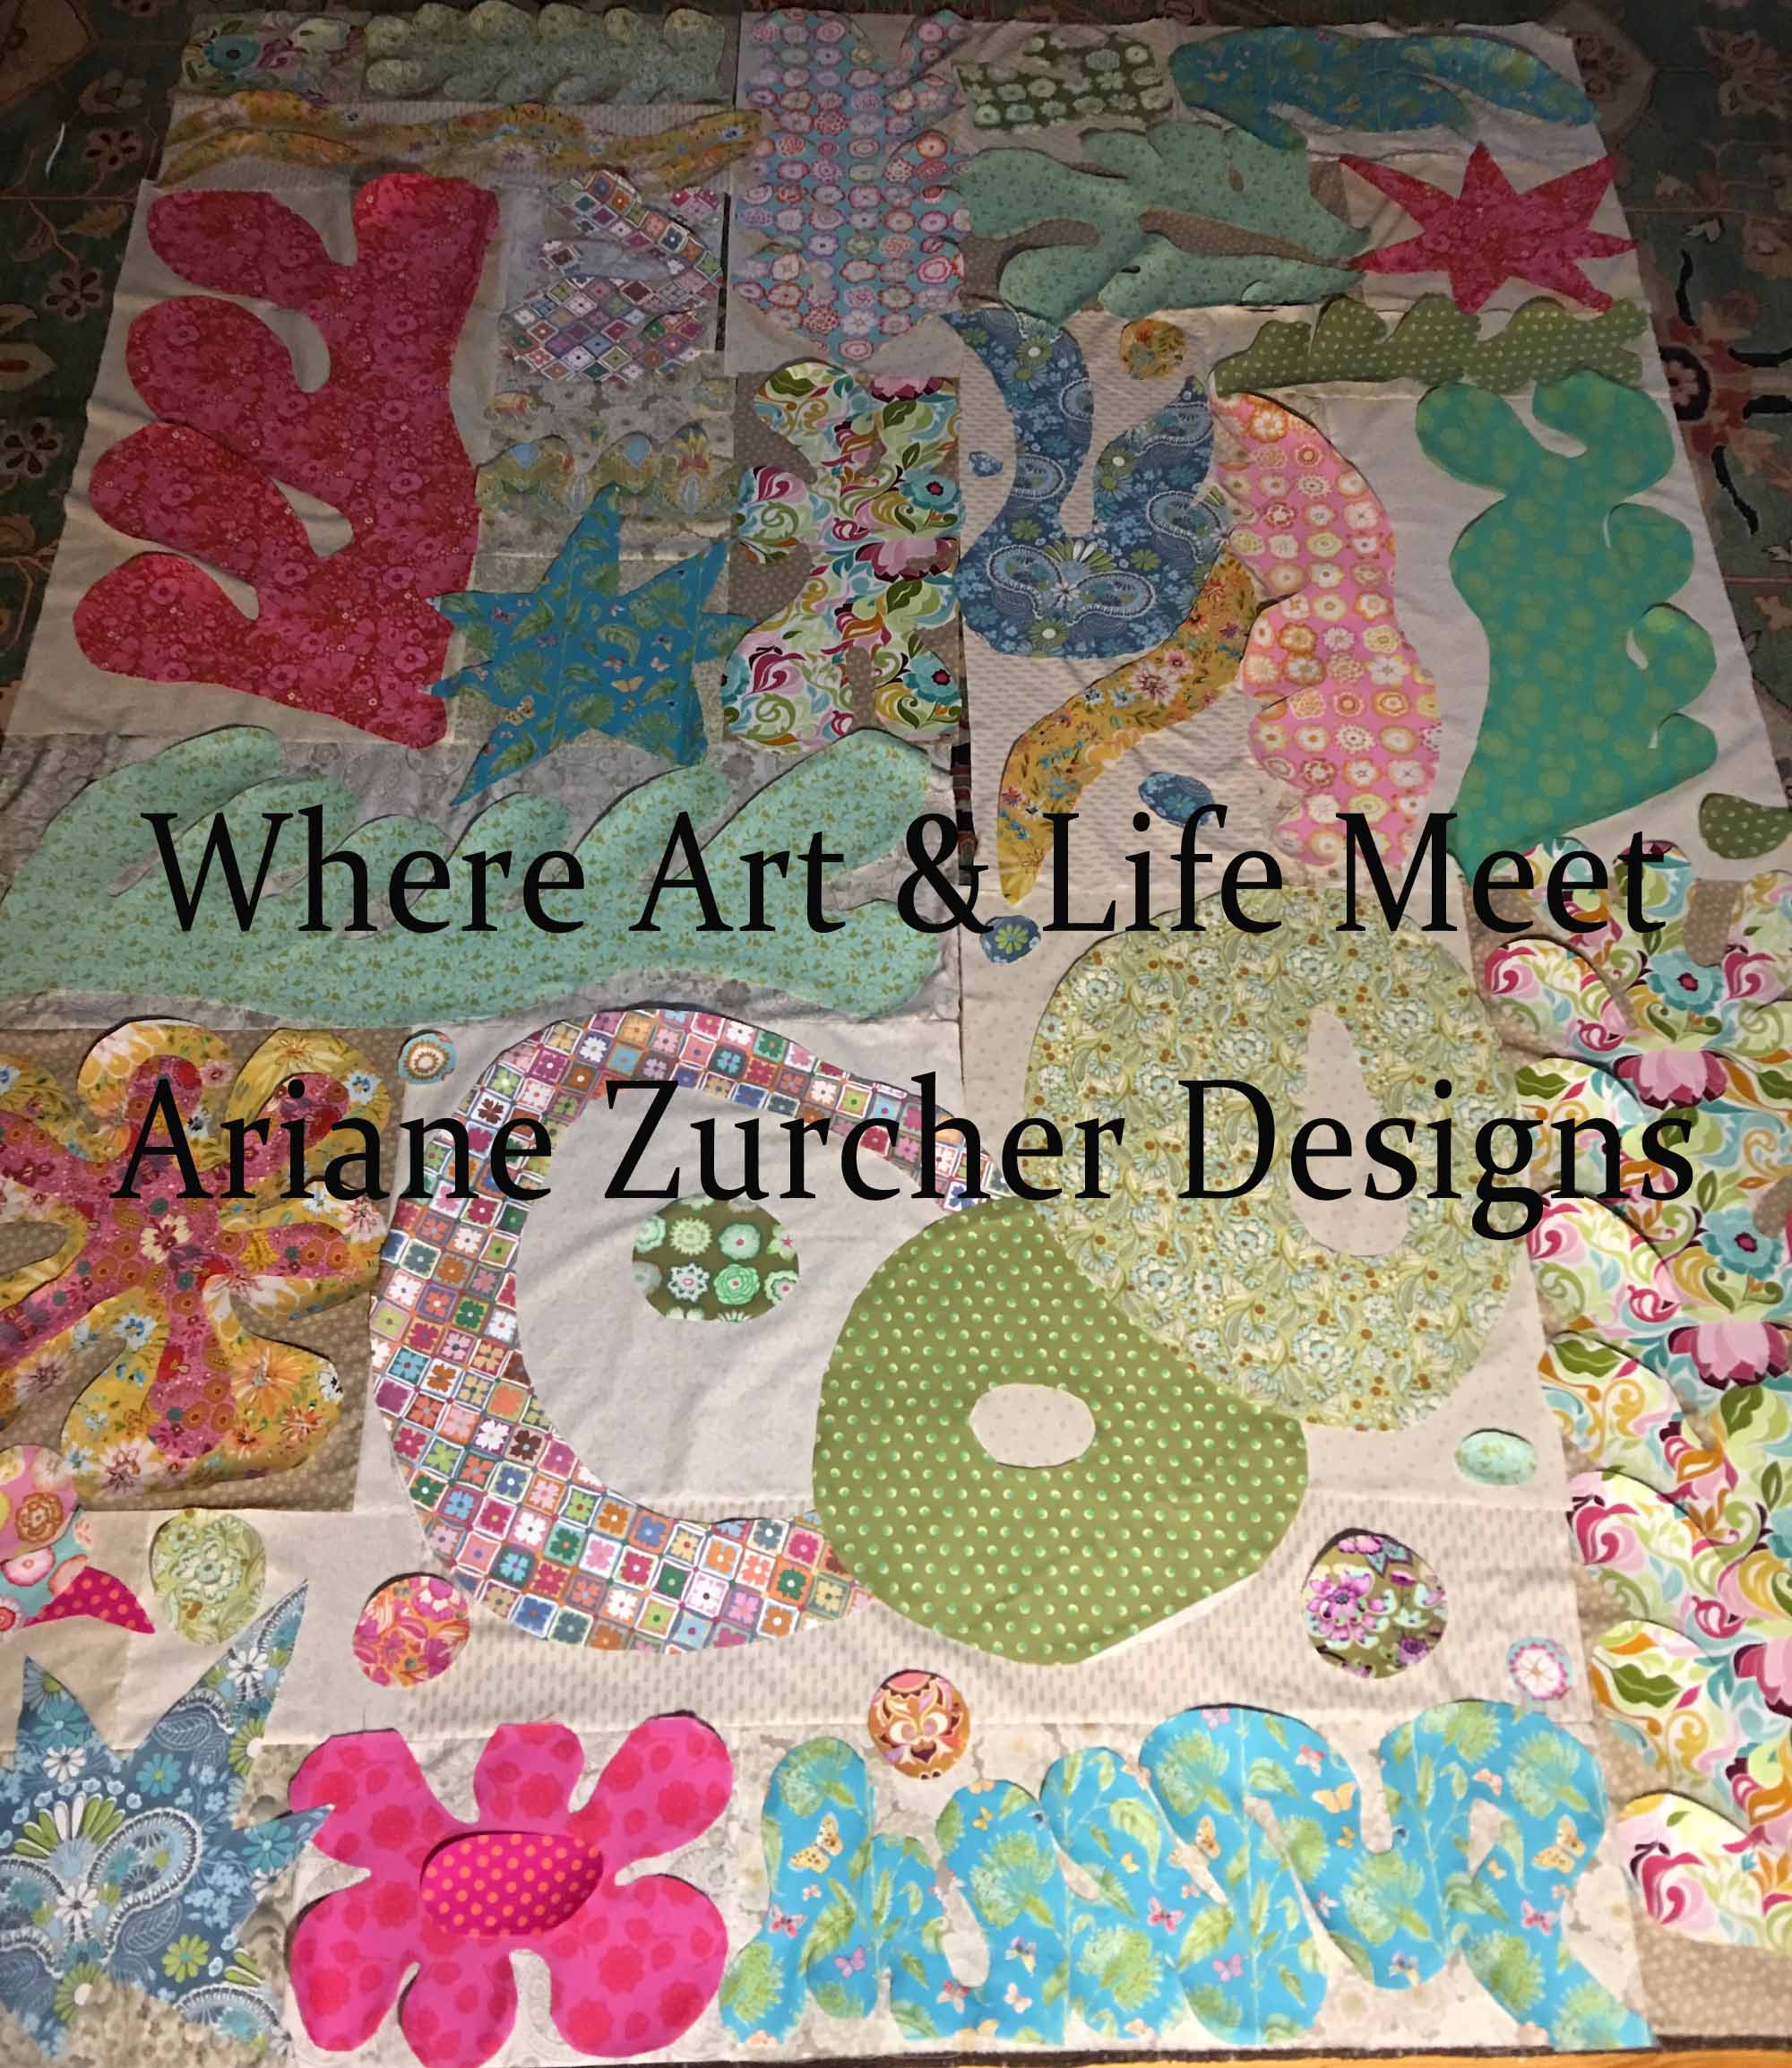
Next up was working out the colors for the shapes. This process took over the floor of our bedroom for a couple days. I wanted bright, cheerful colors, that reminded me of spring and summer and I wanted them to stay close to the colors Matisse used when he created these kinds of organic shapes.
Deciding on Fabric for the shapes
Finally I was ready to cut out the shapes, using freezer paper first to lay them out, tweak when necessary and rearrange if needed. This is what I came up with… Still not convinced the three round shapes in the lower portion of the quilt are working as well as they could. I might need to move them all the way over to the left side and take the shapes on the left and put them to the right end of that block or maybe reduce the size of the skinny large circle on the left and make the flower shape at the edge larger…
Freezer Paper Matisse
Even though I have a few reservations with the design, I’m going ahead with it and will see how I feel as I go. I’m also not sure if I will add other fabrics and hand stitching as I did with the QFM or if I’ll just appliqué and then free motion quilt this one, giving it the versatility to be thrown in a washing machine and dryer, unlike the QFM, which must be dry cleaned because of all the beading, wool, velvet and hand stitching I did. Also I need this quilt to be finished no later than July, so I’ll see what I end up having time for.
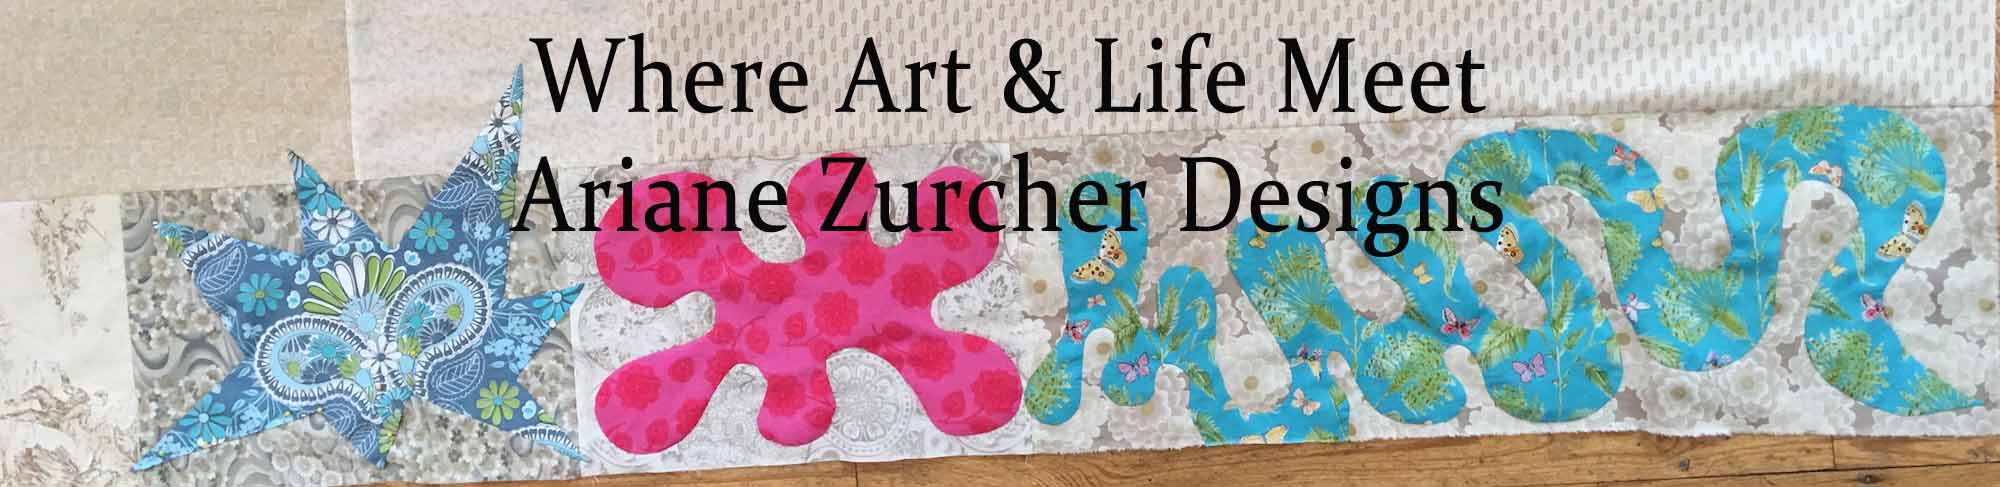
An Ode To Matisse
I’ve started on the bottom block and am almost finished appliquéing all the shapes down.
I would have gotten more done by now, but got a little way laid as I also signed up for a five week online class with the talented artist Elizabeth Barton at Academy of Quilting. We are supposed to produce a small quilt each week. Yikes!!! More on that later…
![Designing & Quilting To Cope]()
by Ariane Zurcher | Aug 15, 2016 | Art, ceramics, pottery |
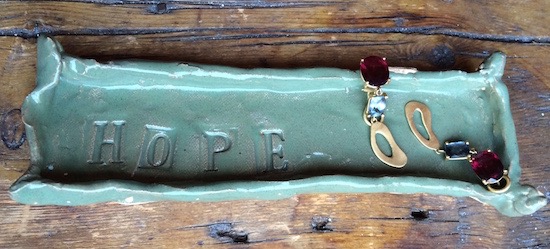
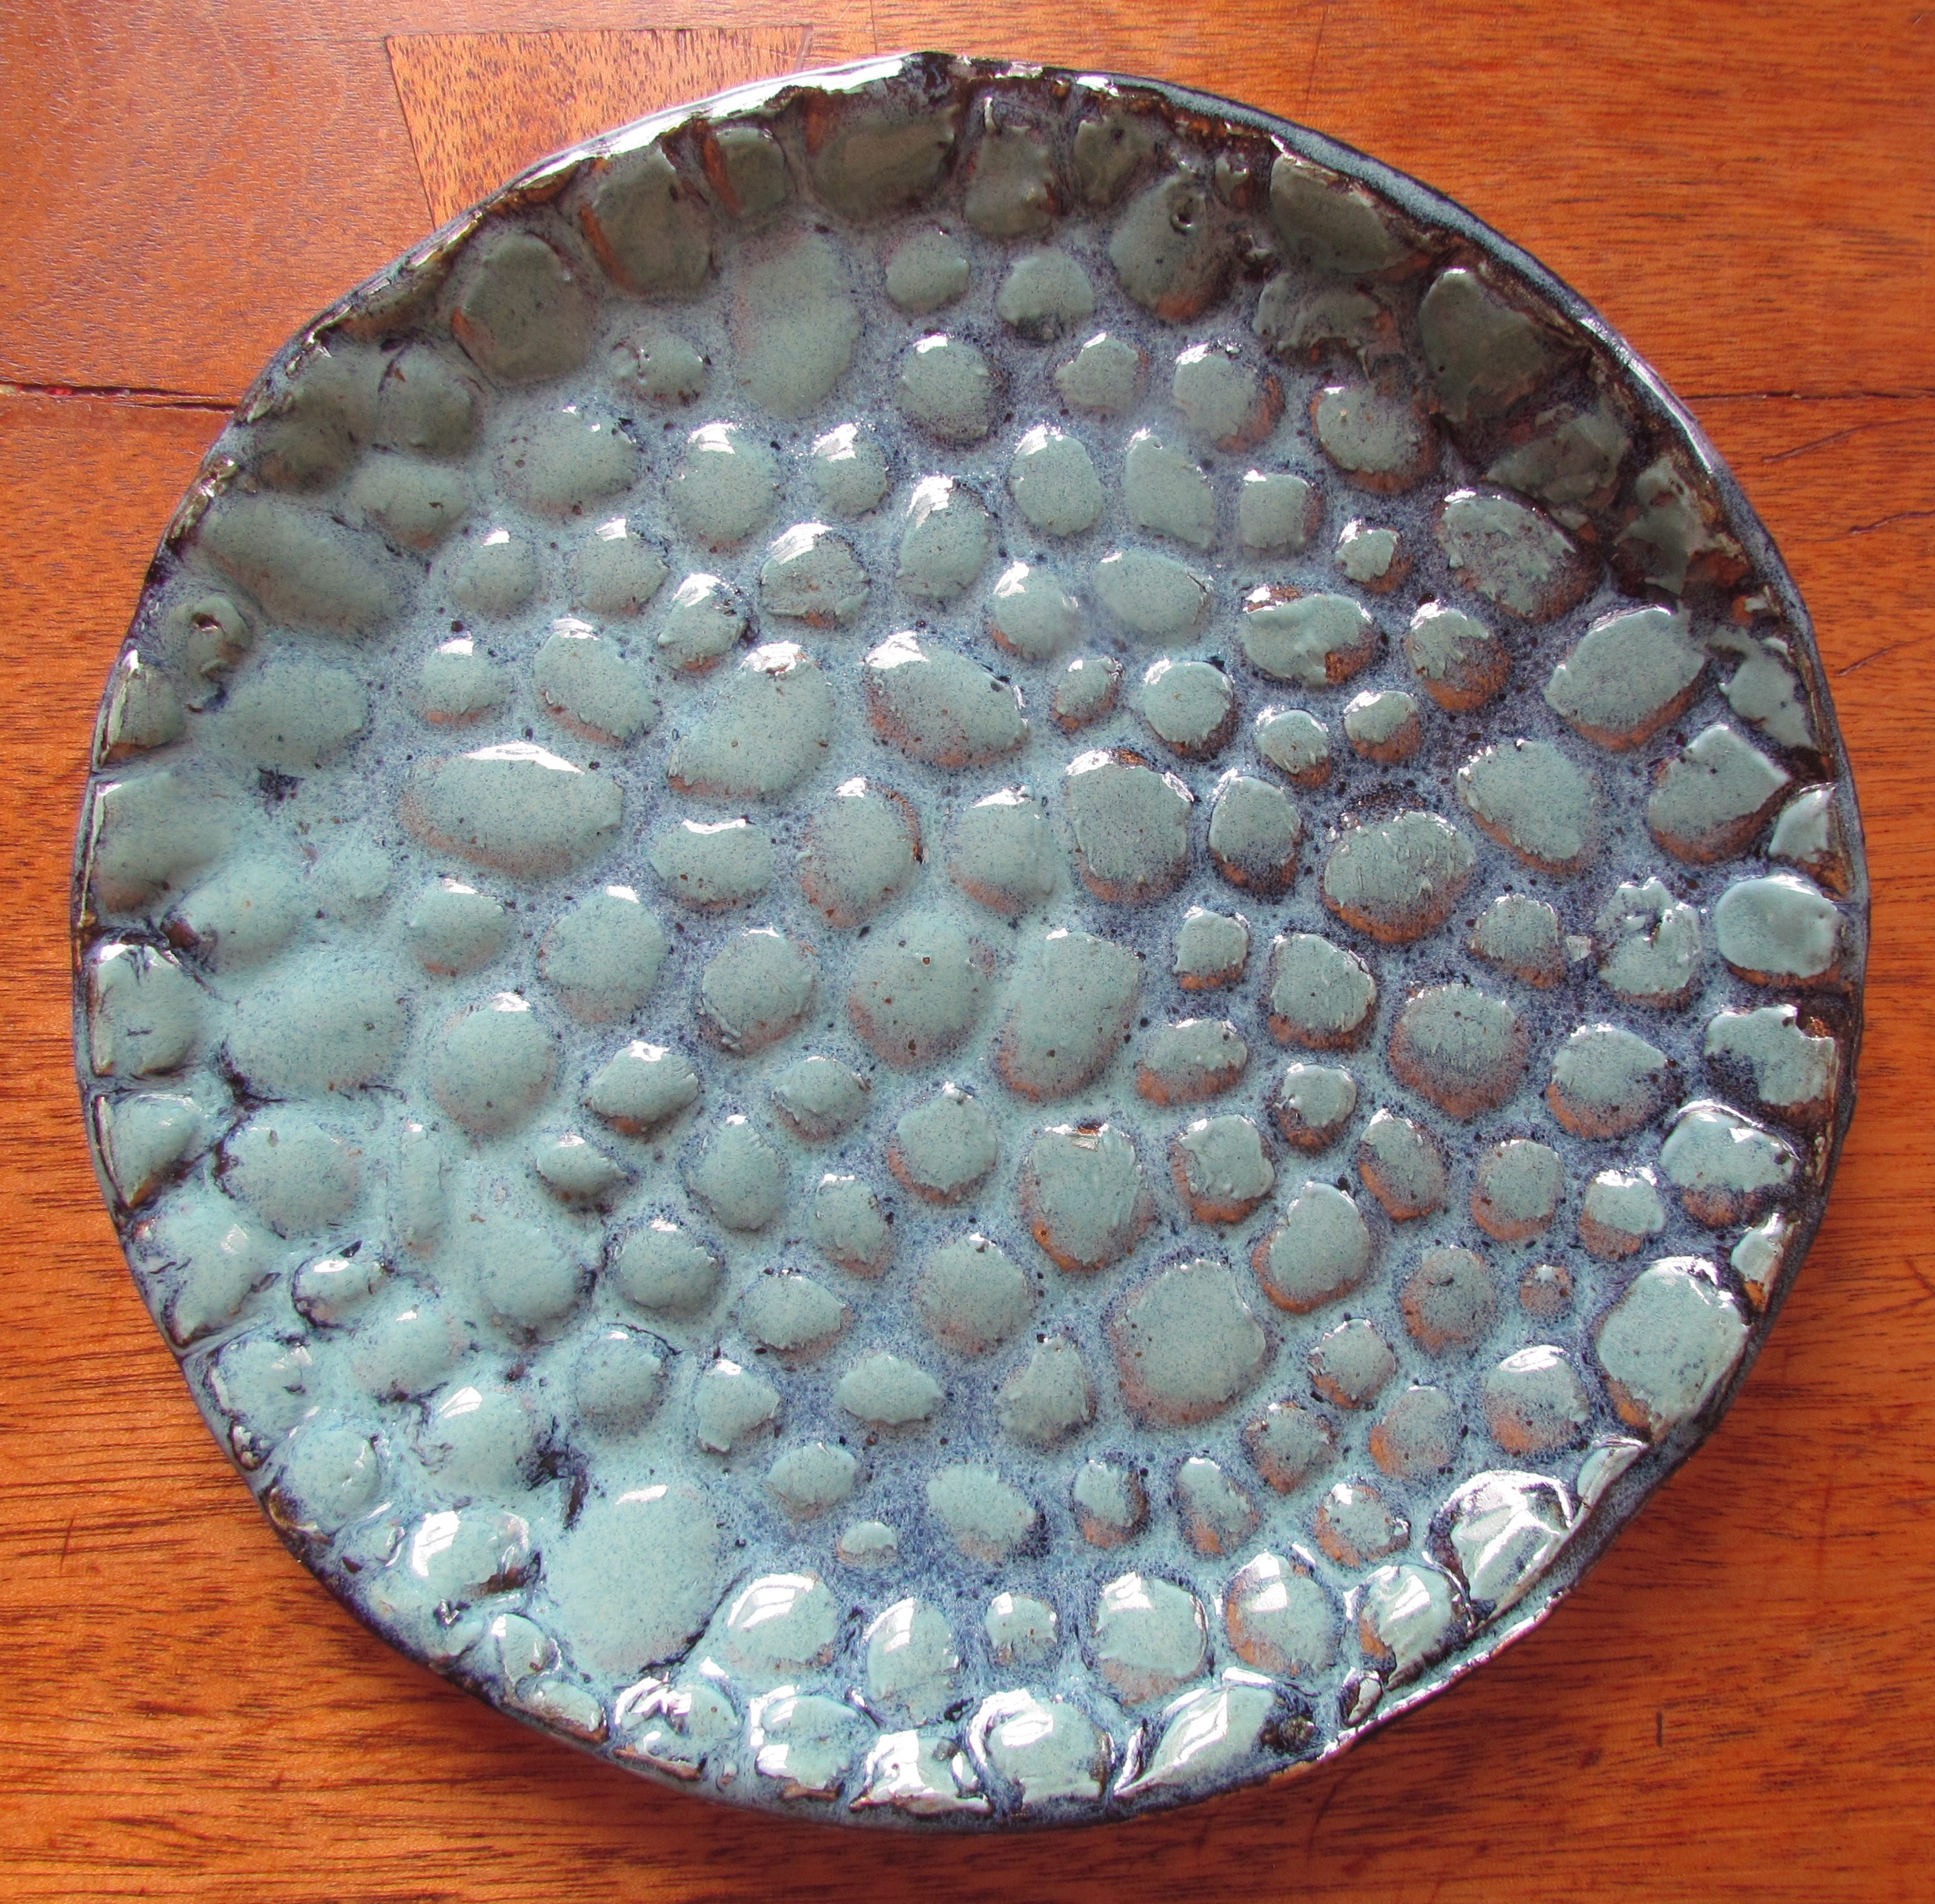
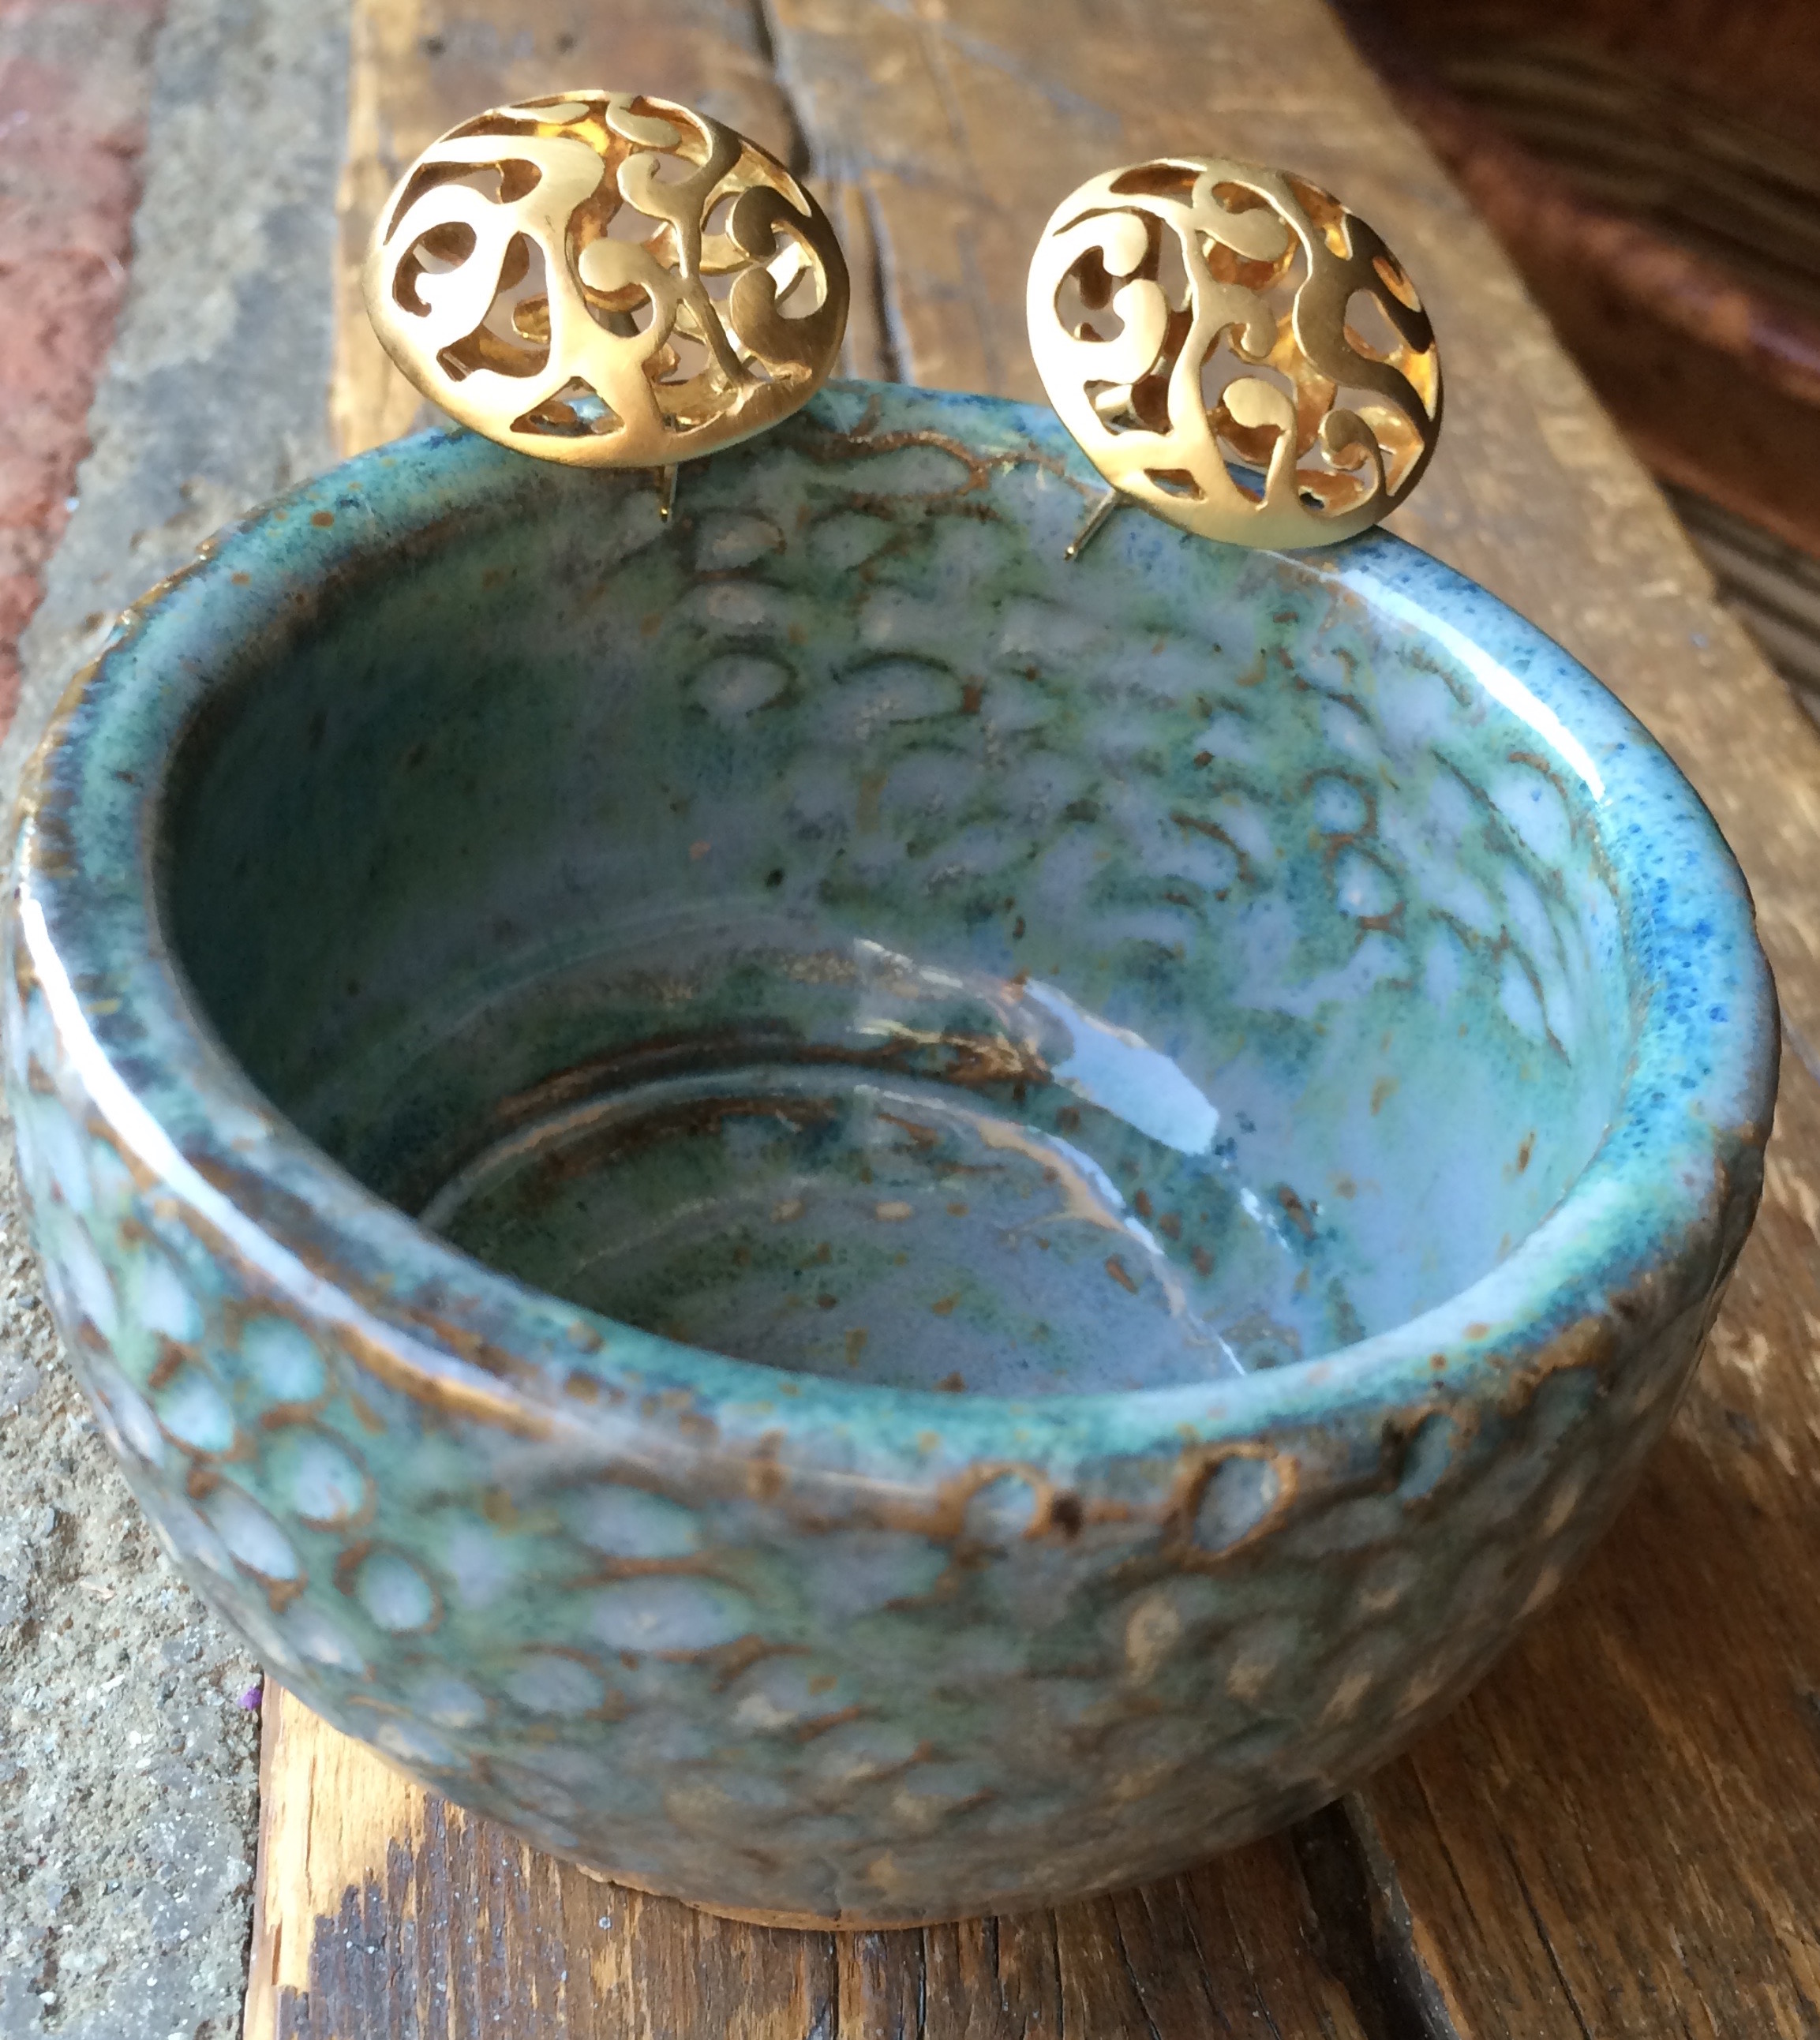
When we began homeschooling (more on that here, here and here), one of the things Emma told us she wanted to do was take pottery classes. I found a pottery studio with a wonderful teacher who, upon seeing my obvious interest, suggested I join my daughter in learning. We began with pinch pots and working with slabs of clay that we learned to mold into various shapes.
This is one of my favorite early dishes that my daughter made. It was screaming for a pair of my earrings. Okay, not literally, her hope dish is perfect all by itself…
Plate made from a slab
Eventually we were introduced to the wheel and the fun really began!
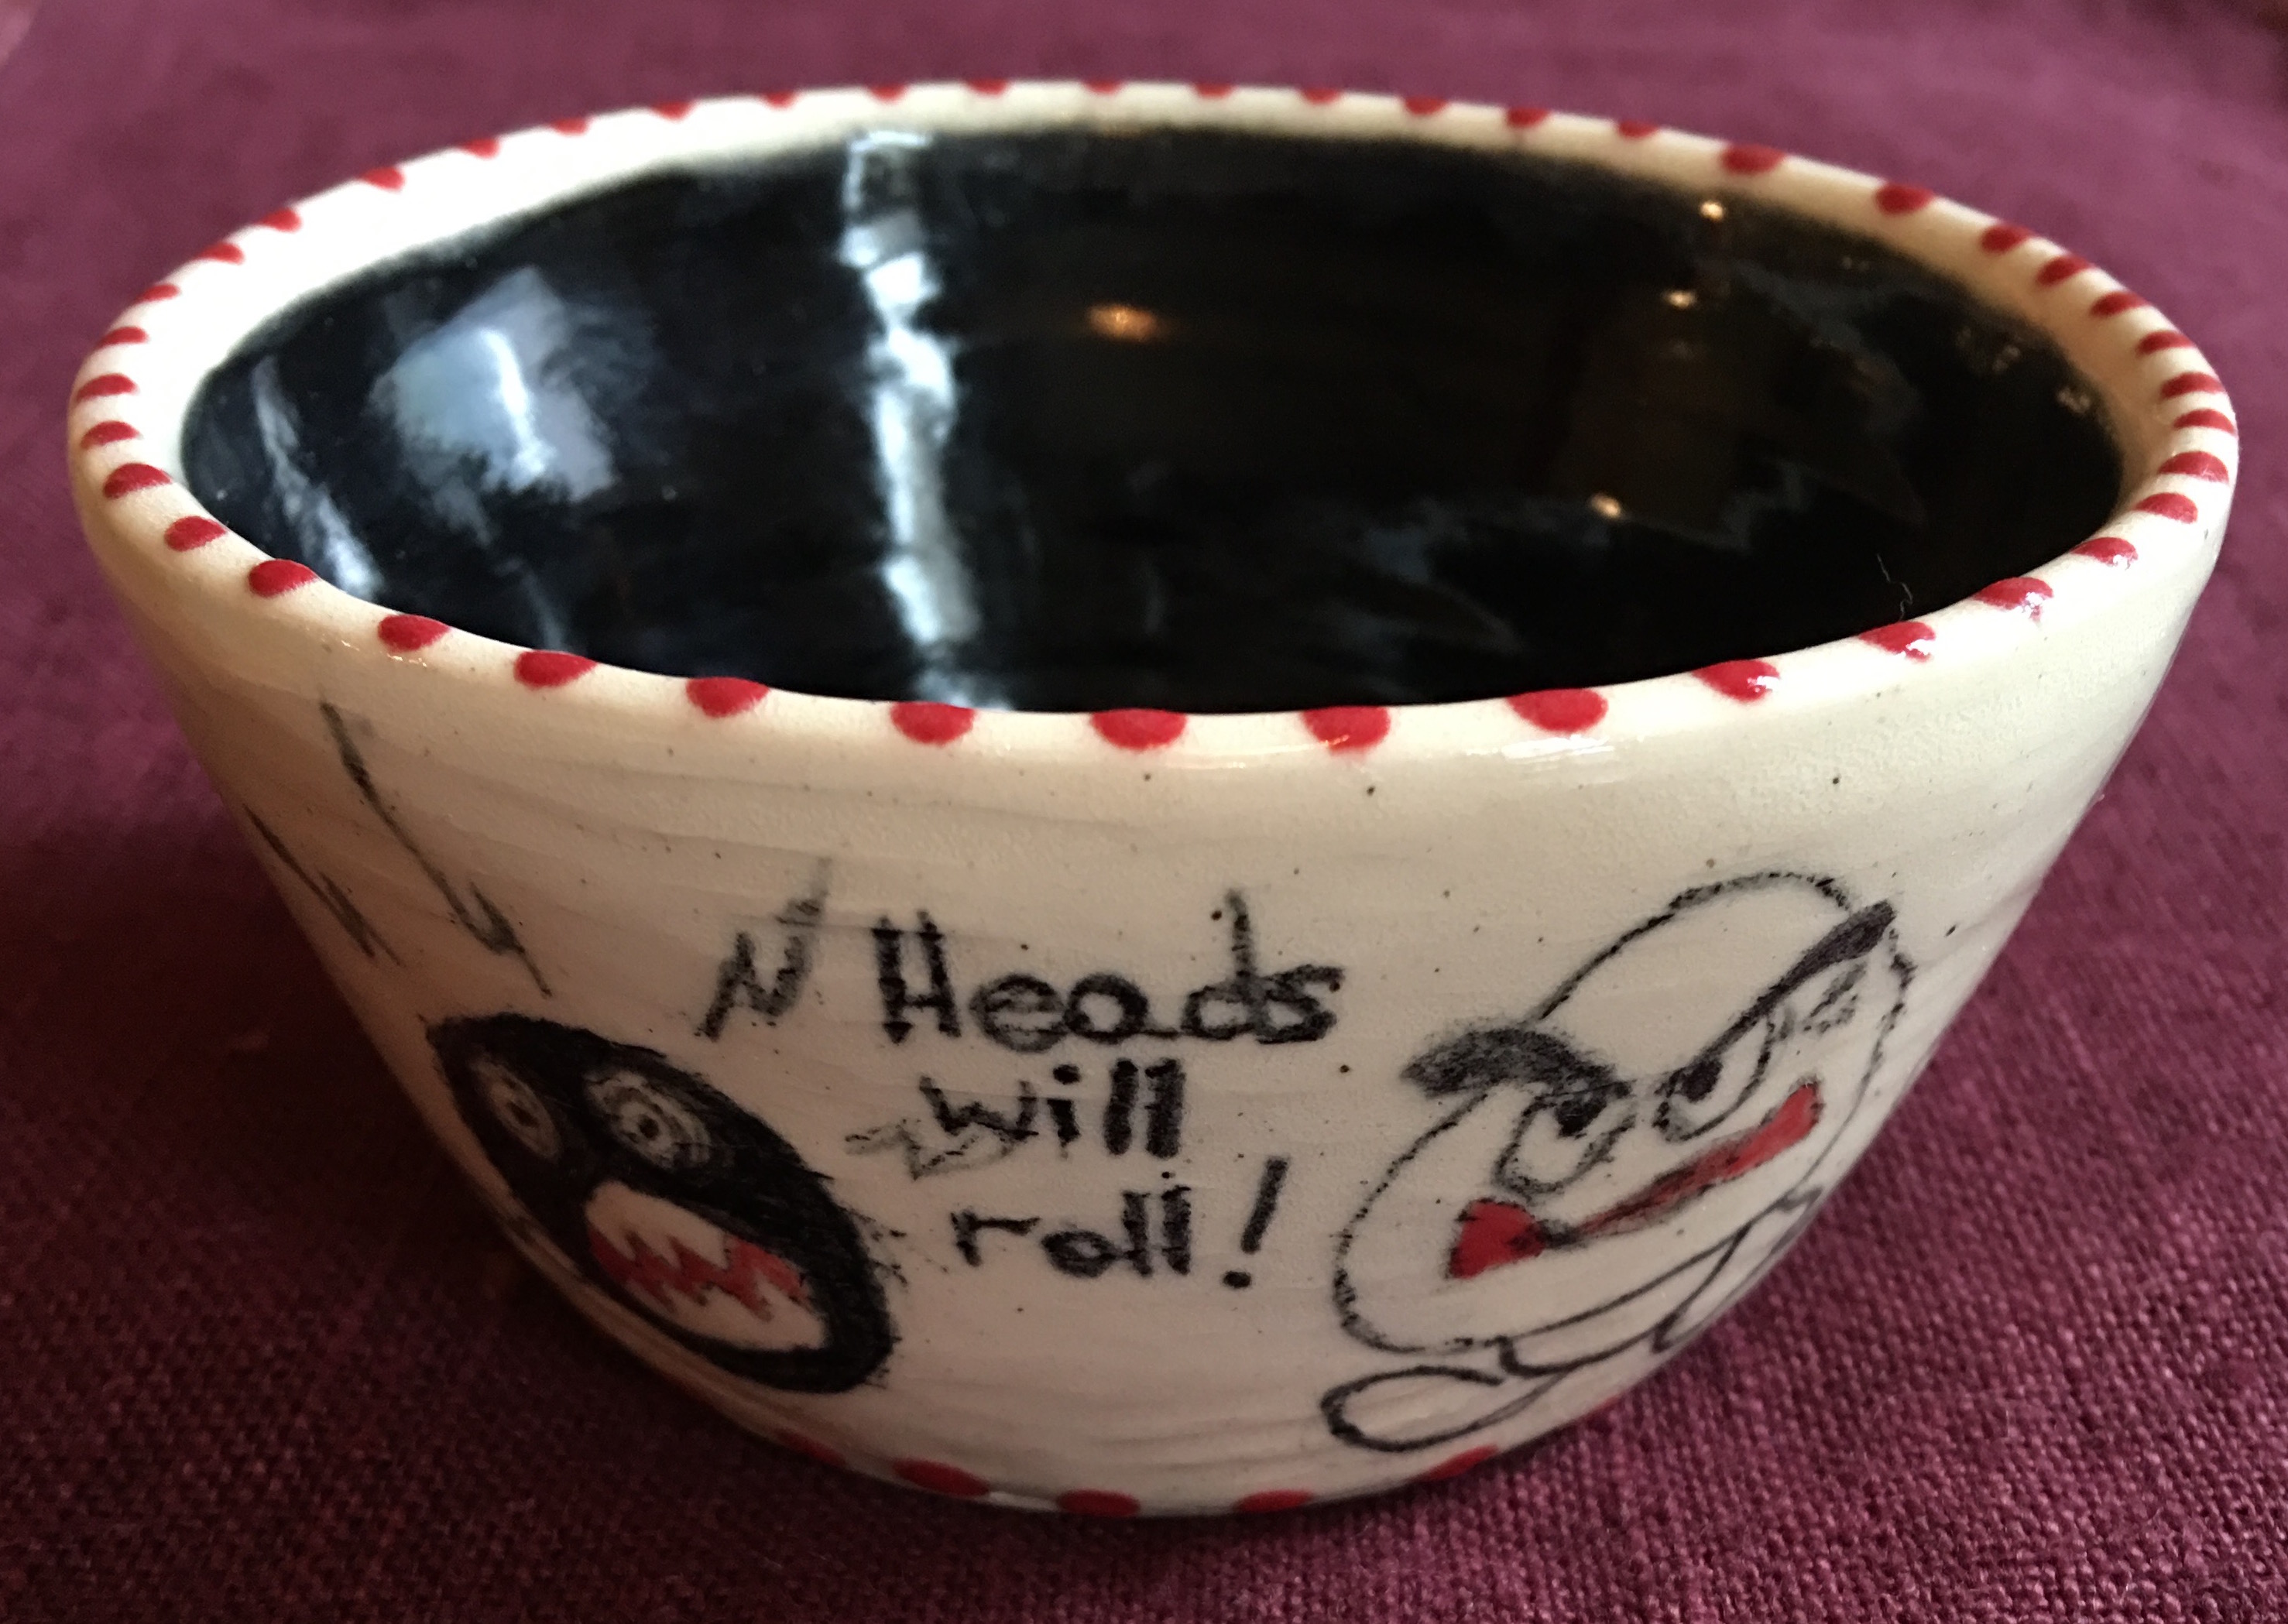
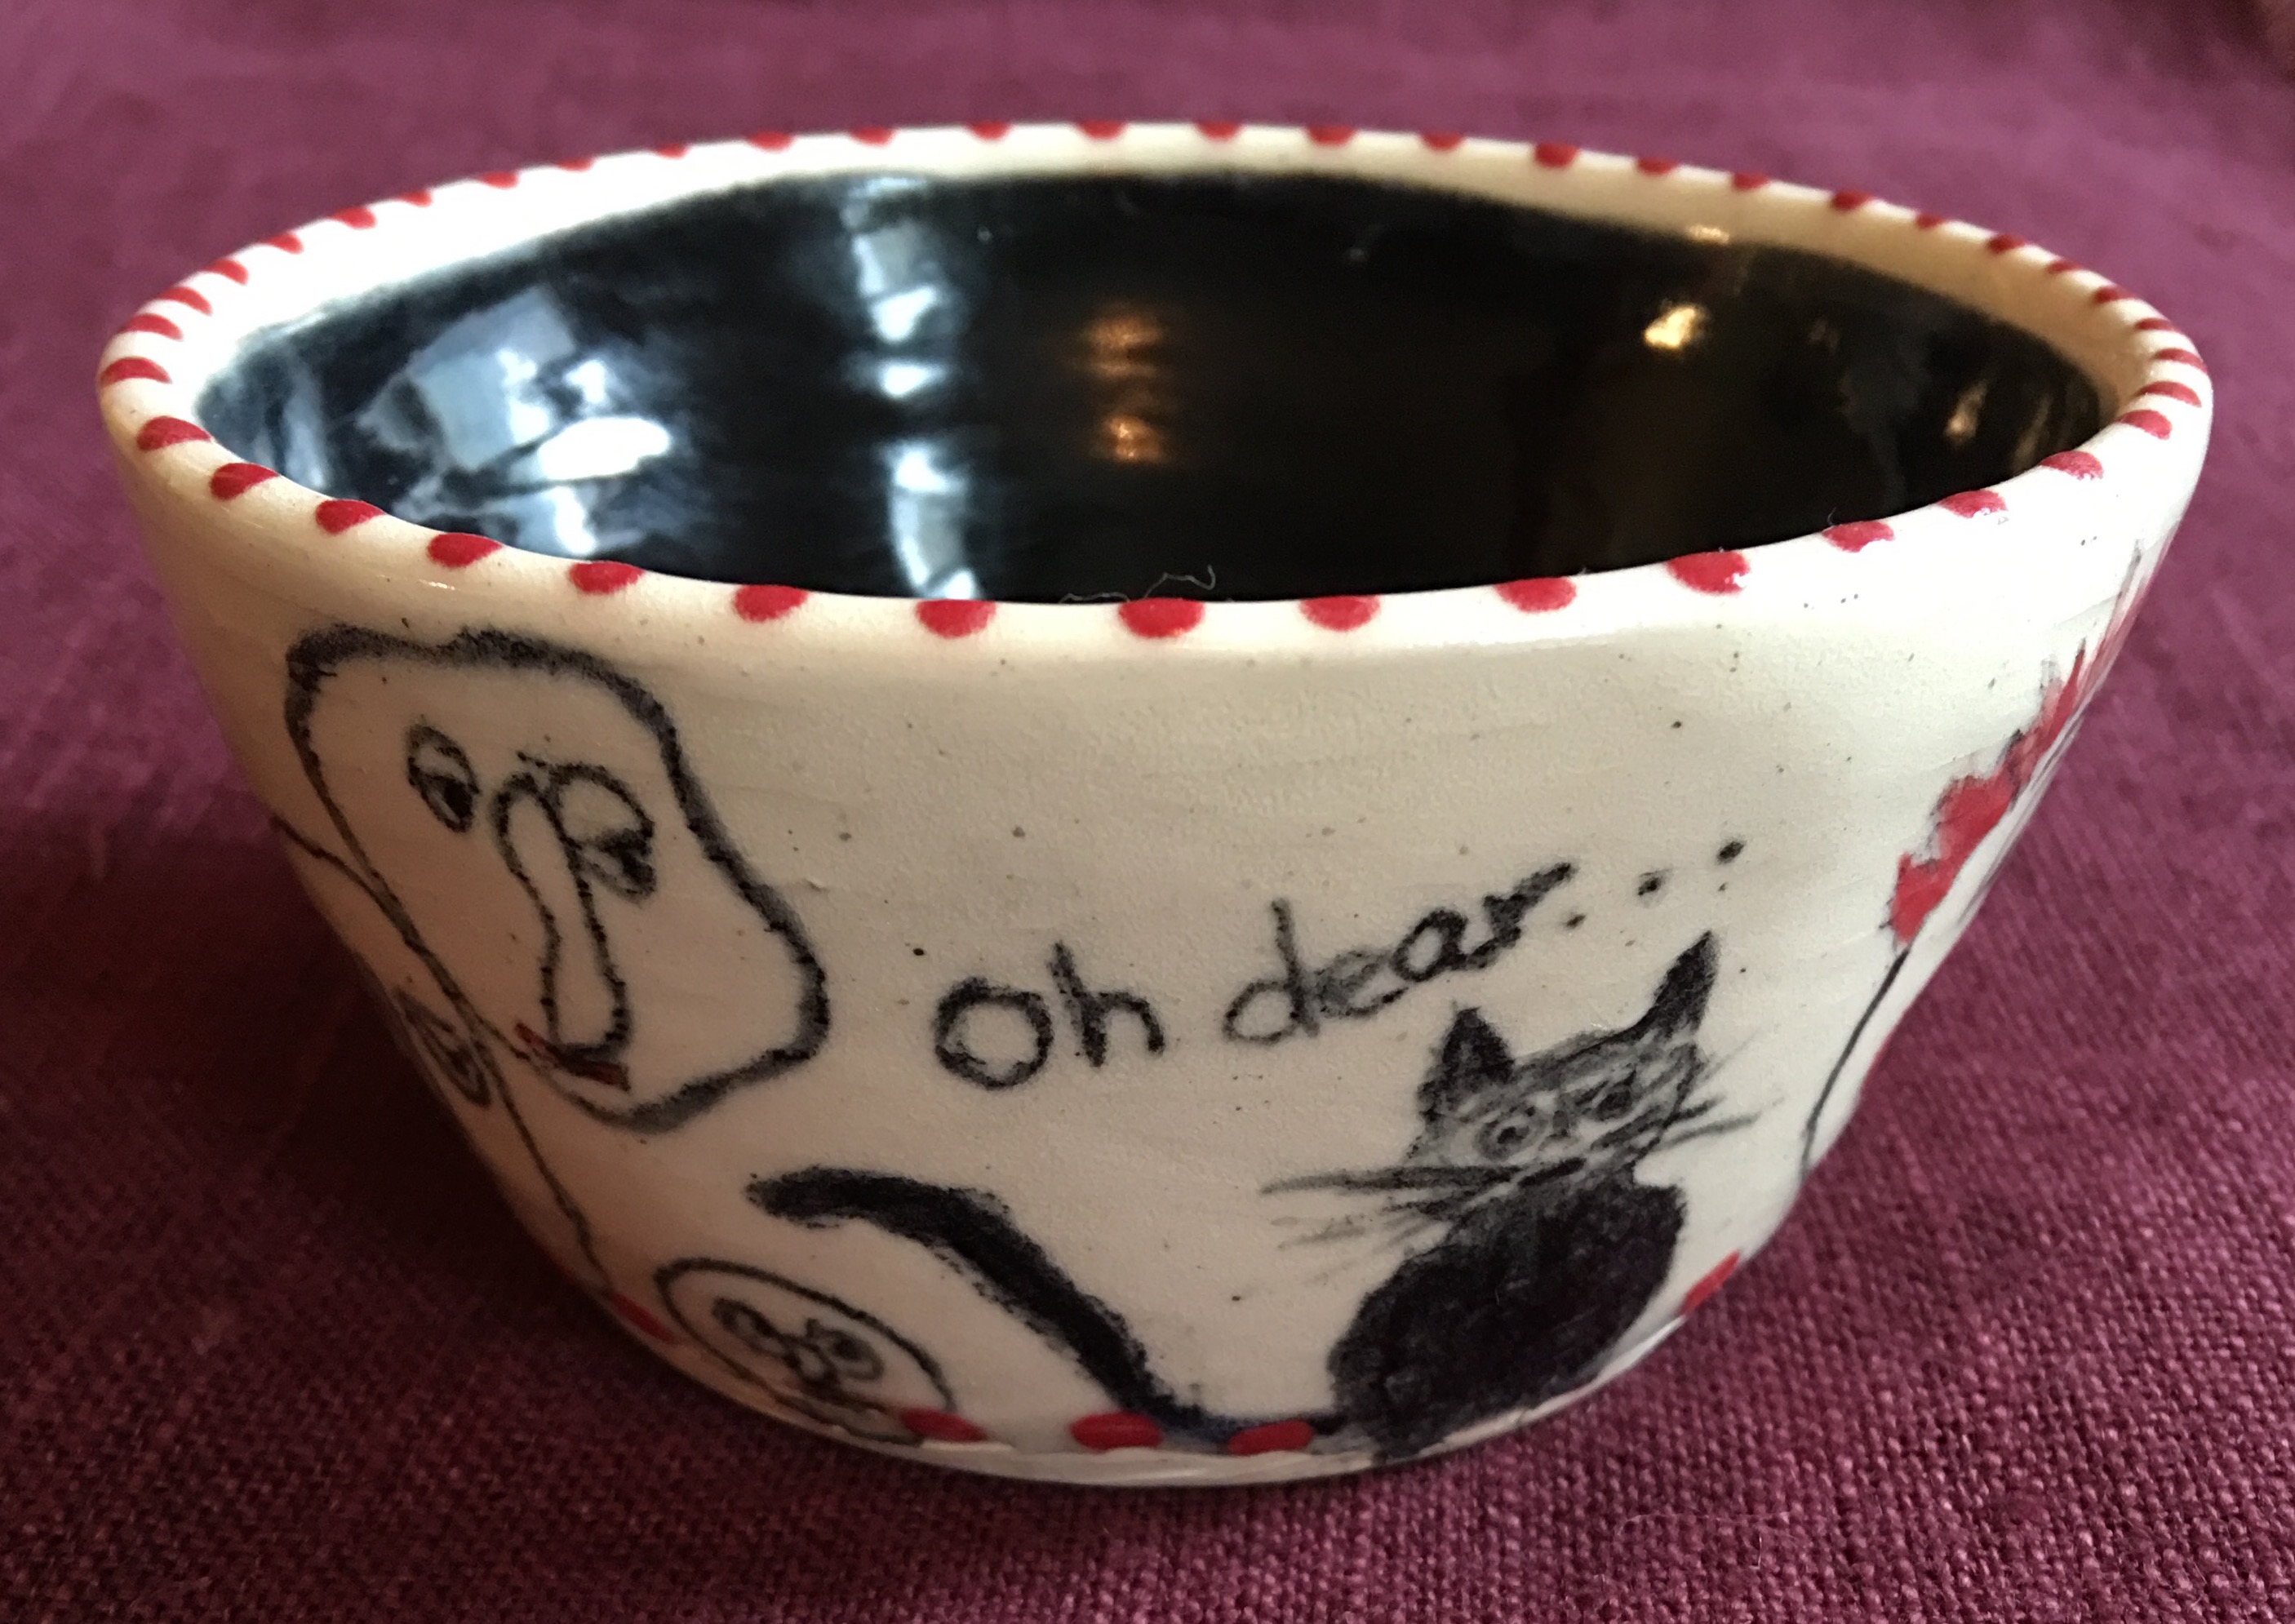
As with anything, gaining any degree of confidence and skill requires practice. So there were lots and lots of pots being made, many of them returned to the great clay graveyard to be recycled. I decided to begin painting on the pots I was throwing and started playing with underglazes, which is a whole art in and of itself.
The first pot I painted was a collaborative effort with my talented son whose taste definitely nudges the macabre, much like his father!
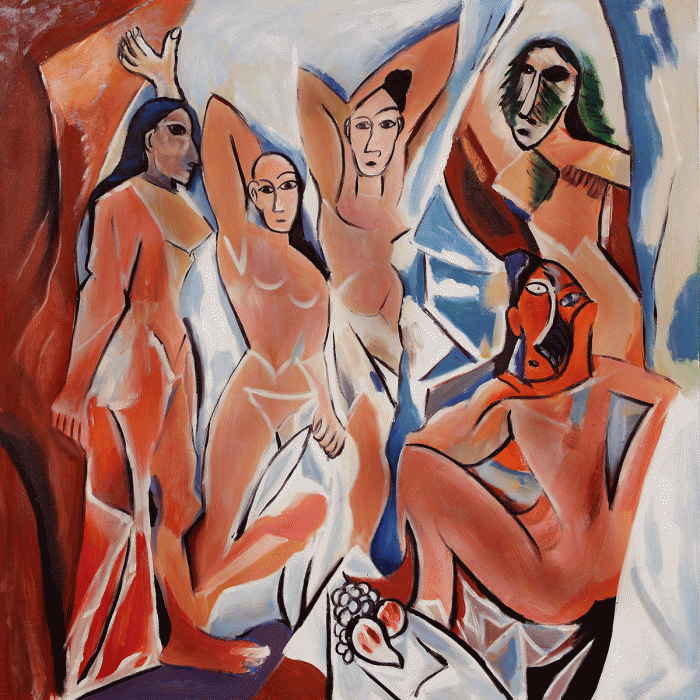
As a child I was surrounded by art. My parents collected modern, pre-columbian and African art. I was used to seeing seemingly opposites side by side, so when I saw this piece, by Picasso in the Museum of Modern Art, I was particularly struck by it. It felt like home.
Picasso’s Les Demoiselles d’Avignon
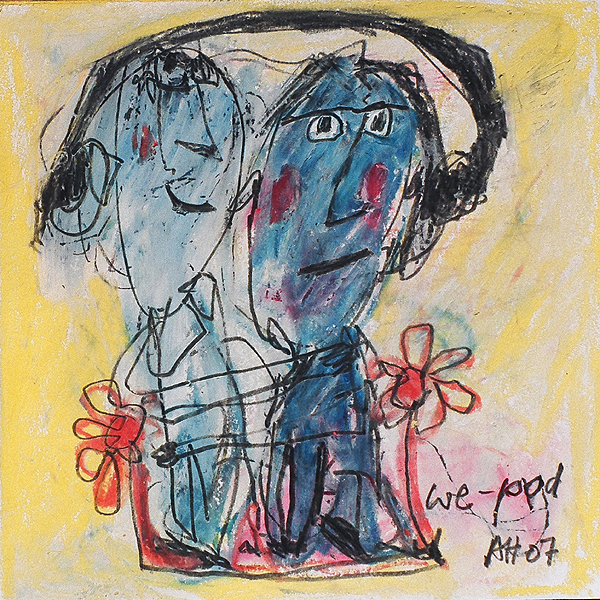
This piece reminded me of another artist my husband and I love, Alexandra Huber.
Alexandra Huber
I began a series called “Faces.” As you can see, the underglaze can look quite different than the finished product! I found that by diluting the underglaze with water I could achieve a kind of water color look, which I like.
I love the Faces series…
While I was starting the Faces series I was also falling in love with all things quilted and began drawing little sketches of things I liked, which gave me the idea to draw them on my pots too.
And then I’d go back to my Faces…
My daughter even allowed me to paint on her pots.
A few more…
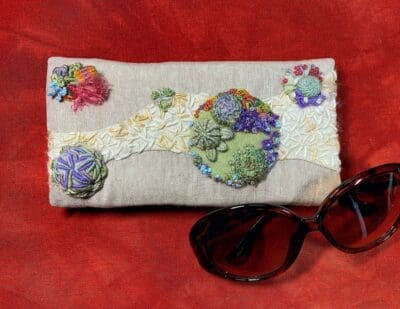
A few of these are already in My Etsy Shop and many more will be added as they come out of the kiln. However, at the moment, I’m here…
So all of this will have to wait until the end of the week!
![Designing & Quilting To Cope]()
by Ariane Zurcher | Feb 11, 2015 | Art, crafts |
Last May we pulled our daughter, Emma from school and began homeschooling or non-schooling or… I’ve written more about all of this on the other blog, the one I share with my daughter: Emma’s Hope Book. One of the many benefits of homeschooling, aside from the huge relief and plummeting stress level, is that we get to explore, together and separately. The beauty in exploring is that the goal is to be curious and discover. There’s no right or wrong and there’s tremendous comfort in that. The entire process of learning becomes one of joy and experimentation without the burden or stress of feeling one should know something before having learned it.
So it was, some eight months ago when I sat down with Emma and asked her what she was interested in learning about. She typed that she wanted to learn German and take a ceramics class among a number of other things. So we bought Rosetta Stone for German and Emma began taking pottery lessons at a nearby ceramics studio. Her teacher, seeing my obvious excitement and interest, asked if I might like to make some things too. I eagerly said, “Yes, please!”
Learning anything new is full of experimenting, exploring, tweaking, practicing and refining techniques learned. To dive into something you’ve never done before can be daunting, but only if you are comparing your work to another’s. Particularly crushing is if you expect you will be able to produce something that is of similar expertise as someone who has been studying and refining their technique for decades. The exhilaration comes with the process of learning, practicing and improving. But so often we are not taught that this process is wonderful at all. In fact, we are taught that it is hard work and the end product, only produced after years of practice and toil, is all that is of value. Everything else pales in comparison.
I disagree.
This cereal bowl that Emma made for me is perfect for walking while eating. It has an indentation that perfectly fits one’s thumb while cupping the bowl in your palm. Why hasn’t anyone designed a bowl like this? I’ve never seen one before, but oh, how I love it. This is my new, favorite bowl.
My favorite cereal bowl made for me by Emma.
The platter below? “It matches” was what Emma typed in reply to my exclamation that I thought it perfect for serving cheese and crackers or maybe a brioche en croute with fresh baguette.
Emma’s Platter
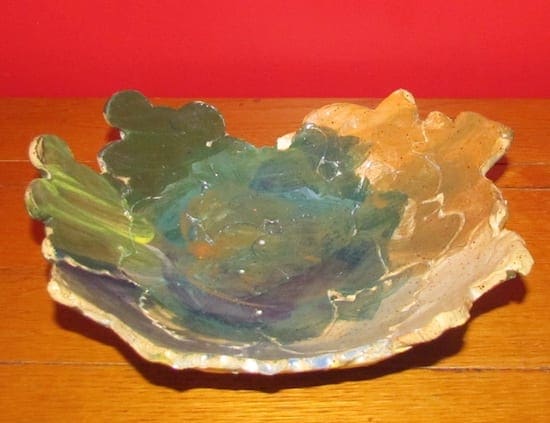
This bowl that Emma made used cookie cutters and then she painted after joining all the shapes.
An Autumnal Bowl
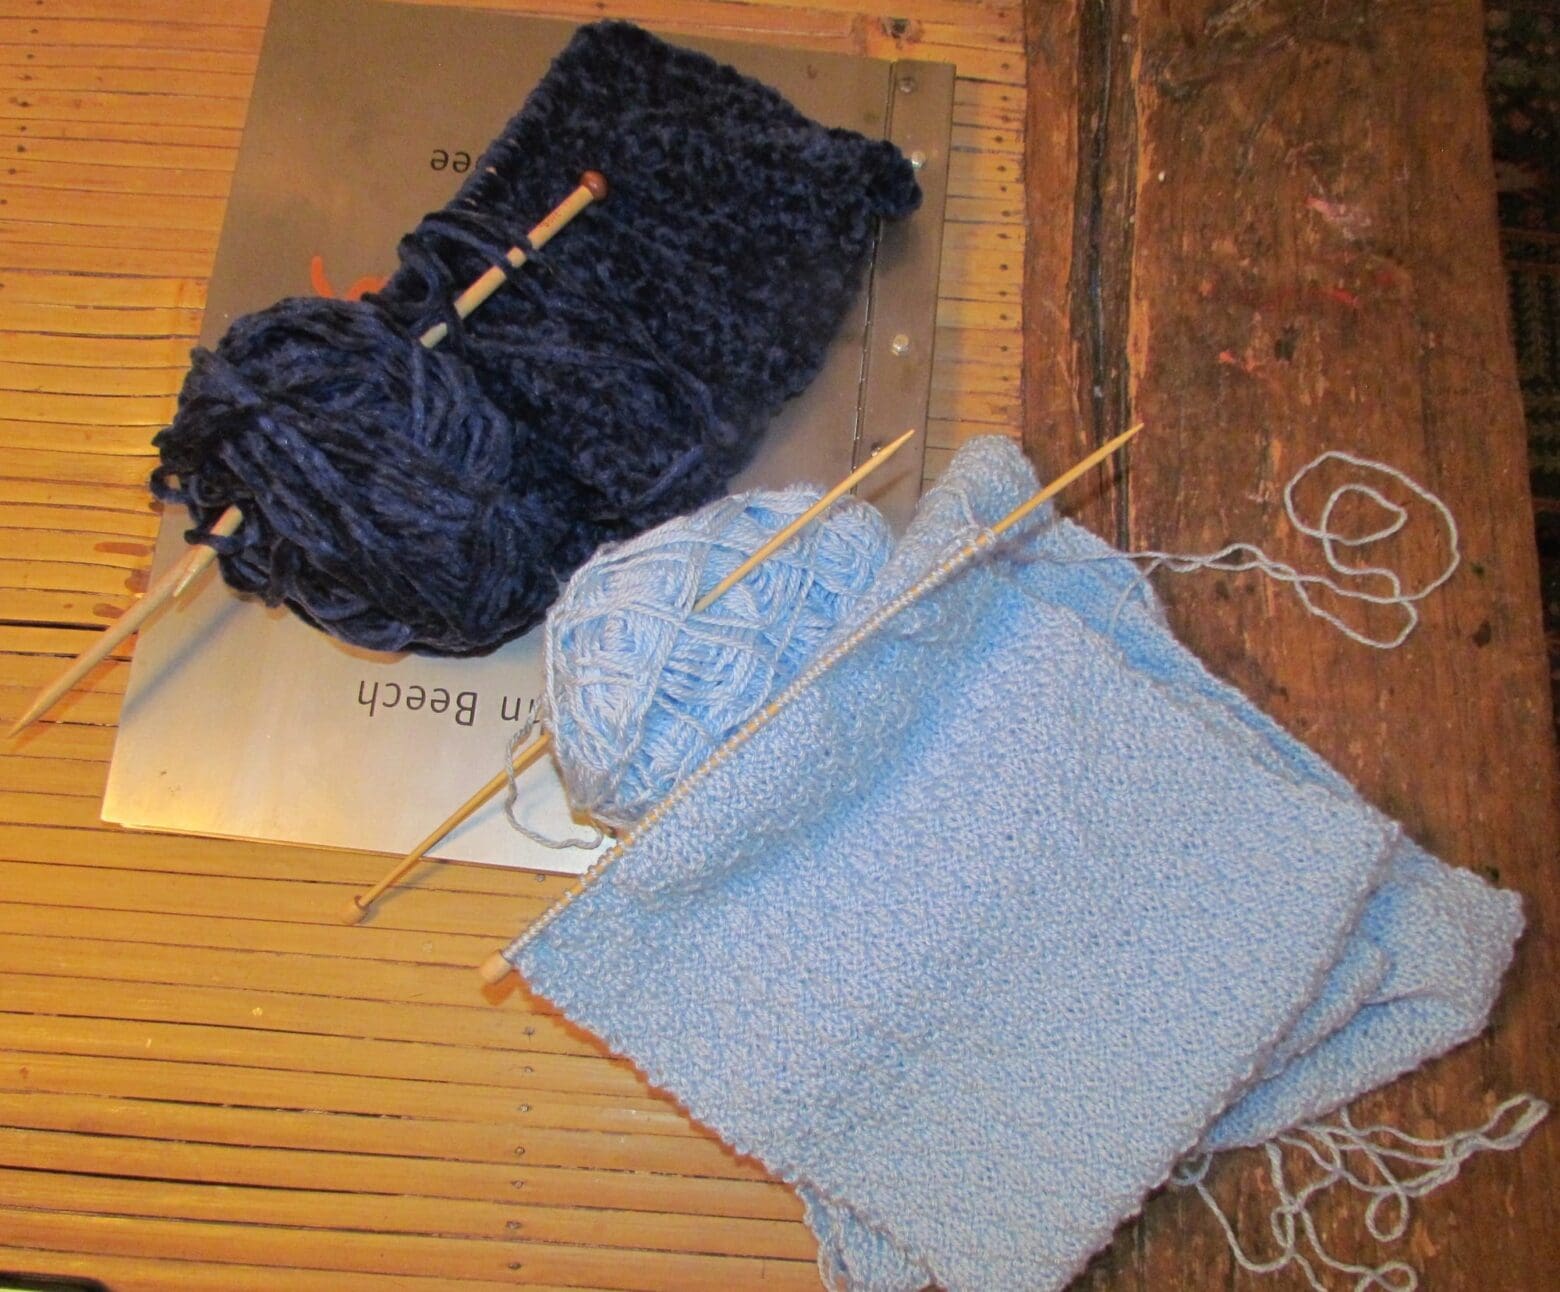
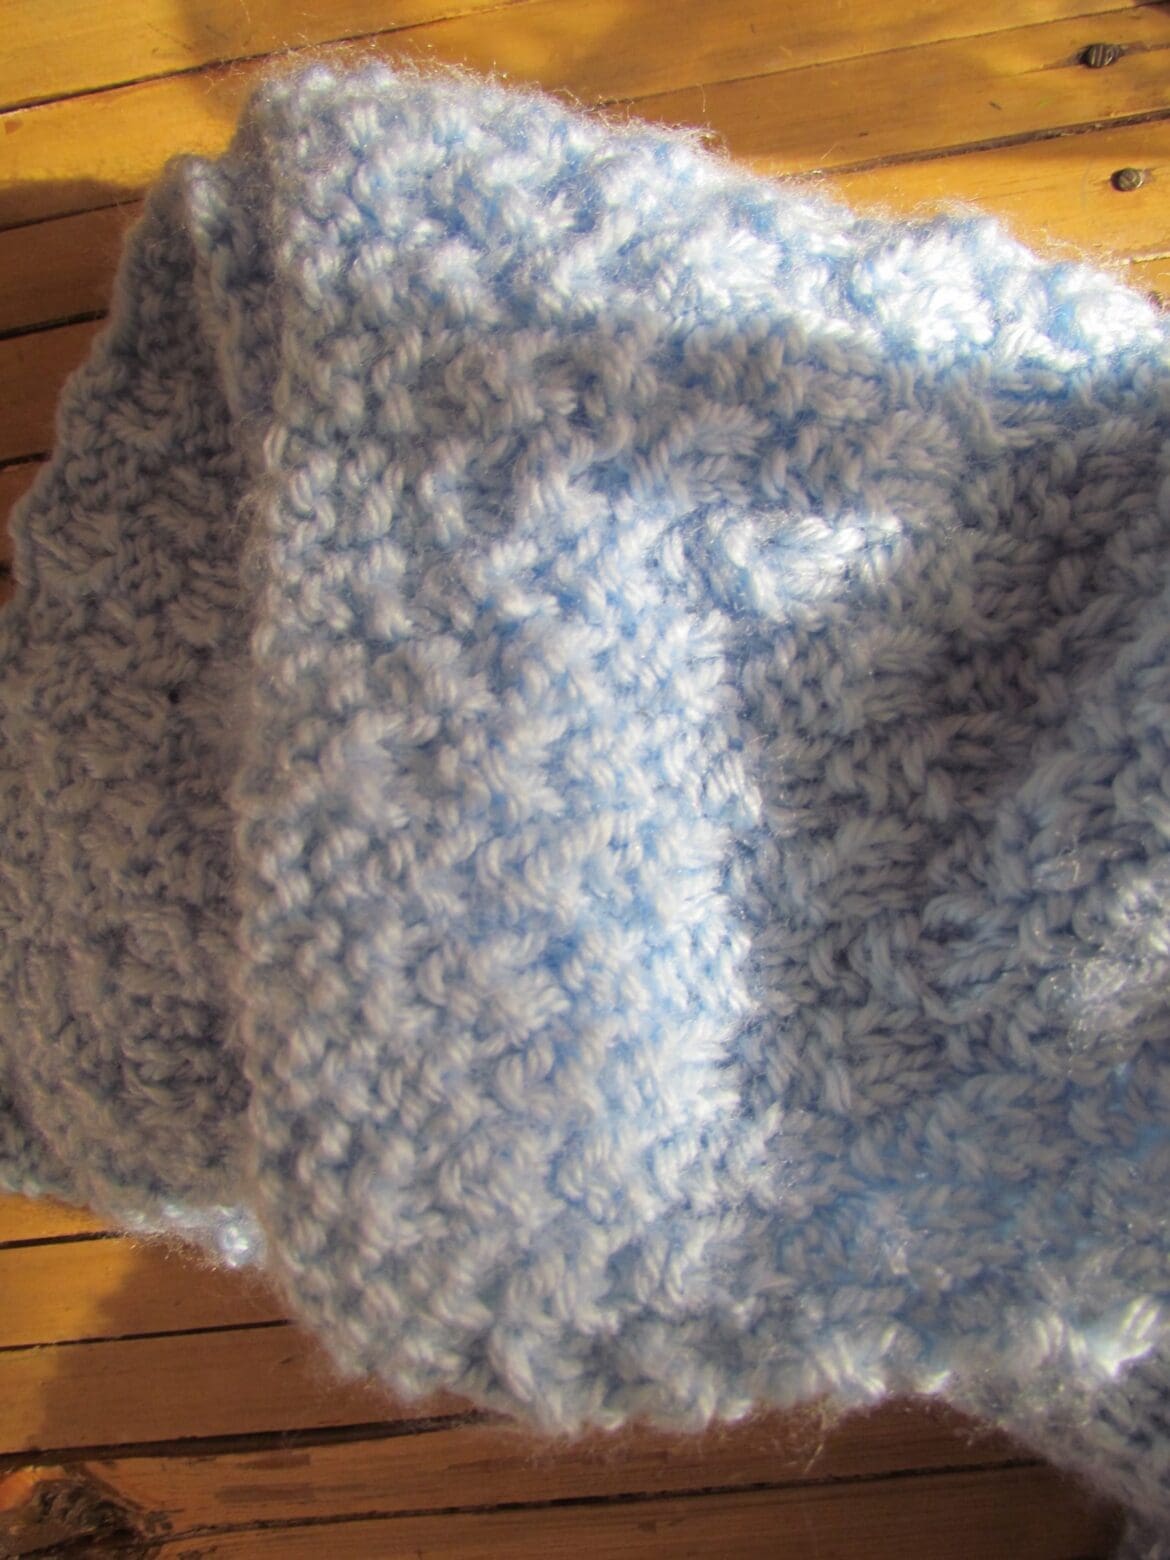
A few months ago, or maybe it was years, (this is an aspect of getting older, the years feel like months, yet another example of that saying people tell you when you first become a parent – the days are long, the years are short) I asked Emma if she had any interest in learning to knit. She said she did, and as I love knitting (I wrote about some of that “here“) and used to design knitwear, I thought we’d start with something simple, like a scarf. Emma chose a light blue yarn. After a couple of tries, she lost interest and so I began making a long scarf using an alternating knit 2, purl 2 pattern. I rarely use knitting patterns or cooking recipes for that matter, but that’s another post. Anyway the scarf began like this.
Light blue scarf in alternating Knit 2, Purl 2 pattern with the beginning of a navy blue chenille infinity scarf in the background.
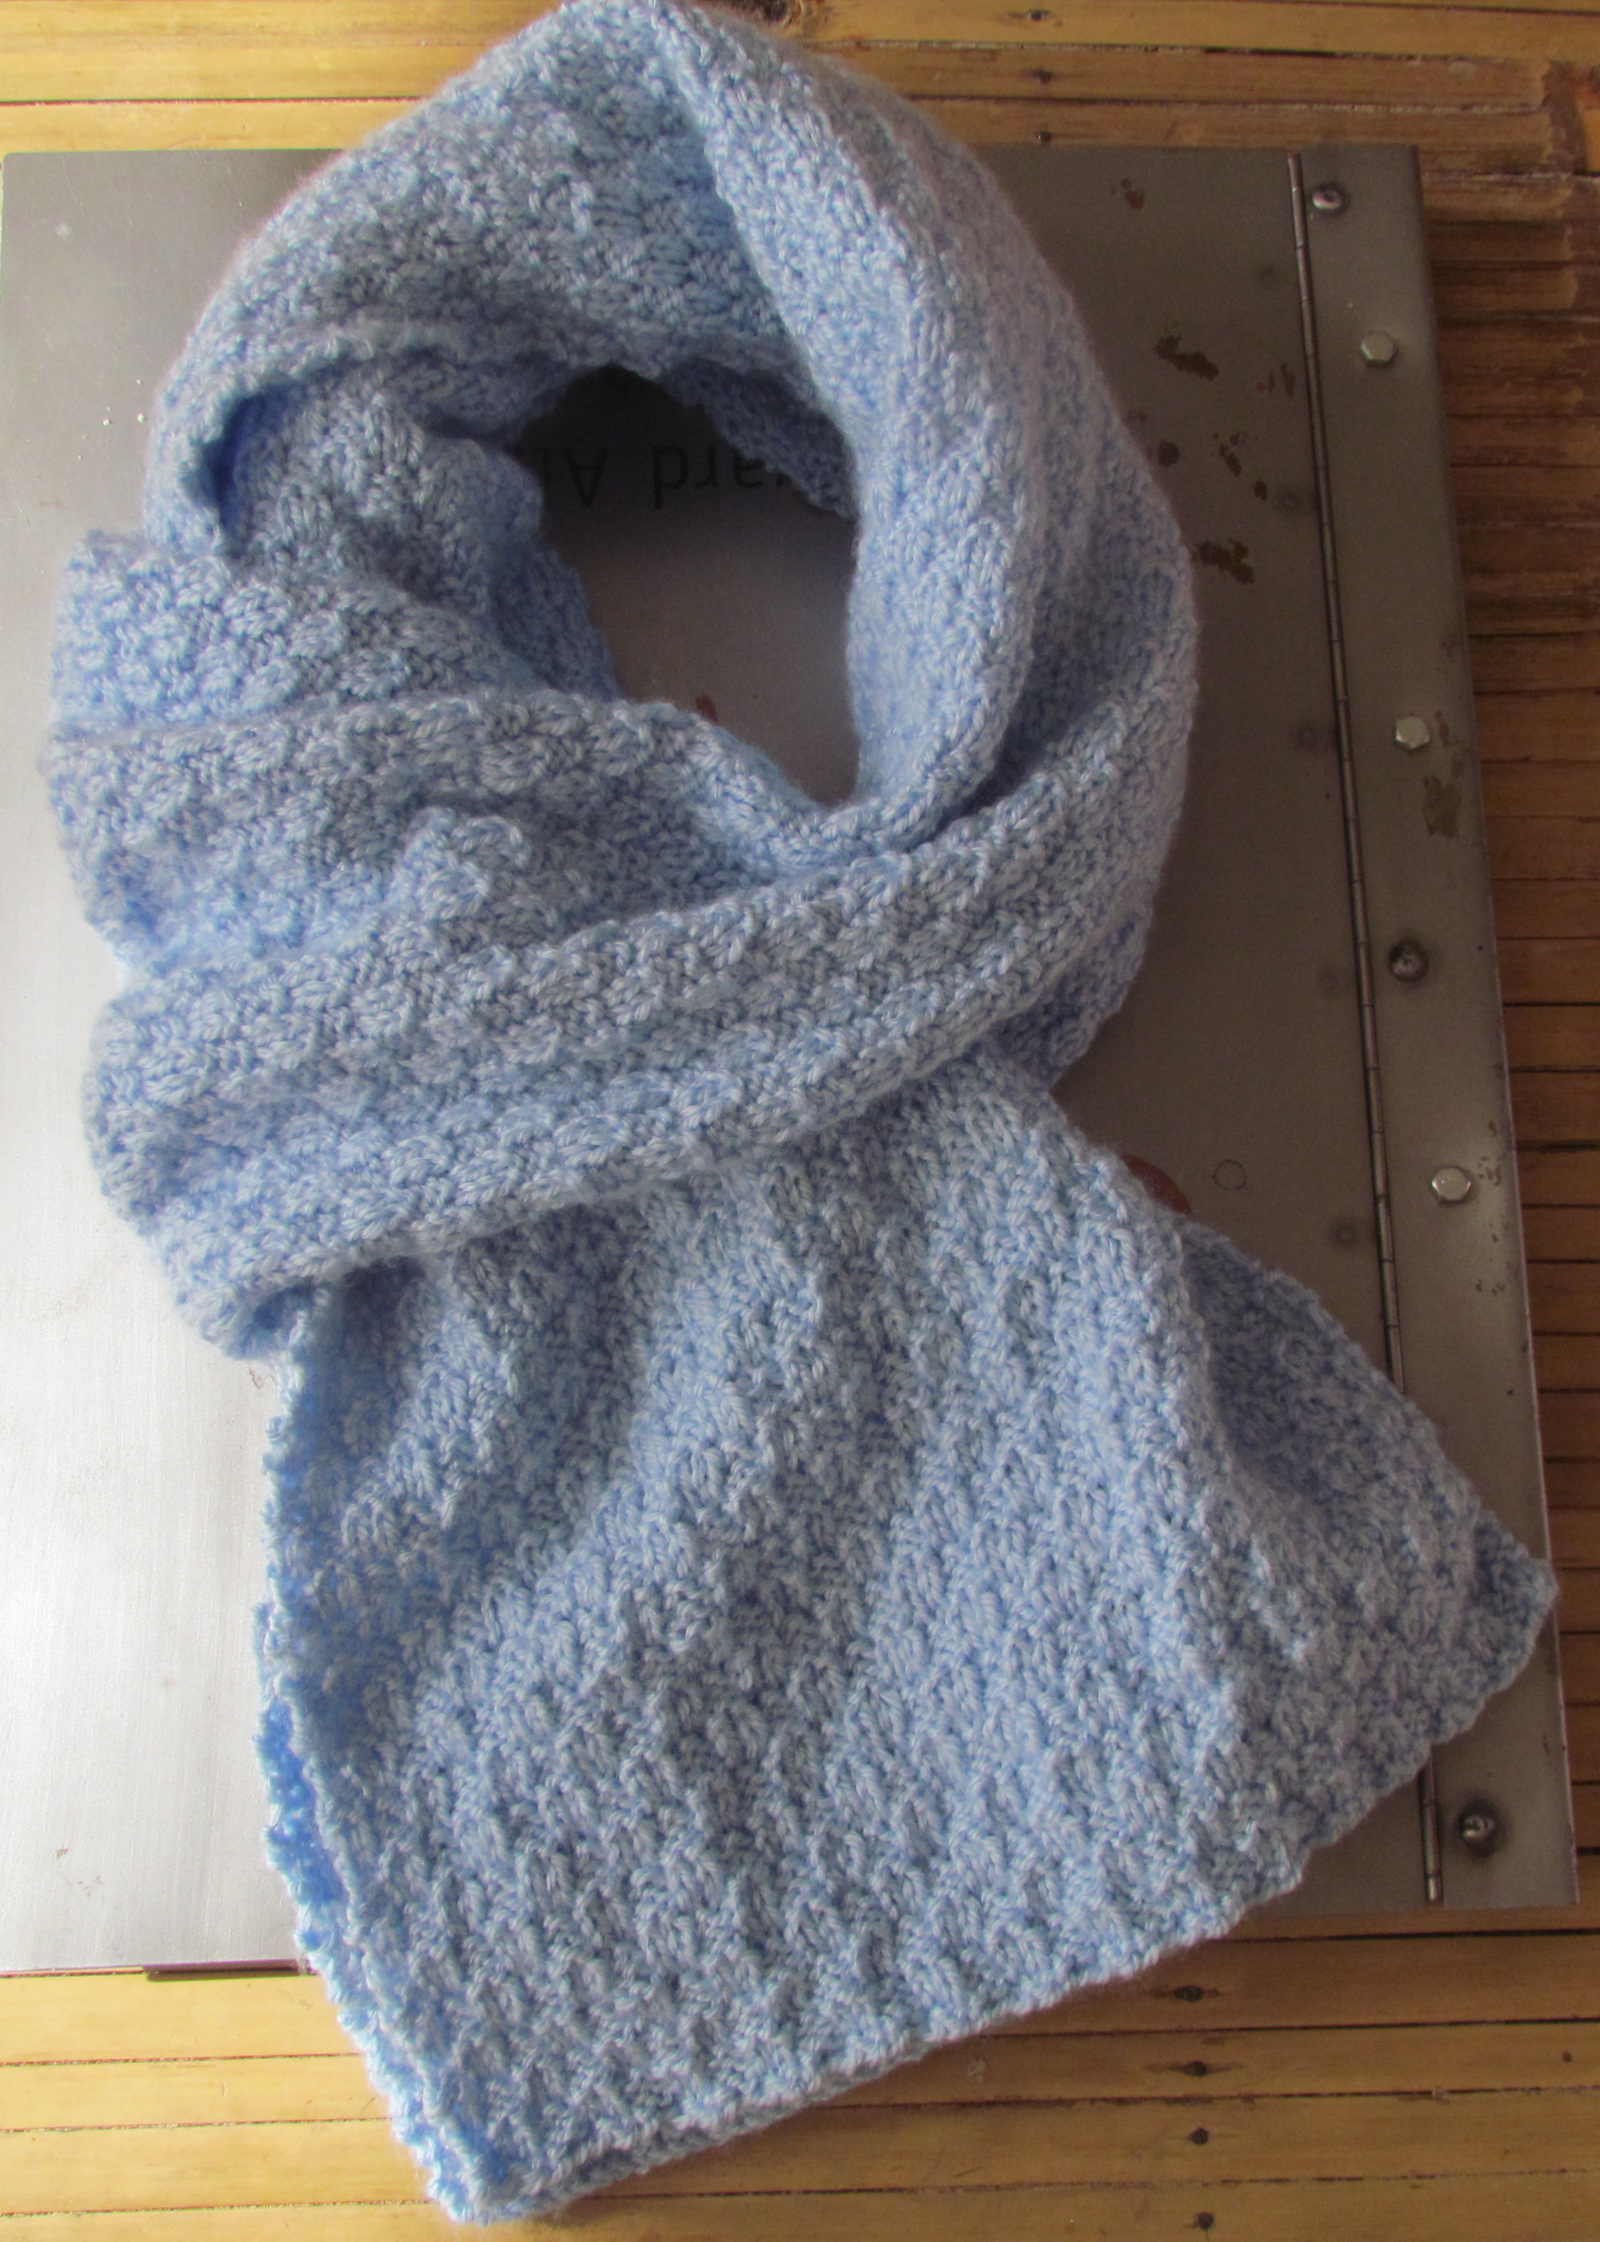
The finished scarf ended up measuring 87 inches in length and 11 inches wide. What you don’t see is the other side where I changed my mind after an inch or so and decided to make the pattern more elongated.
The Finished Scarf
This is the edge where I began knitting and decided to change the stitch. Three times. The final stitch pattern is a Knit 2, Purl 2 for three rows and then Purl 2, Knit 2 for 3 rows and repeating for the remainder of the scarf.
The I-Changed-My-Mind-Edge
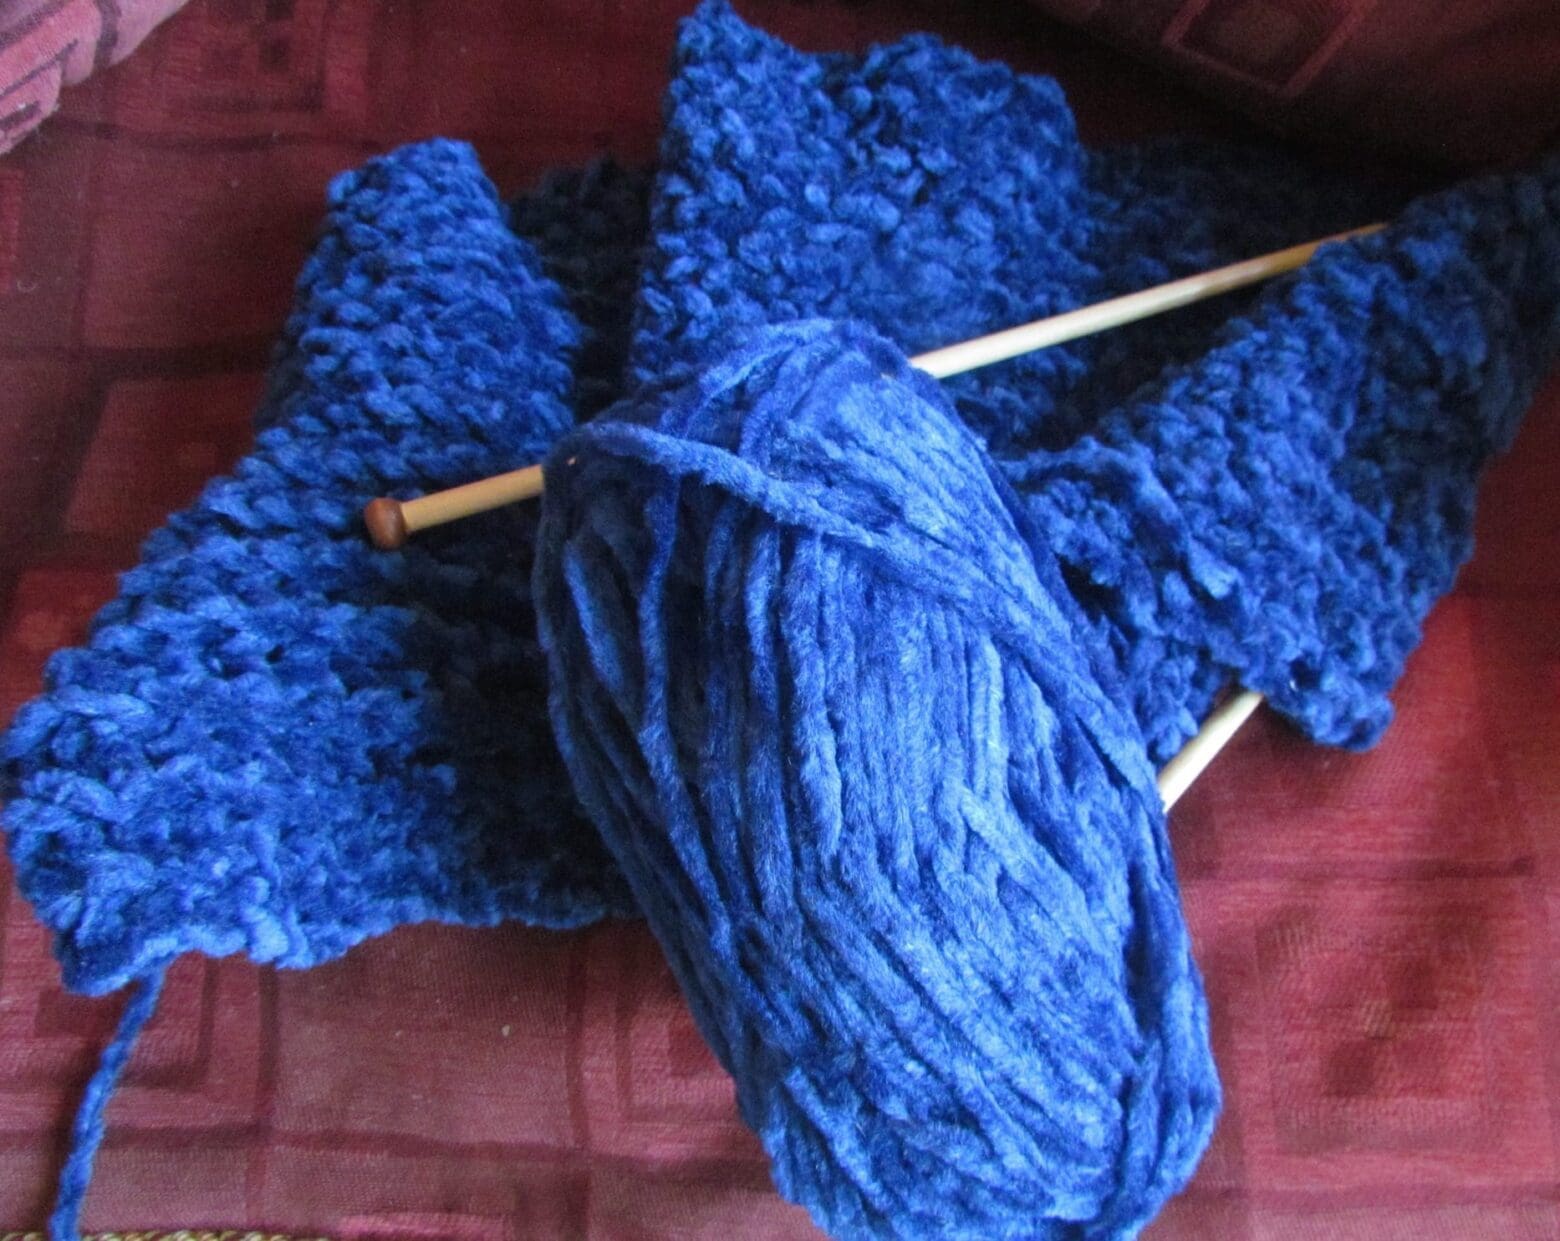
I’m hoping Emma will try knitting again sometime, but in the meantime, I’ve started a couple of other projects, one is this deep blue chenille yarn that I’m knitting, using a newly learned brioche stitch, into an infinity scarf for a friend.
The makings of an infinity scarf using a brioche stitch
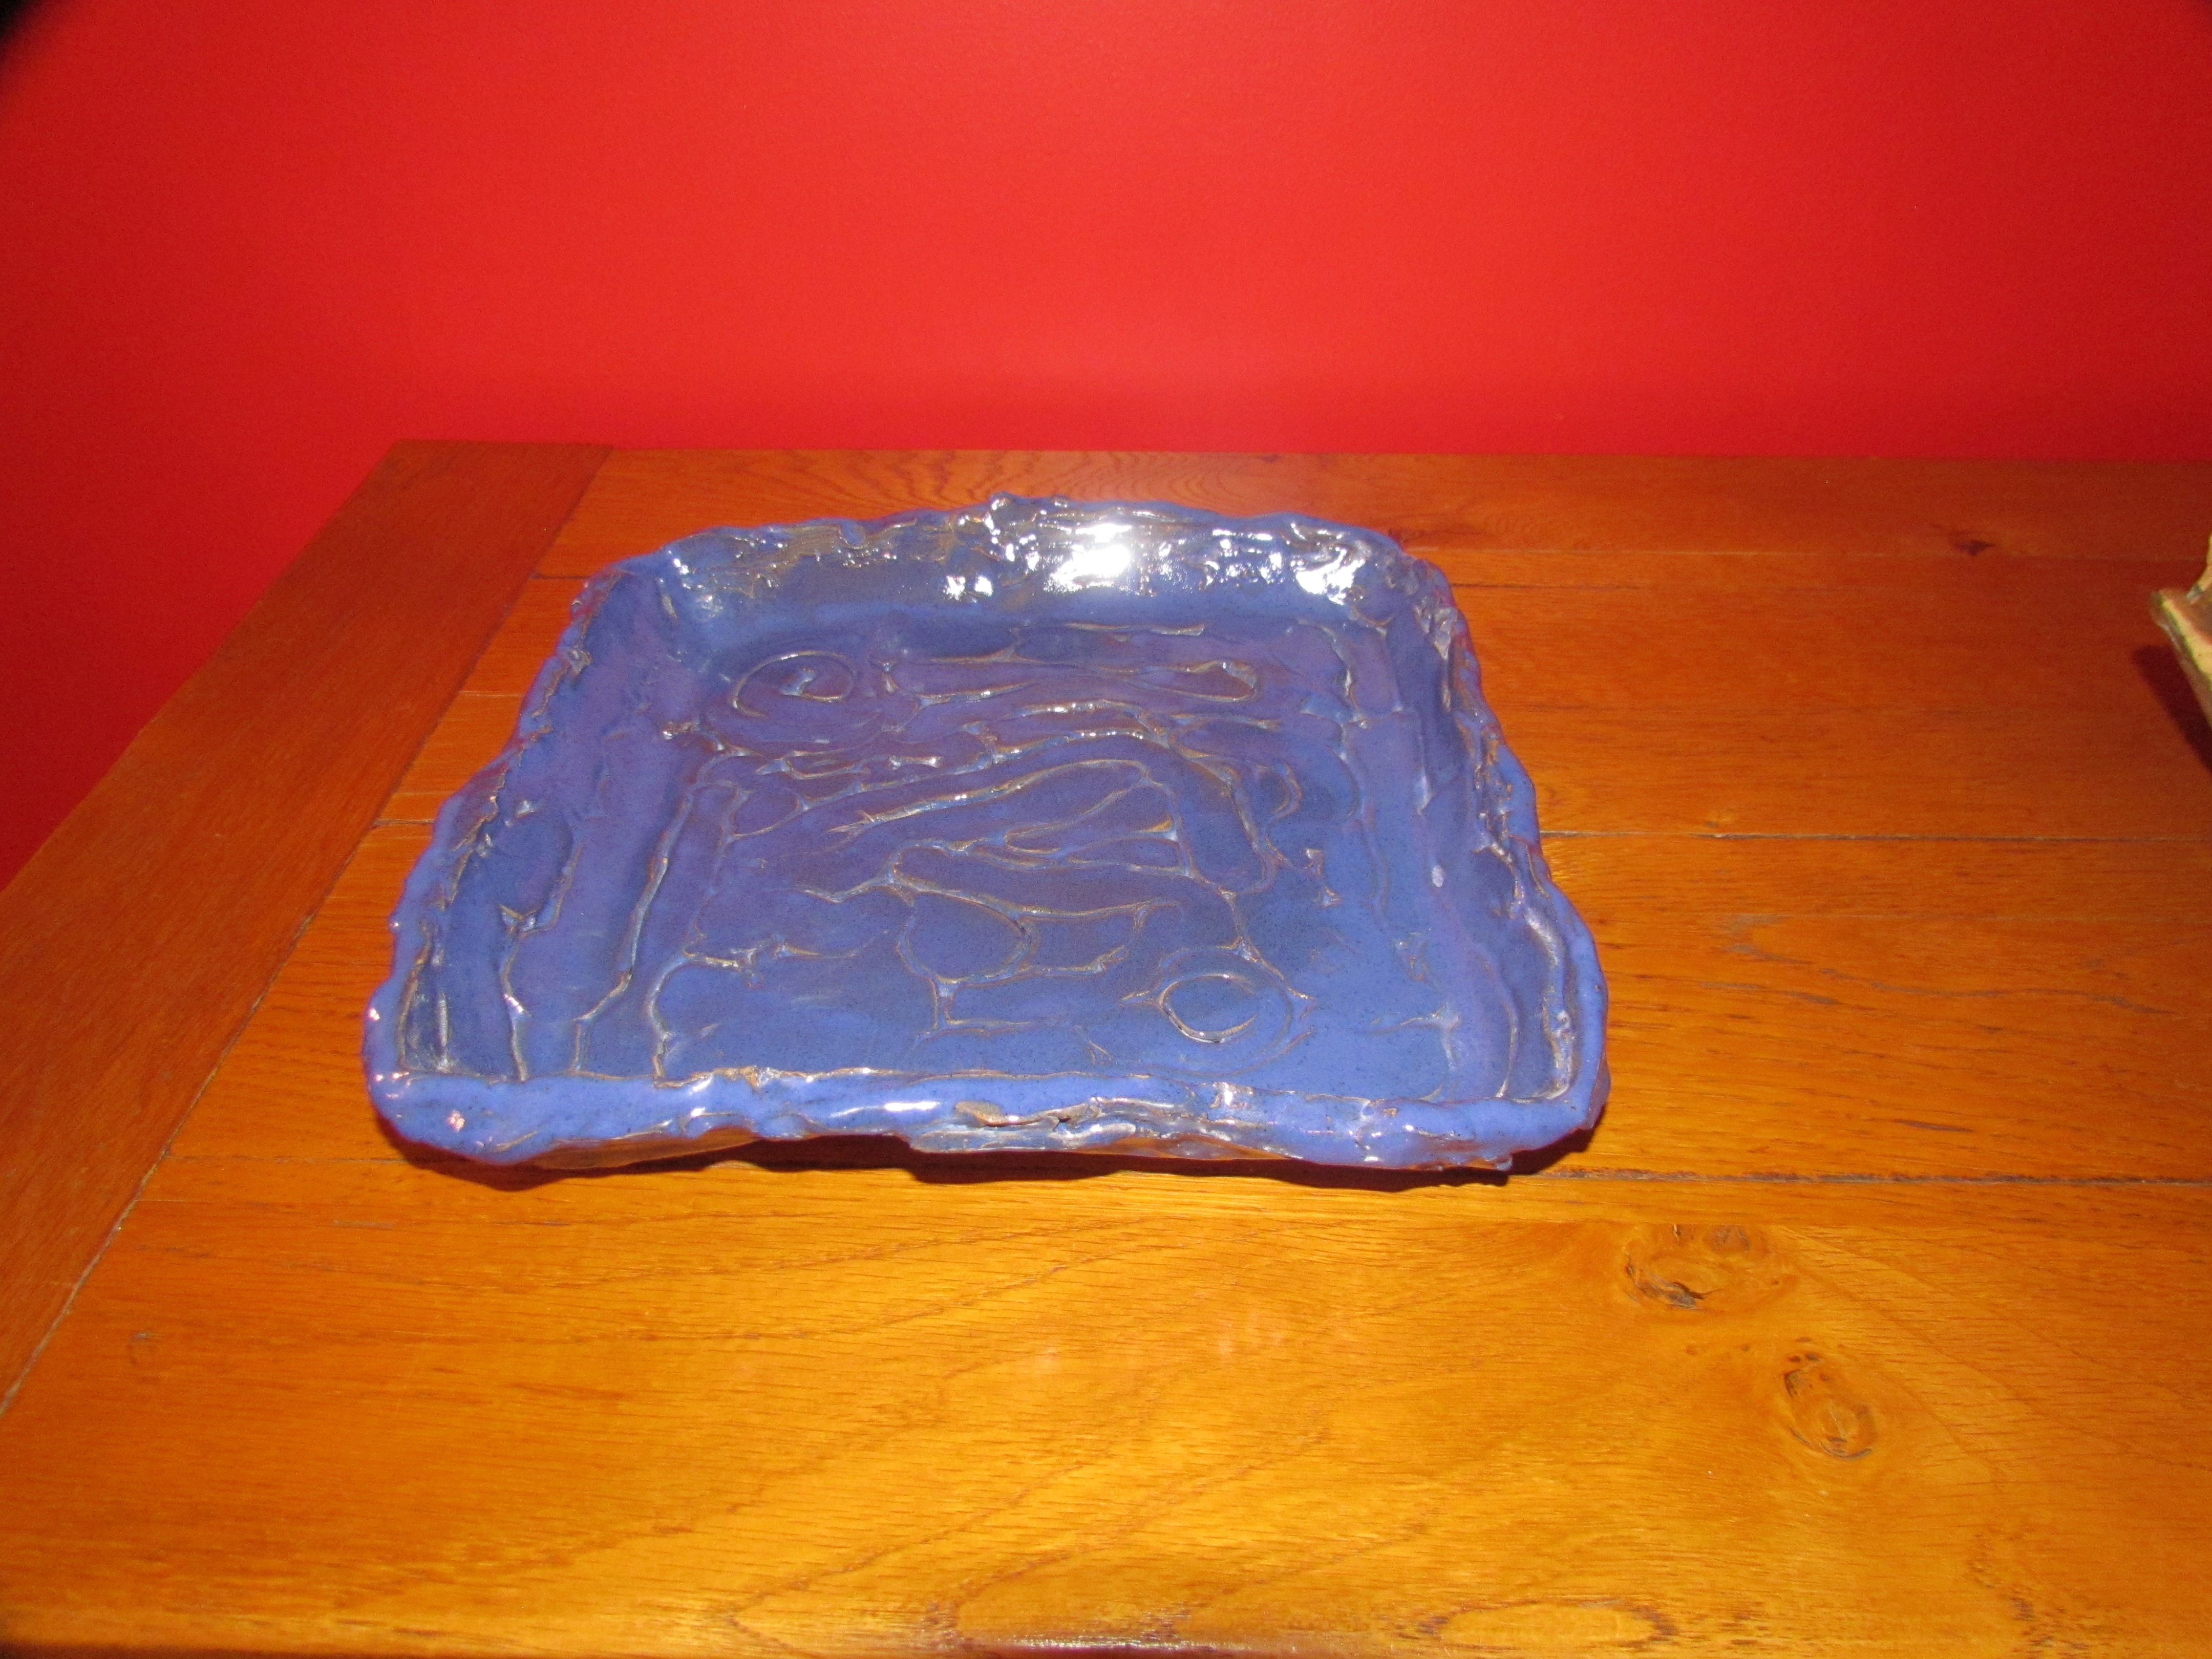
And finally this is one of my ceramics projects.
Pebbles in a Plate
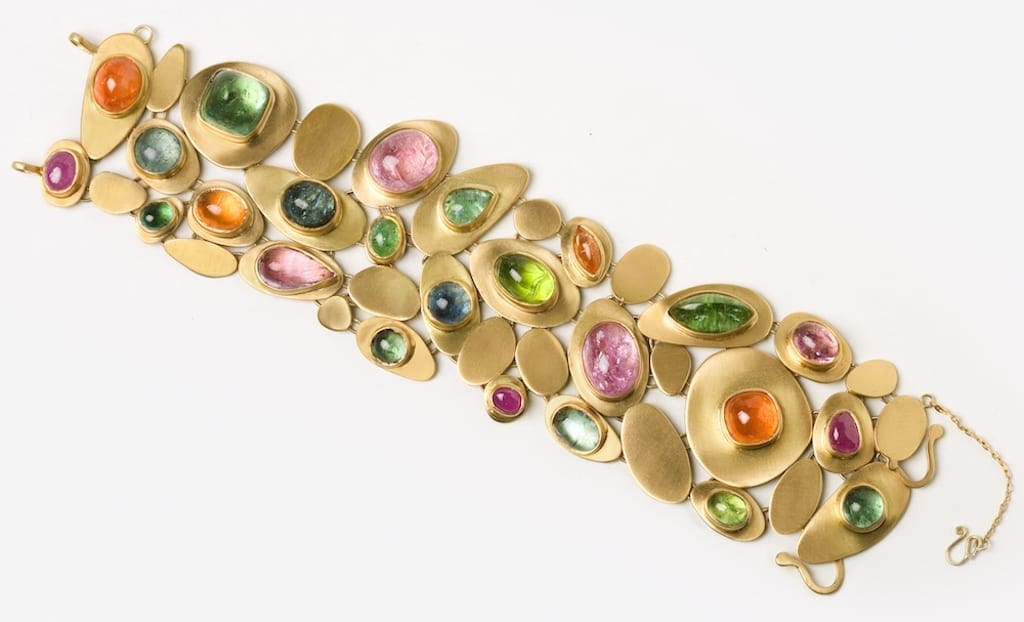
For those familiar with my jewelry, this may remind you of something else…
Ariane Zurcher Jewelry – B26 Lotus Collection – 18 Kt Brushed Yellow Gold, 25.08 ct Pink Topaz, 2.69 ct Pink Sapphire, 12 ct Tourmaline, 2.96 ct Aquamarine, 17.21 ct Mandarin Garnet, 4.03 ct African Paraiba
![Designing & Quilting To Cope]()
by Ariane Zurcher | Oct 30, 2014 | Art, Design, Jewelry |
Life is busy. We are homeschooling our twelve-year old daughter. Best decision we ever made! (For more about that you can read our group blog where Emma writes many of the posts – Emma’s Hope Book.) I continue to juggle my business and its needs and demands with parenting, homeschooling and writing. As I no longer have my jewelry in stores, I am doing trunk shows. There are not enough hours in any given day and things fall through the cracks. Still… art bleeds through in myriad ways to make life even more exhilarating and exciting. In preparation for this last trunk show, whose theme was Halloween, I roped my family into carving pumpkins and helping me cook halloween treats.
Art? Crafts? Who cares?
Let’s begin with a little Halloween fun.
Grinning Pumpkin ~ Carved by Richard Long
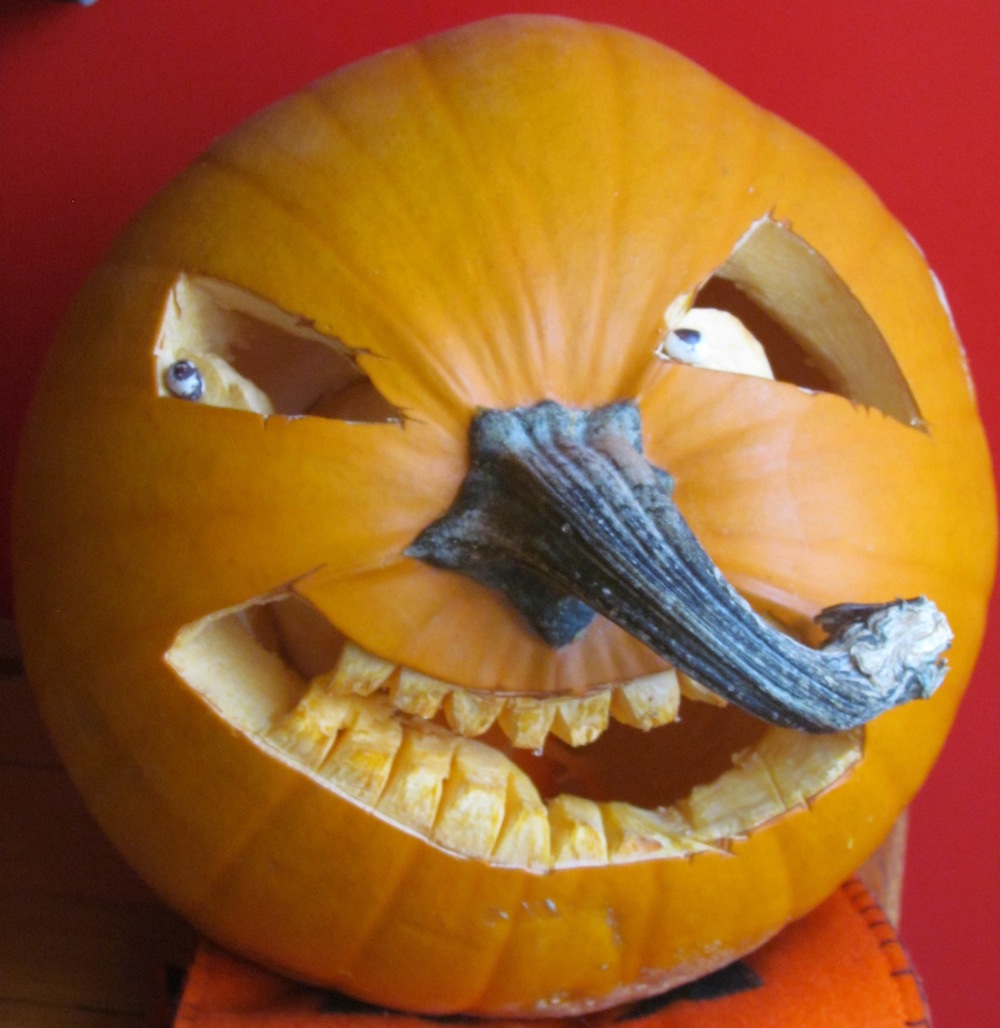
Our son tries his hand at carving…
Nosy Pumpkin with Rotting Teeth ~ By Nic Z-L
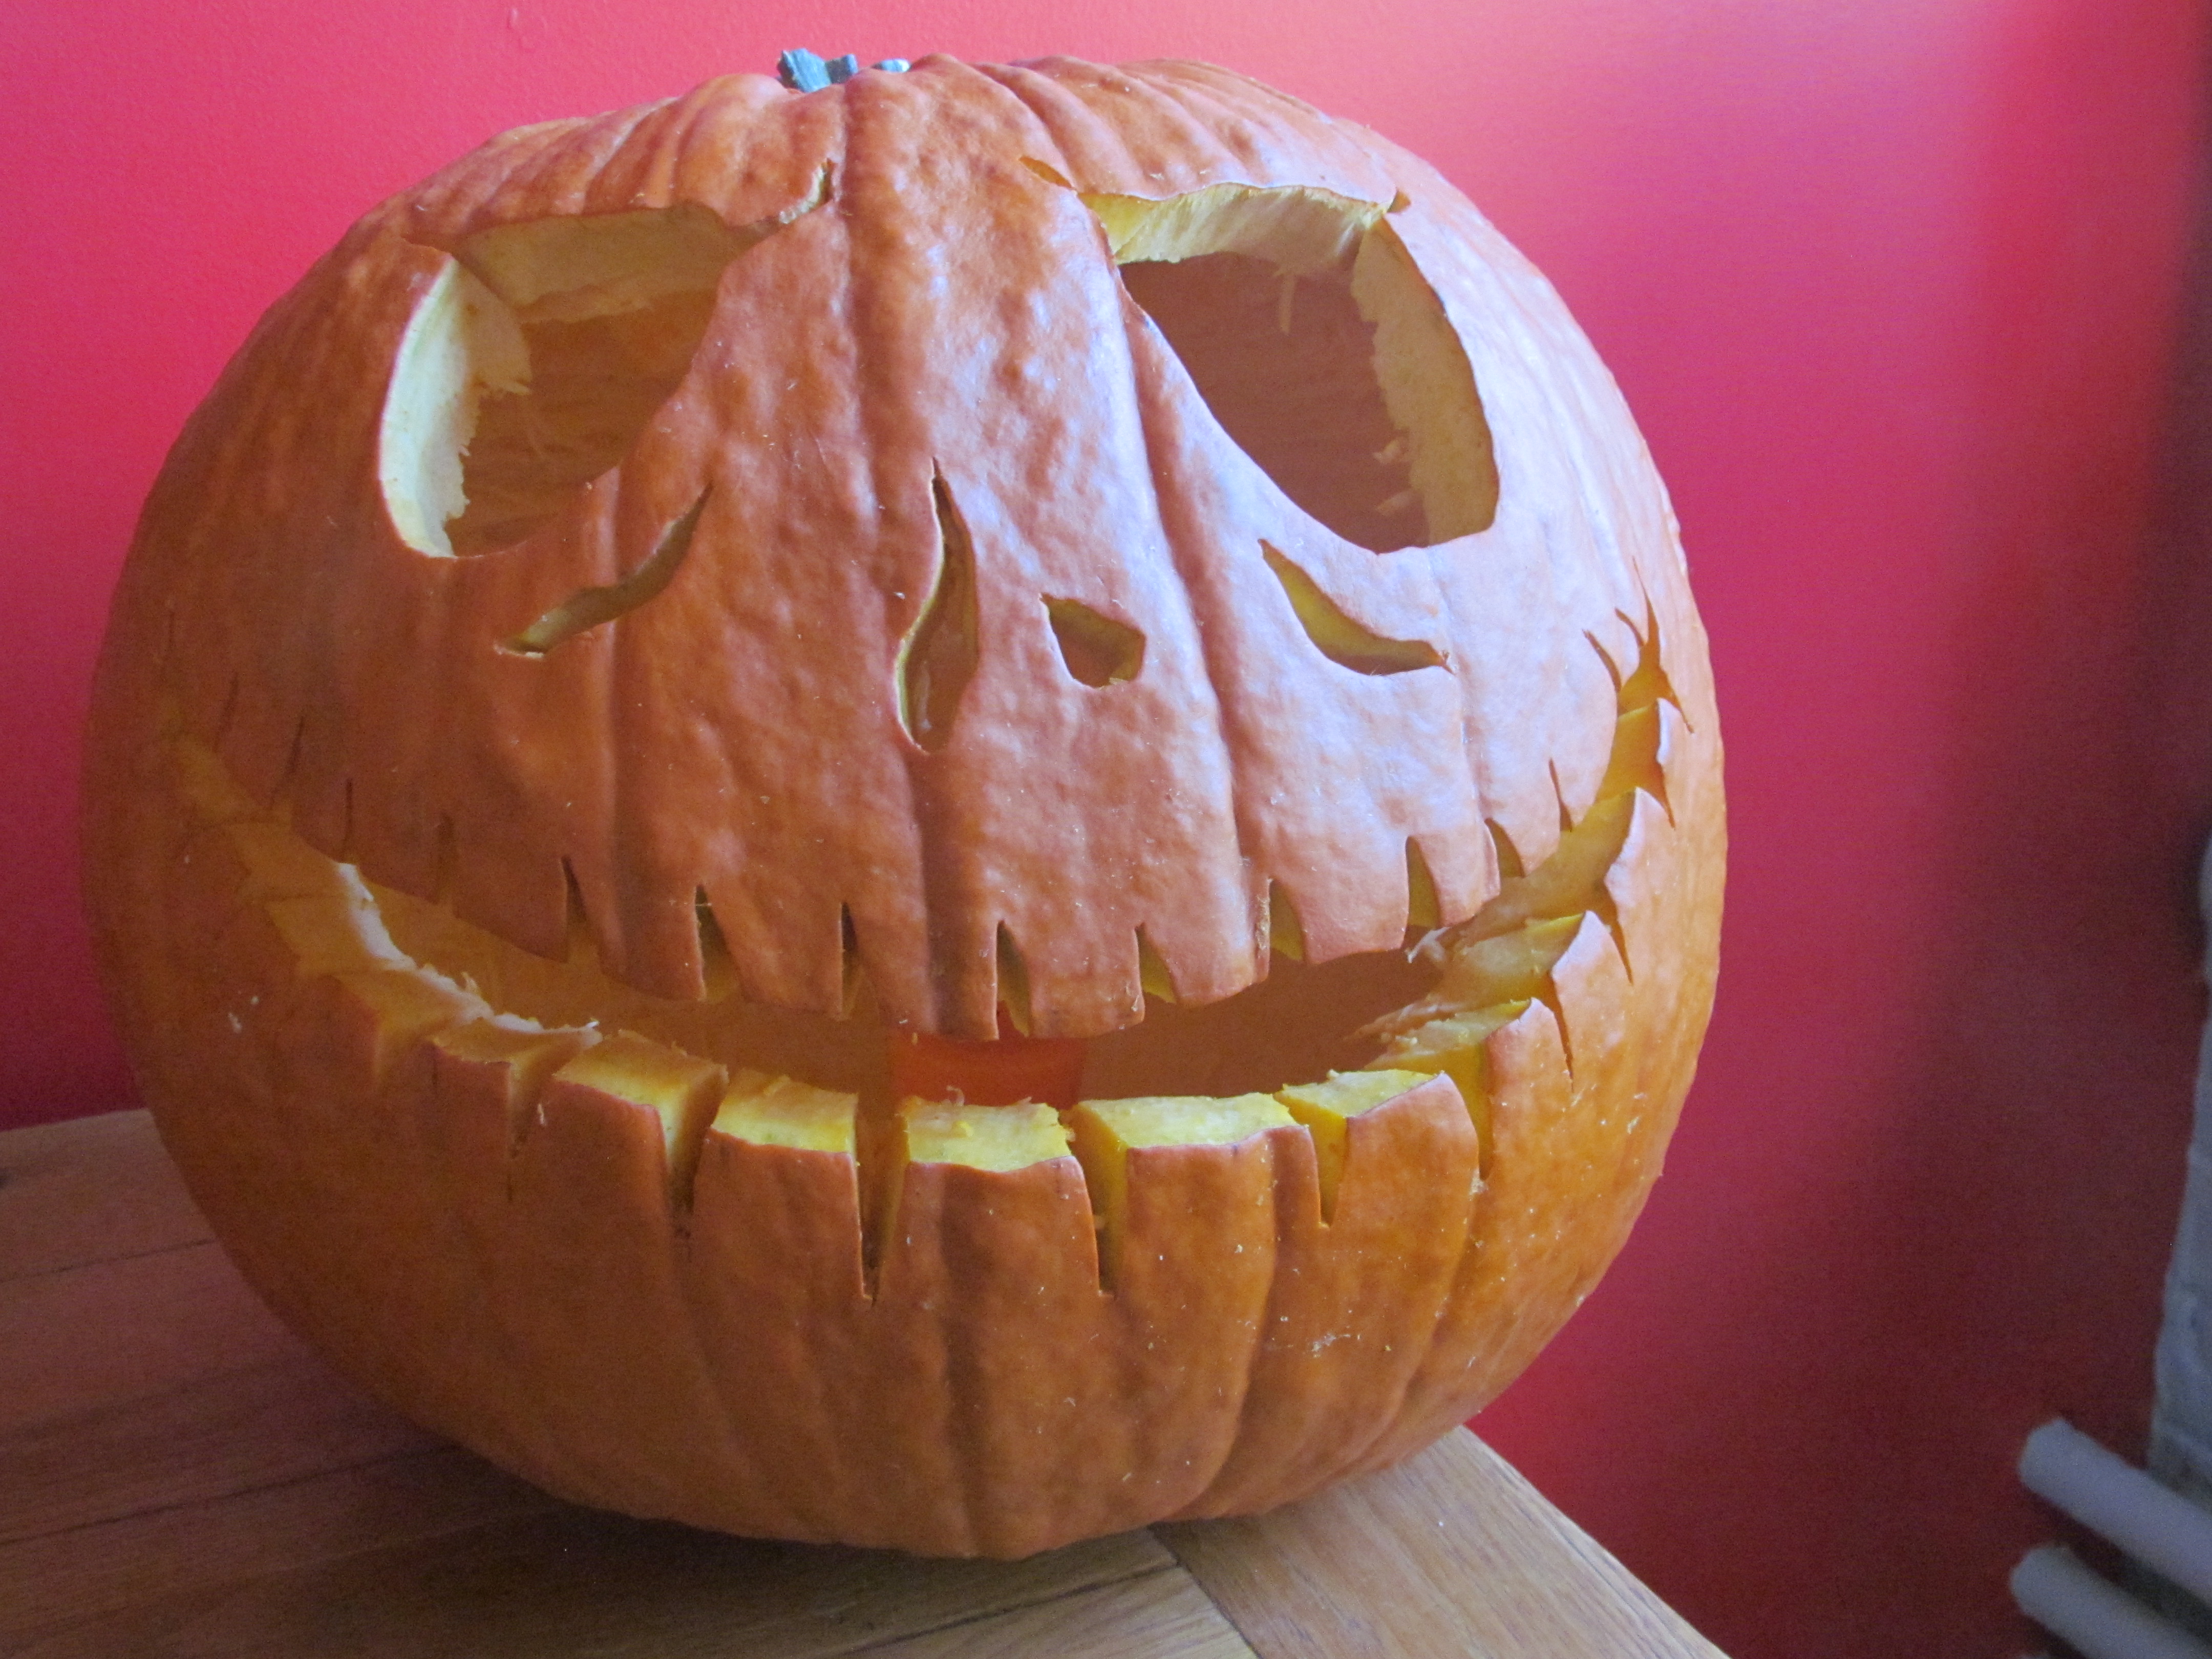
I’m a purist and went for a more traditional pumpkin, which means I googled “cool carved pumpkins” and found one resembling this and copied it. 🙂
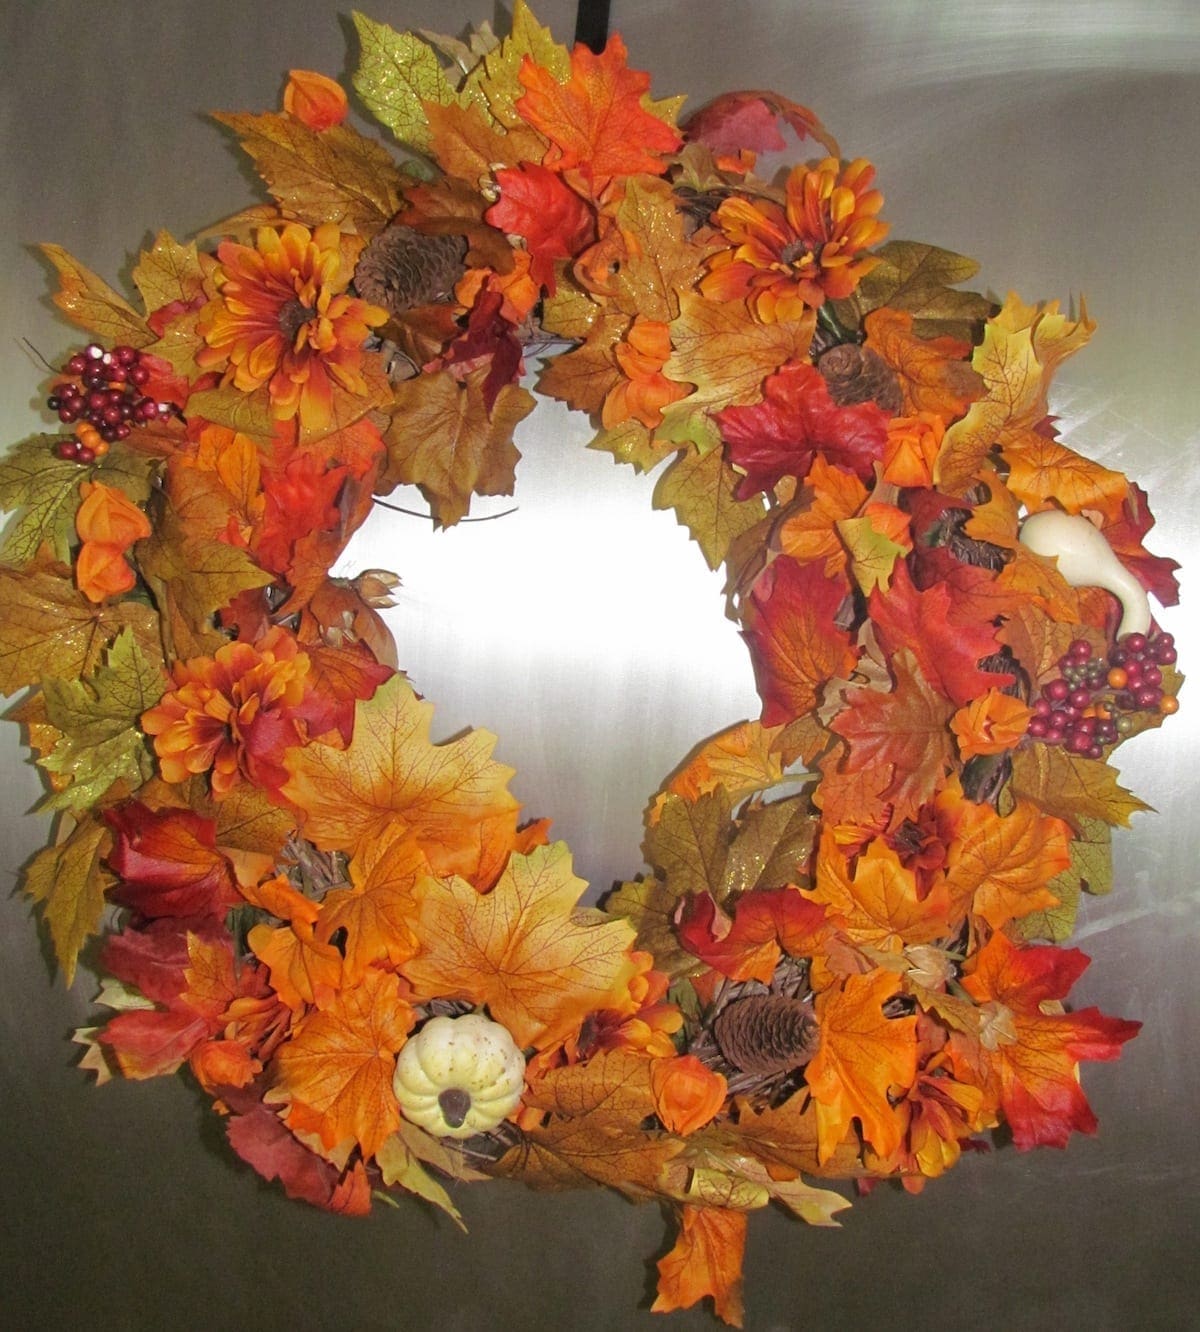
Originally I wanted to paint this wreath black and have a few snakes and rats poking out from the foliage, but this idea was vetoed by all but my 14 year old son…
Welcome to Fall Wreath
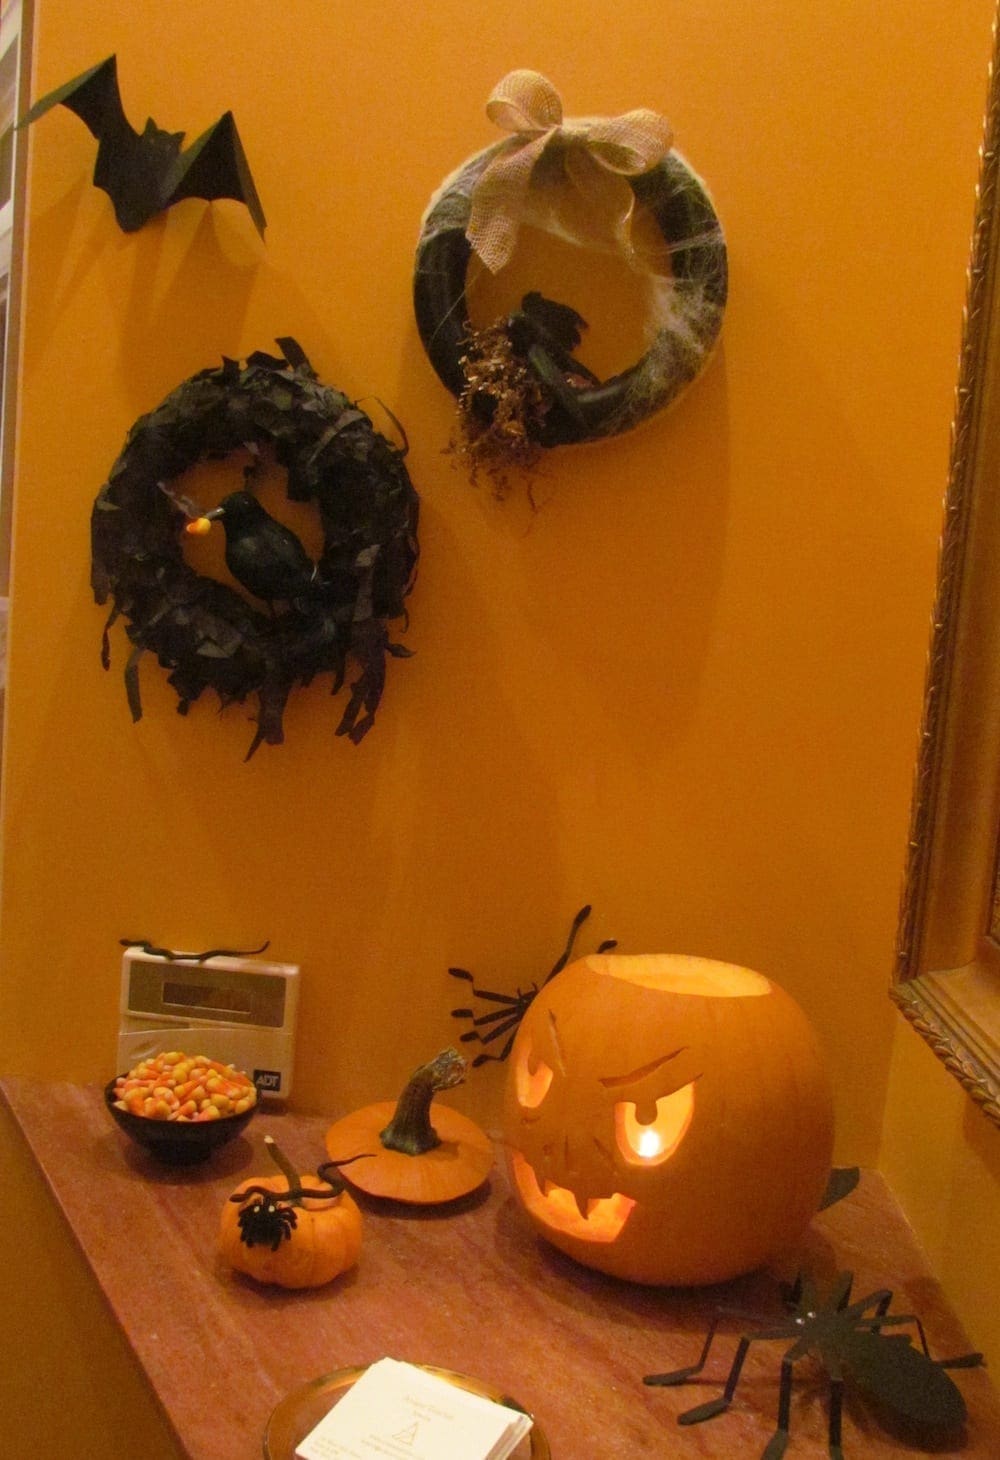
And since that was so much fun, I went a little “wreath crazy”…
Entryway to my pre-Halloween trunk show
Who-doesn’t-love-candy-corn-Wreath
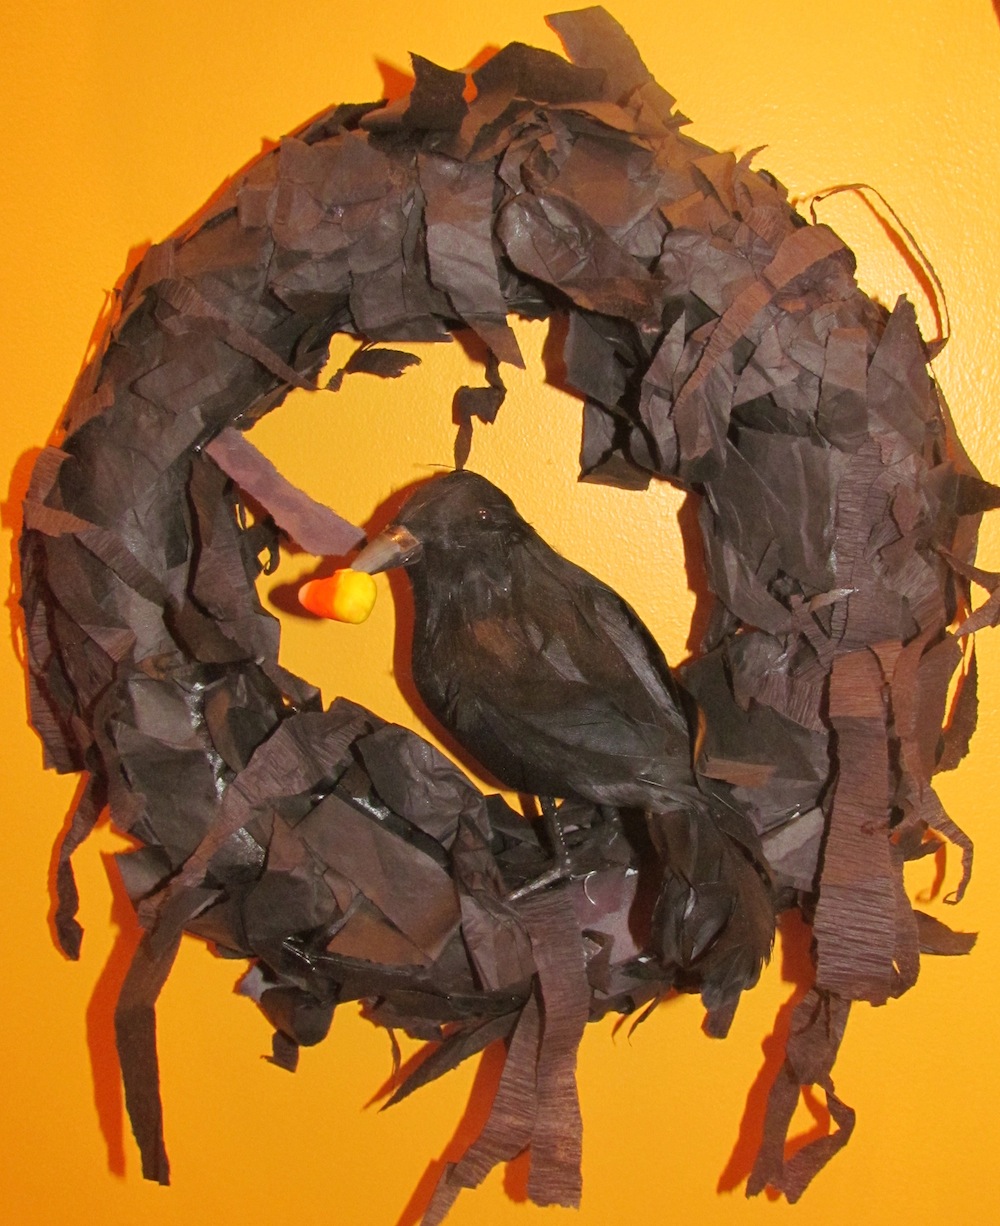
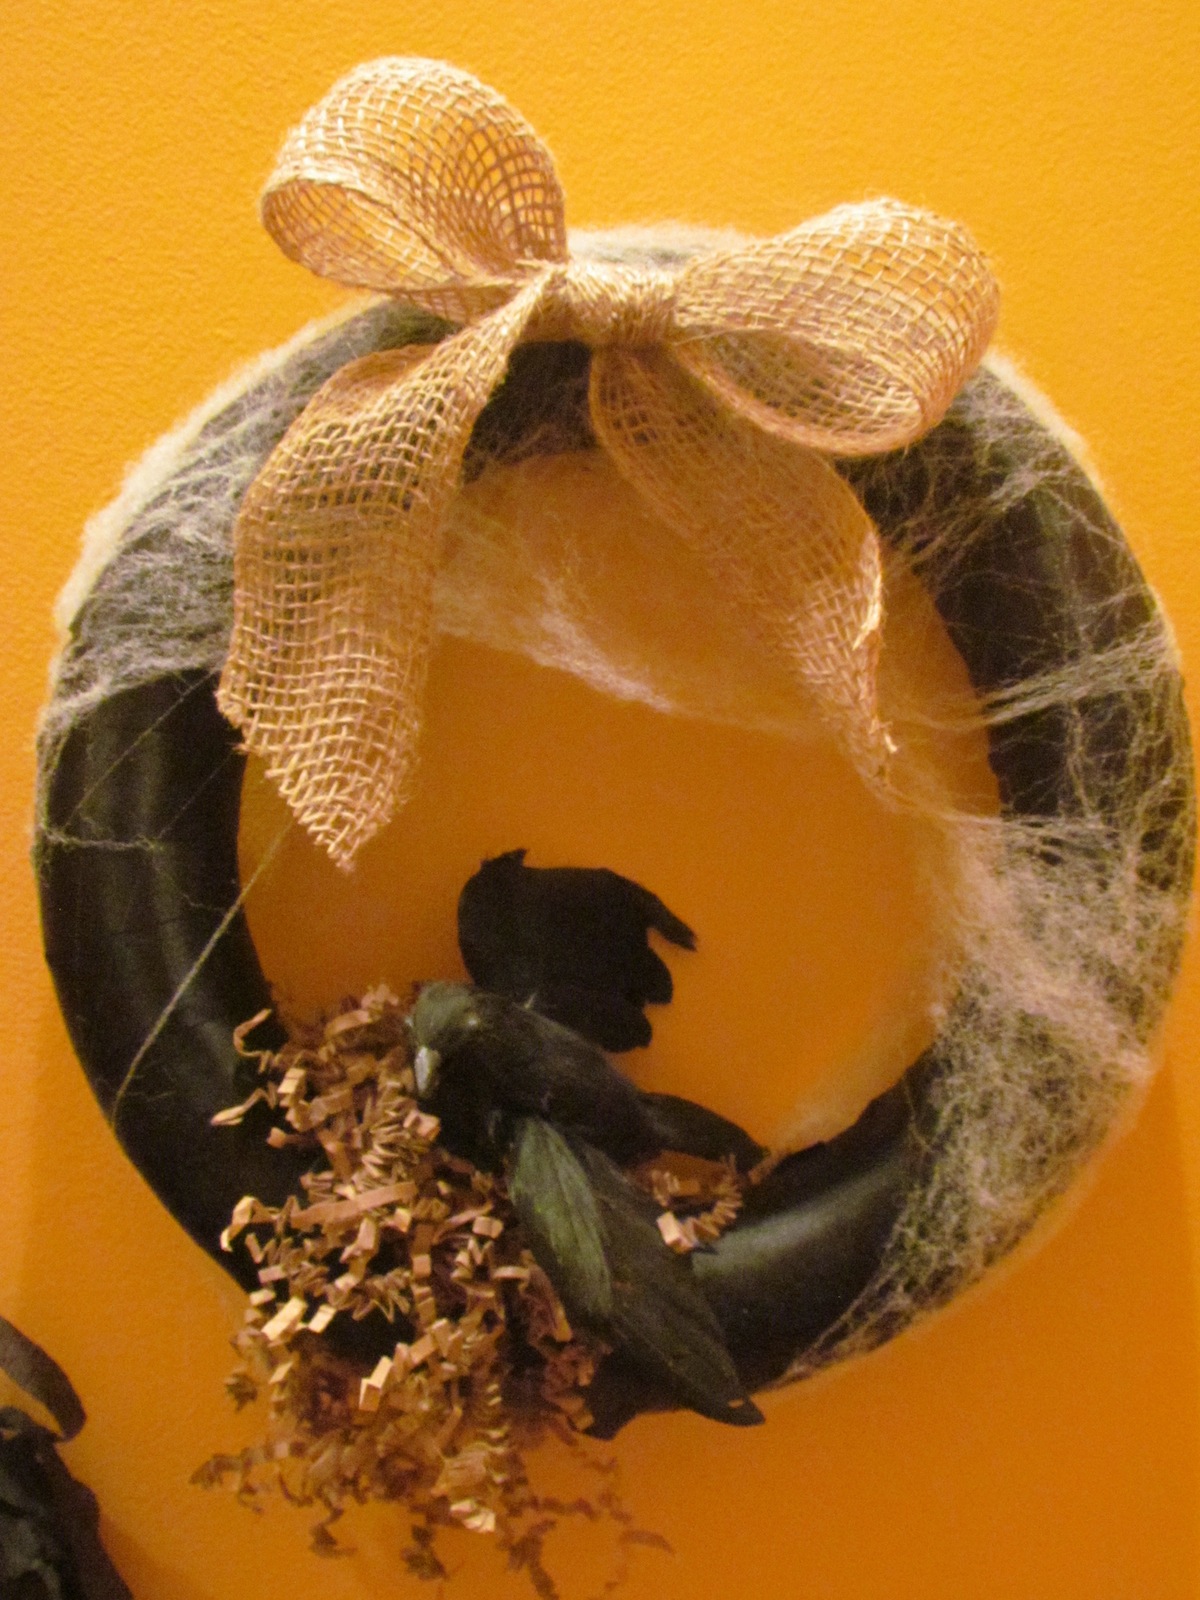
Raven’s Nest Wreath
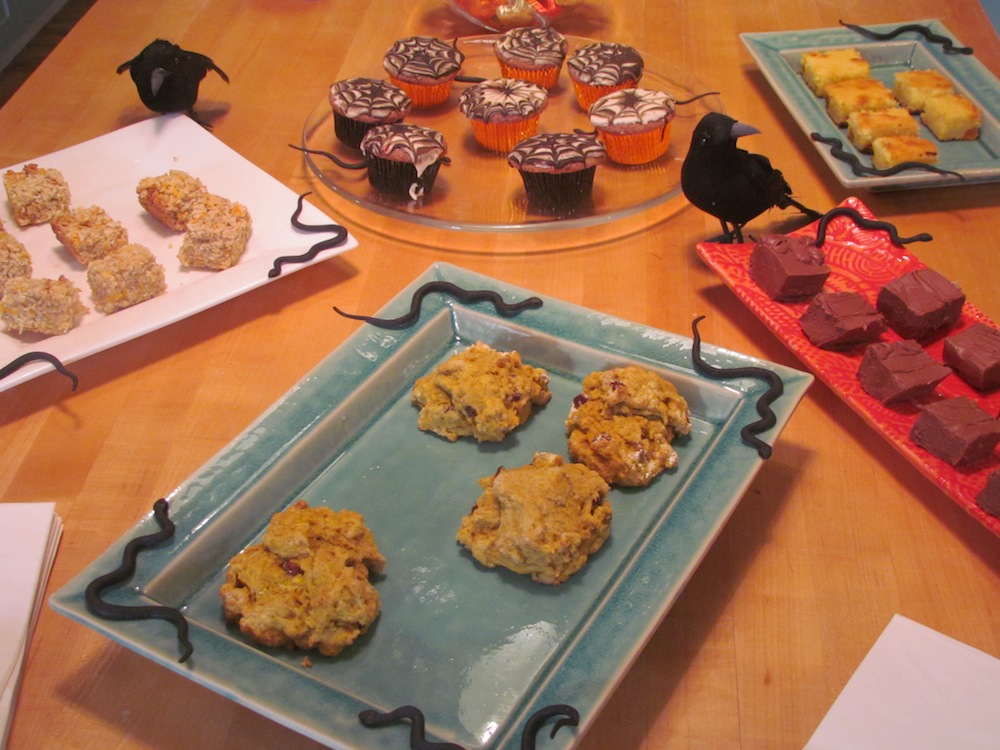
And then there was cooking that needed to be done…
Trunk show treats – Yes, I made them. From 11 o’clock going clockwise, Pumpkin granola bars, Spider Web Cupcakes, Pumpkin Blondies, Delicious, decadent fudge and Pumpkin Scones
In addition to the halloween treats, I made my spectacular Bloody Mary’s garnished with large green olives, celery and lime. They were a big hit!
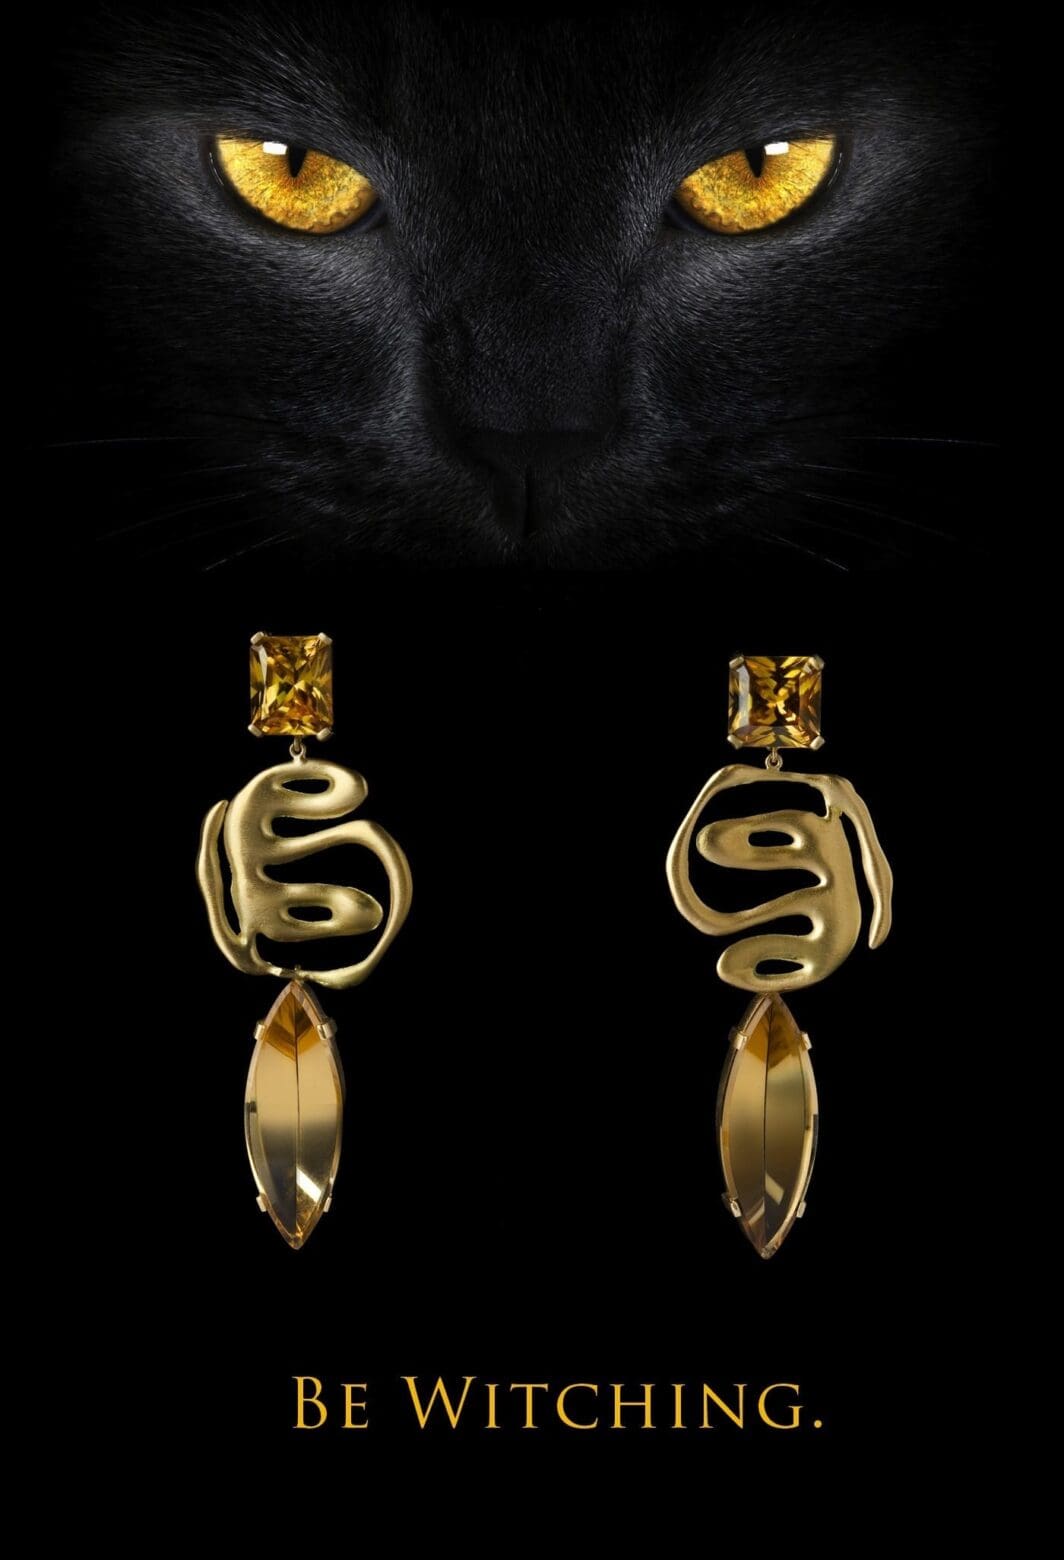
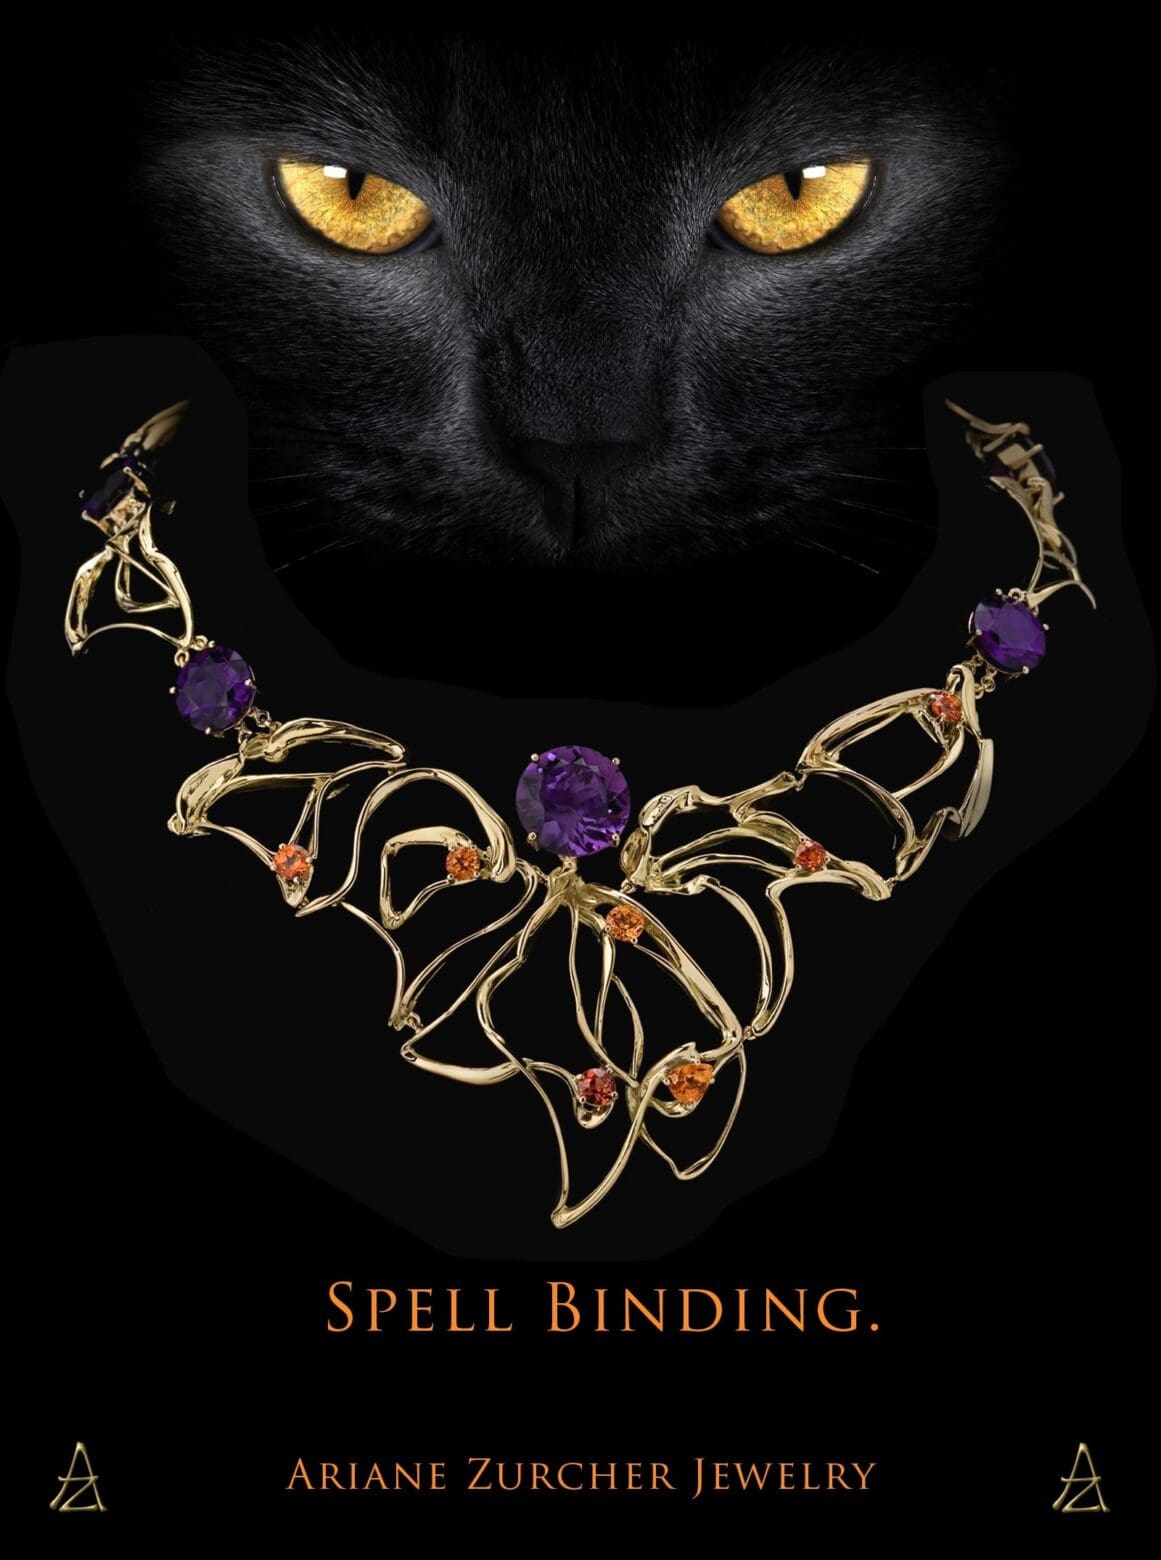
And finally jewels… lots and lots of jewels…
For all of you who would like to be included on our mailing list so you don’t miss out on future trunk shows and events, just say so and I will add the email you use to comment to our email list, or send me a different email, if you prefer.
Happy Halloween Everyone!
 So all of this will have to wait until the end of the week!
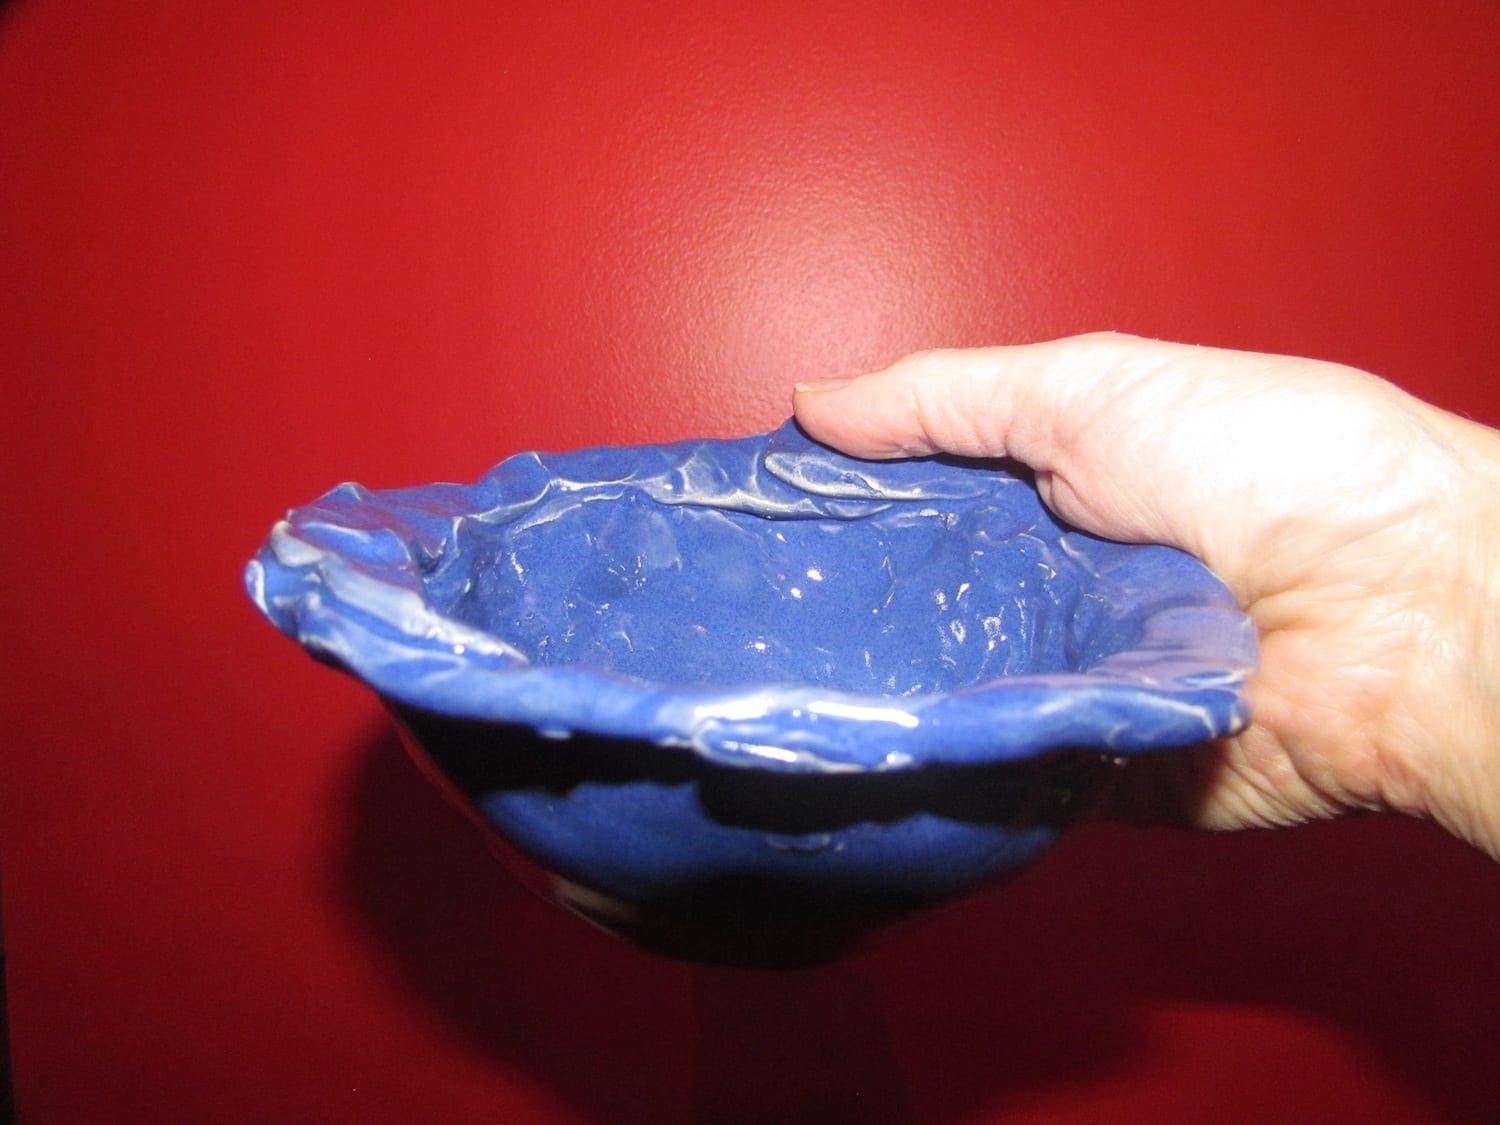


Recent comments