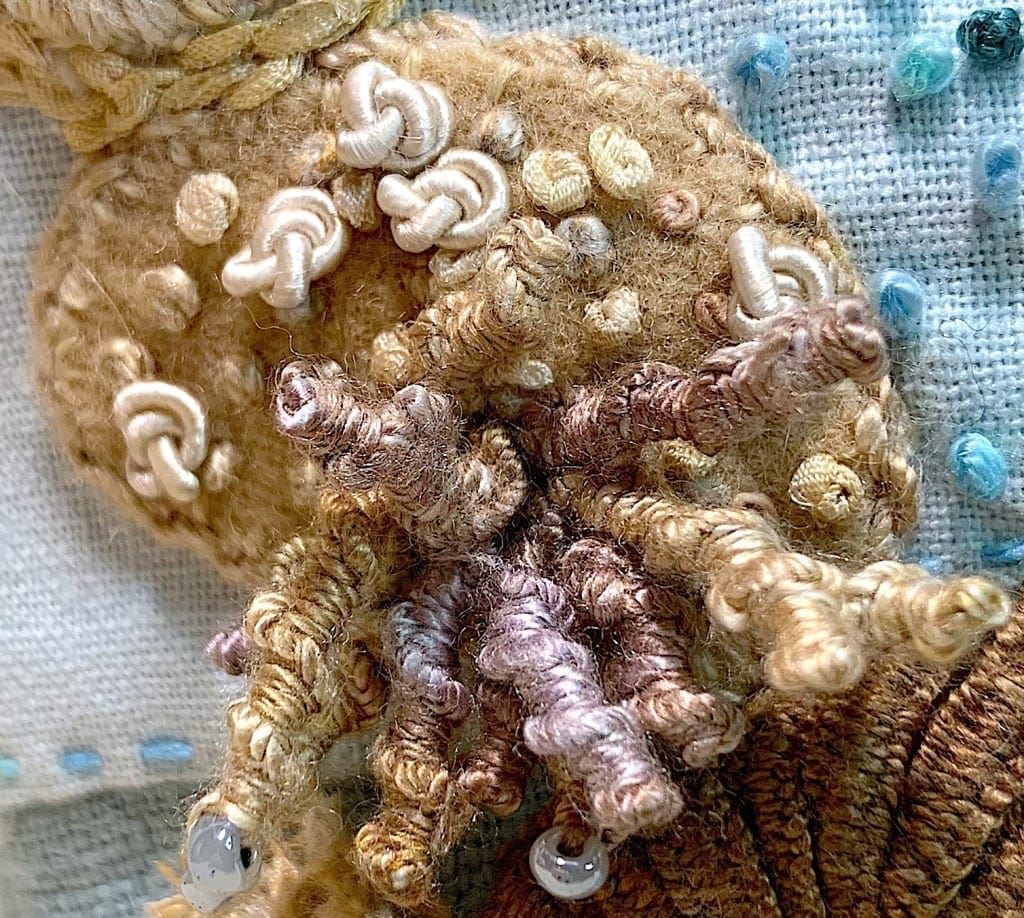
I’m working on a Left-Handed Stitching book. It’s a HUGE project, but I’m determined and am taking it one small stitch at a time. Yesterday I was working on a Threaded Backstitch and so I began to stitch on a piece of linen that I whipstitched some wool shapes onto. Once I had done one example of the Threaded Backstitch, I decided to go ahead and do a Double Threaded Backstitch. And once that was finished I thought – well wouldn’t it be fun to do a couple more, one below the other?! Do you see what I’m having to deal with here? After I finished doing those, the gap between the Double Threaded Backstitches seemed to be calling out for a little something, so I did what anyone would do, and found some beautiful Stef Francis Silk Chenille and decided it was perfect to Couch. Swoon. And then there was a tiny space at the very top and so I stitched a 2-wrap French Knot, which looked like a little tumble weed. Perfection(!) and that made me feel happy. As I stitched, I thought I could hear some Silk Ribbon calling out to me, so of course I had to find it, retrieve it, and use it, because what else was I going to do? Ignore the call? No, I don’t think so! So I made a little cluster of Silk RibbonRoses to one side. And that’s when it occurred to me. I’m NEVER going to finish this book if I continue to go down every rabbit hole I see.
Double Threaded Backstitch, Couching, French Knot and Ribbon Roses
Except it’s SO much fun to go down those rabbit holes and who knows where they might lead?! Some of my best discoveries have been deep within such holes, which means this book will take a little longer to do than I’d originally anticipated. Plus I’m using lots of photographs to demonstrate each step of each stitch and I intend to show how to end and begin a new thread, in case you run out in the middle of the stitch, as well as how to end the thread once you’ve finished doing the stitch. Those are a couple things I always wish to see, but rarely do in a stitching book and that got me wondering, what about YOU?
Tell me what you like to see in a stitching book. What do you dislike? What do you wish they showed? What do you wish they didn’t show? What about text? Keep it short and simple or do you like longer explanations and even stories? What else? Am I forgetting anything? Tell me. Tell me everything.
If you’d like to laugh and explore stitching (or in my case attempting to) with silk gimp and the thicker gimp that Painter’s Threads hand dyes, this was the live stream I did yesterday. Warning: We laughed A LOT.
My attempts at using the crinkly silk gimp became more comedic than informative… However, I am determined to continue investigating this beautiful, if challenging thread, and what I’m able to do with it. So this is just the beginning. By the way Mary Corbet, who is a fountain of knowledge when it comes to threads, stitching, and everything and anything to do with embroidery, is such a great resource. If you click on her name above, it will take you to her blog. She also has a YouTube Channel, where she demonstrates stitches.
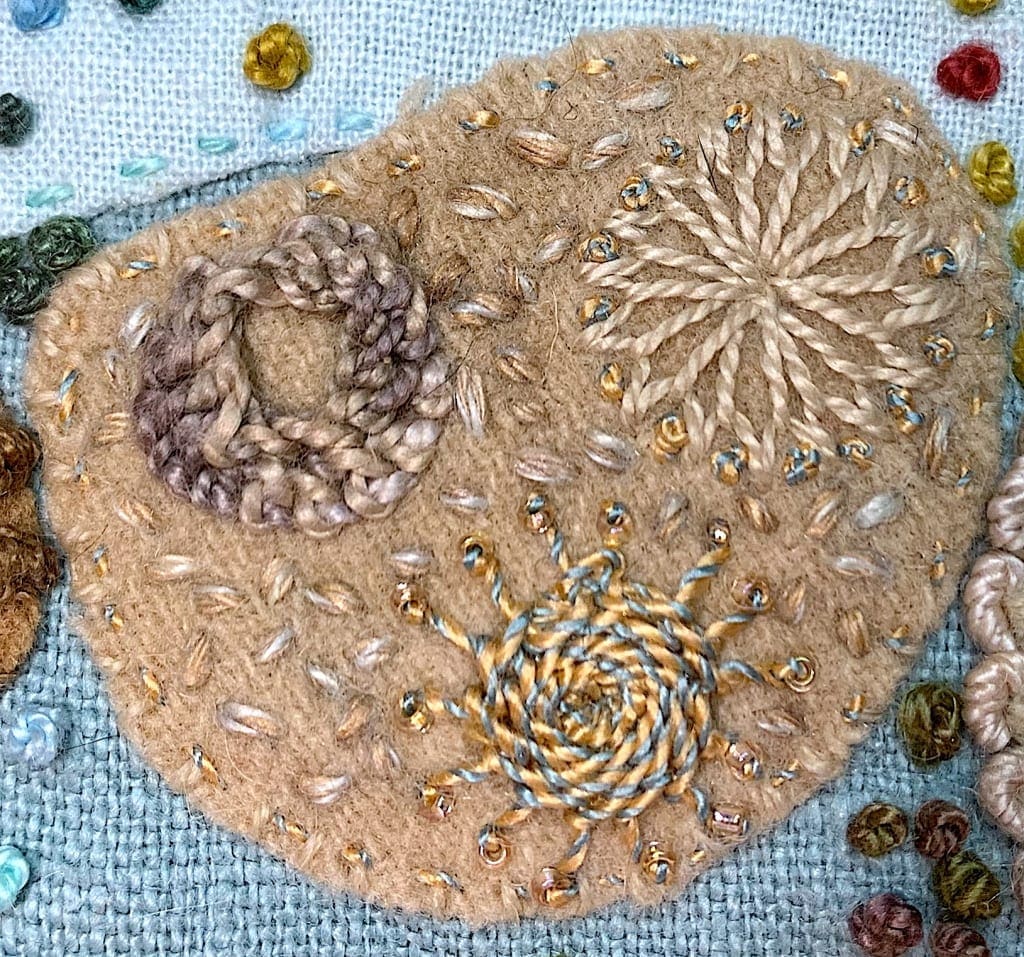
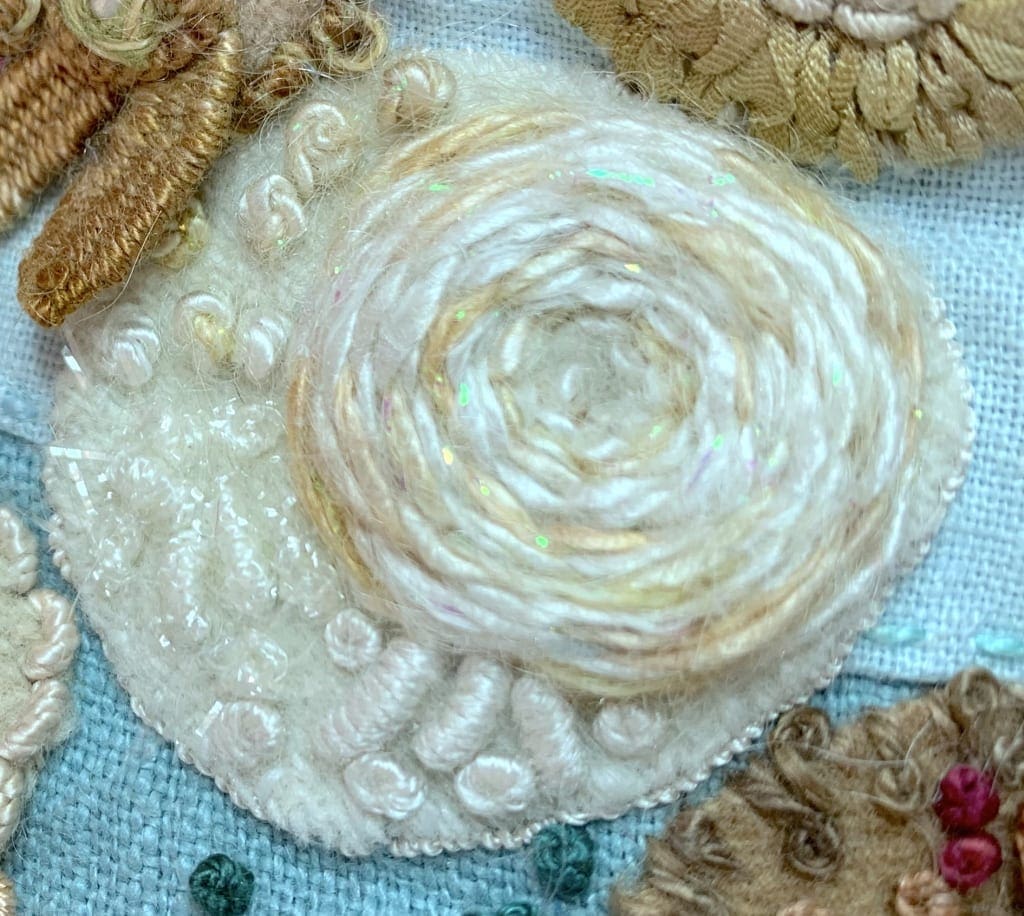
So here’s the thing… I am a designer first and foremost. I love playing with threads and seeing how I can use an unusual thread in a different way. My approach to hand stitching is from a design point of view. When I’m working with a thread, like gimp, whether the crinkly silk gimp or the thicker cord Gimp from Painter’s Threads, I am thinking about color, texture, and how I can use it so that it creates something interesting. As I design, I’m considering size, shape, dimension and how all of that fits into the piece I’m working on.
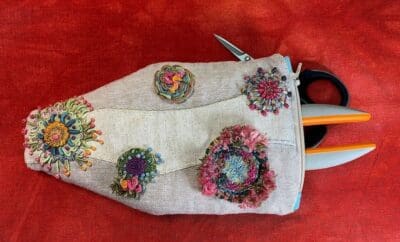
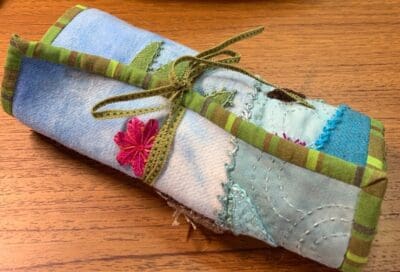
For my River Rocks Pouch, I used all three of these gimps in different ways. A couple of the shapes on that pouch I added gimp French Knots, which I love.
I’m off to the last remaining quilt shop in New York City in a little while. I’ll be filming it, and will post tomorrow morning. So if you want to come with me on my little adventure, tune into my Youtube Channel Ariane Zurcher ~ On the Other Hand tomorrow. Until then, here’s to exploring and stitching!
Yay, I finished it!! My first large quilt. I began it in January and finished yesterday.
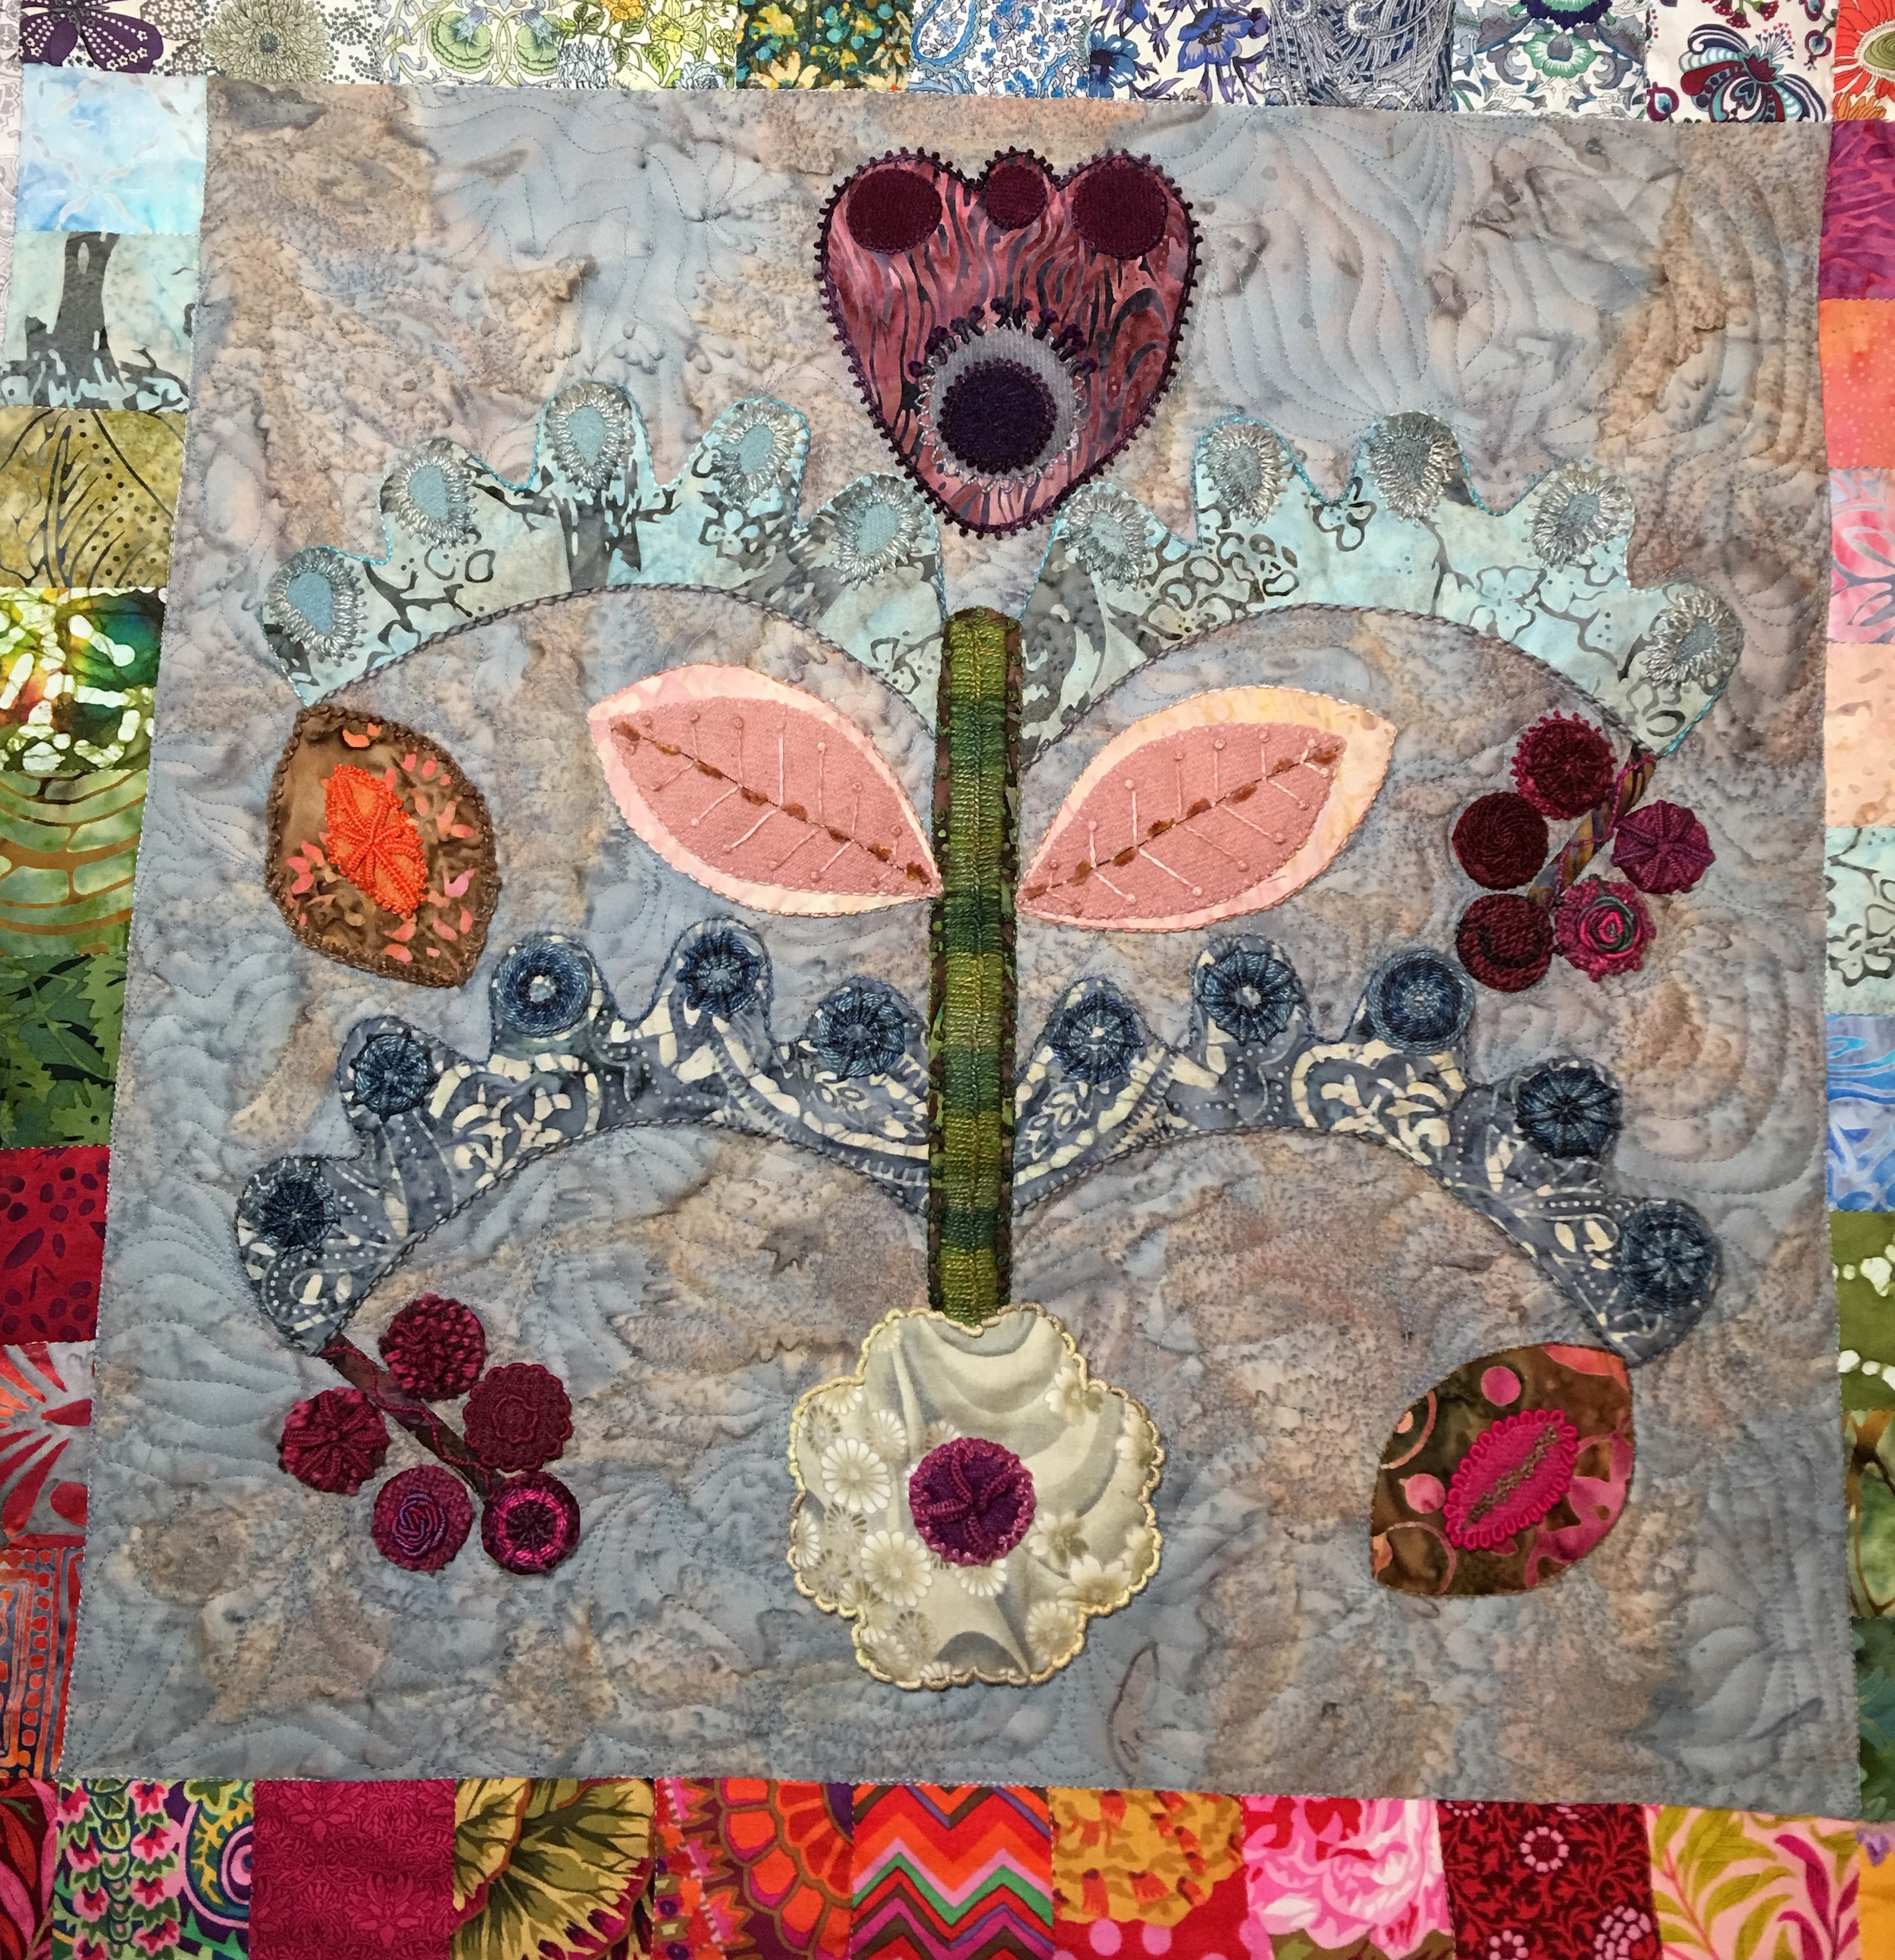
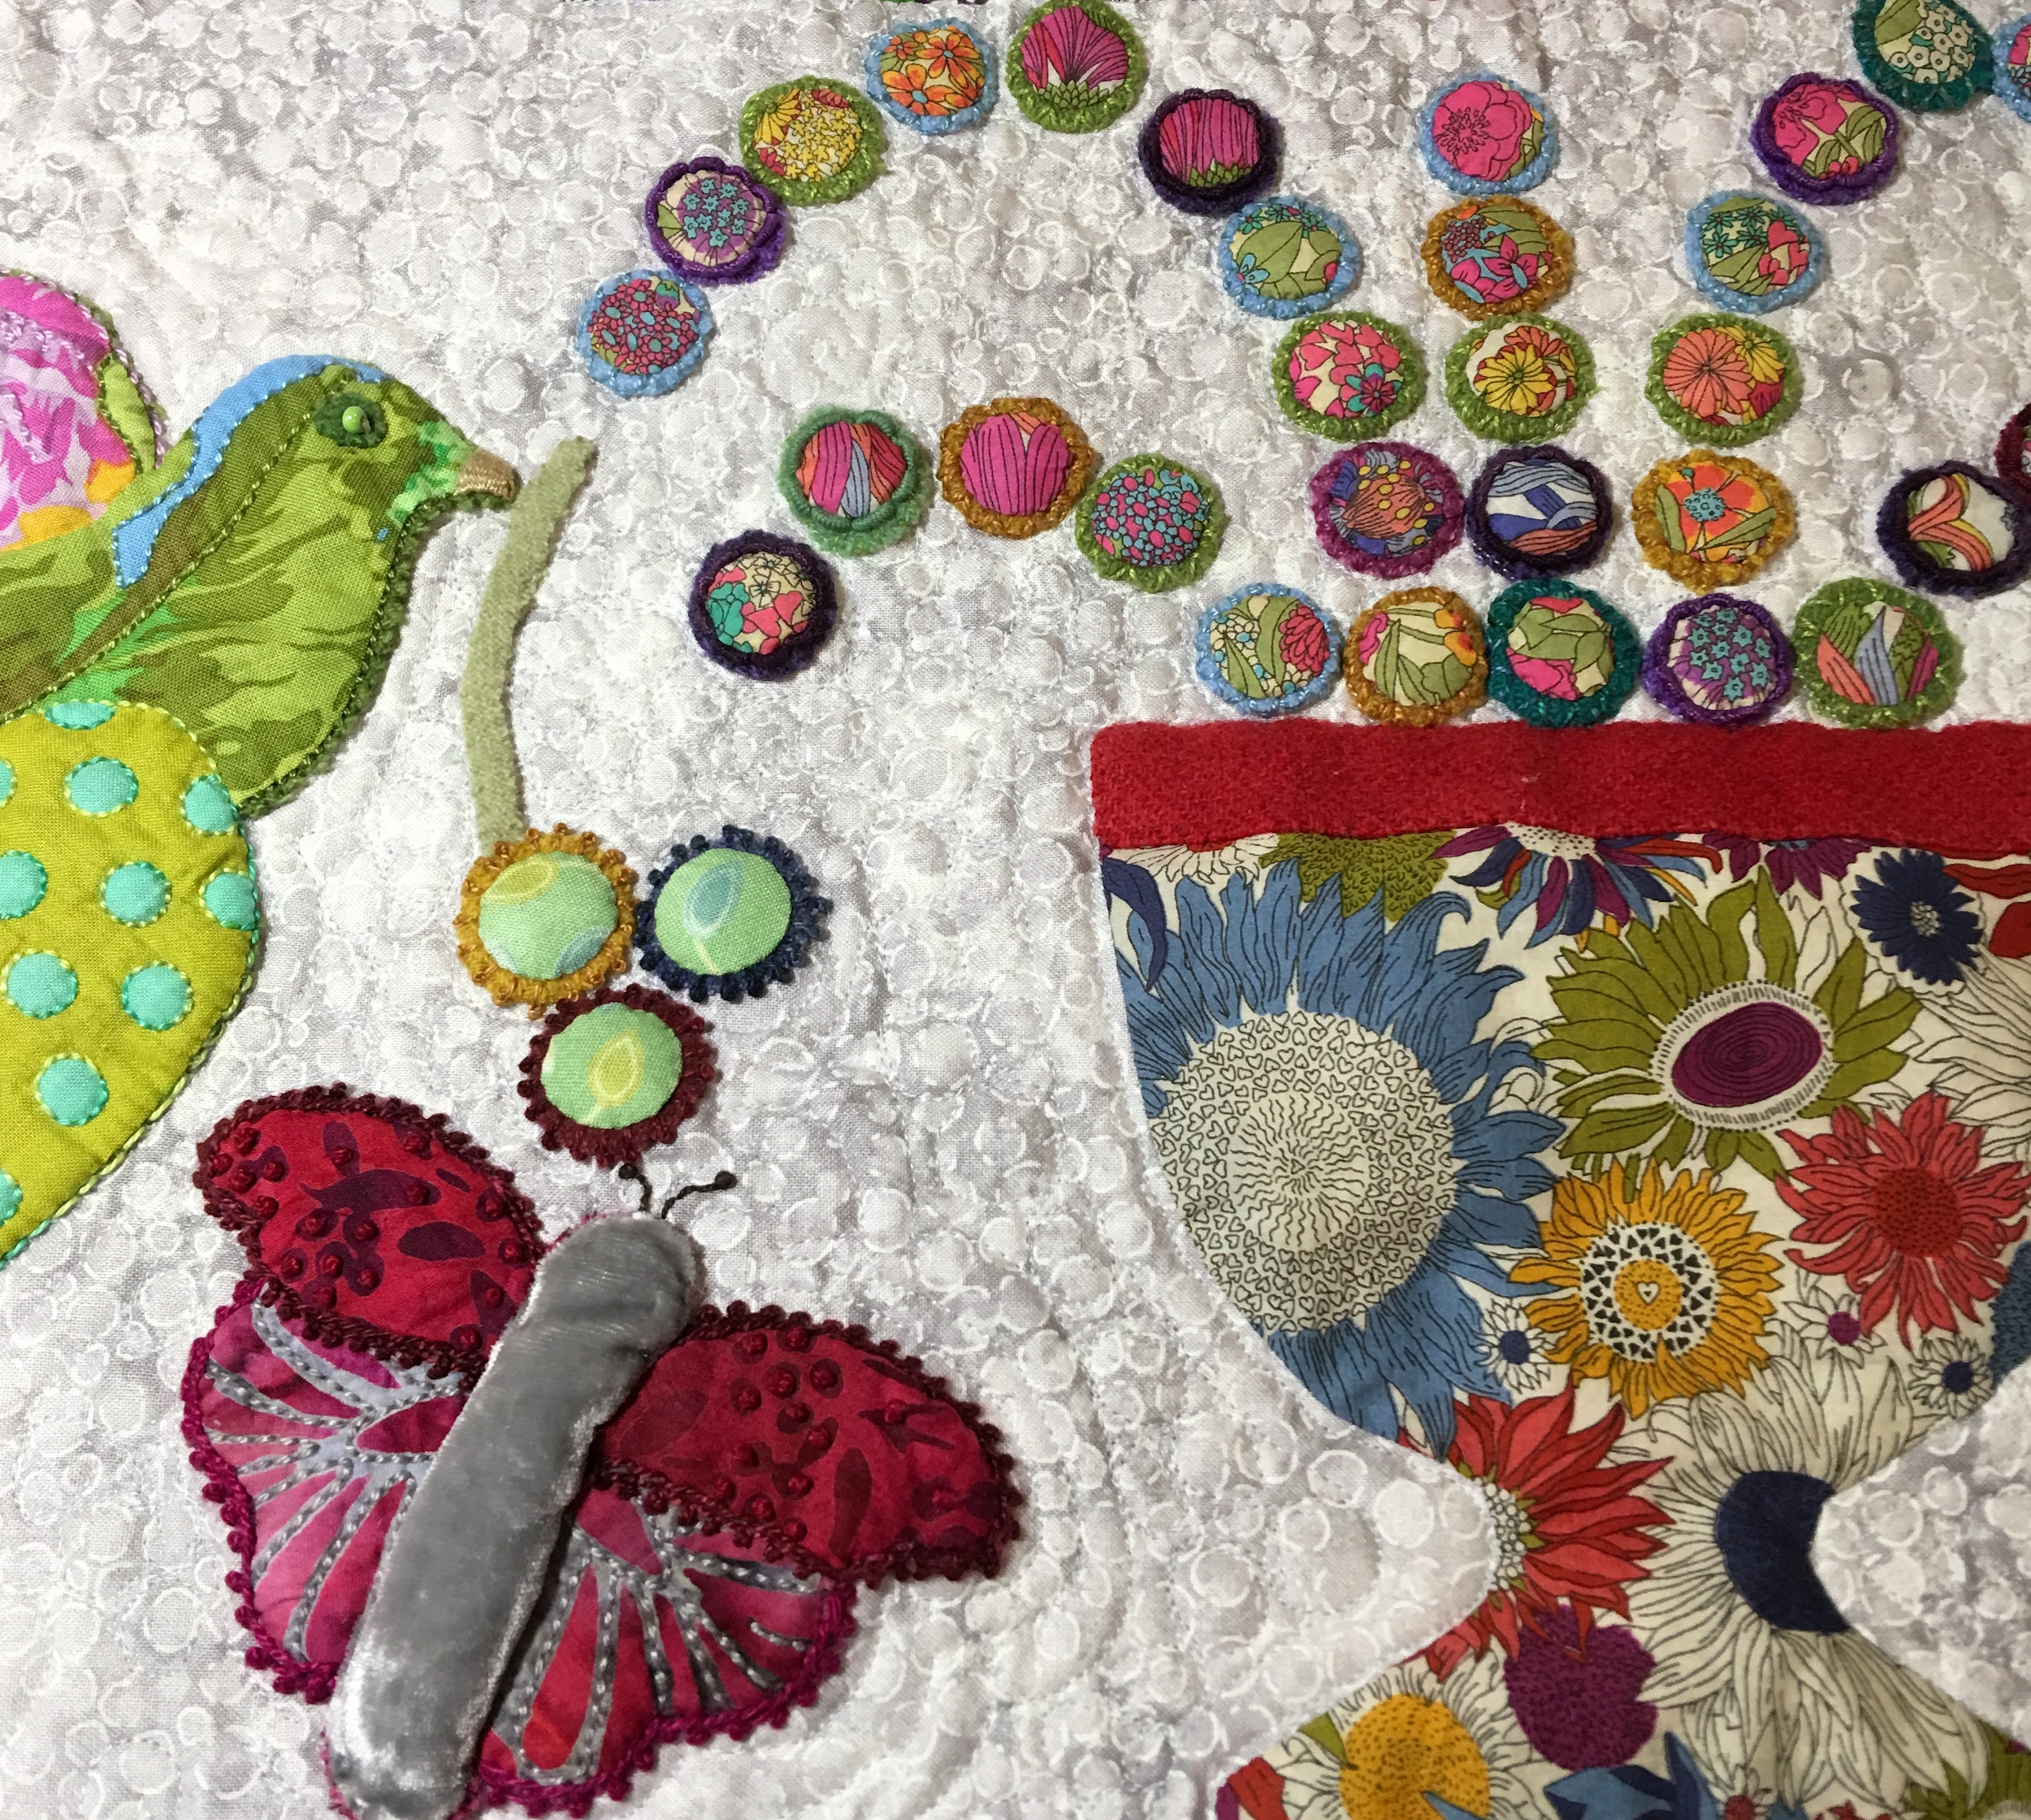
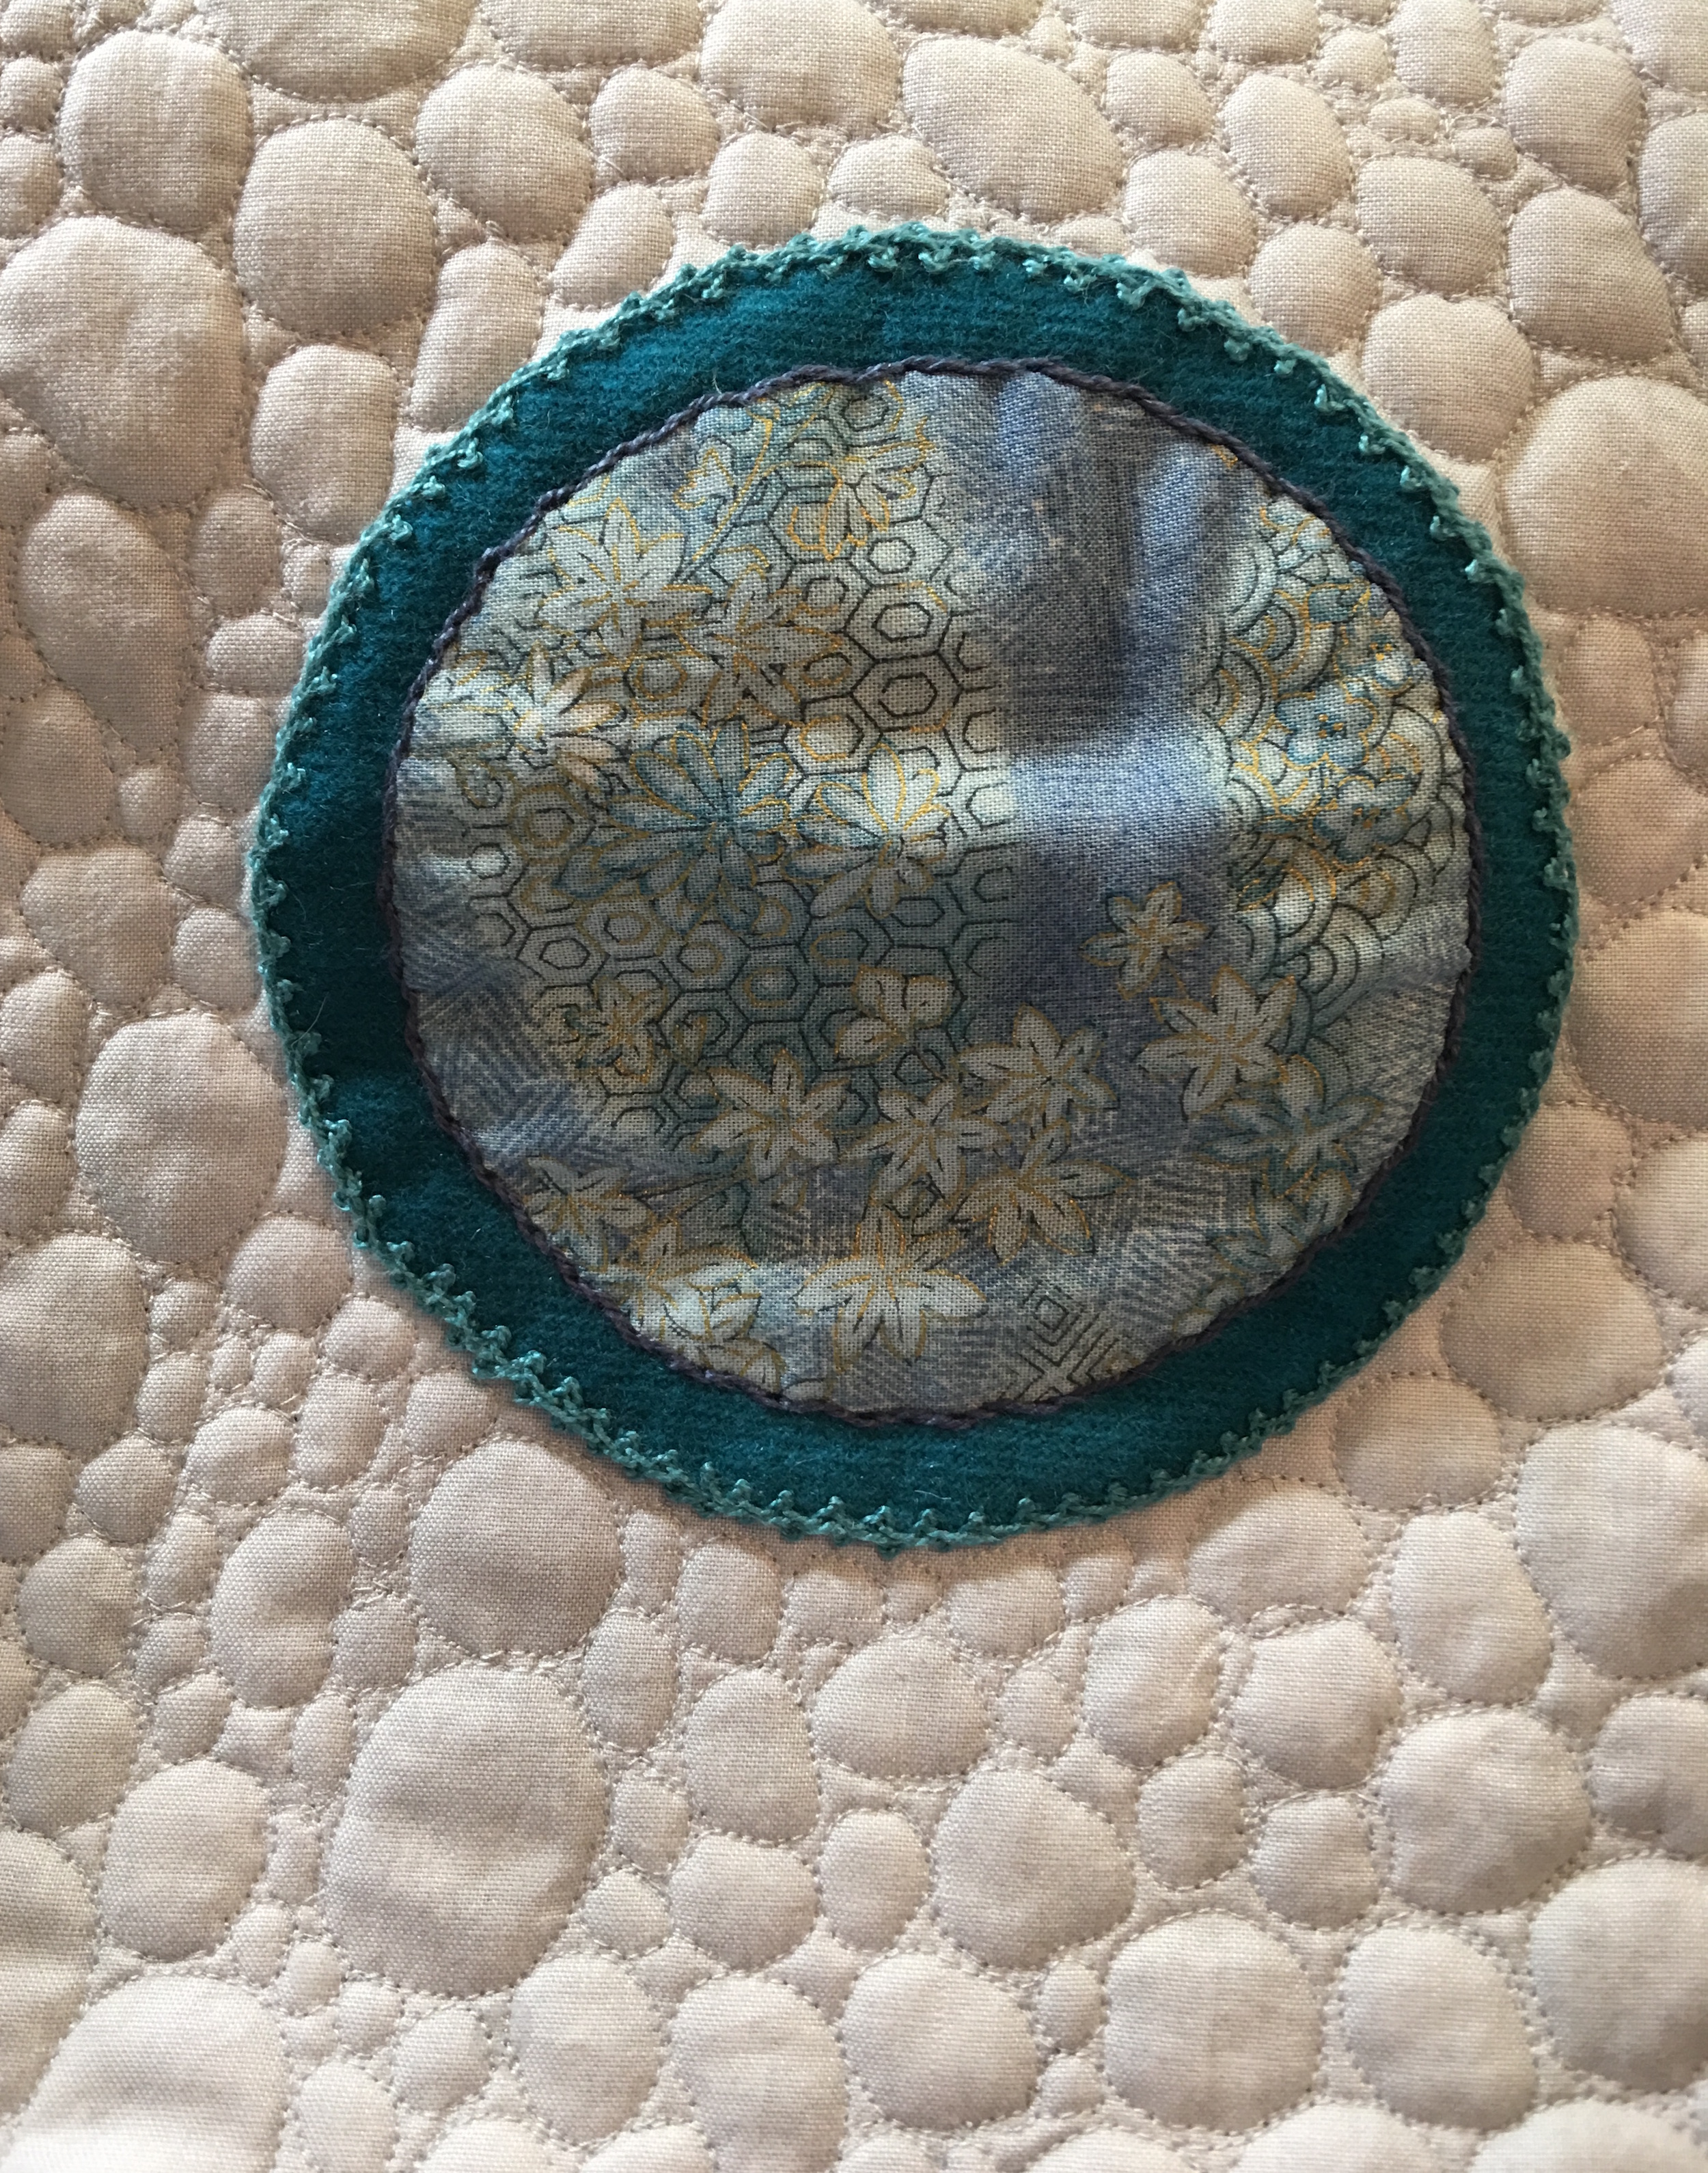
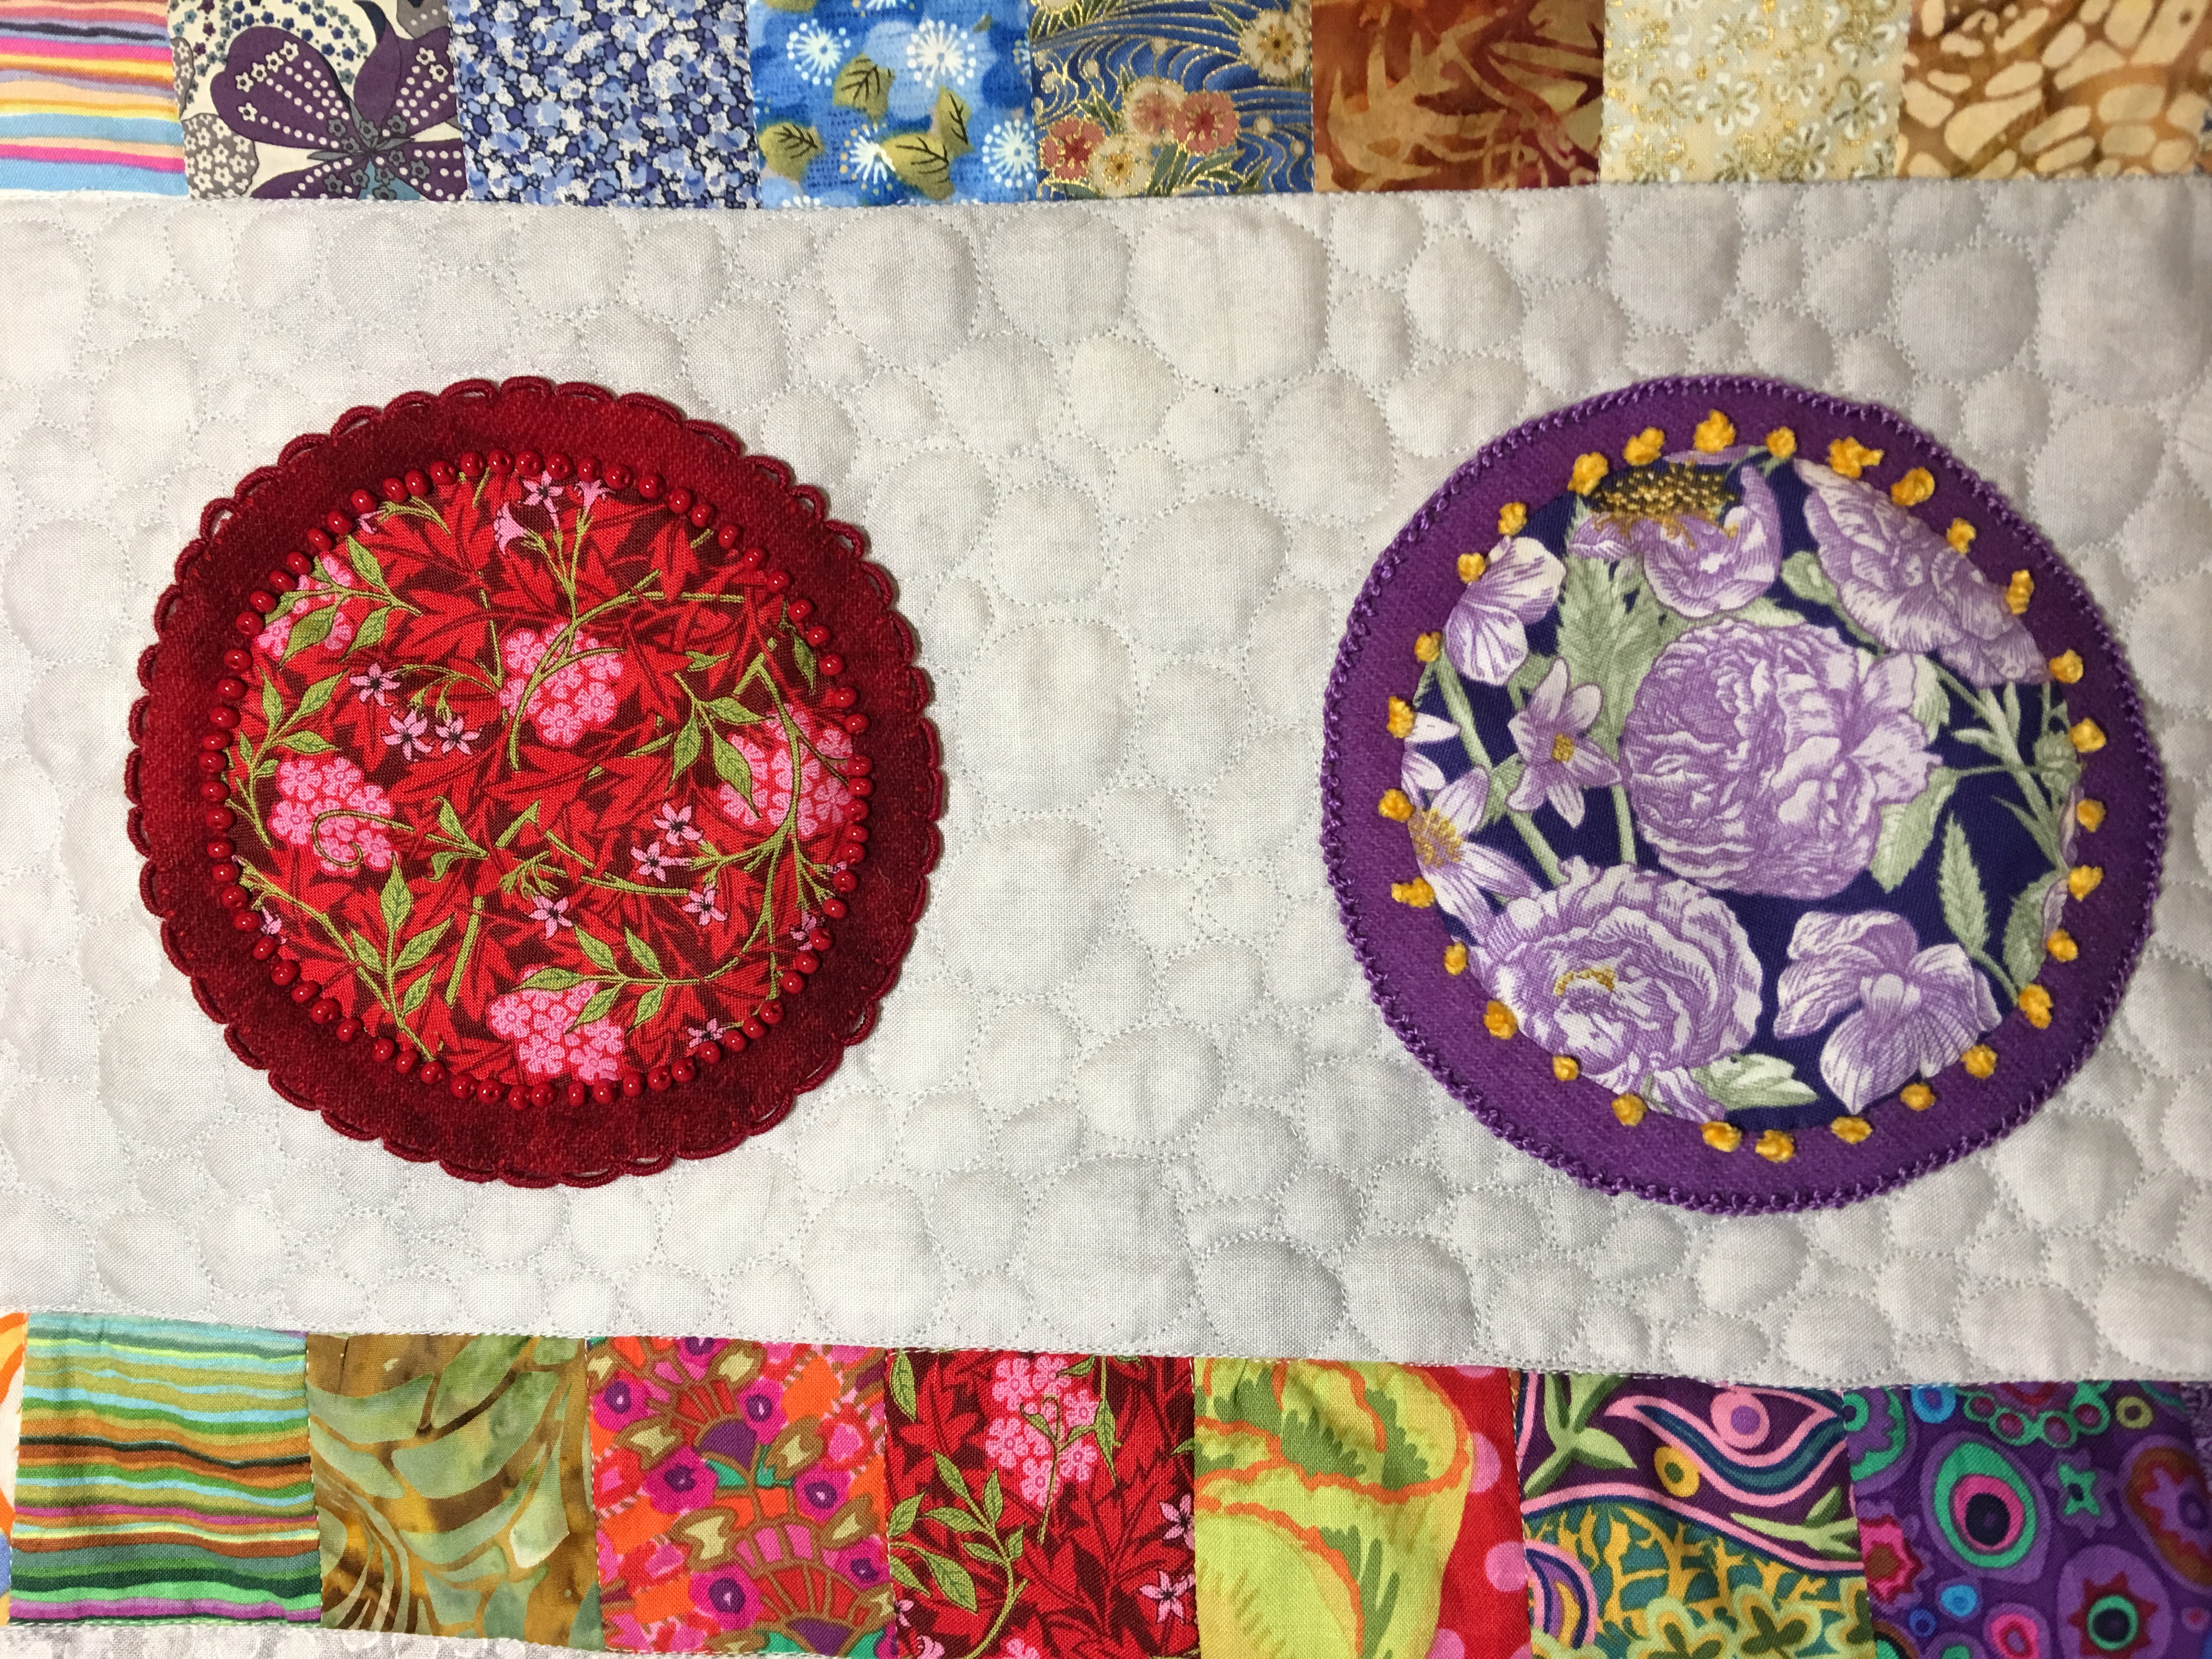
This is the queen-sized quilt that I have written about ‘here‘, ‘here‘, ‘here‘ and ‘here‘. In a nutshell this quilt was my starter quilt. I wanted to learn how to make a quilt start to finish. This quilt was designed by Kim McLean and is called Flower Pots. I took a class where we followed the pattern, learned to appliqué, and got to use all the things I had learned from Sue Spargo – layering, using different fabrics such as wool and velvet and then perle cotton and other threads and a multitude of stitches to enhance the shapes. I hand stitched all the appliqué and machine stitched the panels together with the sashing and border. I then used a wool batting and learned how to free motion quilt. I used a red batik for the binding, cut on the bias and hand stitched the back. Finally I made and applied a quilted label.
This first picture is of the lower center panel where I decided to try an emerging pattern of double leaf free motion quilting shape. I used a slightly darker grey thread.
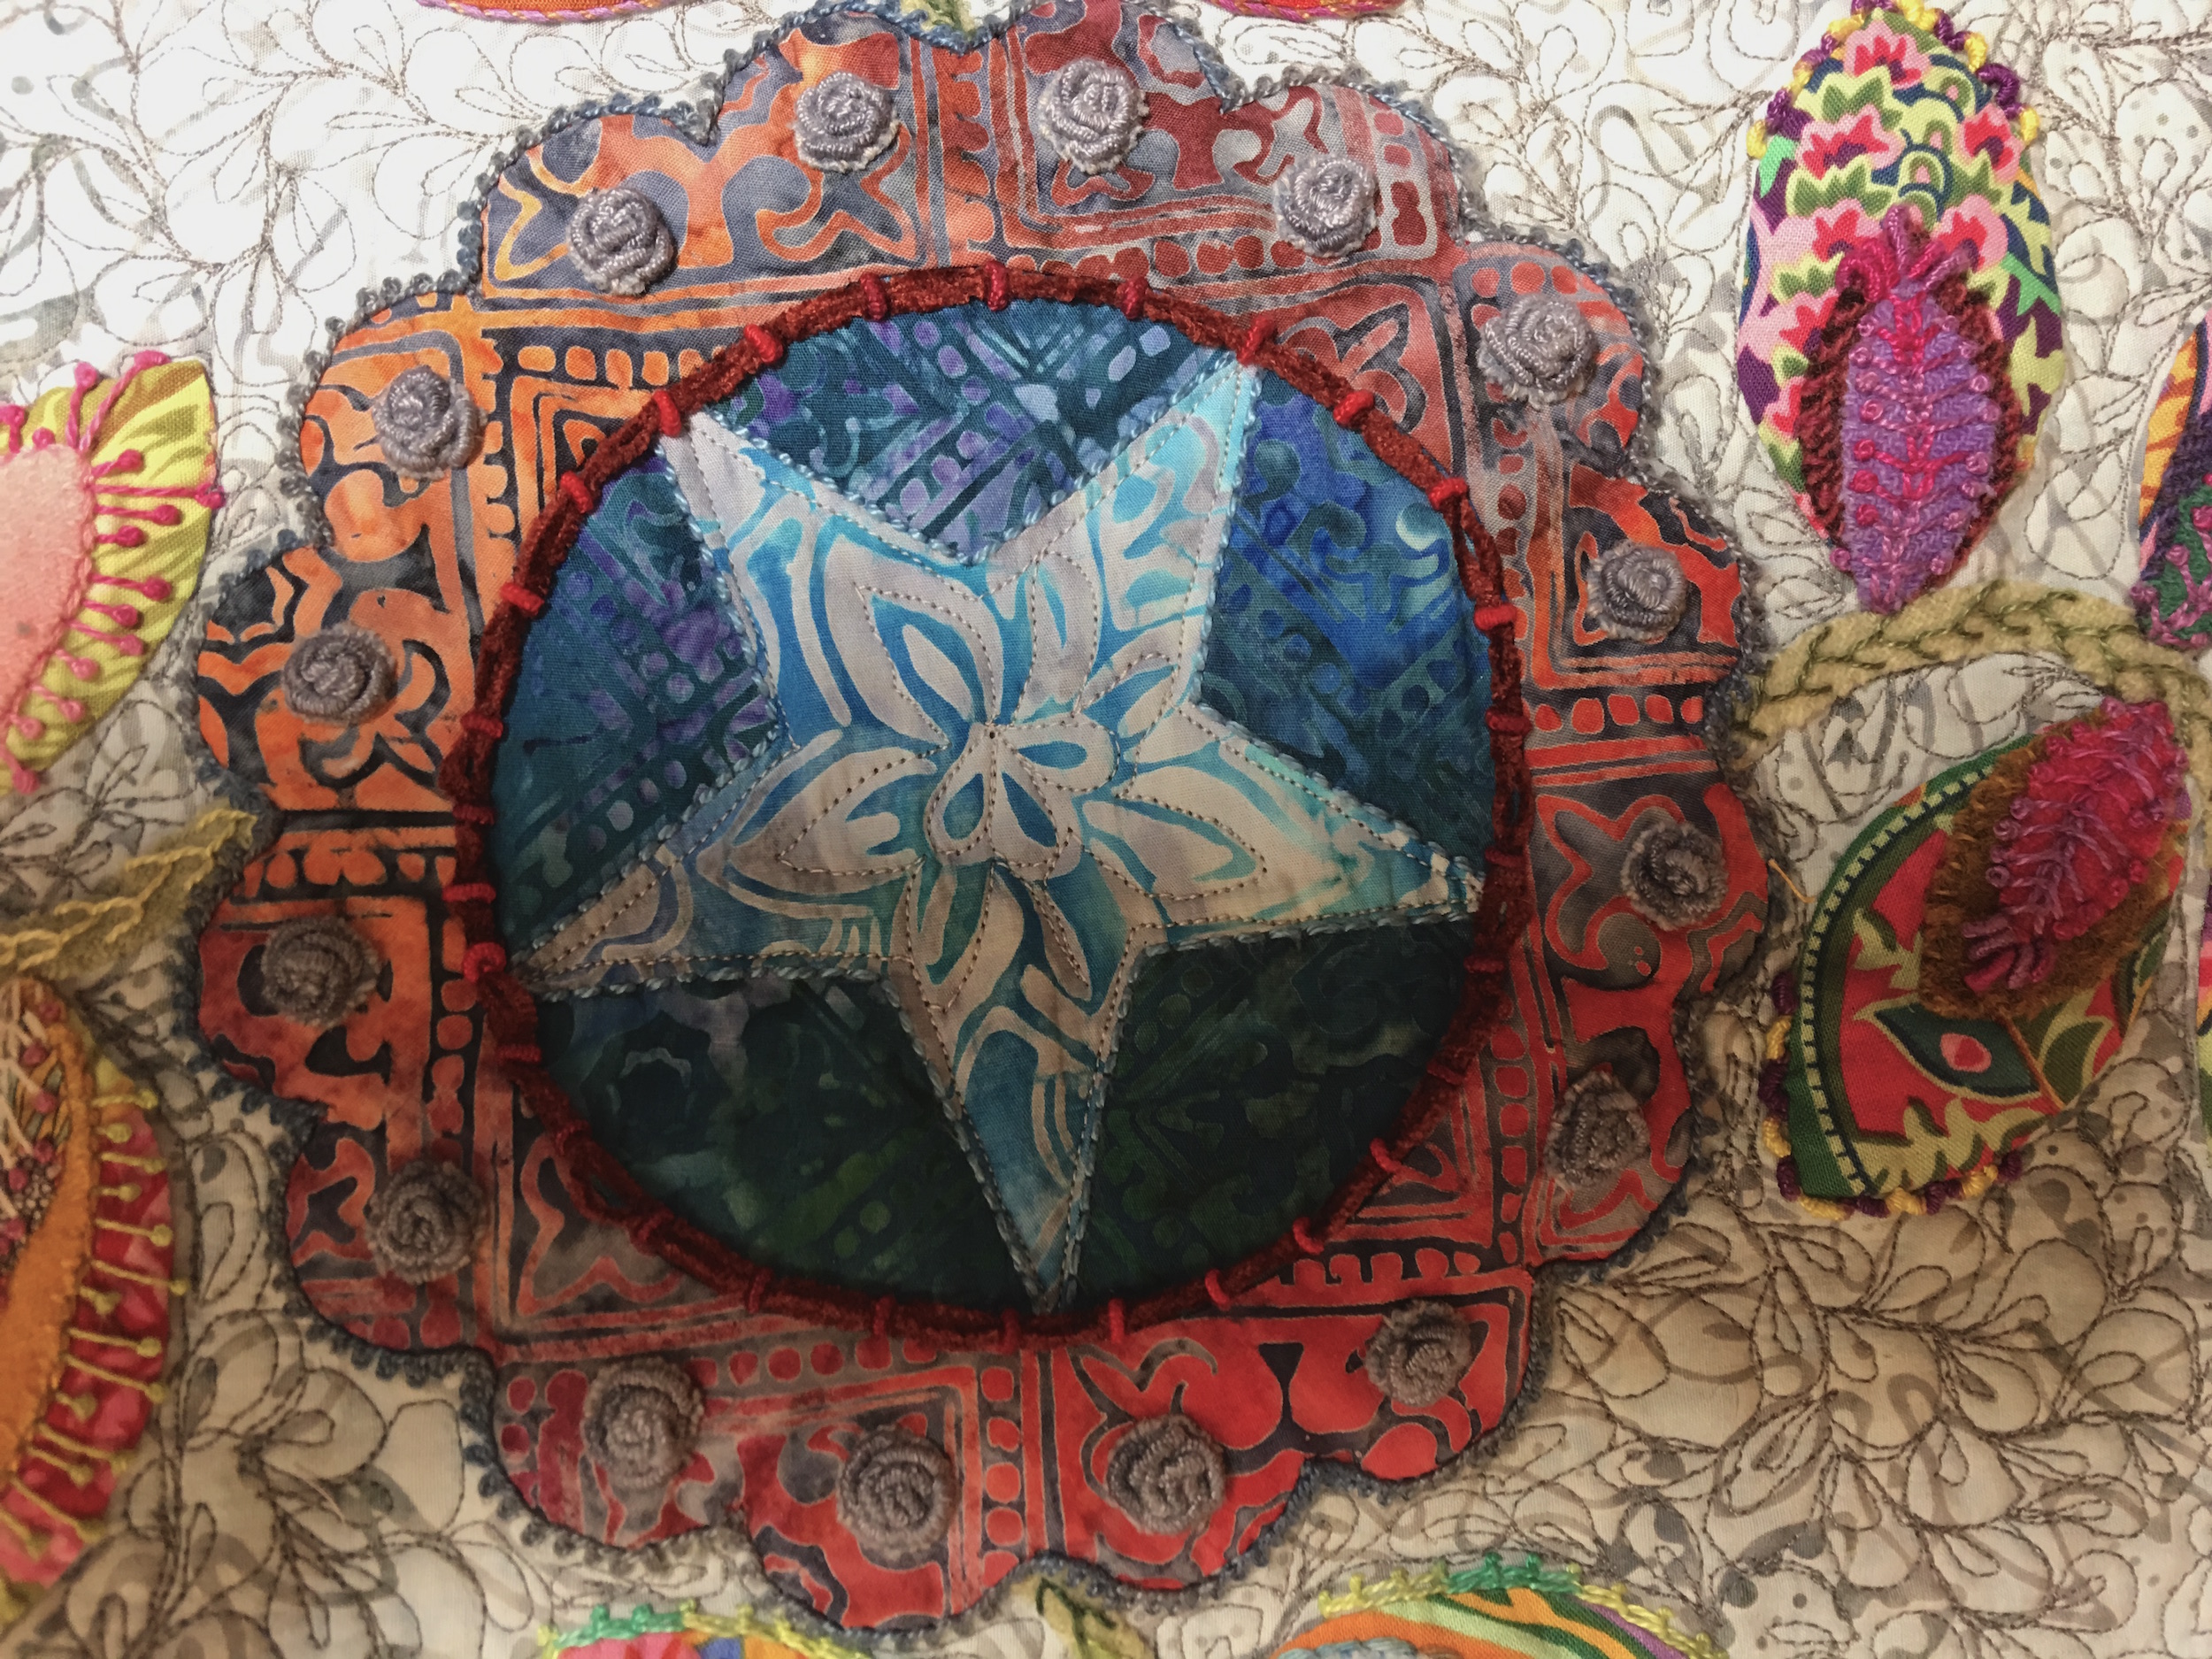
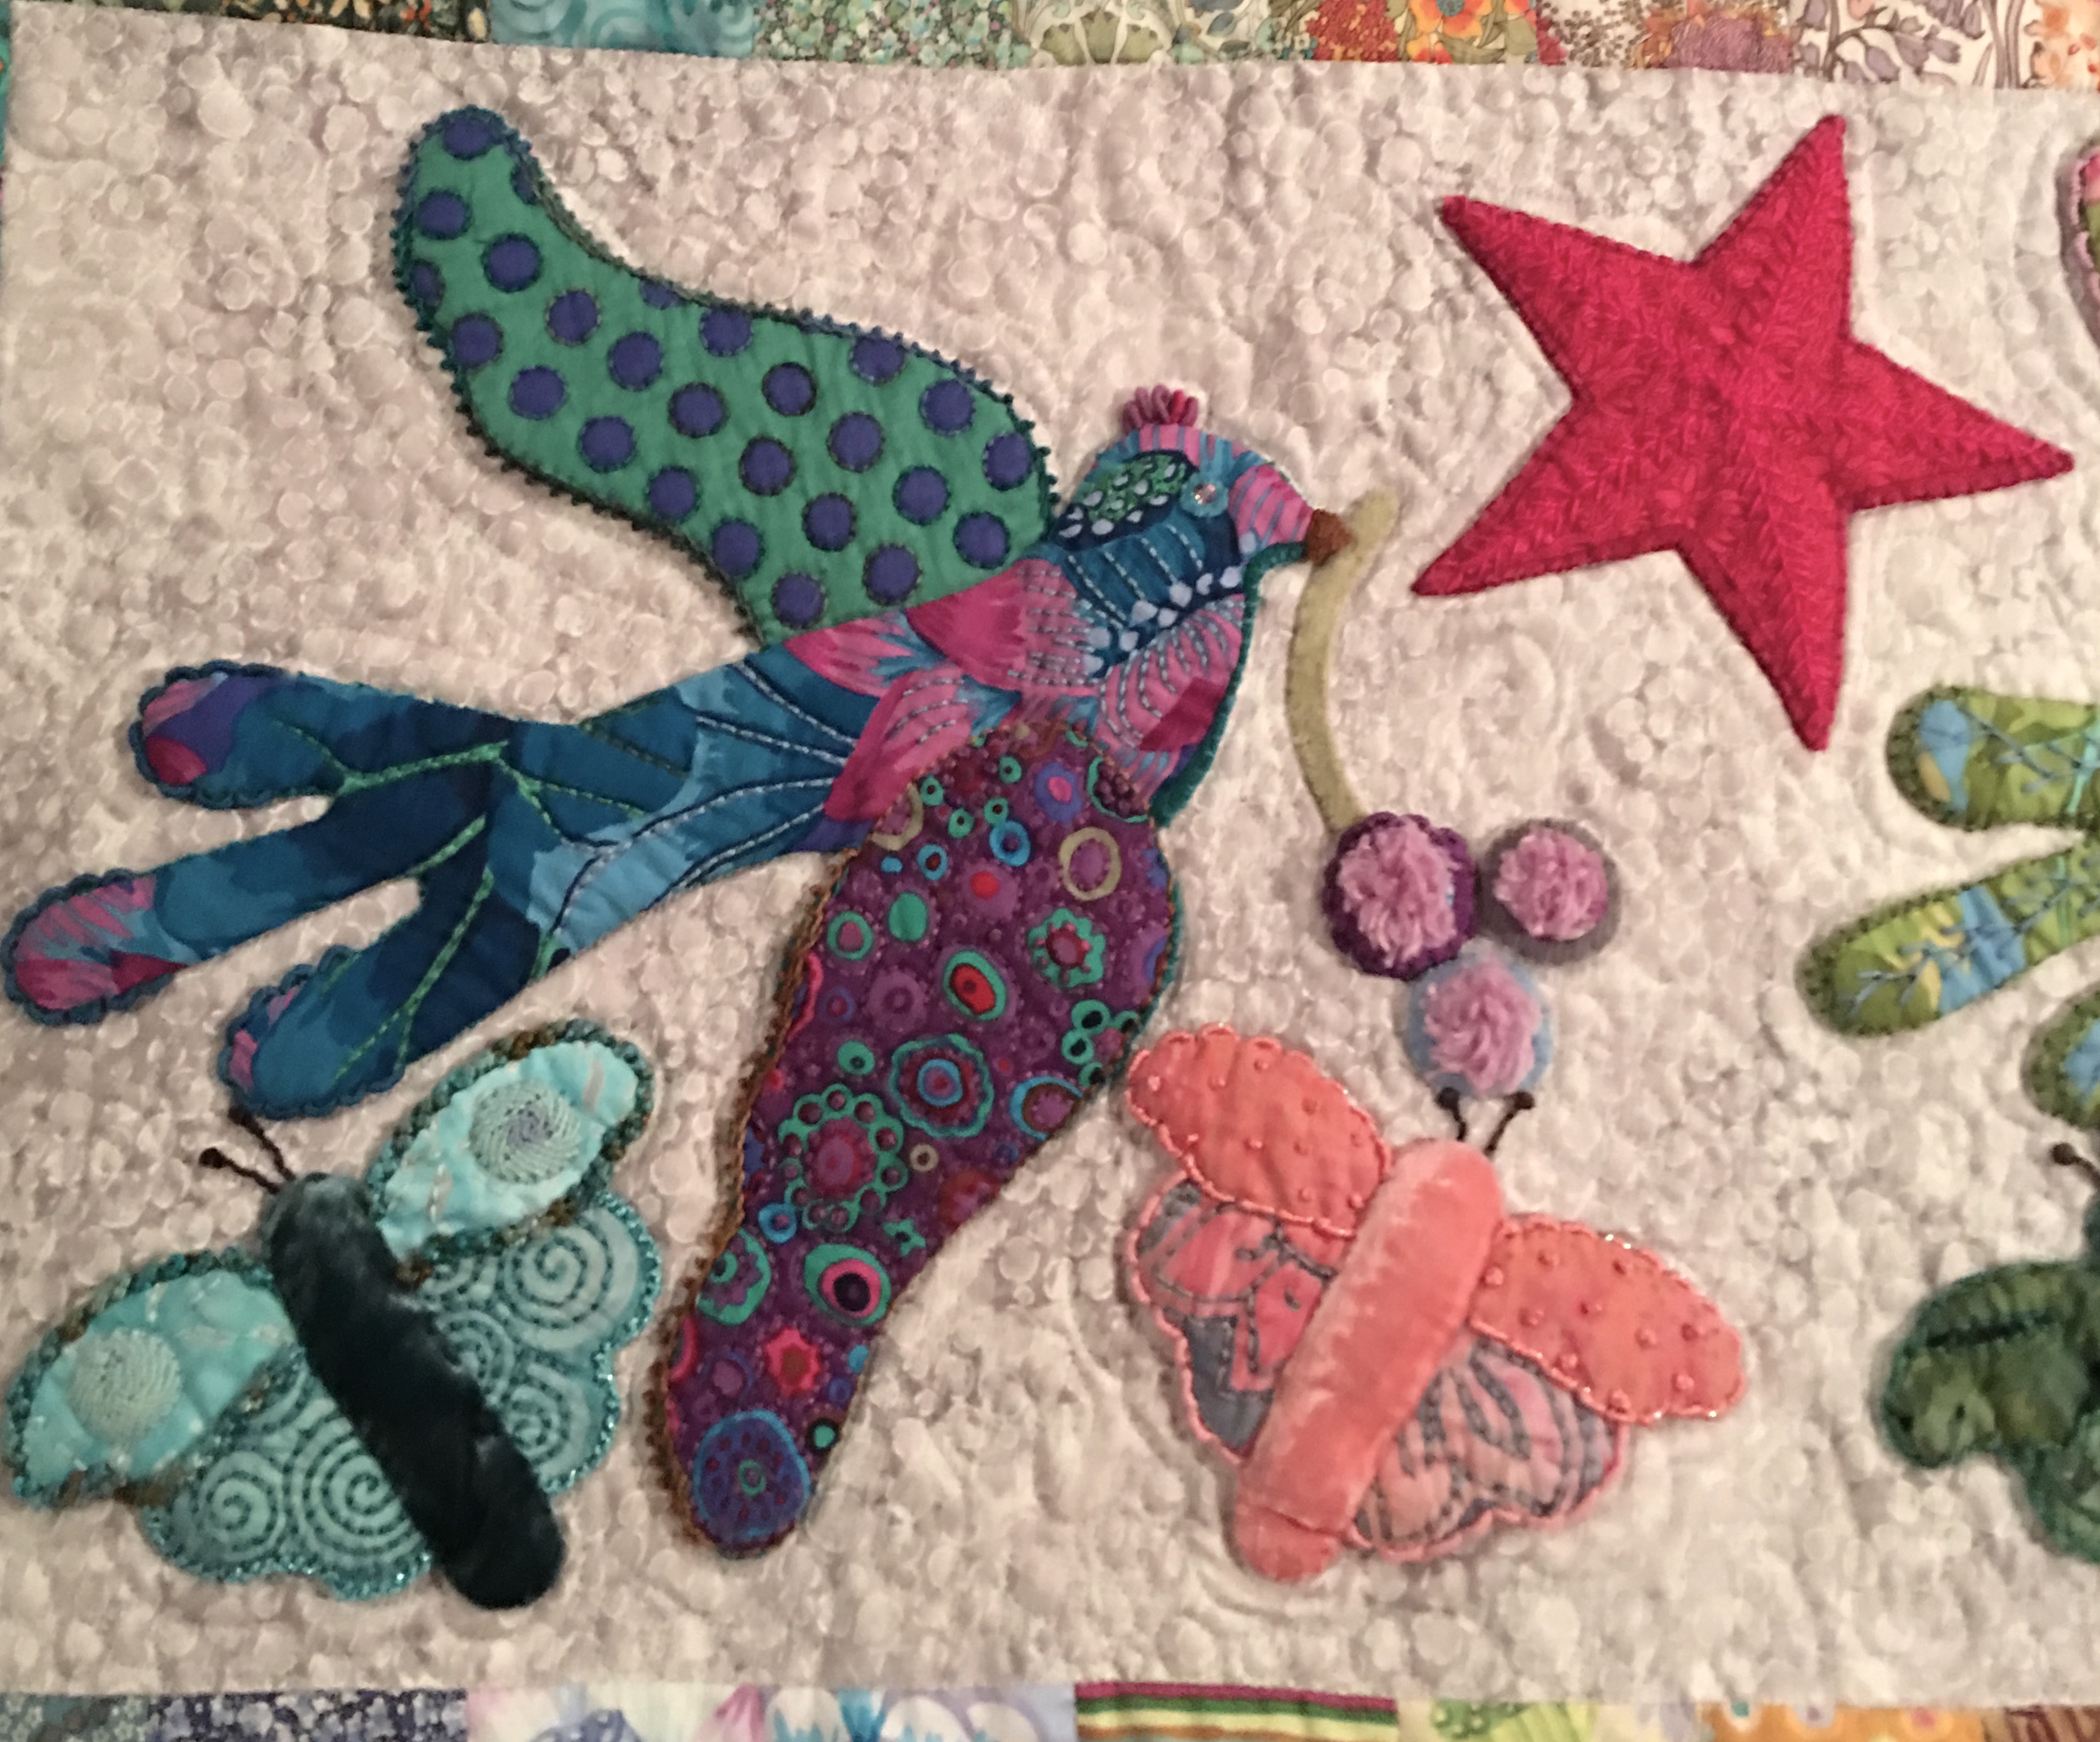
Center Star Panel
For the upper center panel I wanted to try my hand at McTavishing, which is named after a woman who created a specific way to free motion quilt. After a few times, I went off and did my own thing, echoing, but also playing with flame shapes.
Top Center Panel
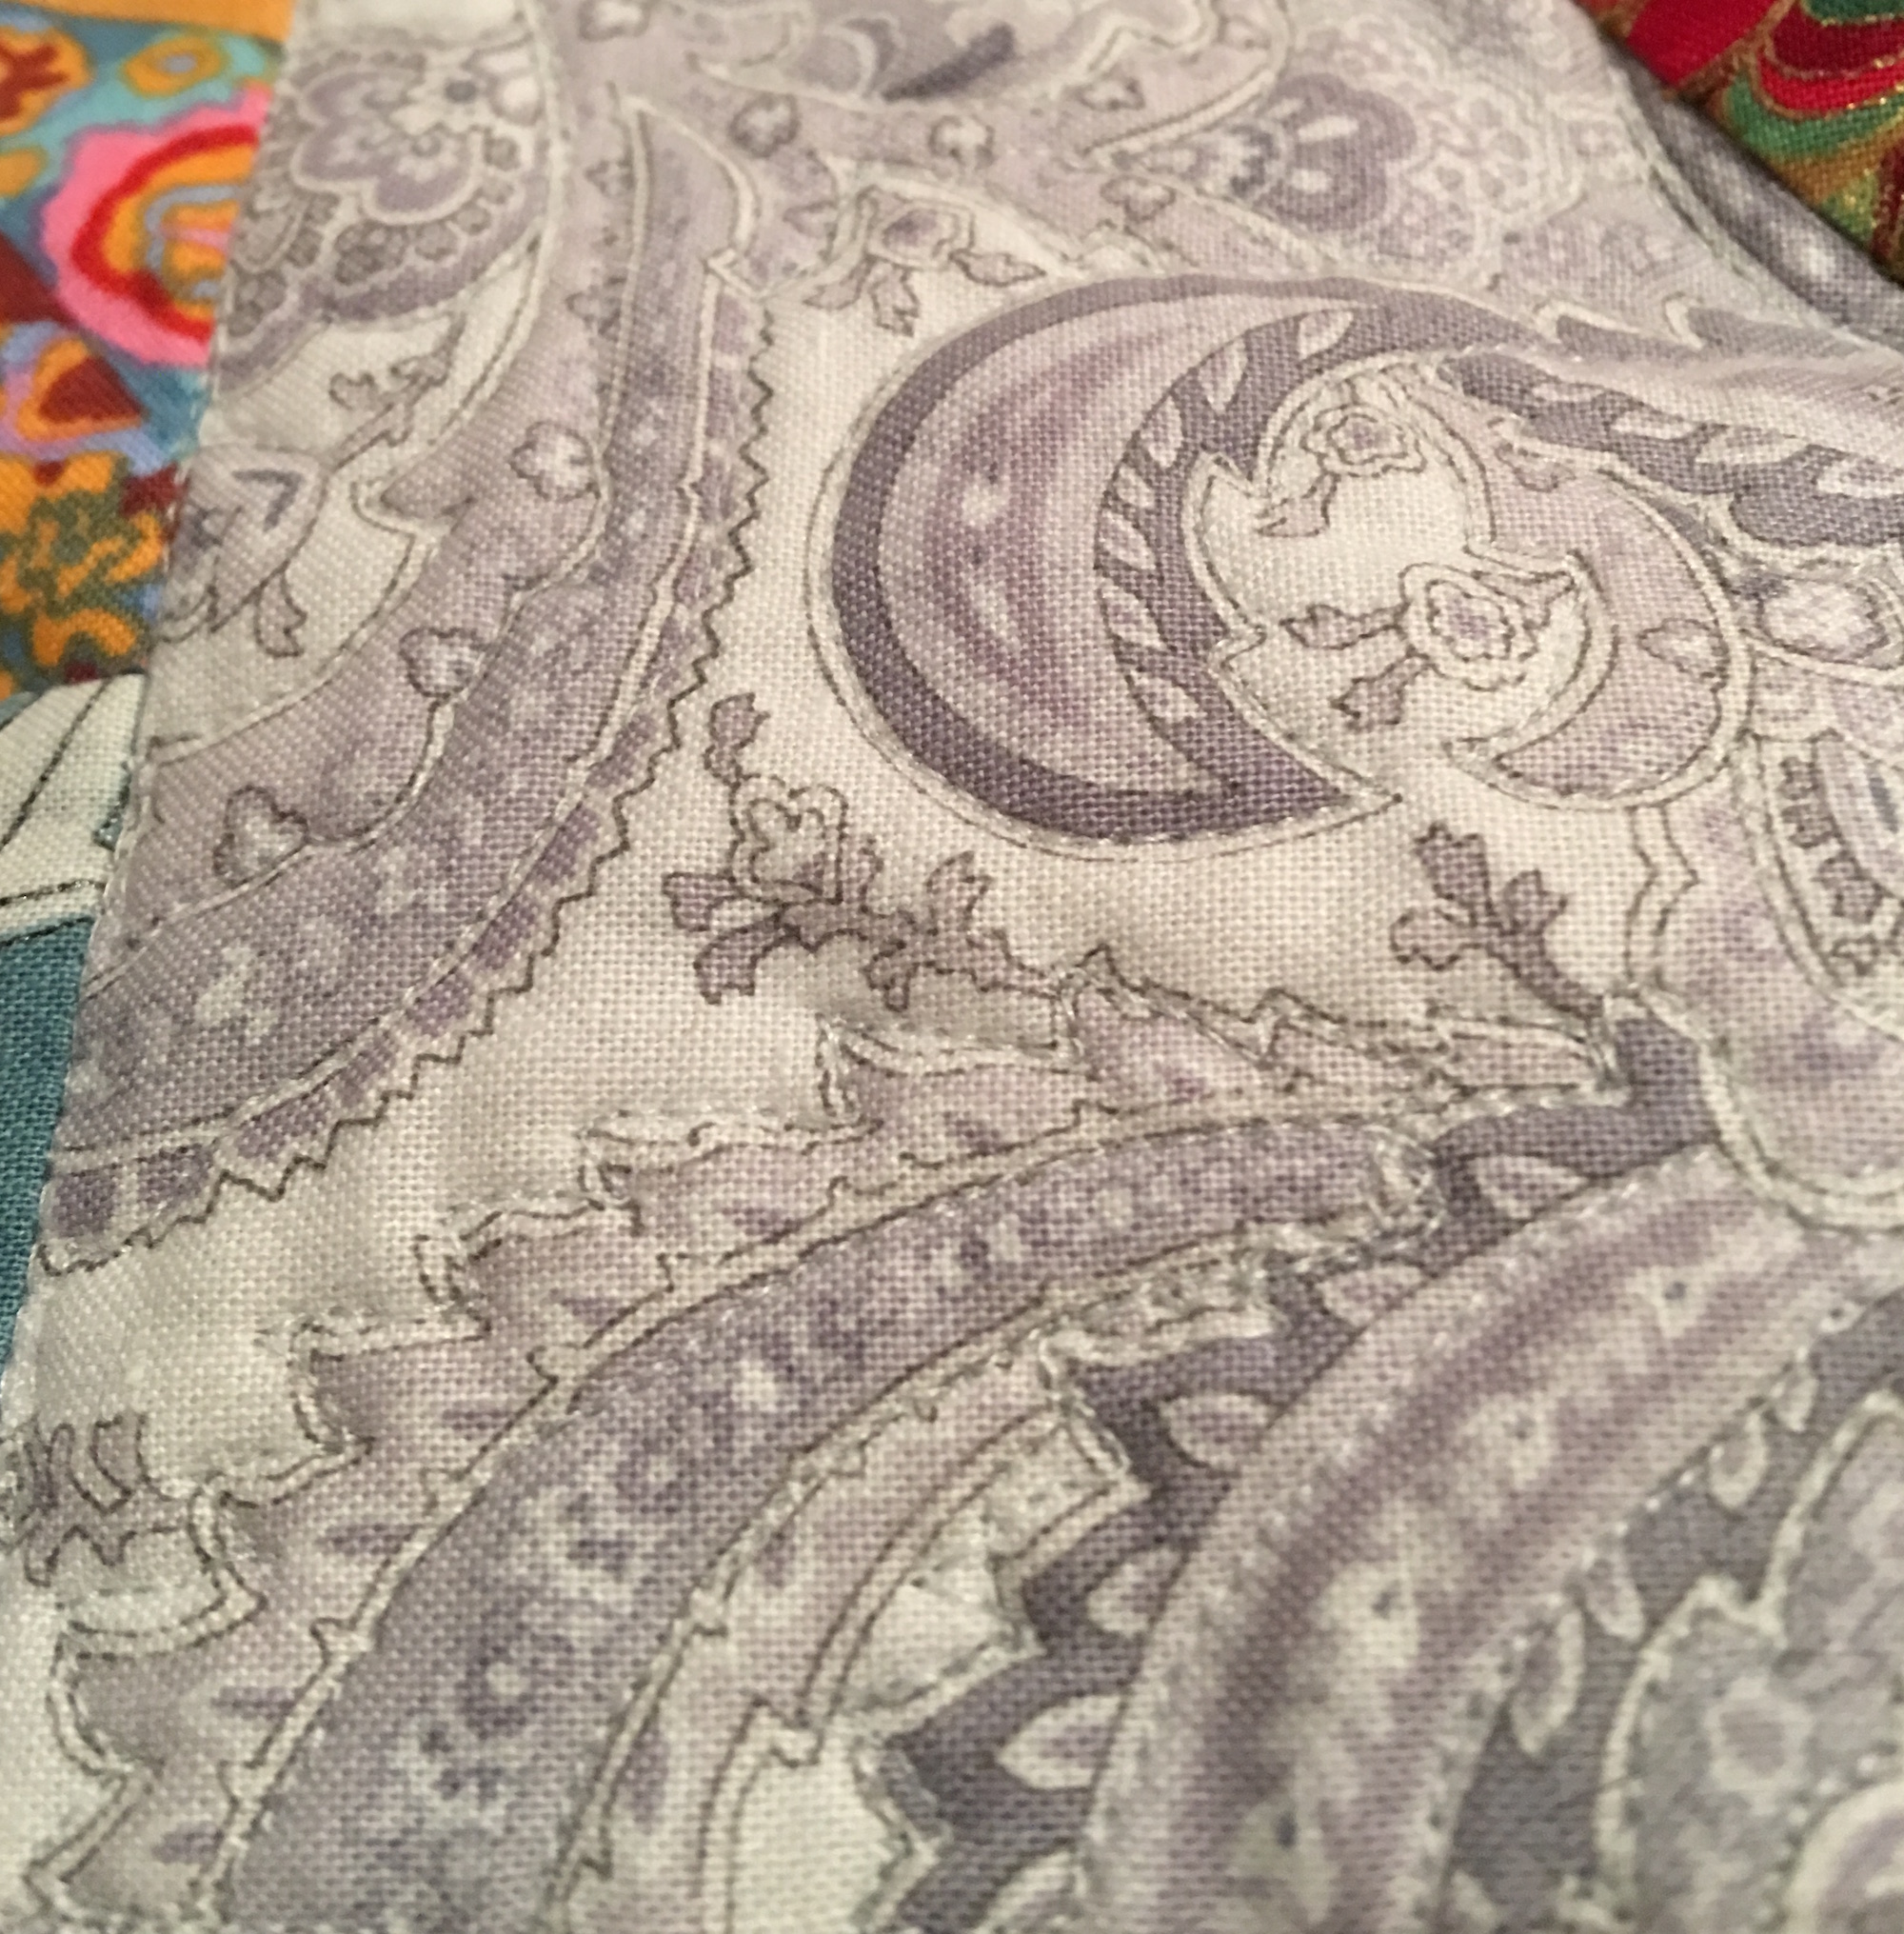
On this long side panel I decided that the paisley fabric was so cool I would just use it as a quilting guideline. I really loved how this turned out, though it’s hard to really see, I did add a close up below.
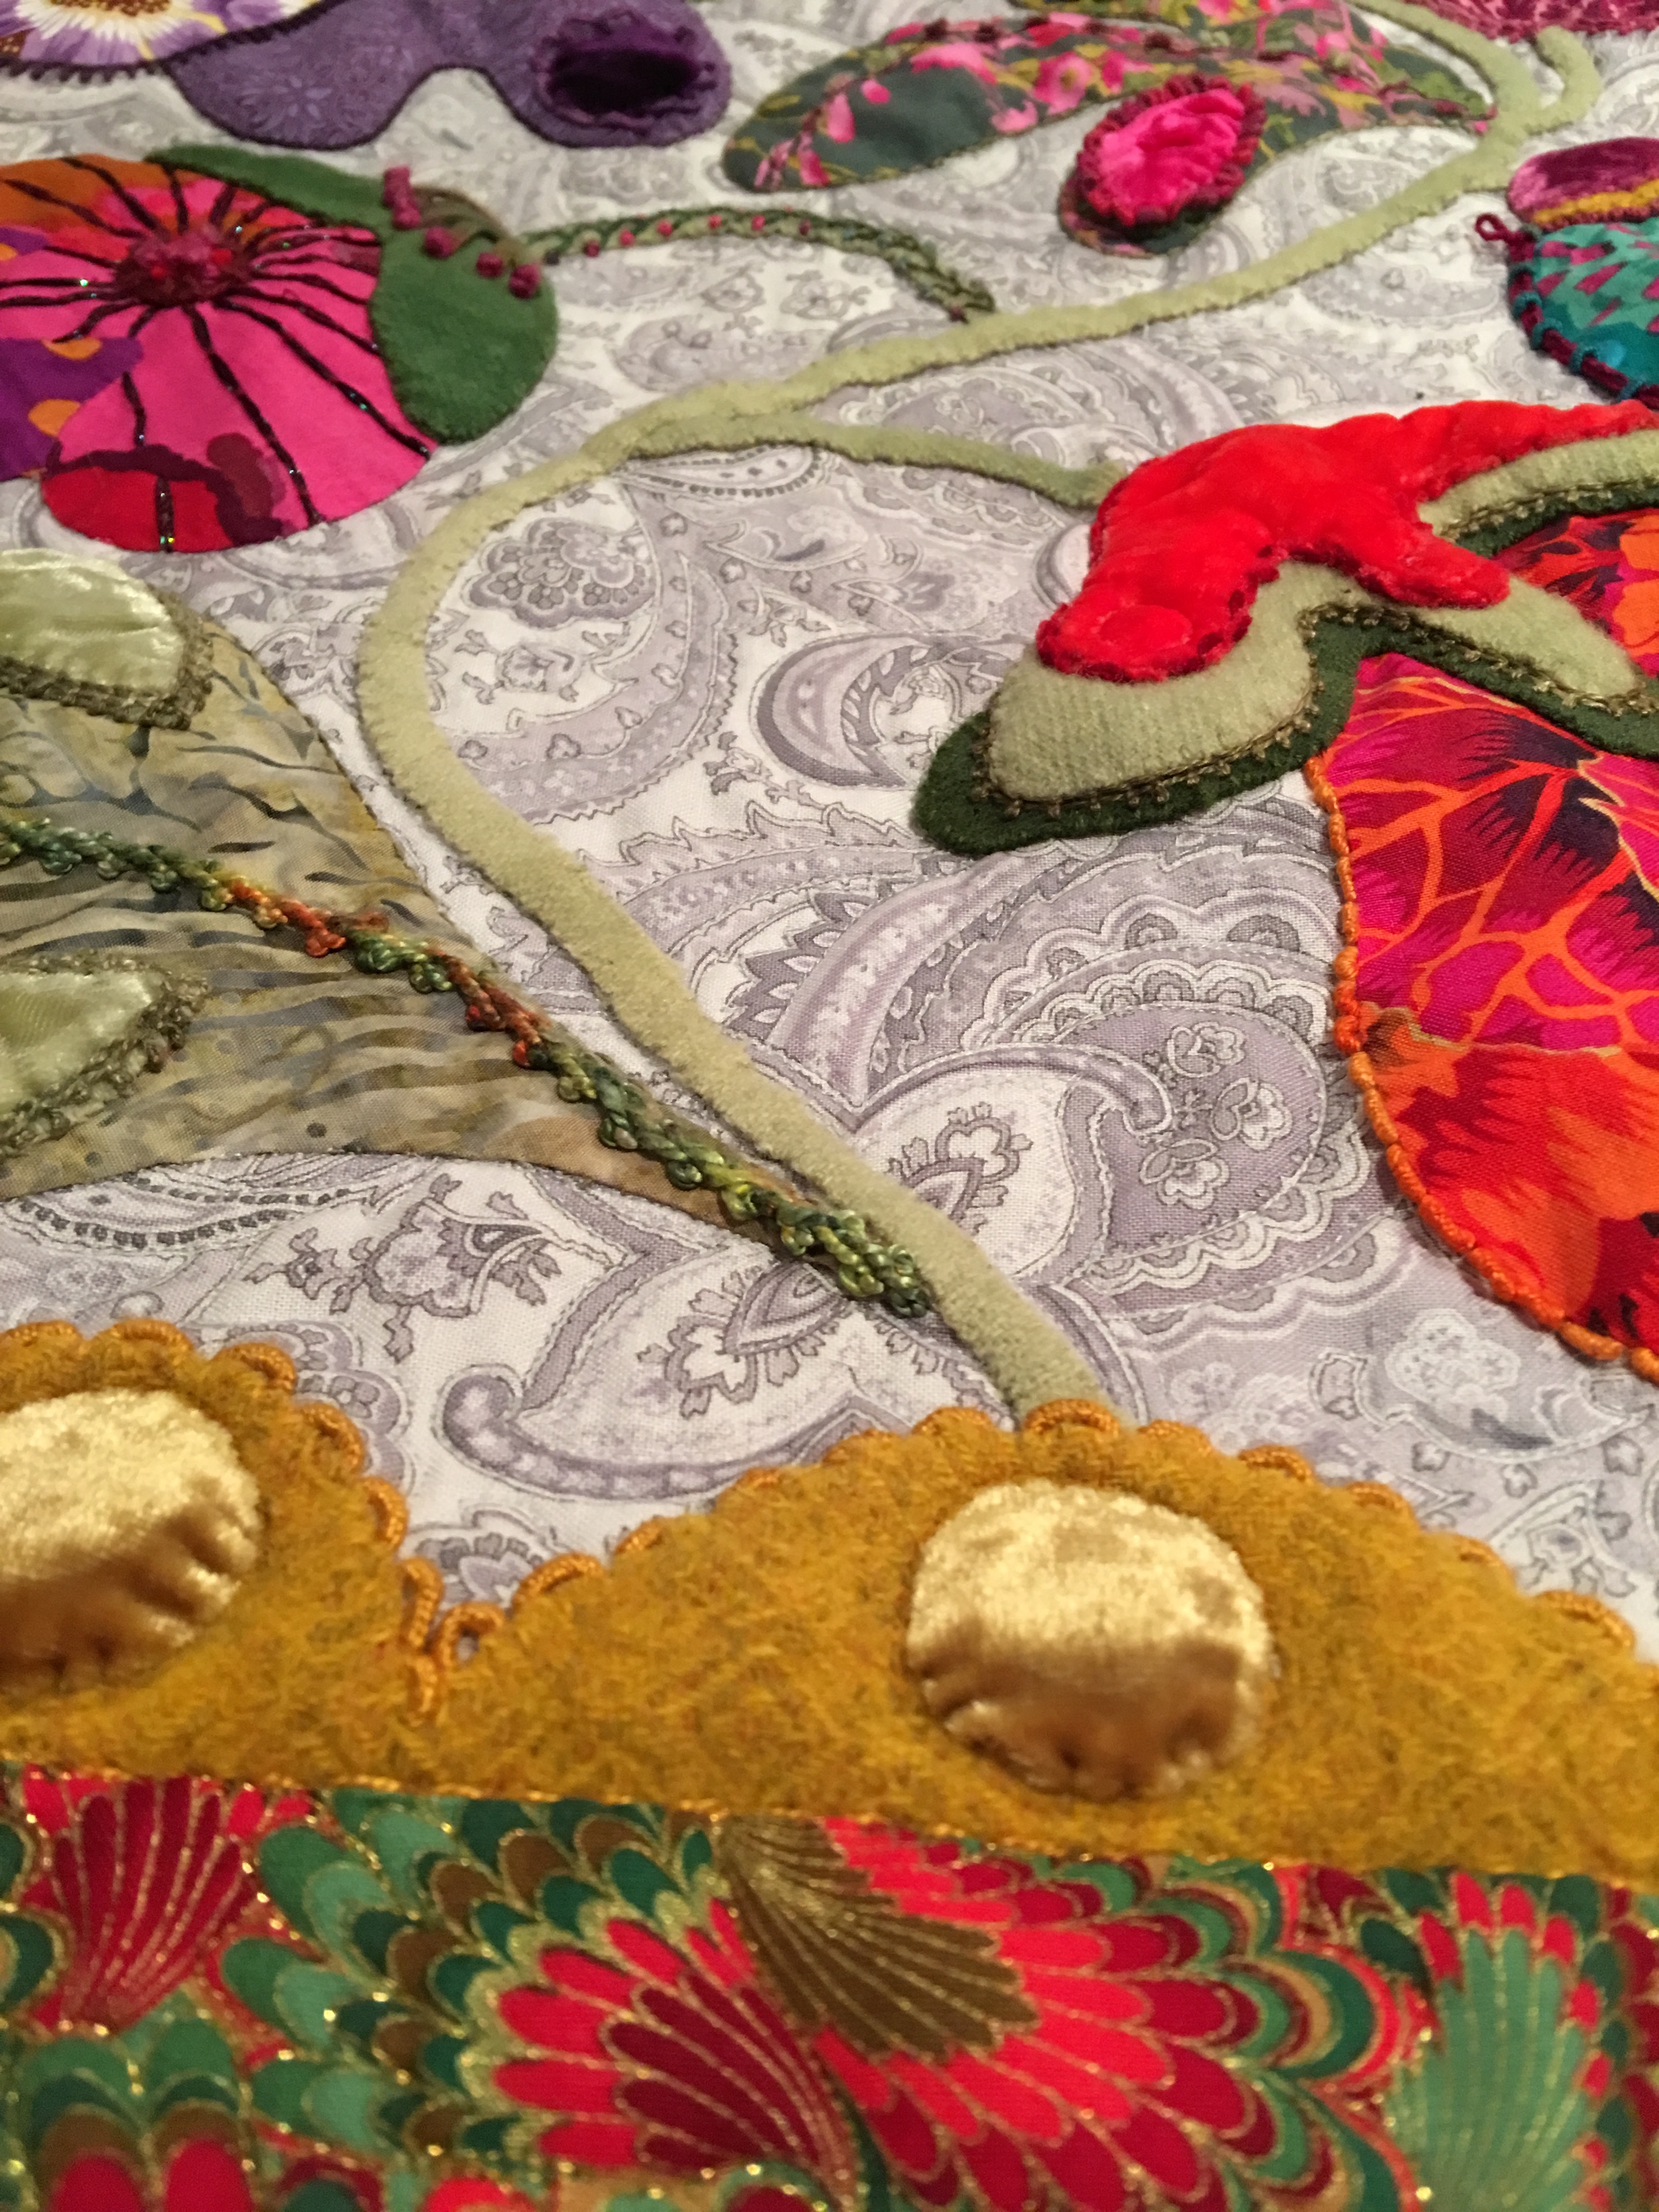
Side Panel
Detail of the free motion quilting on the side panel
This is the bottom panel and I included pebbles, echoing and swirls, which I did again on the top panel.
Bottom Panel
More of the center panel
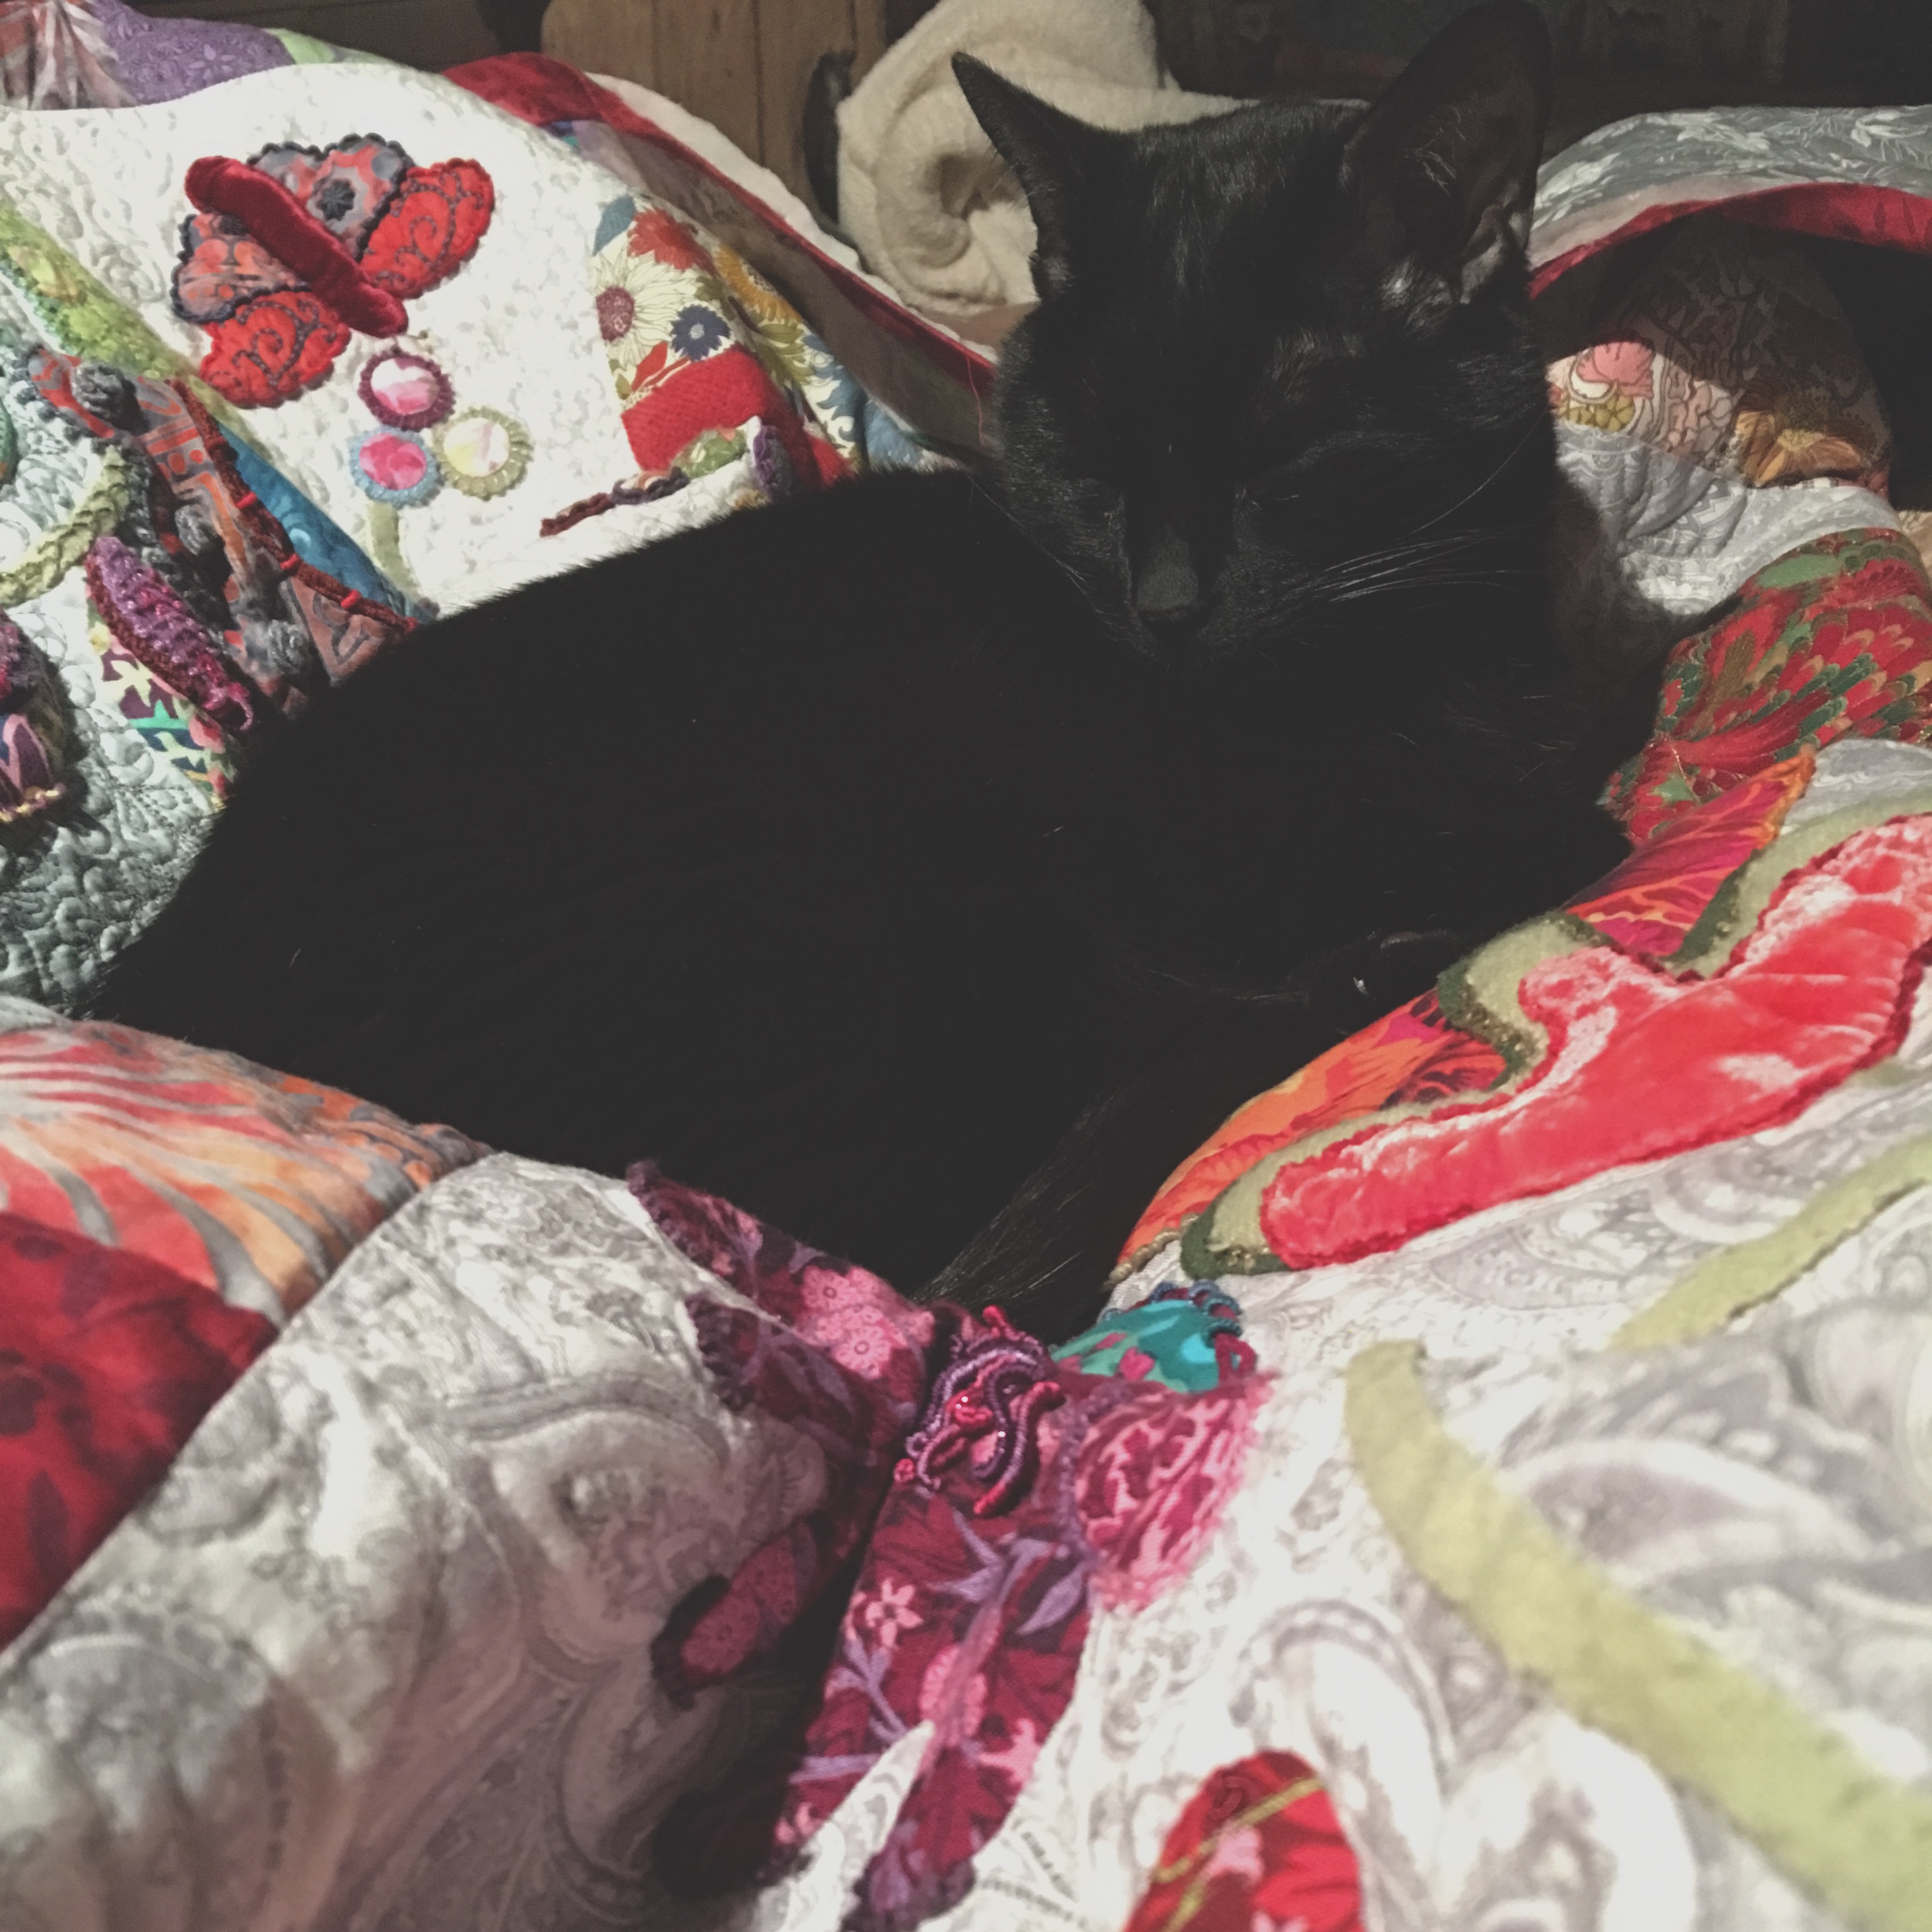
Merlin naps as I work
Merlin was constantly coming over to nap or pretend to nap while secretly inspecting my work. He loved snuggling up amongst the folds as I worked, making for some interesting adjustments on my part as I hated to disturb him!
The border
The entire border I did in a pebble stitch, which I love. It’s so reminiscent of shapes I used for my jewelry collection, The Lotus Collection. And now that I think of it, the swirls in the bottom and top panels remind me of my Samadhi Collection.
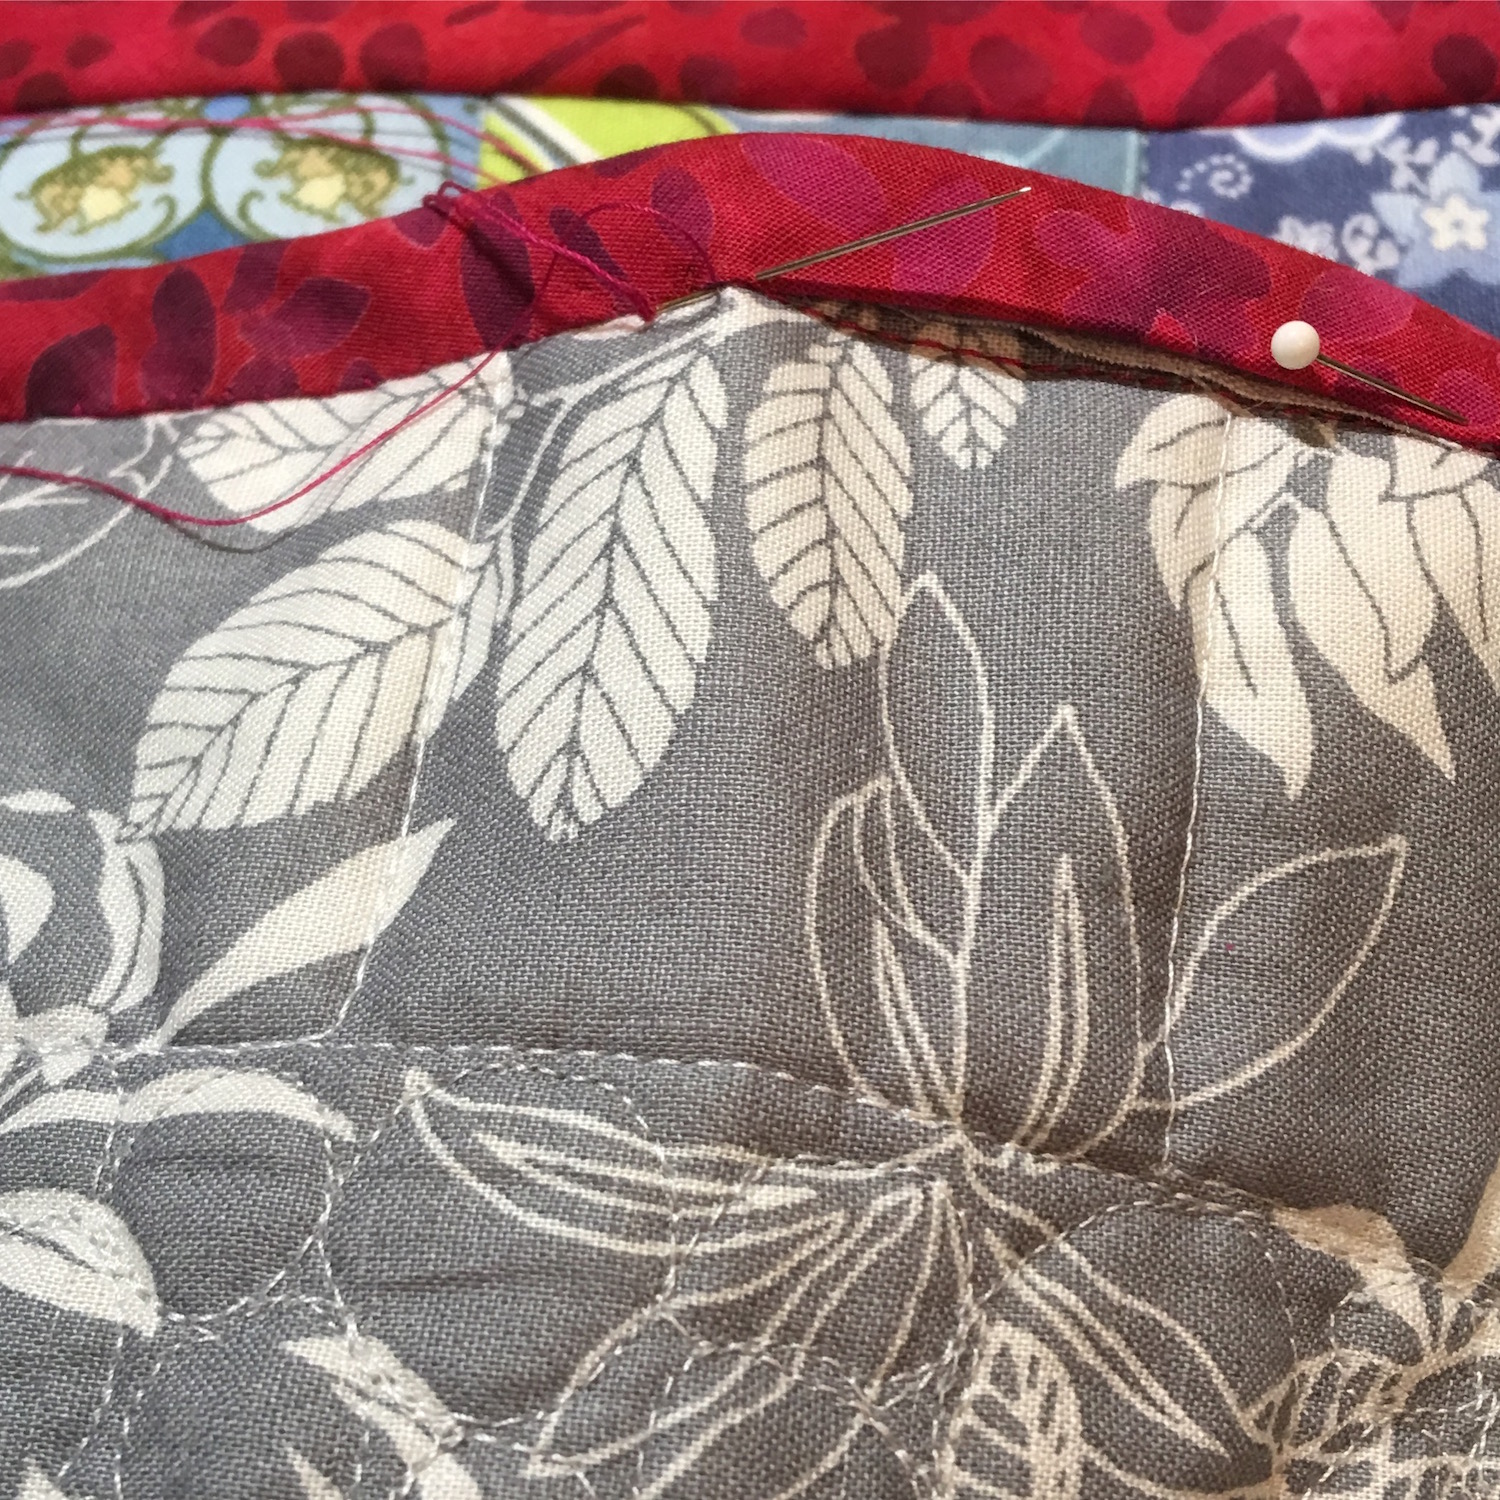
Hand Sewing the binding
Finally I had to learn how to make and add a binding. After a number of different ideas regarding what fabric to use, I decided, with my FH’s (fabulous husband’s) help, to go with a red batik. Batik tends to be pretty densely woven, and as the binding can get more wear and tear than the rest of the quilt, I thought it was a good choice, plus, I love the red. I cut it on the bias, mitered the corners, and hand stitched the back.
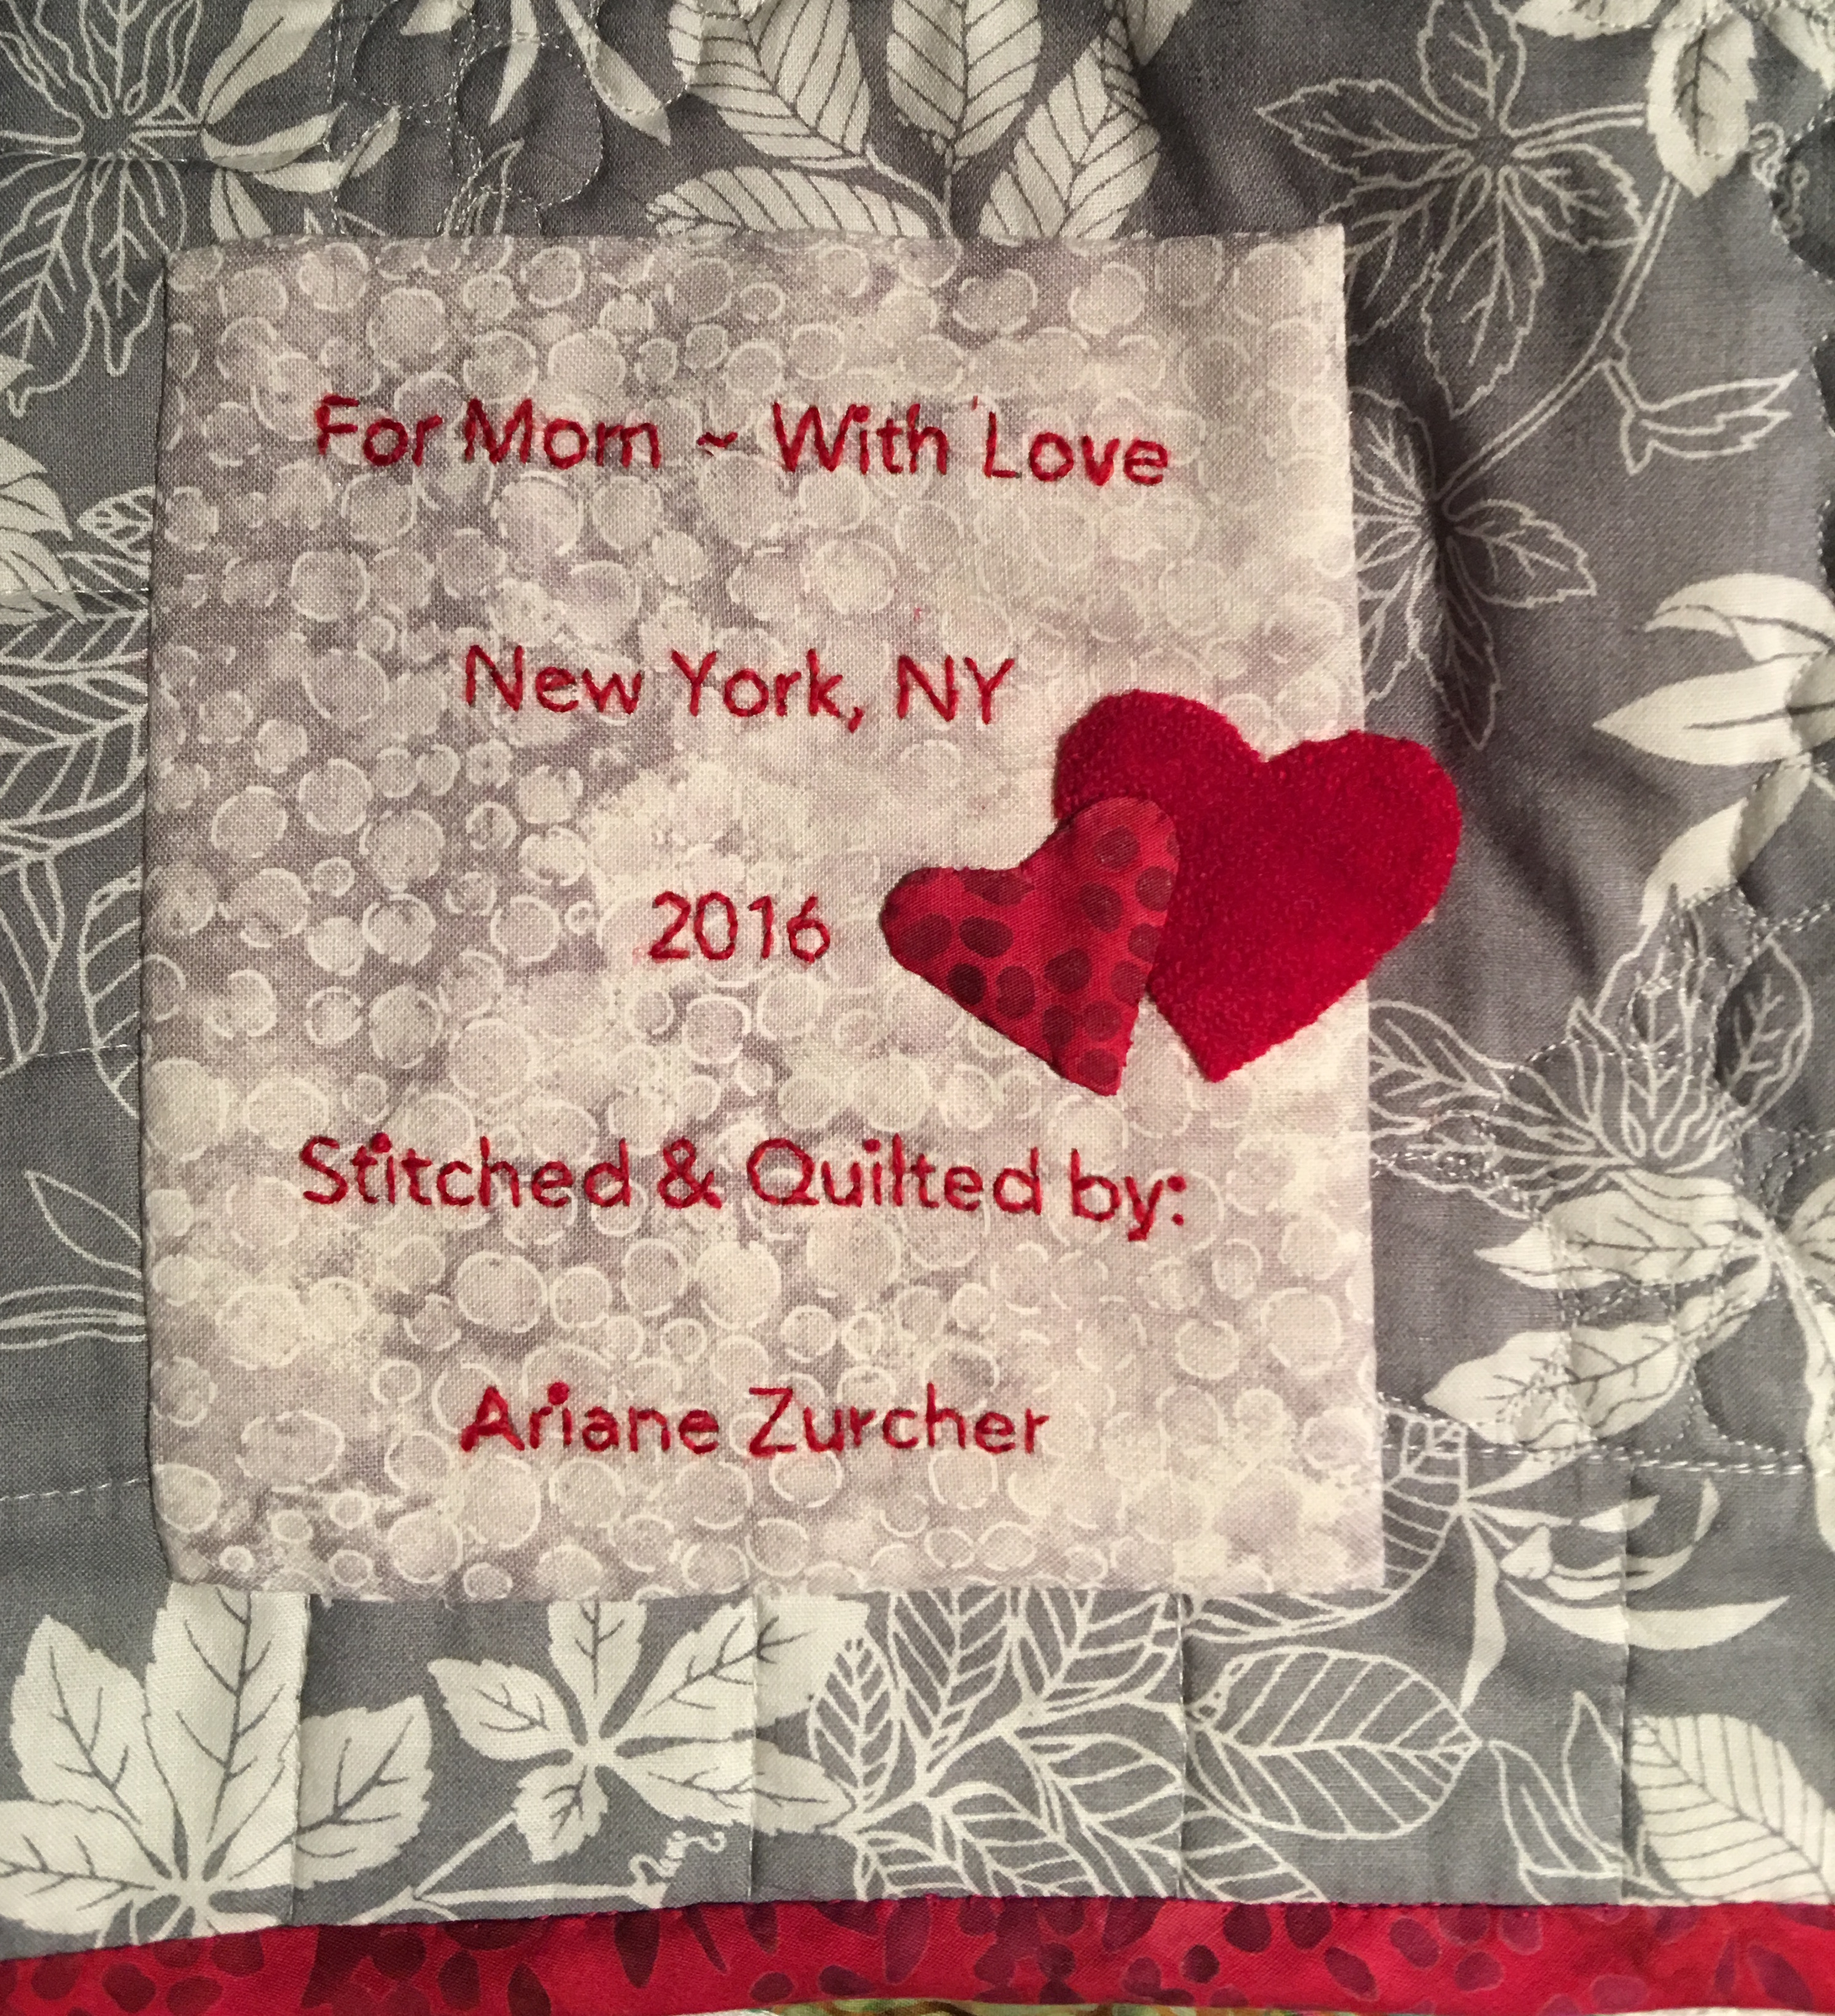
For my beautiful mom ~ Merry Christmas
And then I had to learn how to make a label for my quilt. There are wonderful ideas on Pinterest. Are you on Pinterest? I LOVE, LOVE, LOVE pinterest. I made a label using word documents and then used a freezer paper and cut a piece of fabric that I adhered the freezer paper to and copied the printed label onto the fabric, lightening the tone so it was just readable, but wouldn’t show too much. I then removed the freezer paper, sandwiched the printed material with a cotton batting and muslin and then used red wool thread and stitched the text. I added the little wool red heart and cut out another smaller heart in the same fabric as the binding because I figured I can’t add enough hearts to a quilt made specifically for my mom.
So Mom, if you’re reading this, the cats out of the bag. Merry Christmas!! This quilt was made for you. I thought of you the entire time I was making it. I hope it will keep you wonderfully warm during those cold winter months and I’m told wool batting breathes and should be perfect for the summer months as well. I love you.
What’s next? A twin-sized quilt that I will design, stitch and quilt!! I’ve got my sketch book and am playing with some ideas… I’ll keep you posted! Heh-heh, a little pun to end this post.
My mother has always been a self proclaimed “student,” whether that’s a student of life or of a specific topic, she has always been curious and an avid learner, and as a result, she is a really interesting person to talk to. I, too, am a constant “student.” What this means is that I am often a beginner, which means I’m learning, practicing, making mistakes, perfecting, learning more. When I was younger I wanted to be an expert at something, anything, but as the years wore on I have learned to love the “beginner’s mind,” which can be applied to just about anything. (There are some things I do know quite a bit about and as a result I have strong opinions about those topics, but I’m talking about learning and how it applies to the creative process.) Having a beginner’s mind means being curious, open and filled with wonder. This post is about creating, and in order to create I need to be open to new things.
Last January I took a class, an actual class, not a virtual one, at the soon to be closed City Quilter. It was a BOM (Block of the month) class, and though there were not 12 blocks, but instead six, I figured it would be a good way to learn the process of taking a quilt from start to finish, and it was! I learned a different appliqué technique, I had the support of other classmates, I enjoyed going in once a month to see what everyone else was doing. It was wonderful. It was my first BIG project and I’ve written about it at length in previous posts ‘here’. Each block was hand appliquéd (I’m adding the link to the Craftsy class I took, that helped me enormously, with the hand appliqué technique) and I applied all the stitches I learned from Sue Spargo’s Craftsy class. I’ve talked about the joy of Craftsy in other posts ‘here‘ so I won’t go into all that again.
Once the quilt top was put together, I had to learn how to quilt the whole thing, which took me to this class and this one and this one. I am now in the final stretch and I continue to learn, make mistakes and try again and then learn some more. Each time I don’t know how to do something I google it and look for websites that focus on what I want to do. For Free motion quilting, Lori Kennedy’s The Inbox Jaunt blog is absolutely fantastic with free tutorials on specific motifs. For stitch inspiration there’s of course Sue Spargo’s fantastic website, store and blog, but there are also some great blogs out there that concentrate on stitching, such as Sharon Boggon’s Pintangle where she features a TAST (take a stitch Tuesday) and Mary Corbet’s NeedlenThread, which is more traditional embroidery and oh my goodness is her work beautiful, then there’s Eleanor Pigman’s blog, she’s a bead artist and her work is absolutely incredible! A couple other, not-to-be-missed-blogs are: Kelly Cline Quilting, a blog filled with amazing work, both stitching AND quilting and Trish Burr, the queen of embroidered birds and flowers, though all her work is absolutely incredible and beautiful.
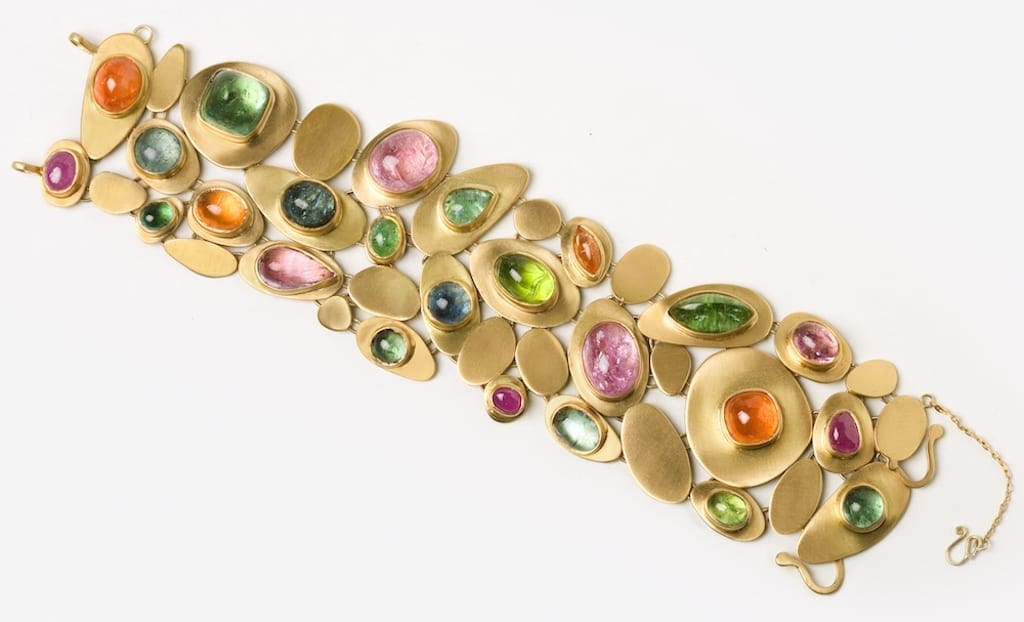
There is a whole world of knowledge, expertise, creativity and art out there and I love finding, learning, applying that knowledge and then creating my own designs. Interestingly I’m drawn to similar motifs over and over again, no matter what the medium is. Below is my 18 kt Gold, Tourmaline and Paraiba Bracelet from my Lotus Collection. It’s no surprise one of my favorite free motion quilting motifs is Pebbles!
At three in the morning, in a fit of frenzied sleeplessness I decided my work space was in desperate need of reorganization. And what great idea that comes to you in the wee hours of the morning isn’t a brilliant one?! However, upon further reflection, I decided reorganizing is not one of my strengths and so, I did what anyone would do. I solicited the help of someone who excels at reorganizing. Step into the limelight my fabulous husband (FH) and take a bow. He is extremely good at just this sort of thing. “Okay,” he said, all business-like, “talk me through this.” And then proceeded to ask me a series of questions.
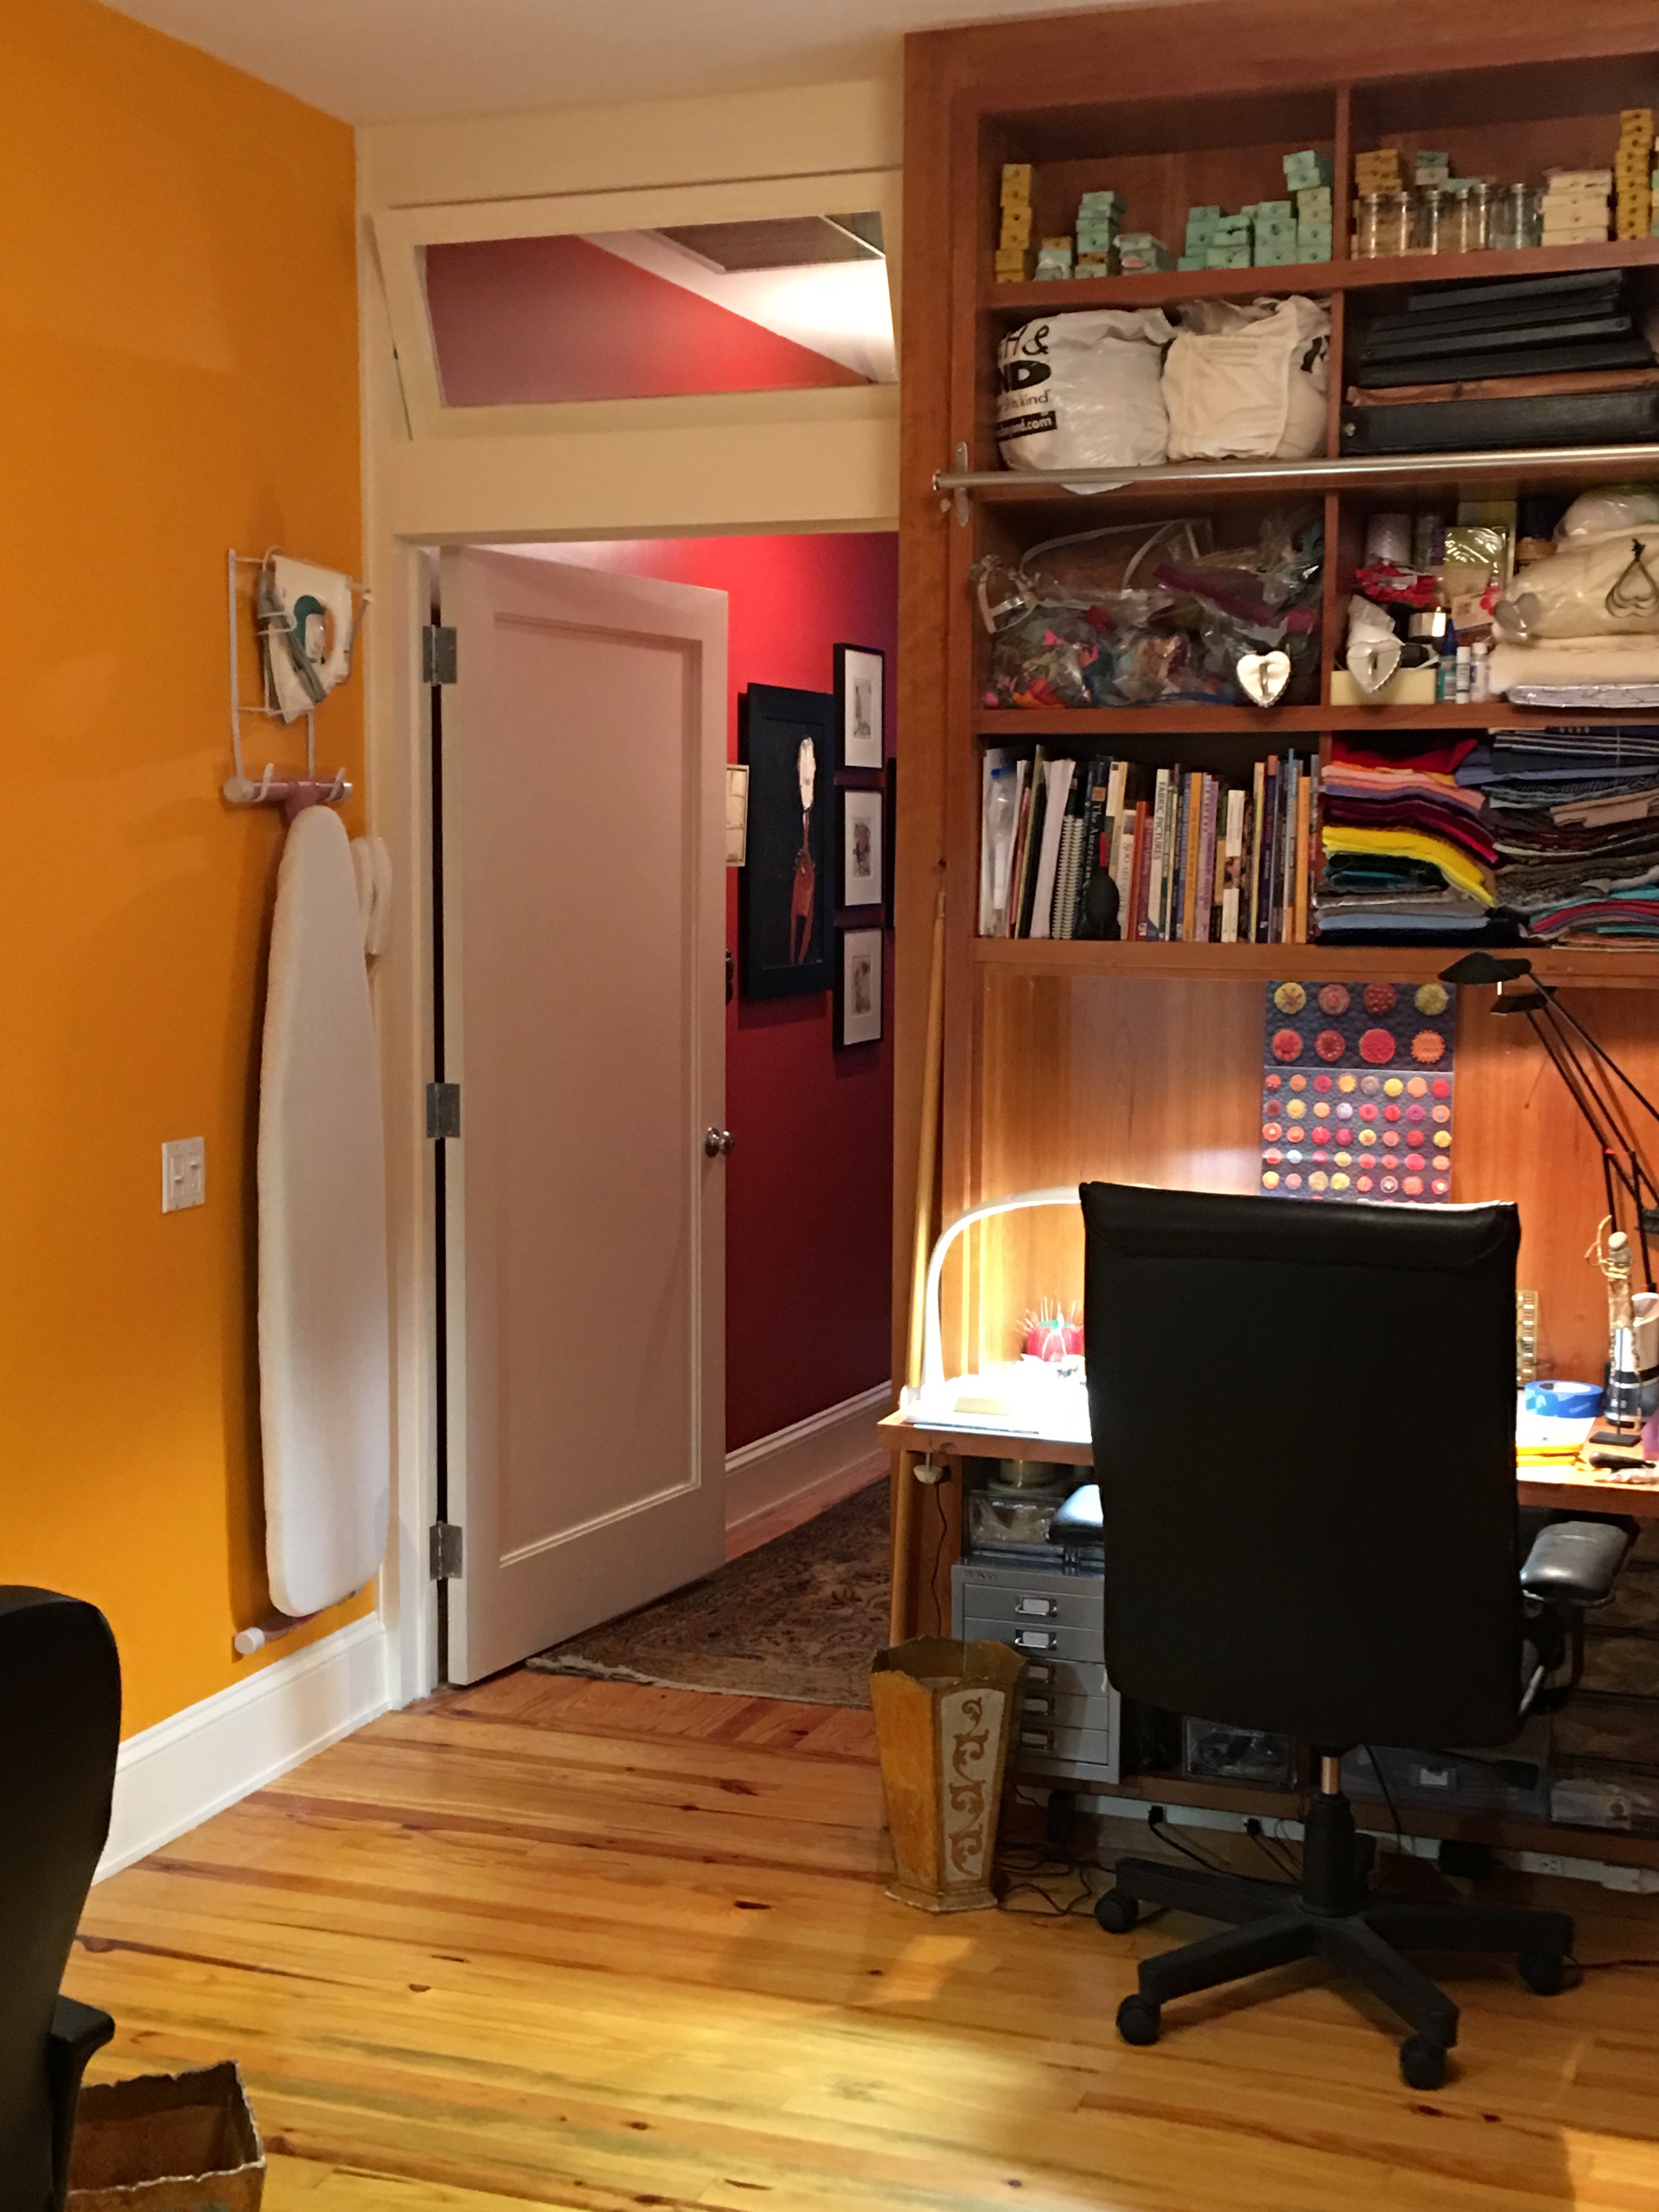
From this conversation he prioritized and broke down what I needed to do in manageable steps. I forgot to take a photograph of the disaster that was once my work space, but this is what it looked like at about the halfway point.
As I was trying to decide what color I should paint that great expanse of white wall (this was a tricky decision as it is a dark room, made even darker by the red carpet I bought decades ago in Turkey) I thought, “I need a design wall!” This is not essential, after all I have sketch books and a table where I can play with ideas, but a design wall would be really, really nice to have. So I googled design walls and found some wonderful ones. I decided I wanted one that is at least 62″ x 72.” In order to do this I needed to get rid of a great many things scattered all over the place.
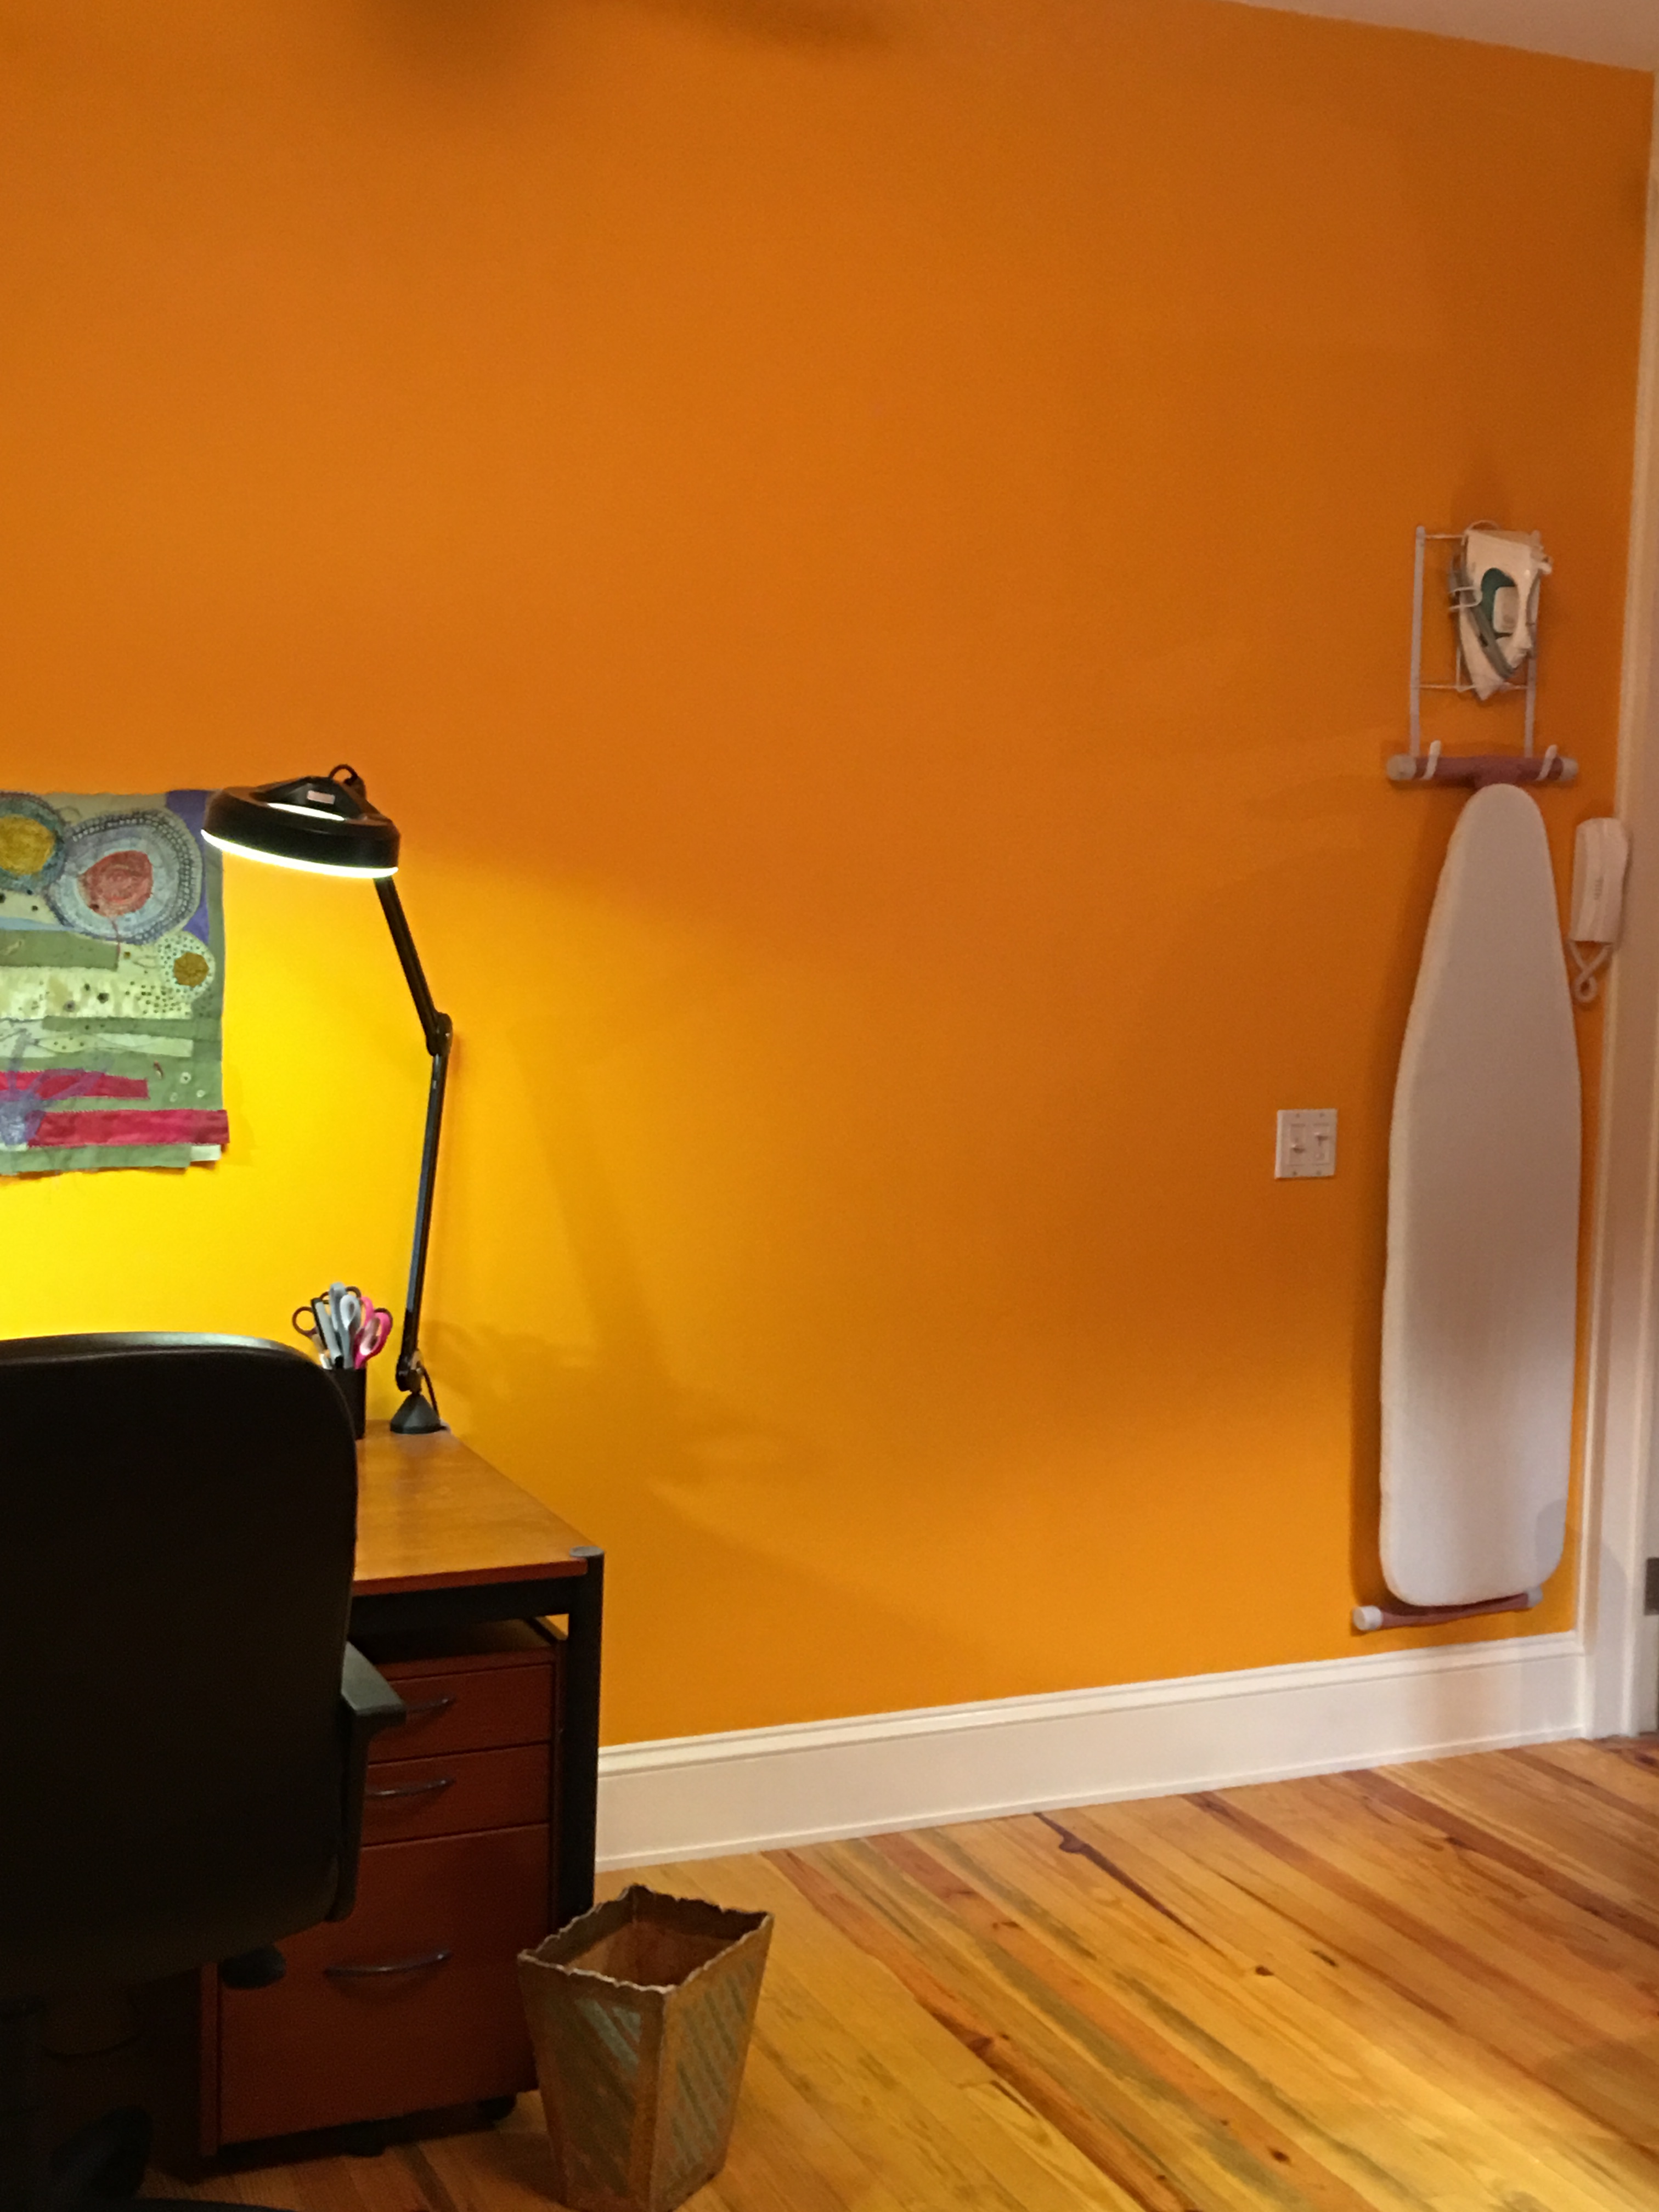
I decided on a bright mango color to brighten the room up. However, as with so many things in life, painting one wall proved more complicated than I anticipated. I ran into bubbles. Thousands and thousands of tiny bubbles appeared after the first coat of paint. I pricked one of them with a pin and, much to my horror, the bubble expanded exponentially, revealing all the coats of paint below the fresh coat I’d just painted, so that I was staring at dry board! I was so horrified I didn’t have the presence of mind to take photos, but my FH was witness. I ended up pulling off great sheets of bubbled up paint. After running to the hardware store for advice, making a couple of emergency phone calls to friends of mine who are far more experienced in painting walls than I am, I finally pulled up as much paint as I could, sanded, dusted, spackled, sanded some more, dusted some more and finally repainted and held my breath. What should have taken a few hours took more than a day and a half, BUT it came out pretty well, if I do say so myself! FH had the great idea of hanging my ironing board.Then there was the question of my design wall, which is removable.I needed to organize my fabrics and other materials that I use for my jewelry design, such as wax, files, metals, wire, etc. While I was doing all of this, I came across my old portfolio from my days in fashion design and got a little side tracked… Finally, after all of that, I got back on track.
And here is the finished space!Now it’s time to get back to work – I have a queen-sized quilt to sandwich, baste and free motion quilt and then there are these little guys who keep calling to me.

 Then there was the question of my design wall, which is removable.
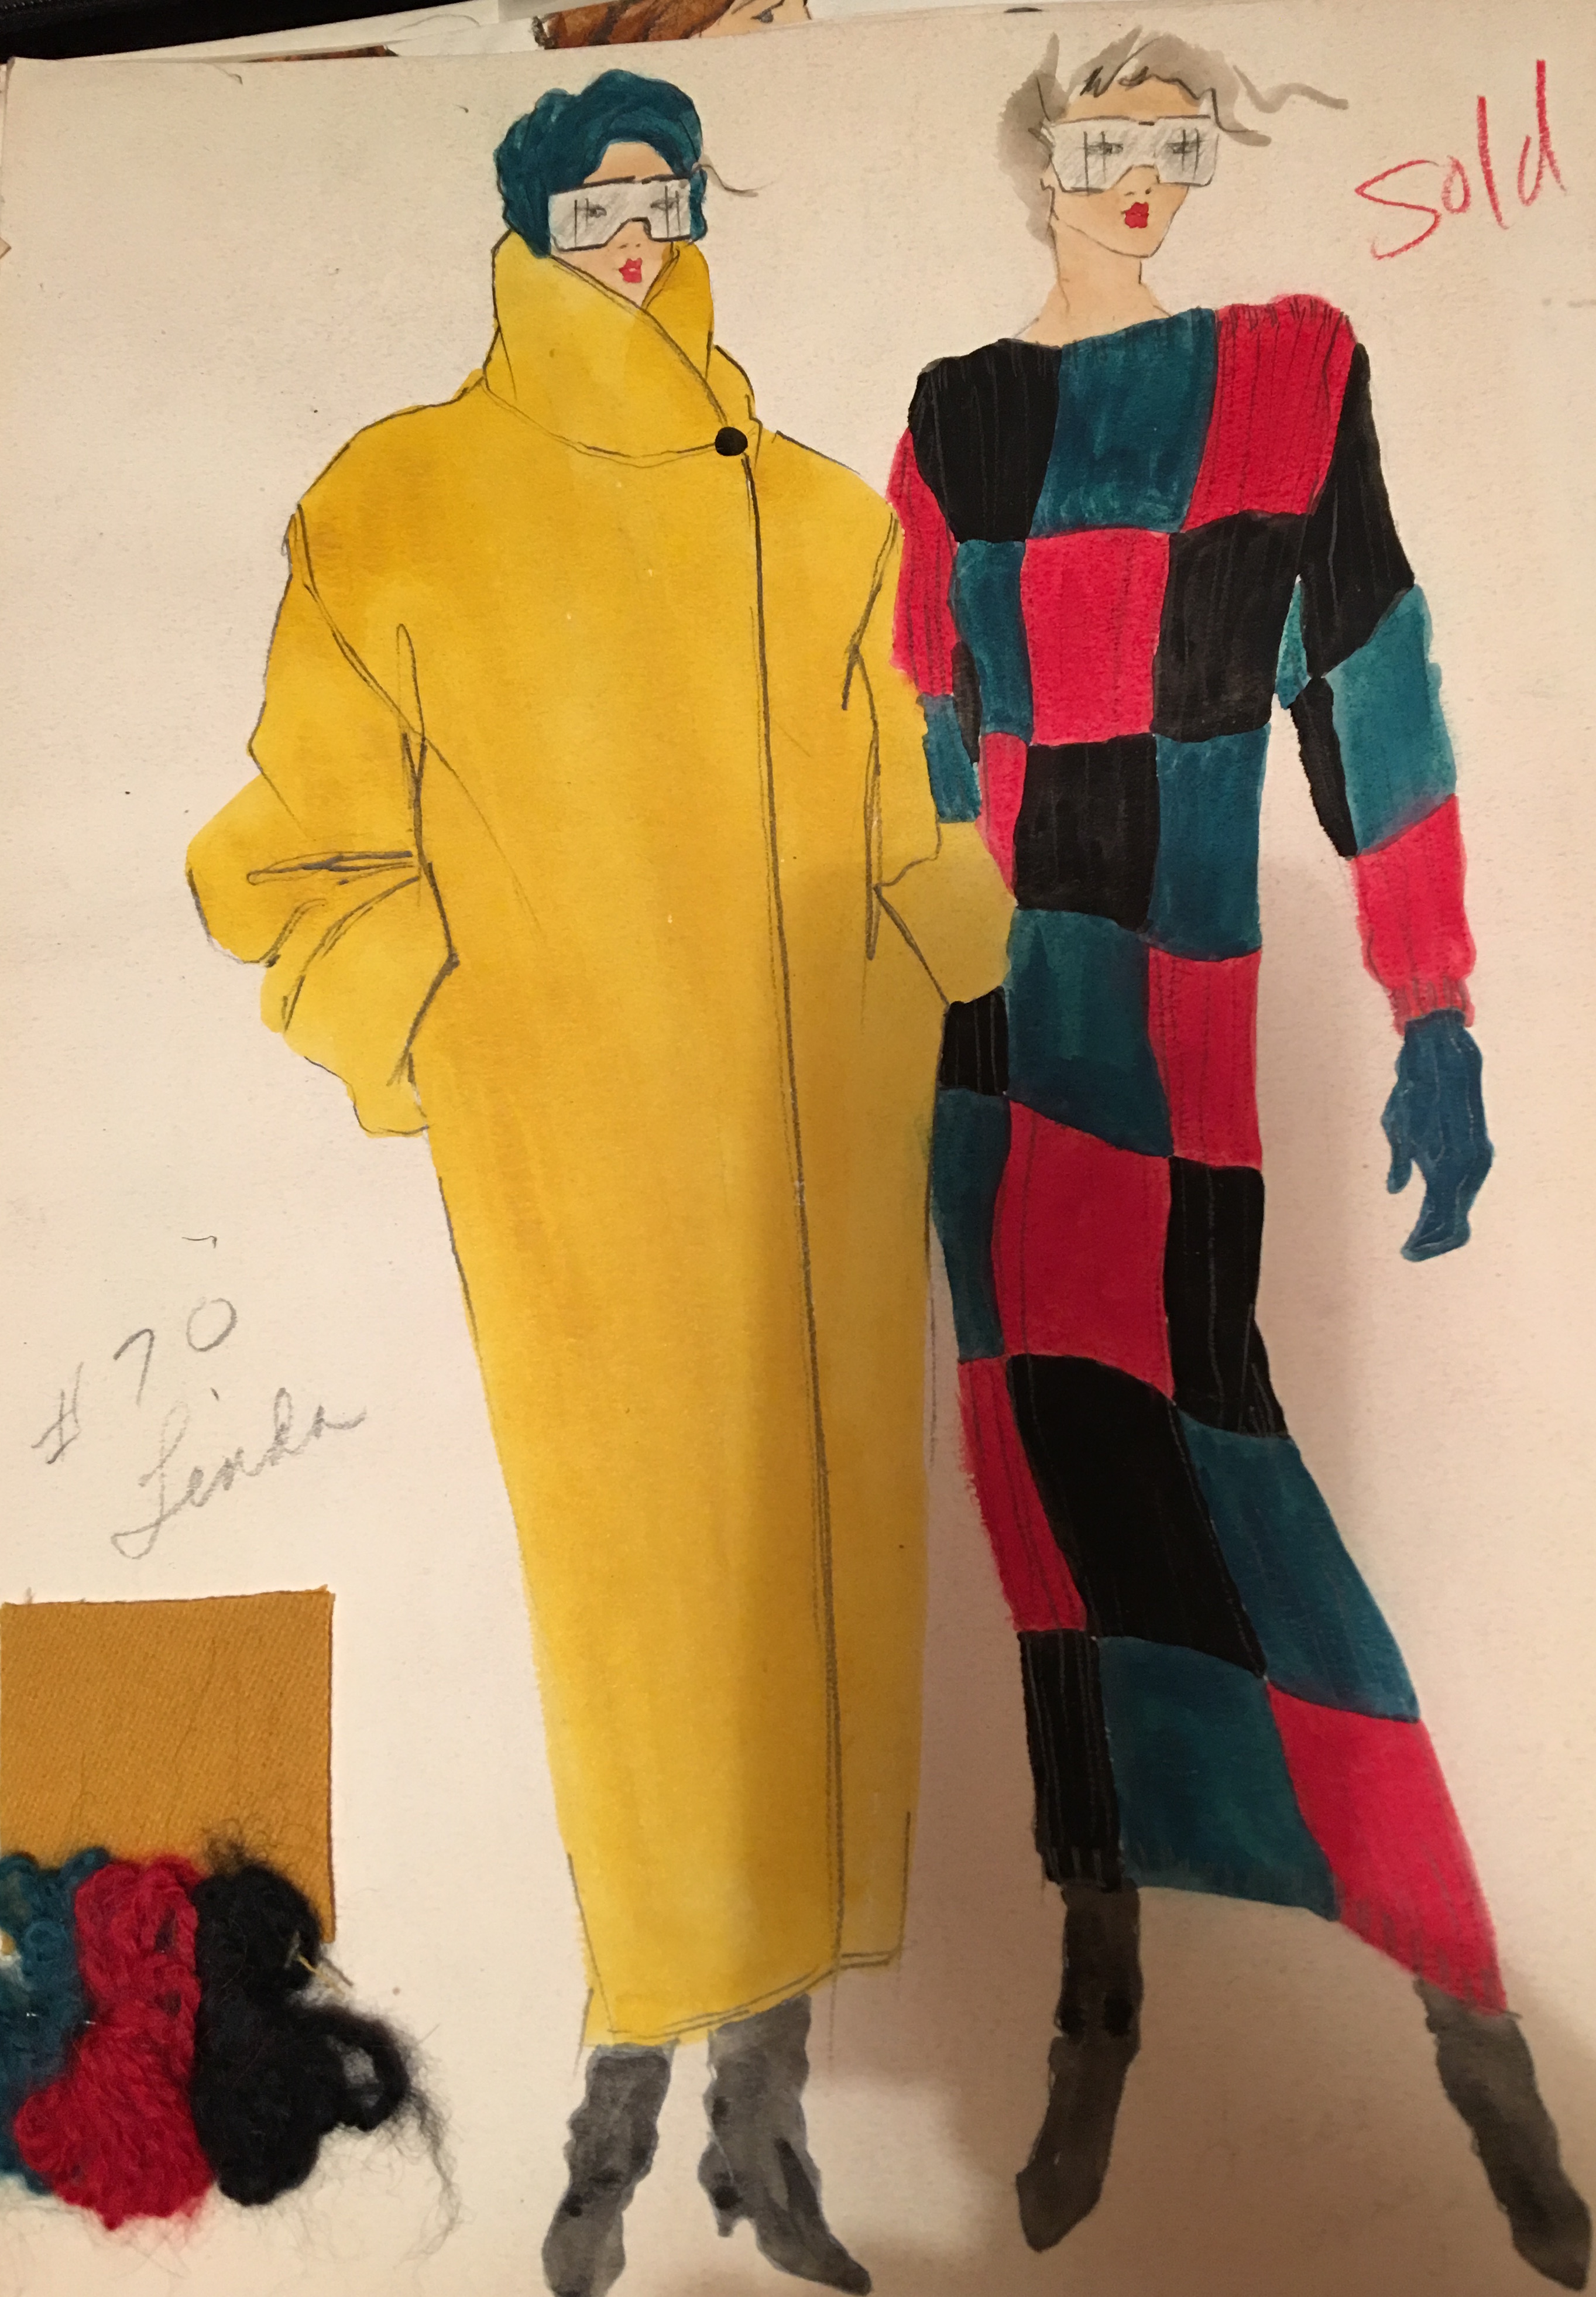
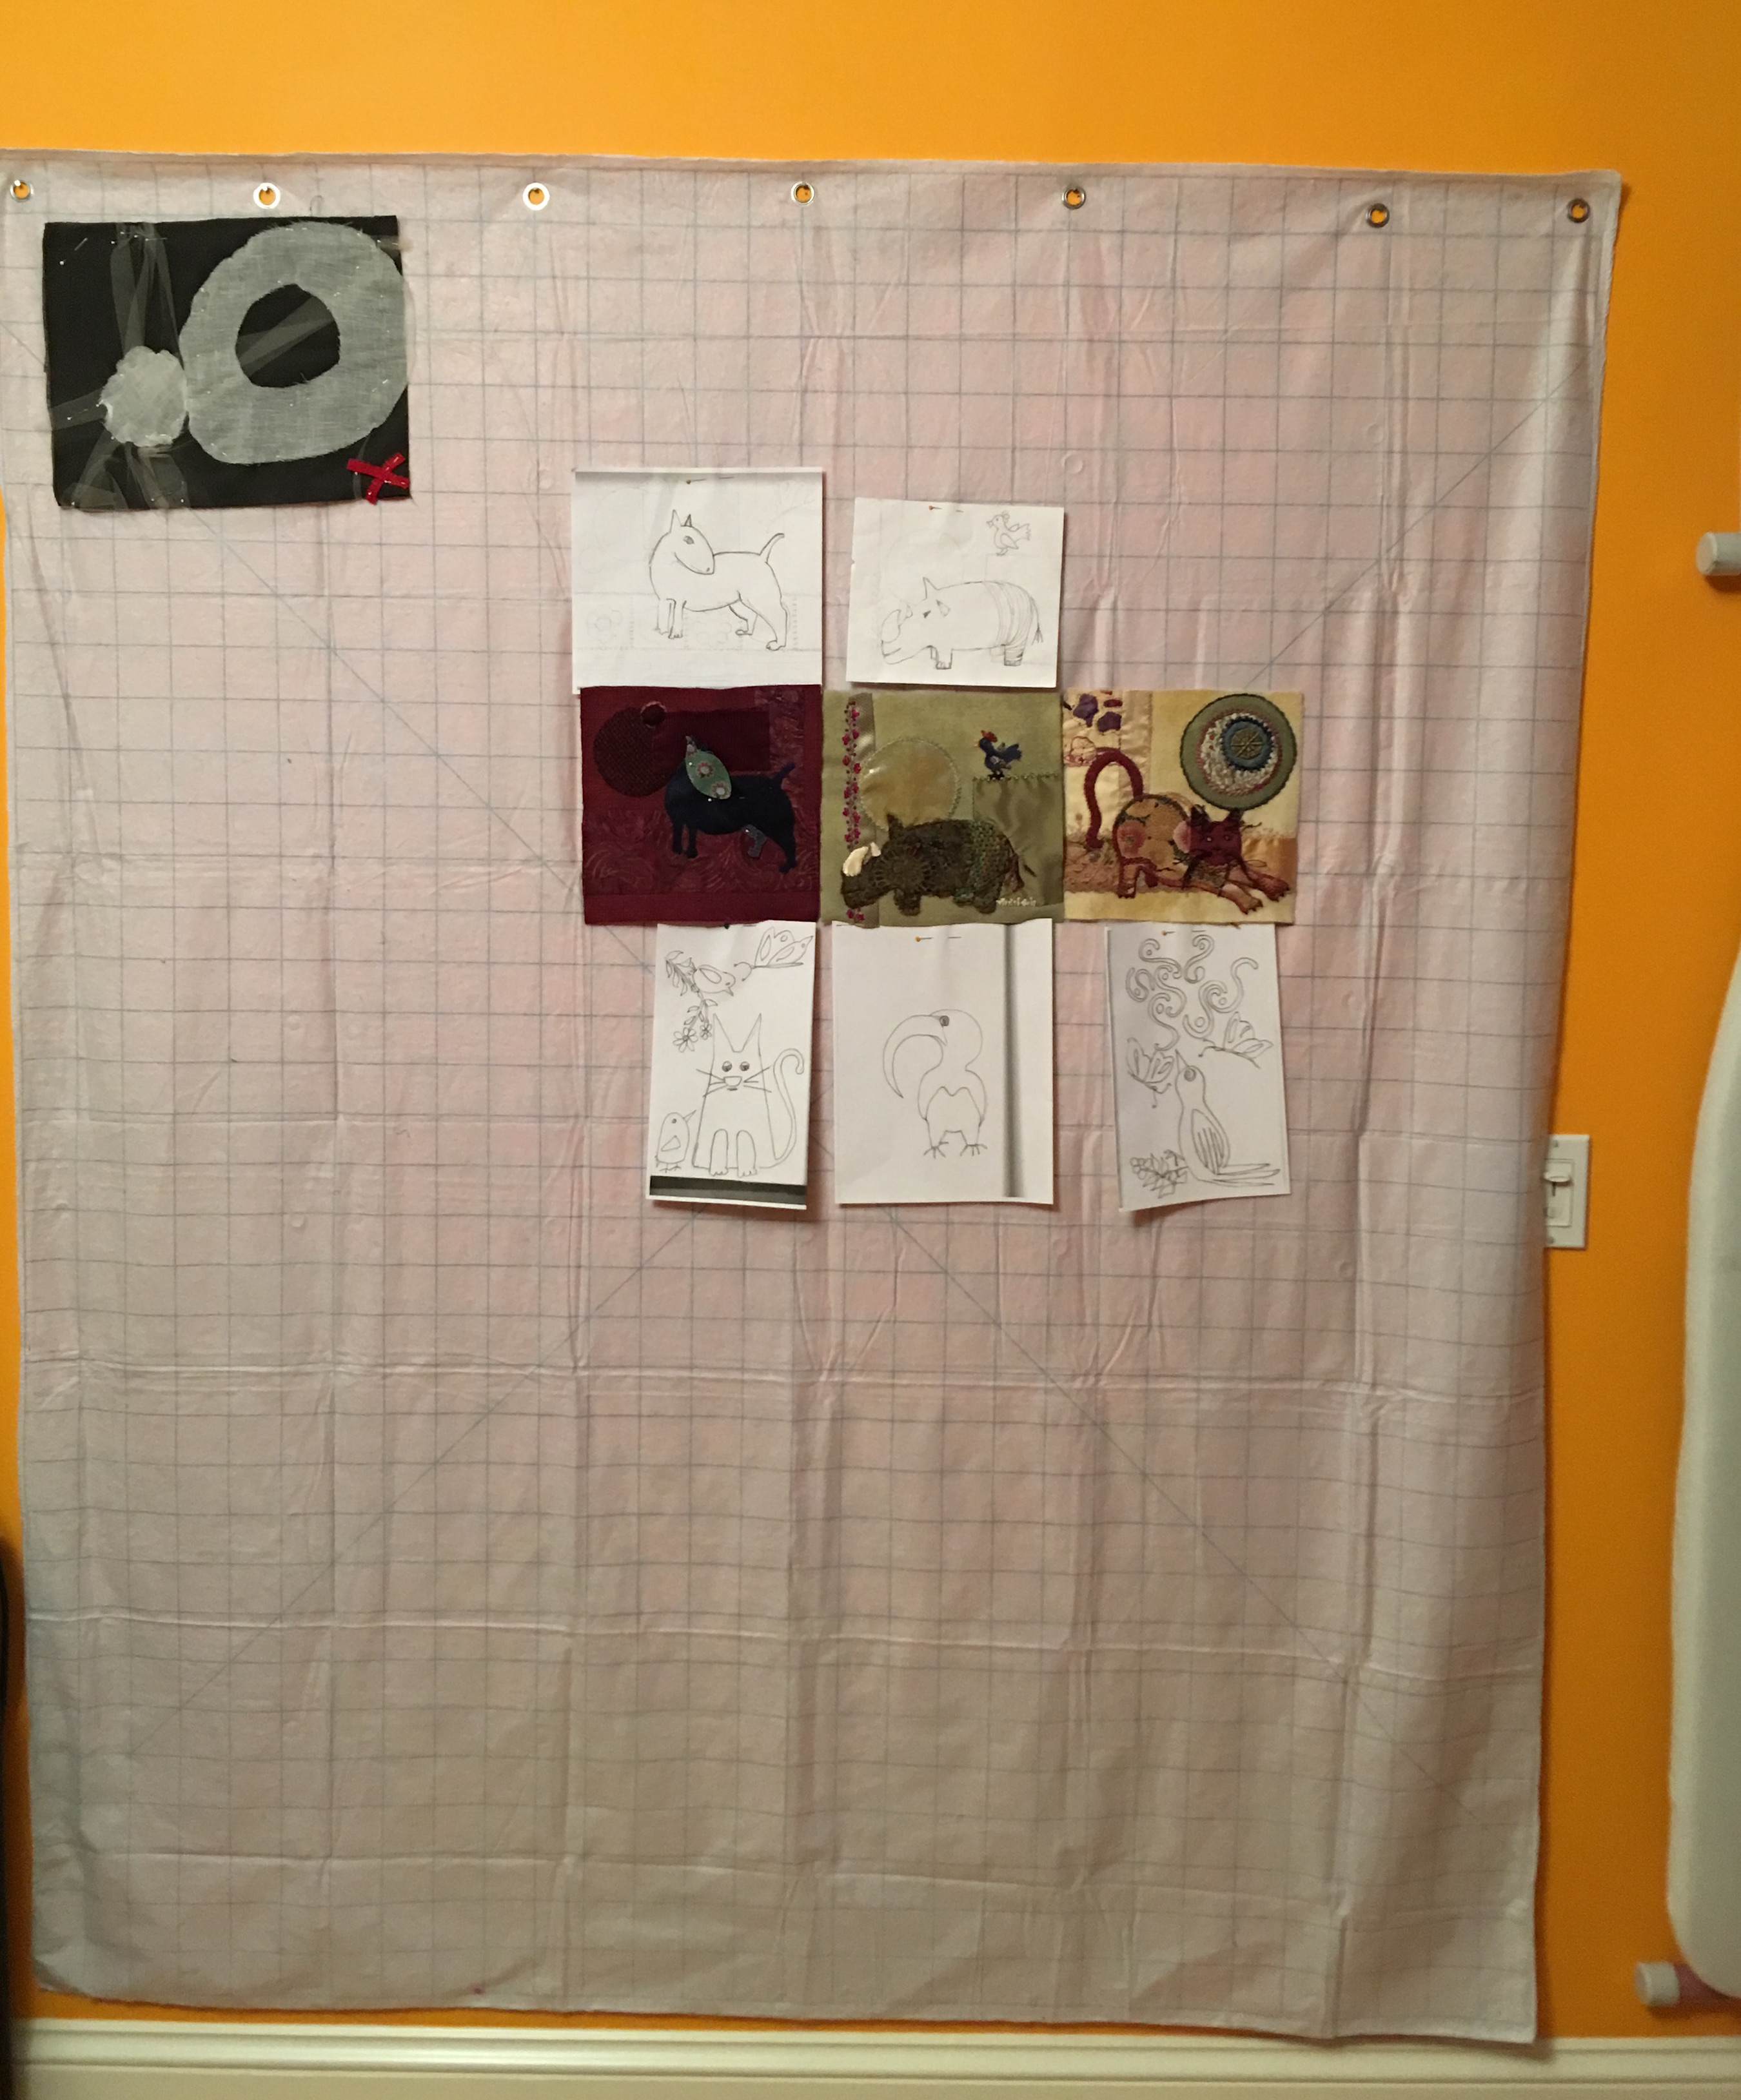 I needed to organize my fabrics and other materials that I use for my jewelry design, such as wax, files, metals, wire, etc. While I was doing all of this, I came across my old portfolio from my days in fashion design and got a little side tracked…
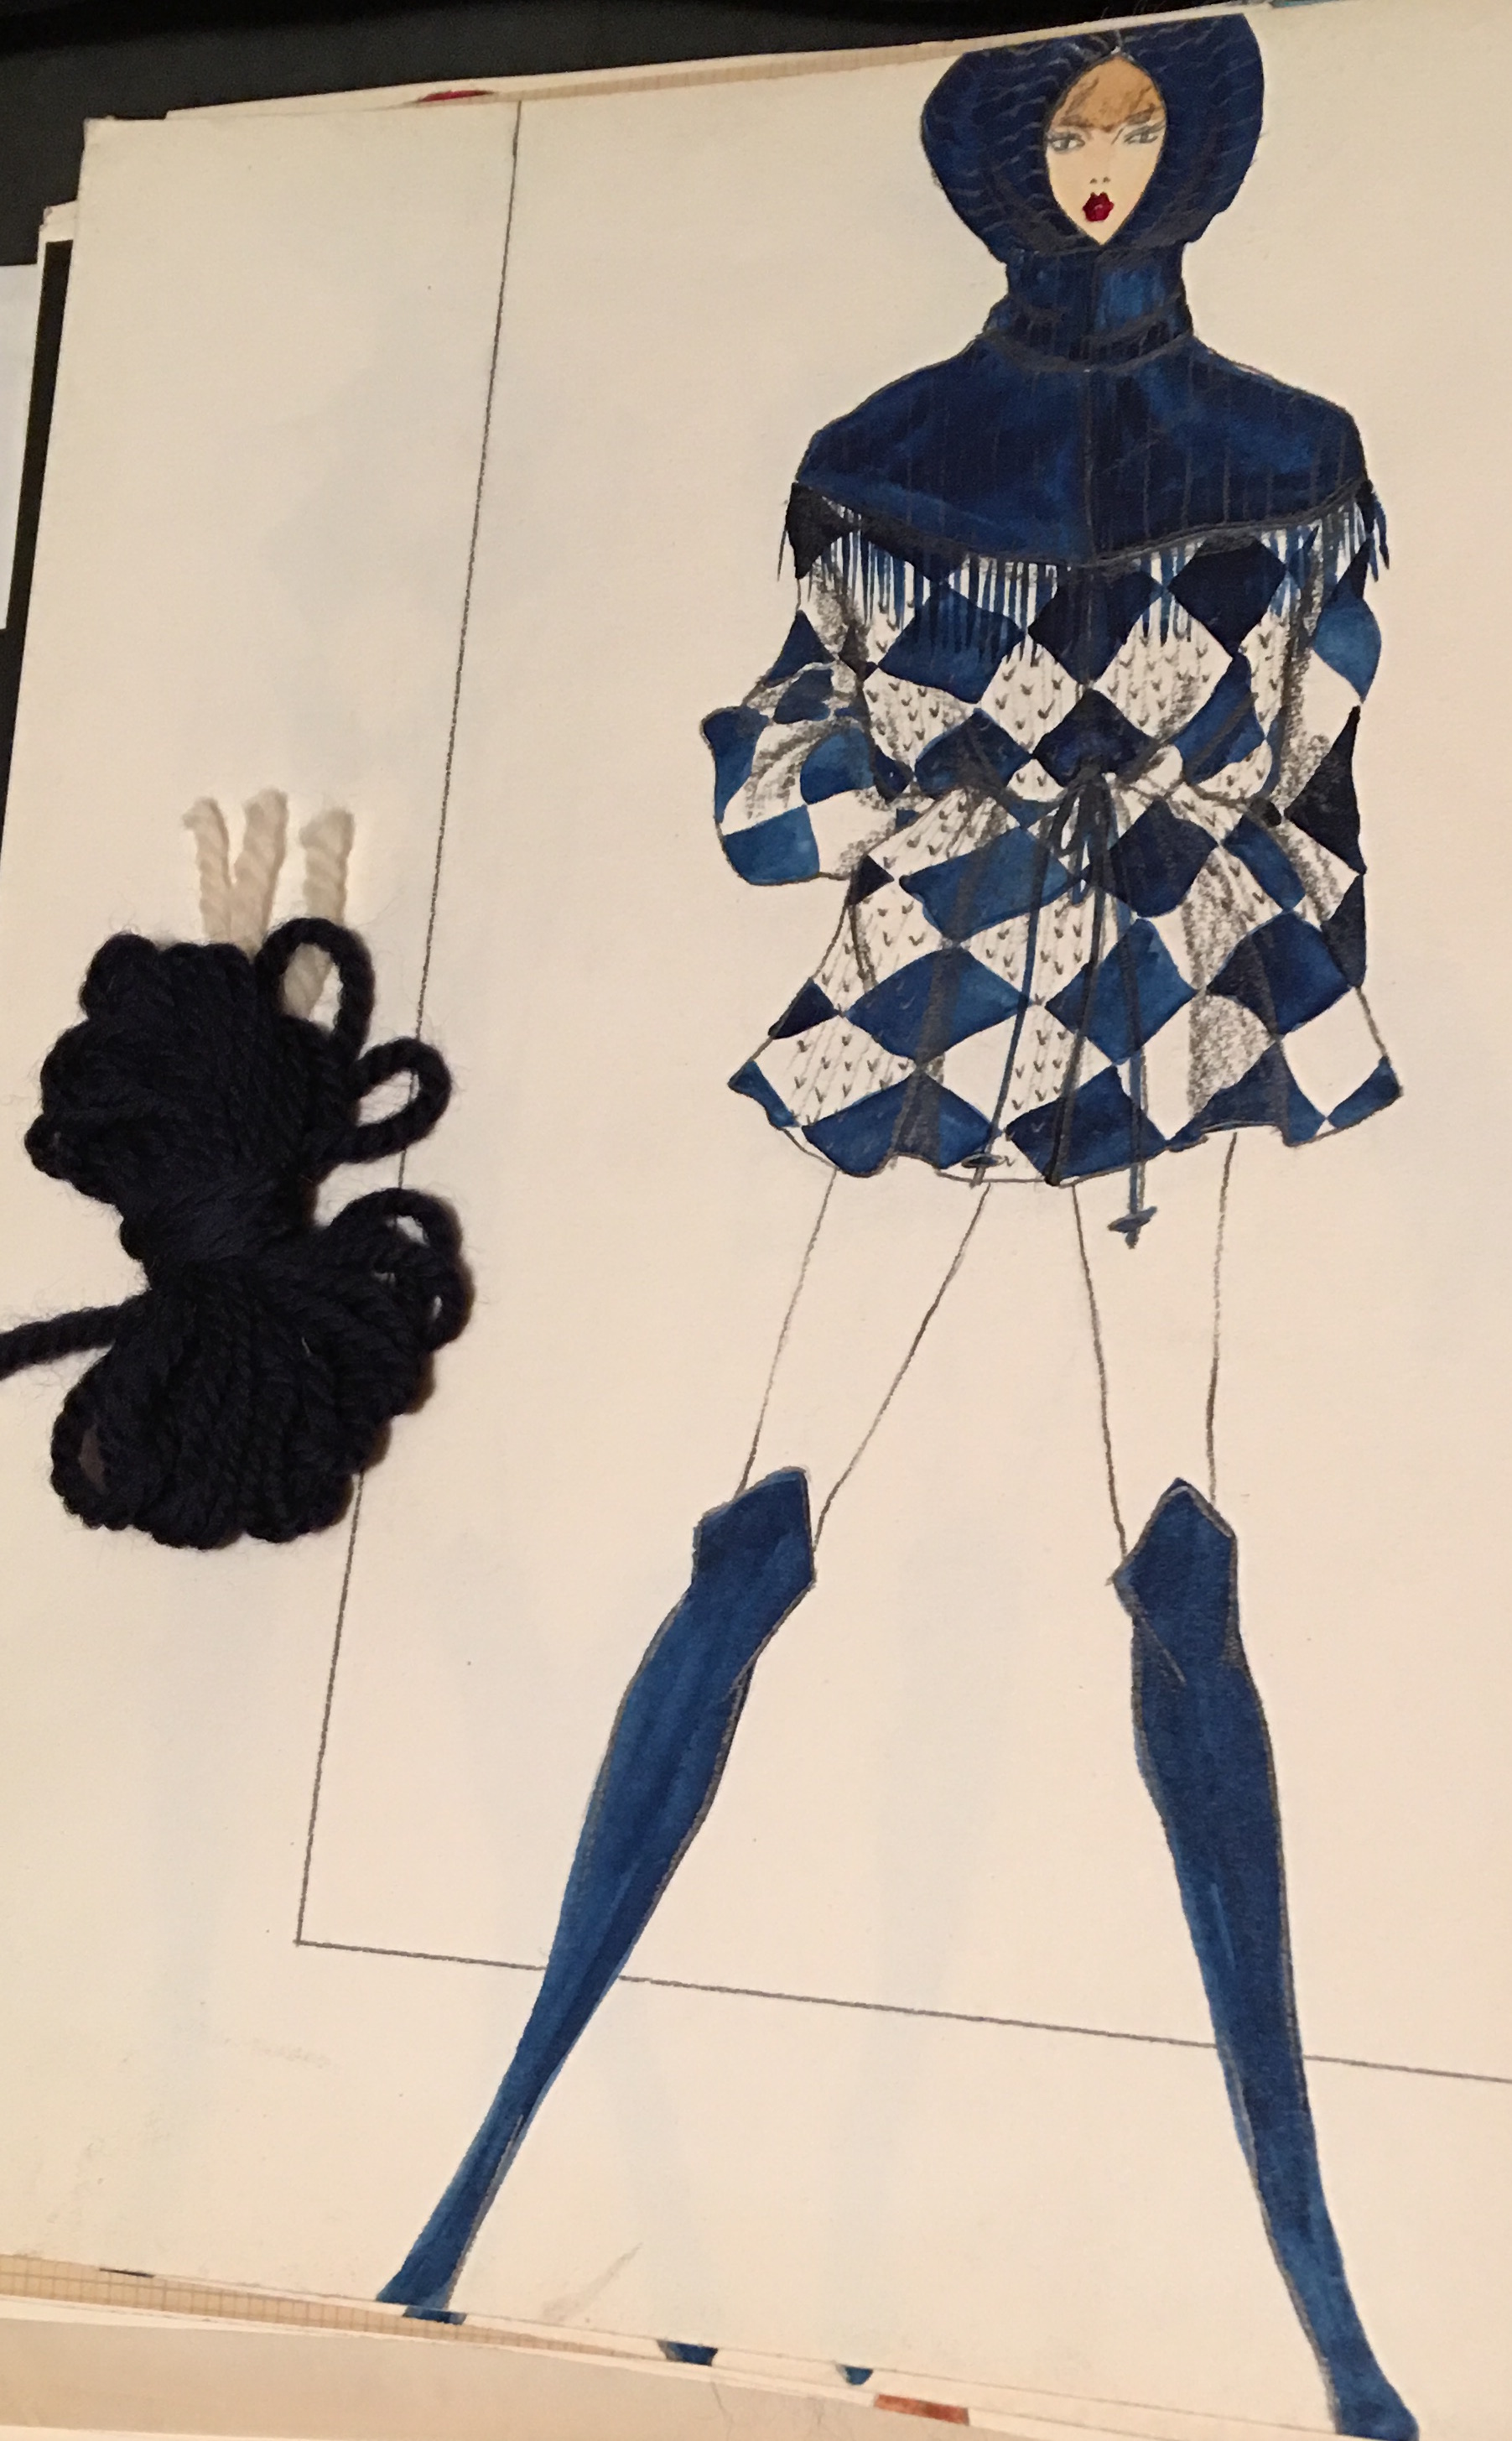
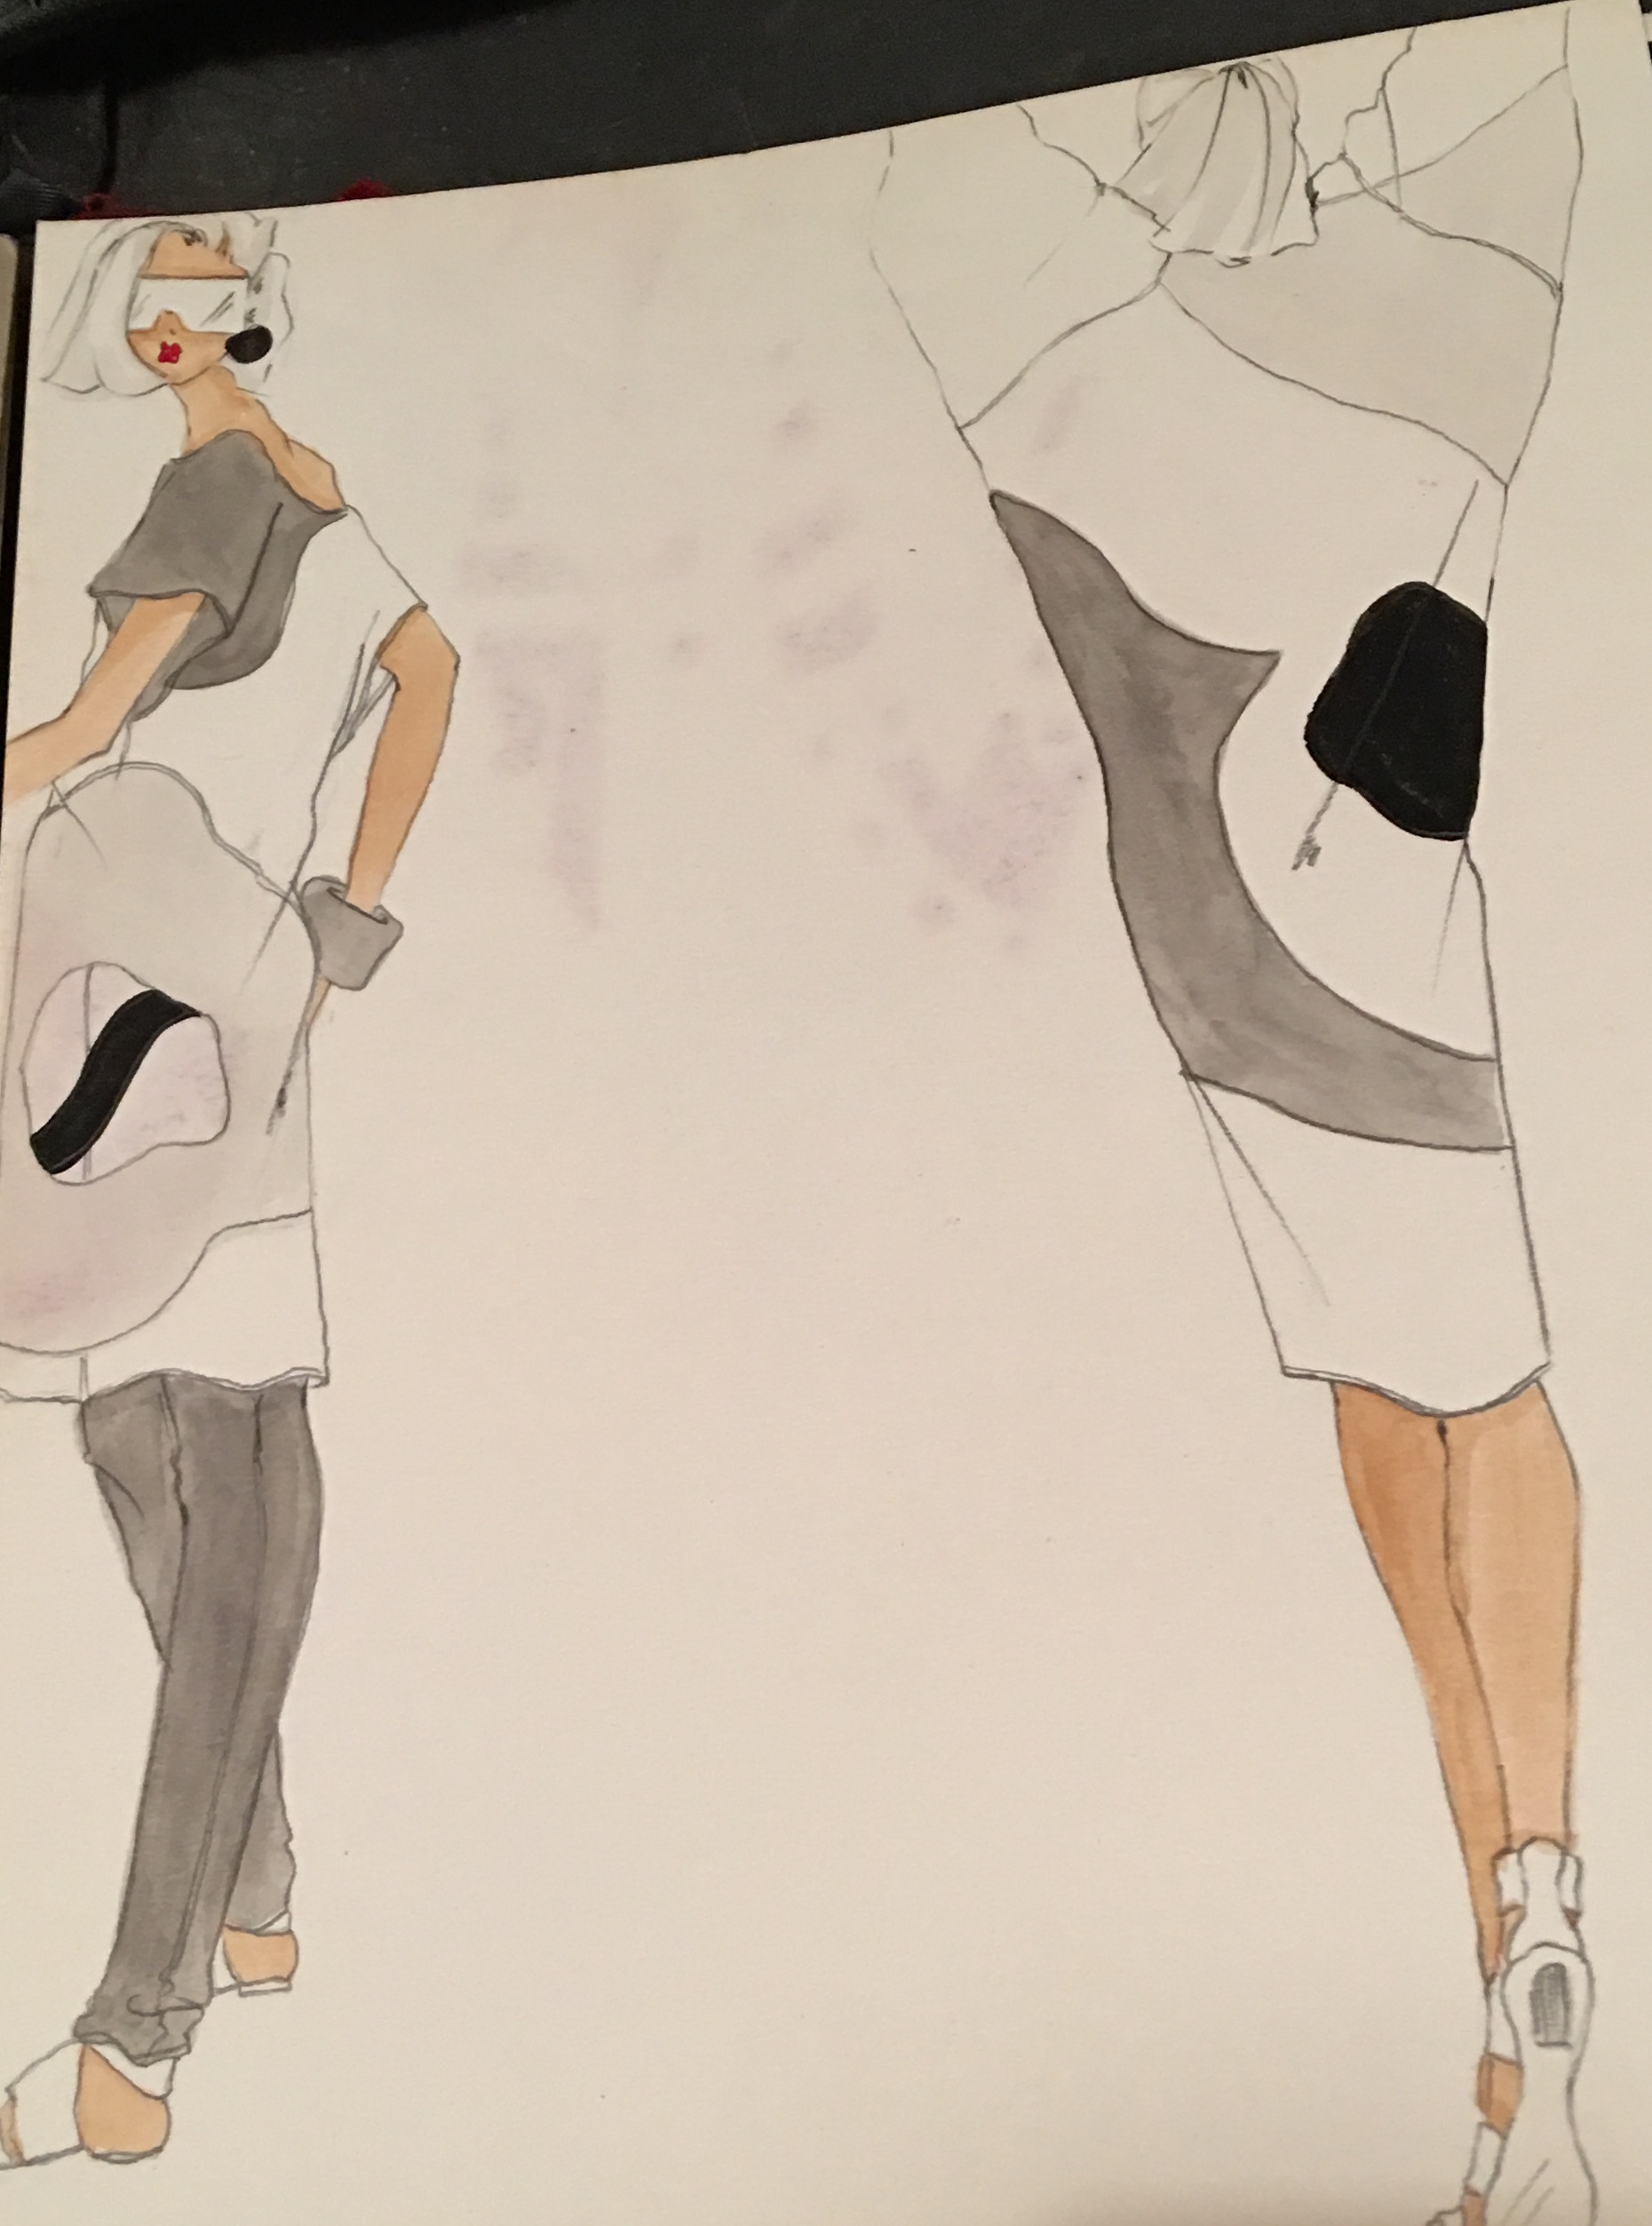
 Finally, after all of that, I got back on track.
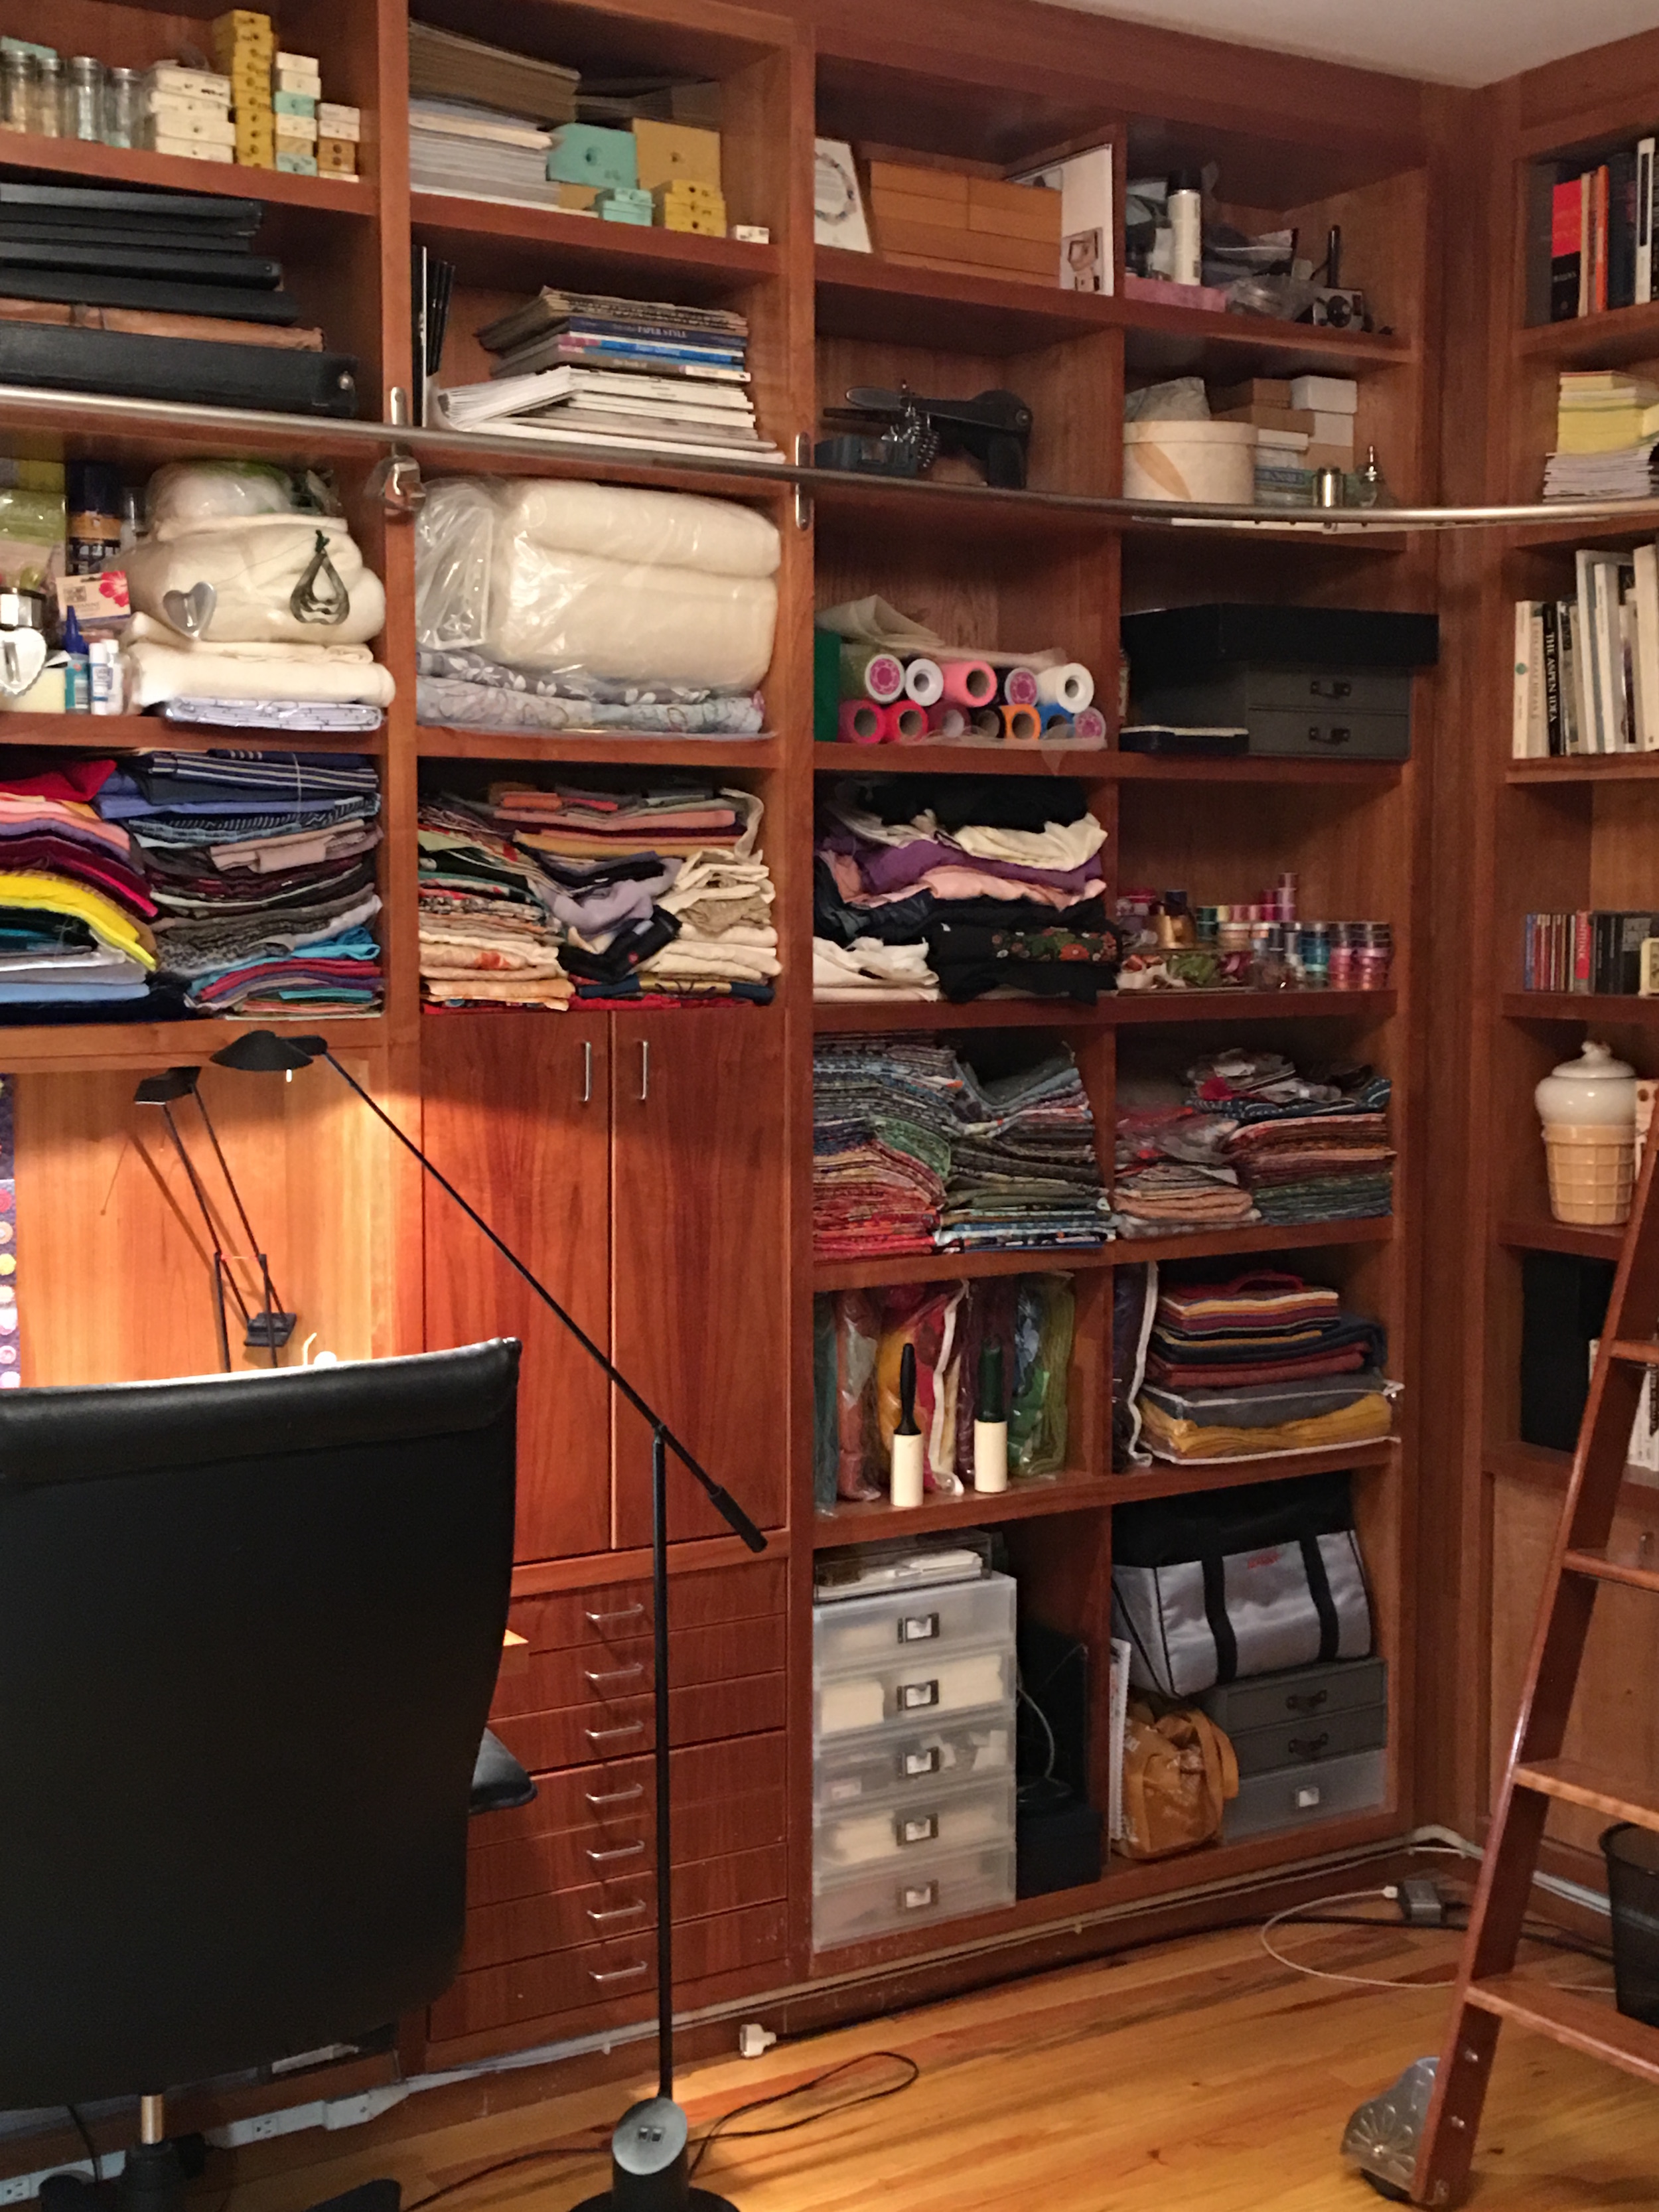
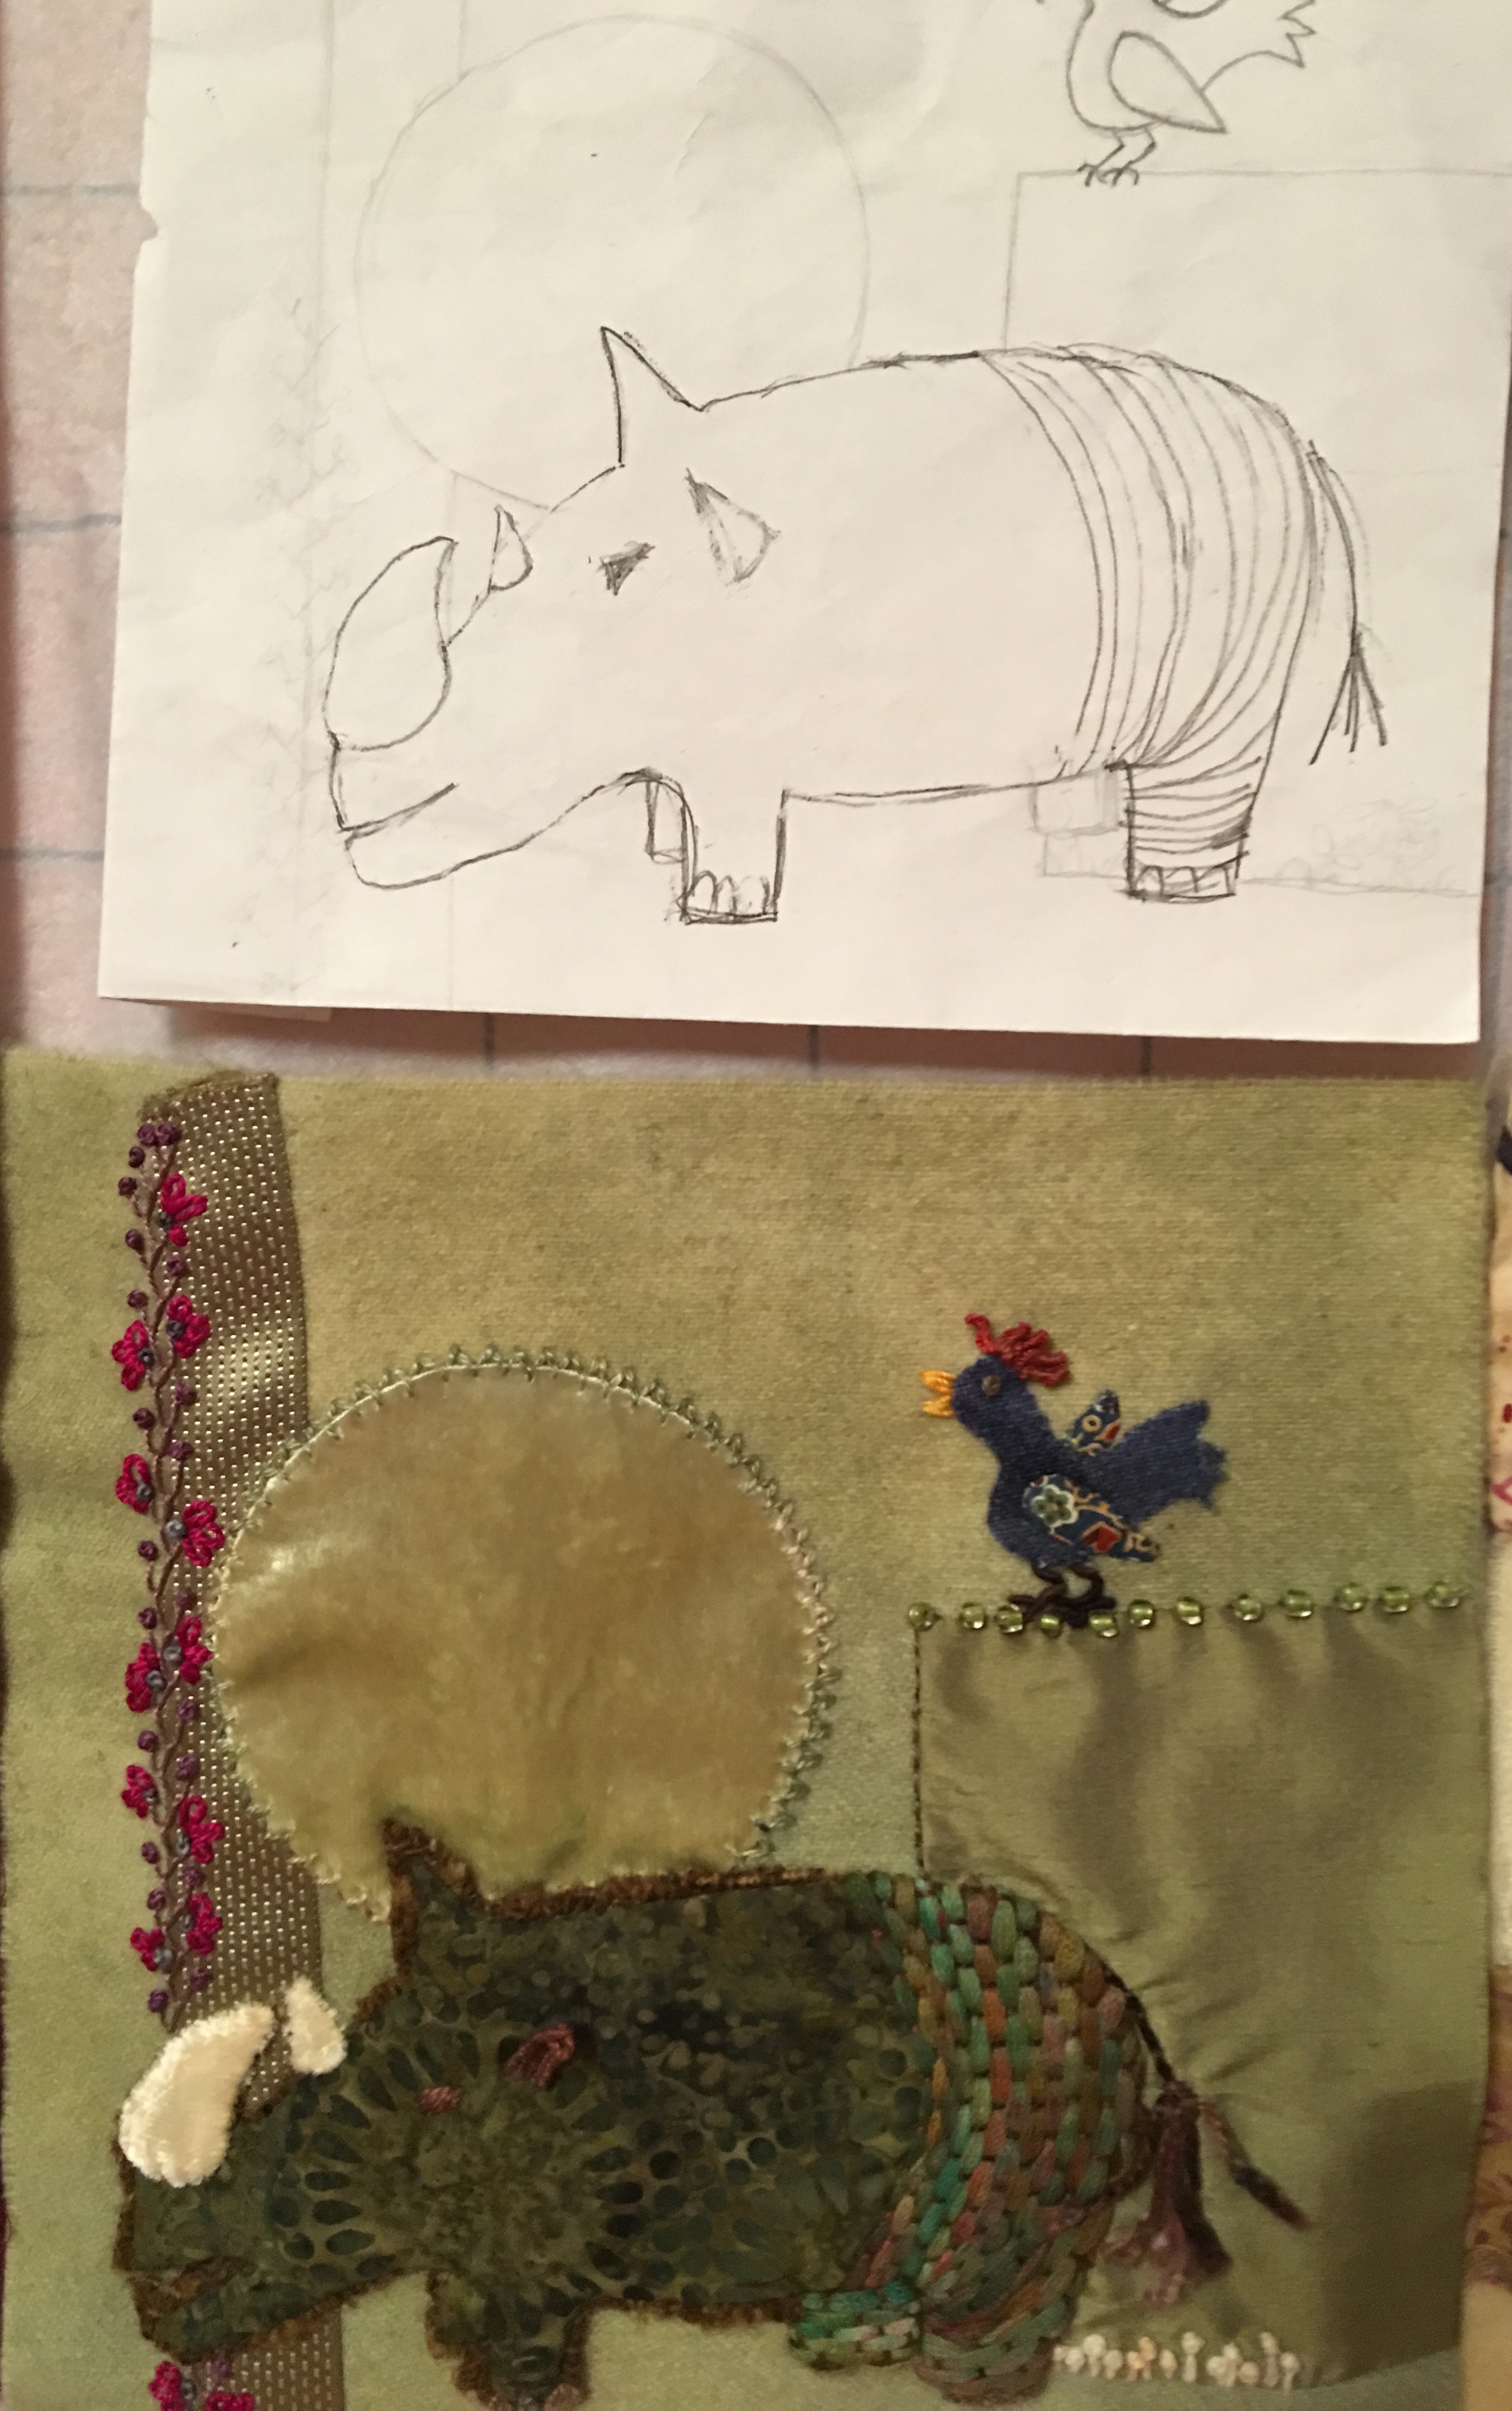
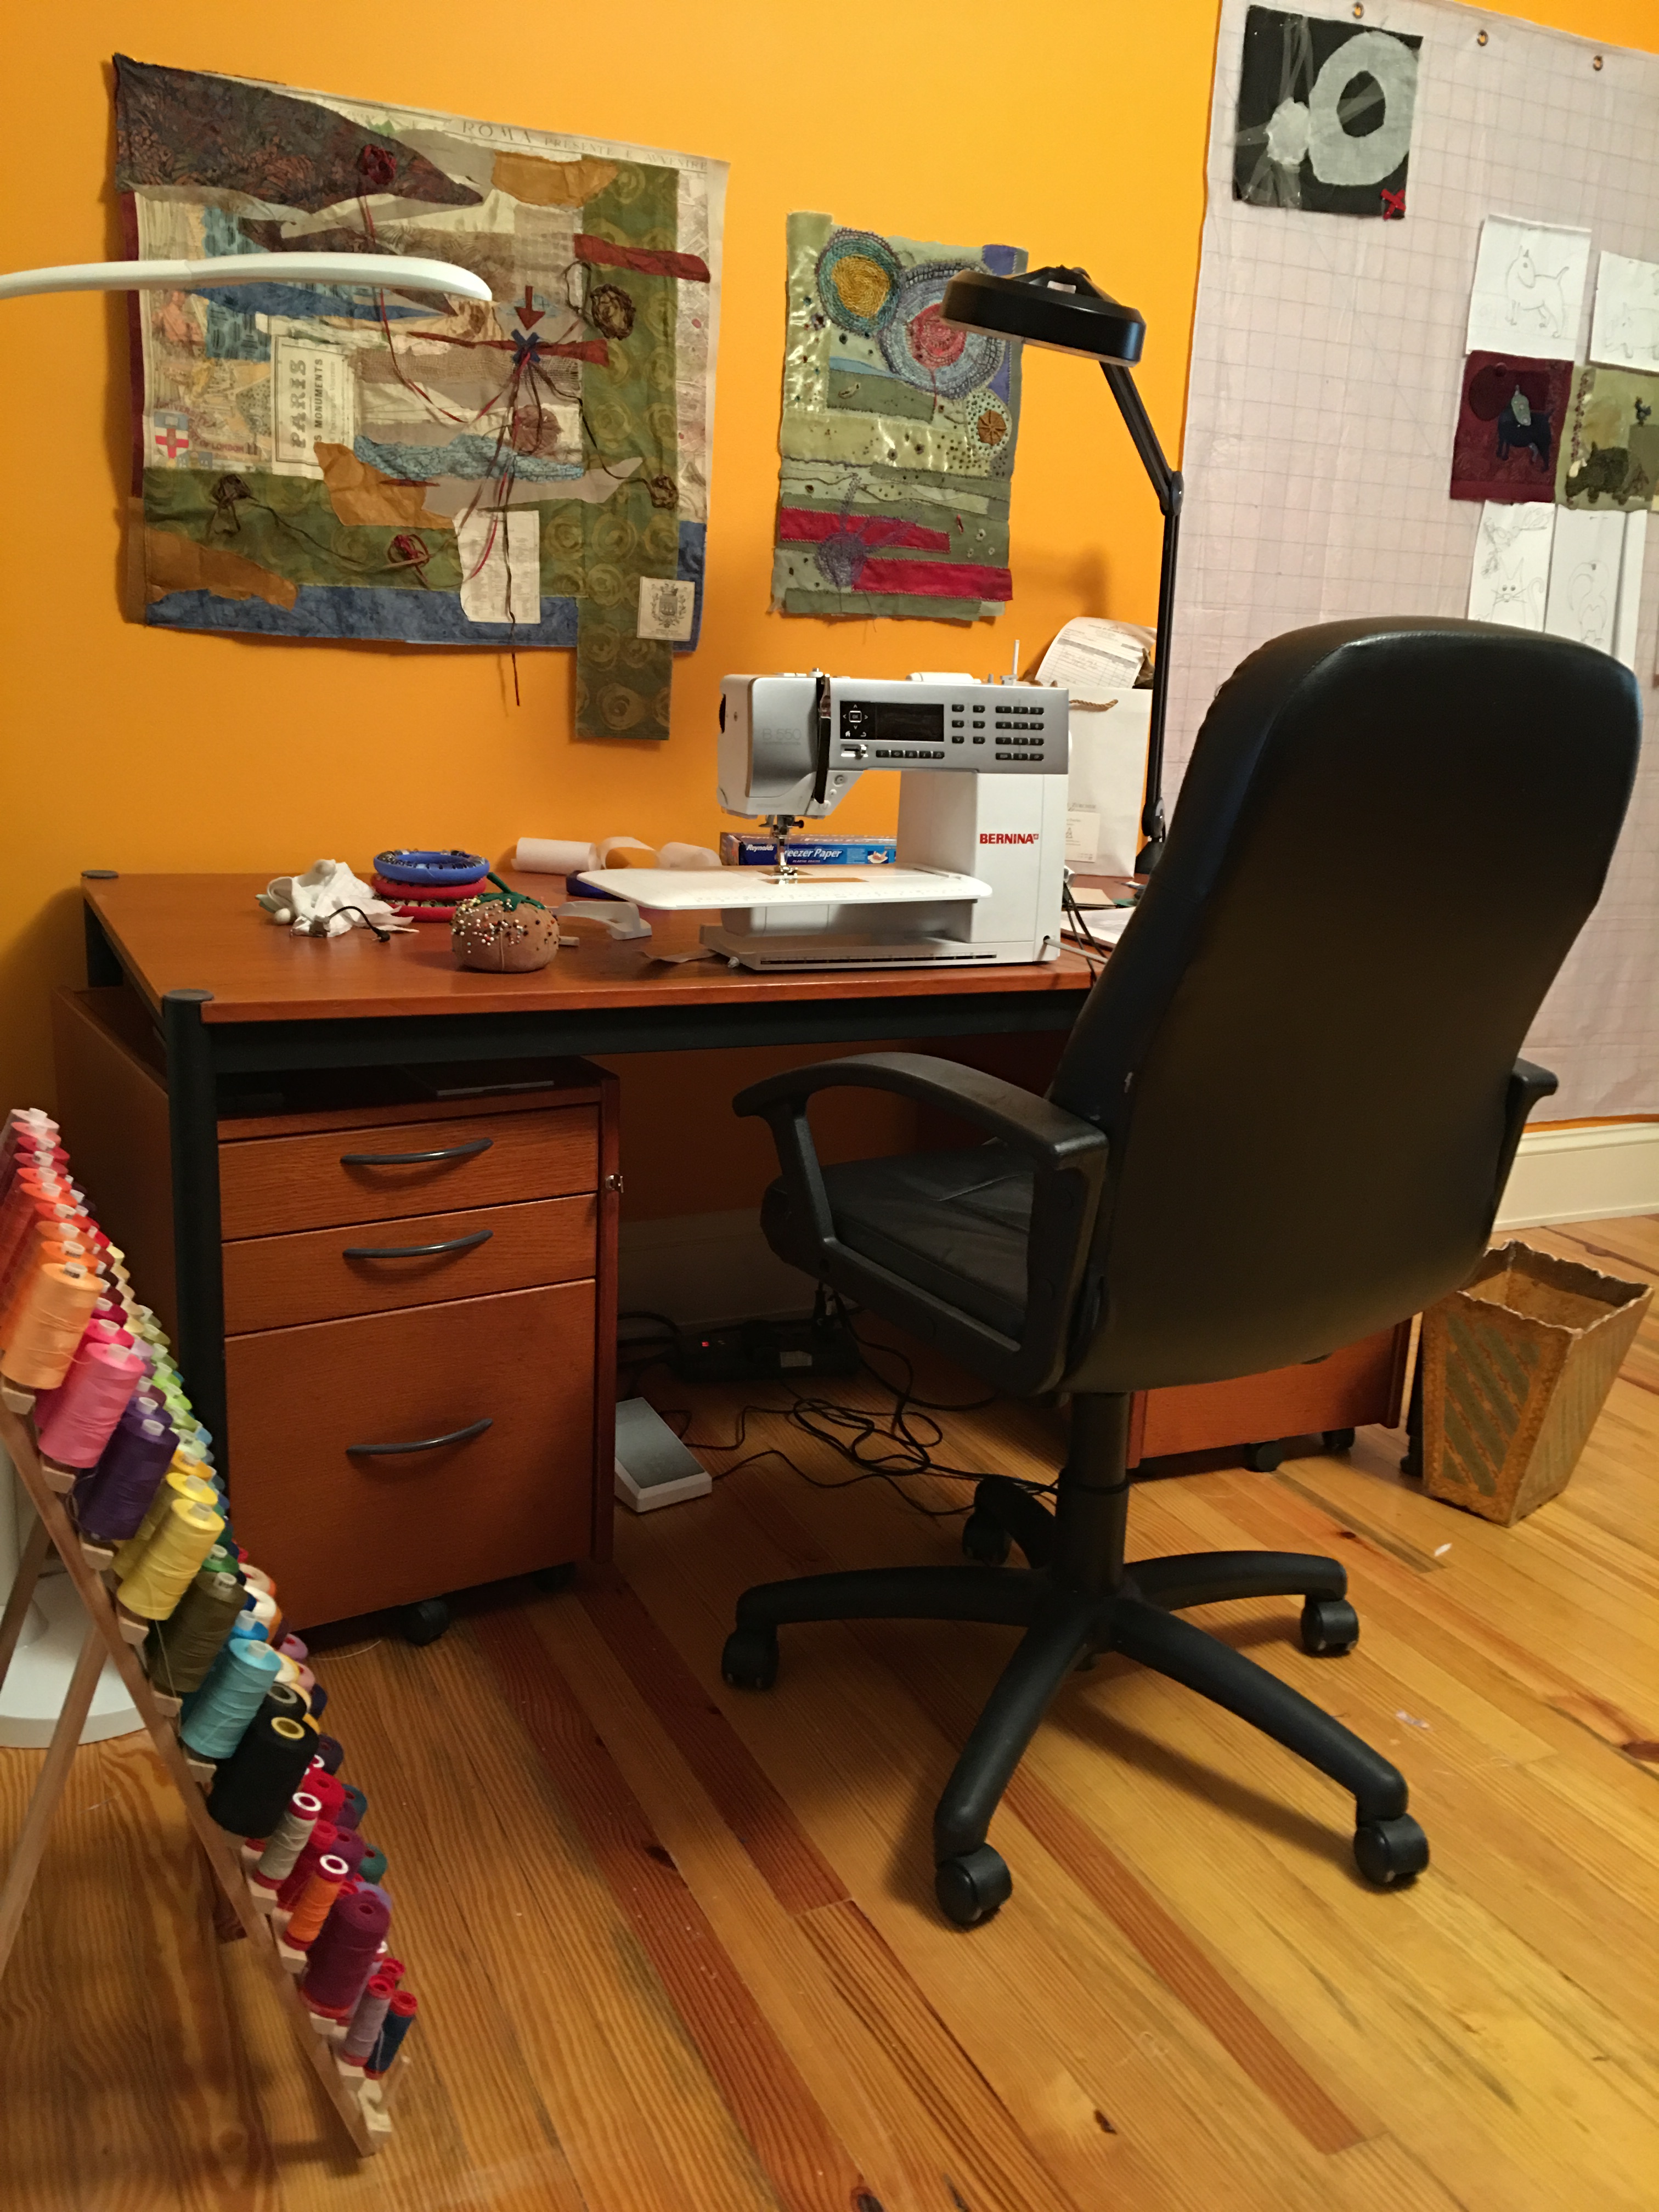 Now it’s time to get back to work – I have a queen-sized quilt to sandwich, baste and free motion quilt and then there are these little guys who keep calling to me.
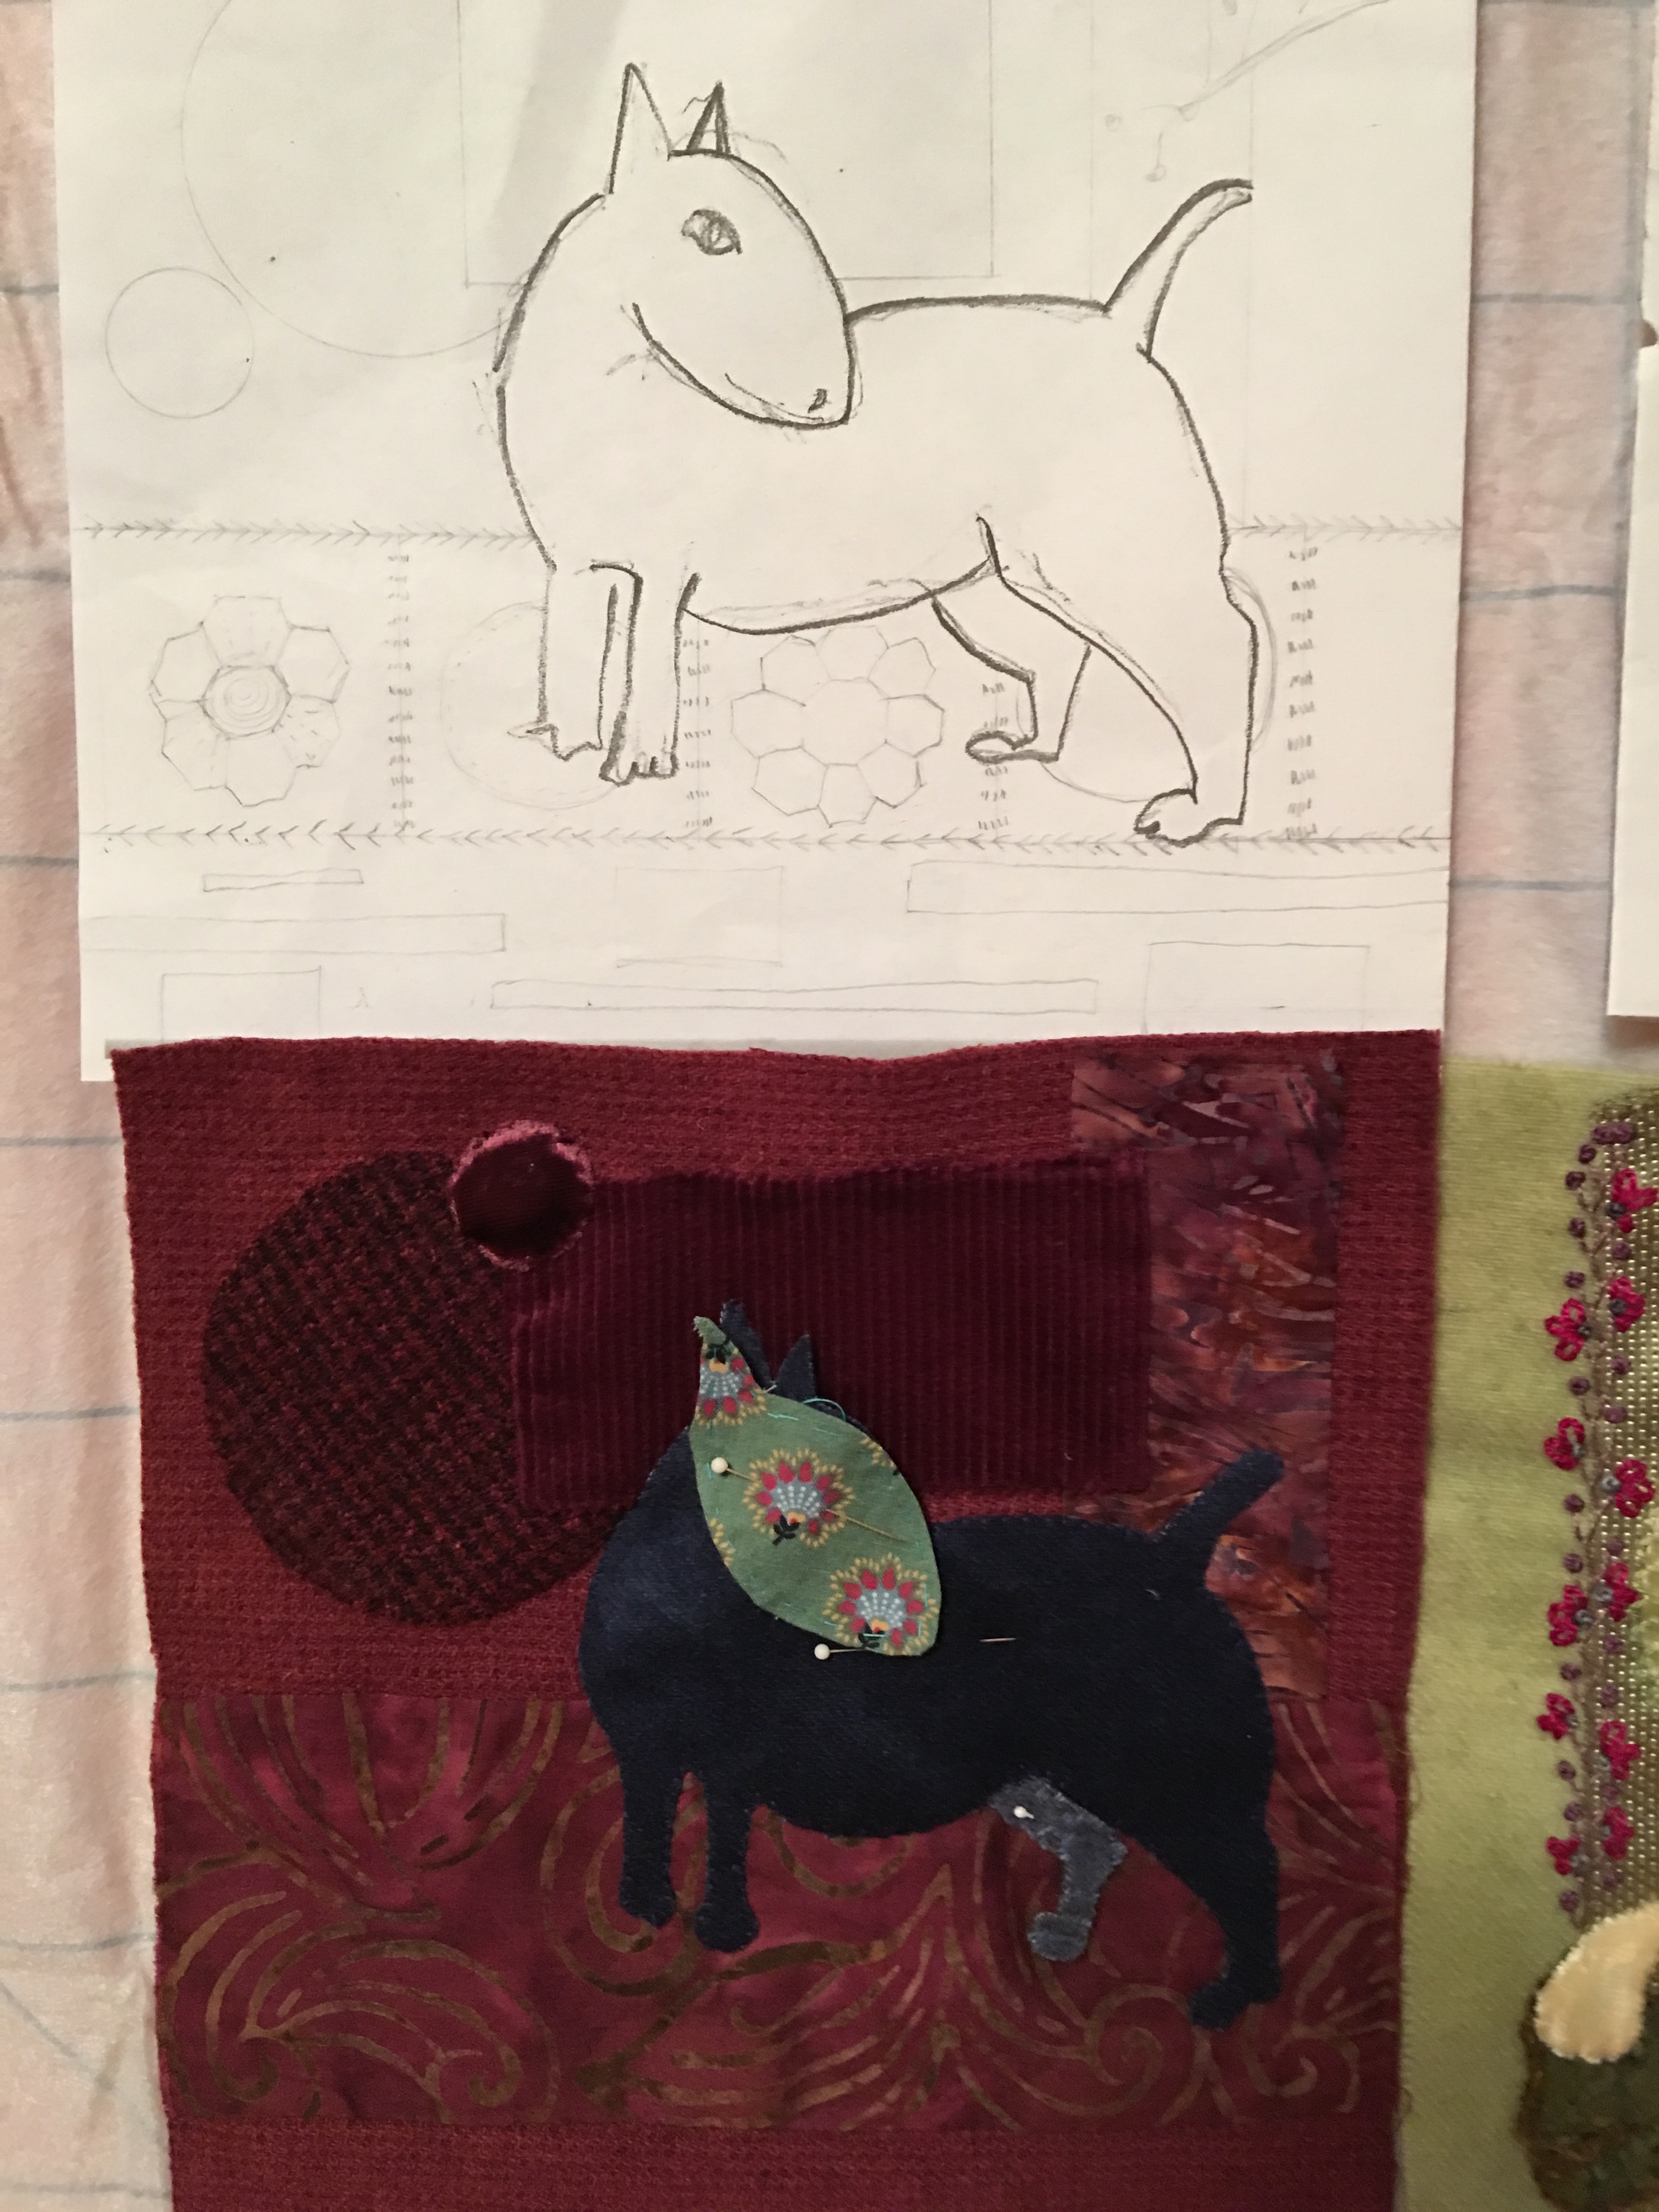
Recent comments